|
TOP NAVAL
ENGLISH VERSION
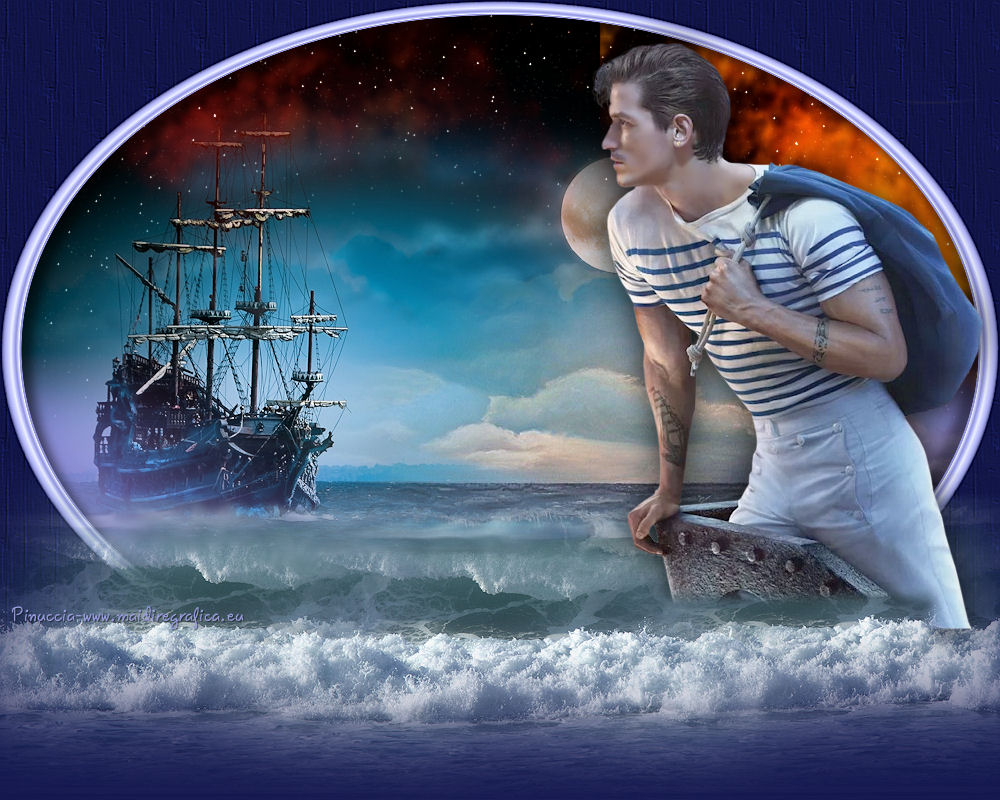
Here you find the original of this tutorial:

This tutorial was translated with PSPX3 but it can also be made using other versions of PSP.
Since version PSP X4, Image>Mirror was replaced with Image>Flip Horizontal,
and Image>Flip with Image>Flip Vertical, there are some variables.
In versions X5 and X6, the functions have been improved by making available the Objects menu.
In the latest version X7 command Image>Mirror and Image>Flip returned, but with new differences.
See my schedule here
French translation here
Your versions here
For this tutorial, you will need:
Material here
Tube Mina.4166.Man.07.16
Mist_04_divers_p2_animabelle
Mist_nrfo0YmJVB149ZIPi1MarPyW_gY by Lily
Mist_1250147533_paysages by Nikita
TextureLC
Selecciones/sel_naval_nines/sel_naval1_nines/sel_naval2_nines
Plugins
consult, if necessary, my filter section here
Filters Unlimited 2.0 here
Flaming Pear - Glitterato here

You can change Blend Modes according to your colors.
In the newest versions of PSP, you cannot find the foreground/background gradient ou Corel_06_29.
You can use the Gradient folder of Corel X that you can find here
Copy the texture in the Textures Folder.
Copy the selections in the Selections Folder.
Open the mask in PSP et minimize it with the rest of the material.
1. Open a new transparent image 1000 x 450 pixels.
2. Set your foreground color to #7944d1,
and your background color to #969bdb.
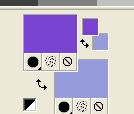
Set your foreground color to a Foreground/Background Gradient, style Linear.
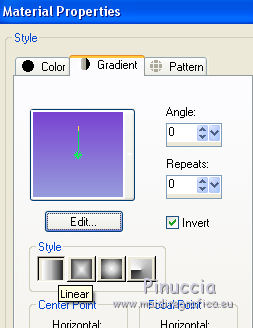
Flood Fill  the transparente image with your Gradient. the transparente image with your Gradient.
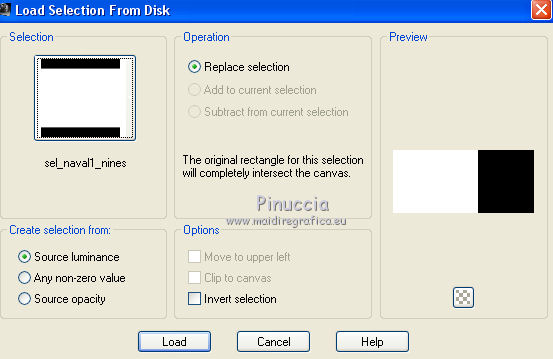
3. Selections>Load/Save Selection>Load Selection from Disk.
Look for and load the selection sel_naval1_nines.
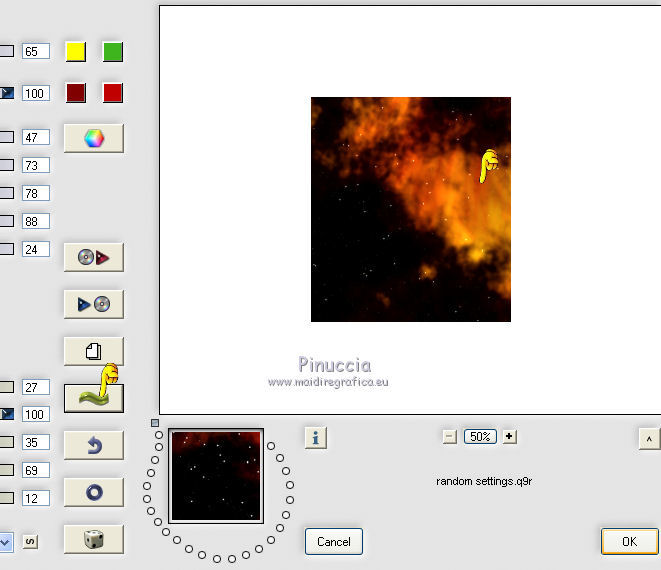
4. Effects>Plugins>Flaming Pear - Glitterato.
Colors: blu #000040
green: #3eb51d
dark red: #800000
red: #c00000.
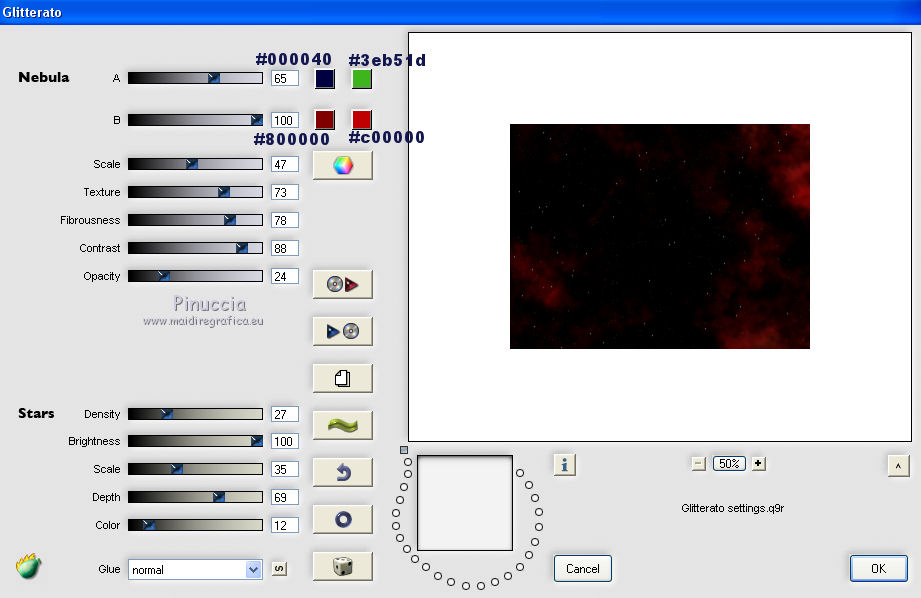
The result of this plugin is random; clic on the green button until you see the result that you like.
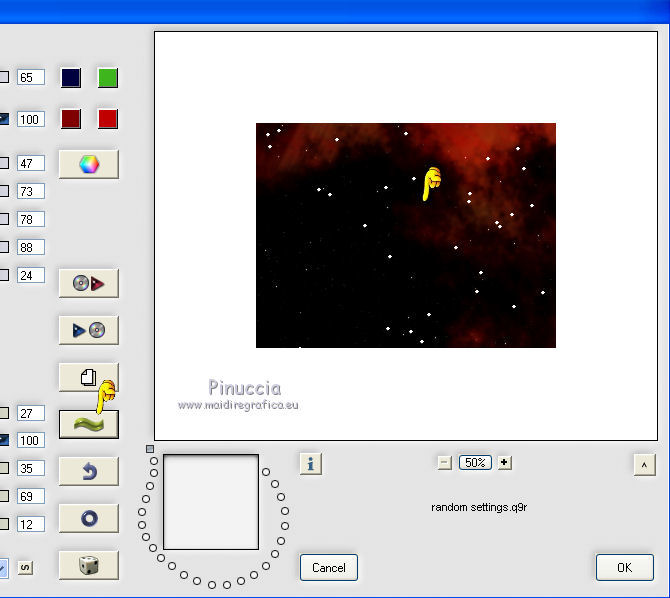
Selections>Select None.
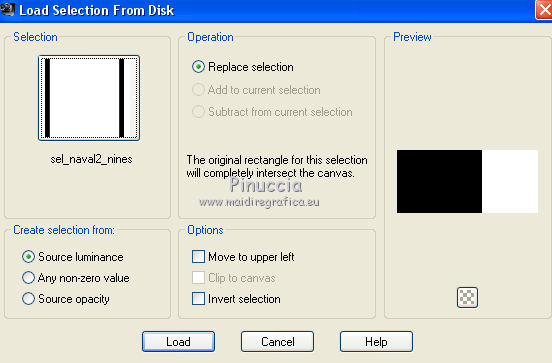
5. Selections>Load/Save Selection>Load Selection from Disk.
Look for and load the selection sel_naval2_nines.
6. Repeat Effects>Plugins>Flaming Pear - Glitterato, but the first color is yellow: #ffff00
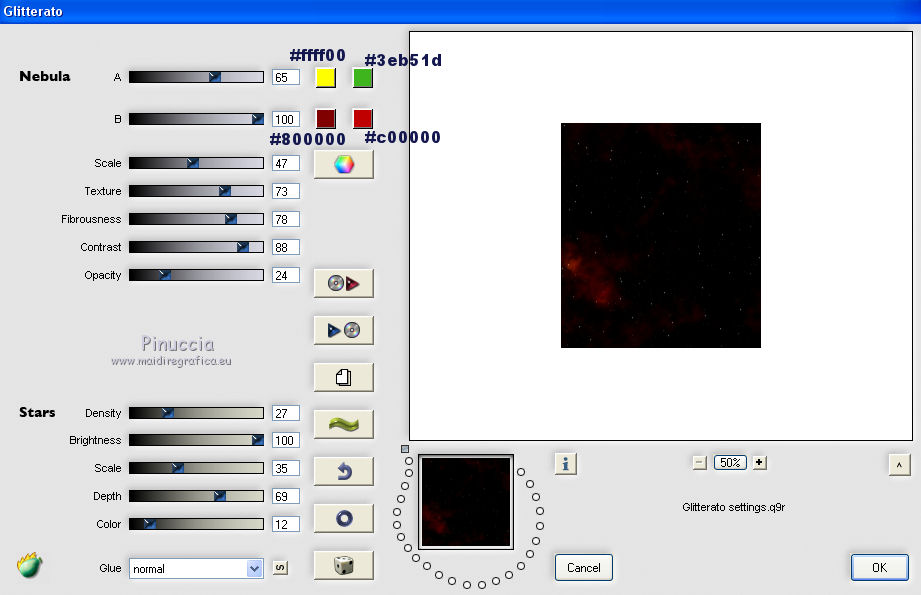
Also in this case, clic on the green button to choose the result that you like.
Selections>Select None.
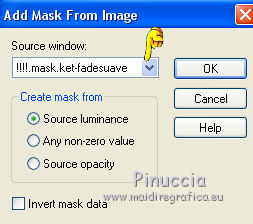
7. Layers>New Mask layer>From image
Open the menu under the source window and you'll see all the files open.
Select the mask mask.ket-fadesuave:
Layers>Duplicate.
Layers>Merge>Merge Groupe.
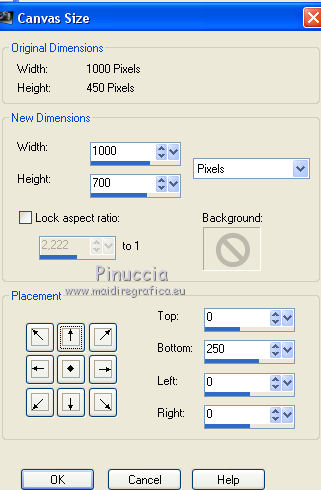
8. Image>Canvas Size - 1000 x 700 pixels
9. Layers>New Raster Layer.
Flood Fill  the layer with your Gradient. the layer with your Gradient.
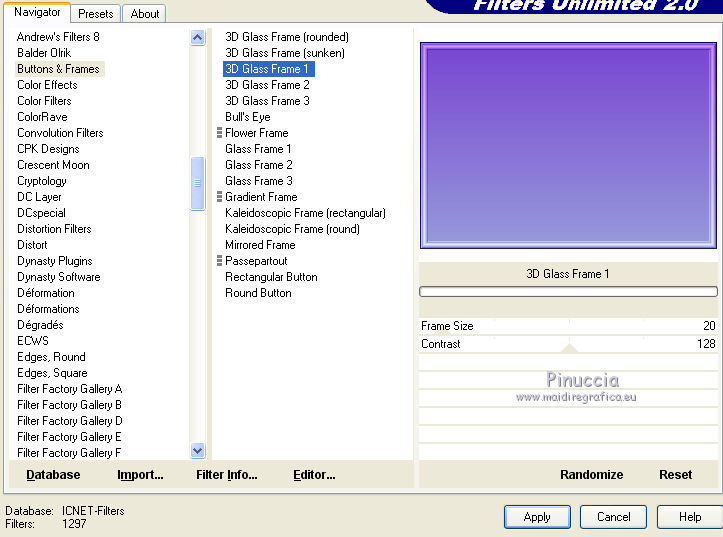
10. Effects>Plugins>Filters Unlimited 2.0 - Buttons & Frames.
11. Selection Tool 
(no matter the type of selection, because with the custom selection your always get a rectangle)
clic on the Custom Selection 
and set the following settings.

Press CANC on the keyboard 
Selections>Select None.
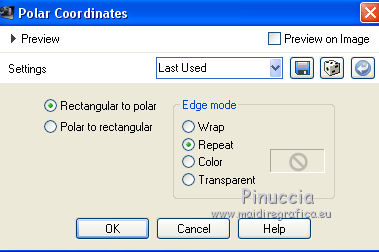
12. Effects>Distortion Effects>Polar Coordinates.
13. Image>Flip
14. Selections>Load/Save Selection>Load Selection from Disk.
Look for and load the selection sel_naval_nines.
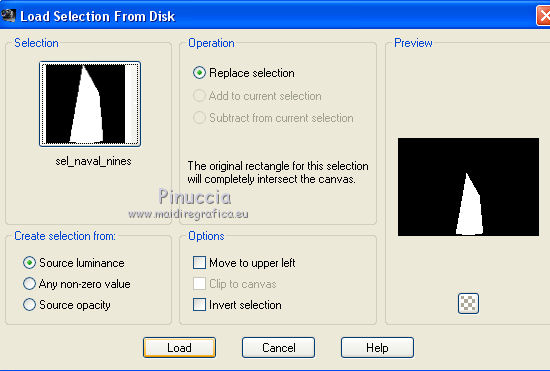
Press CANC on the keyboard.
Selections>Select None.
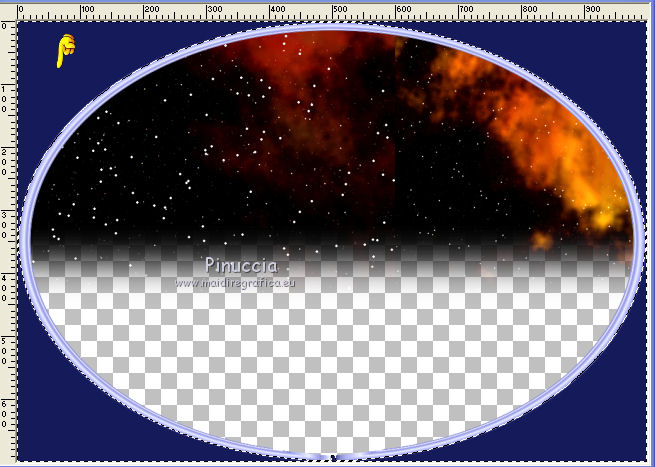
15. Activate the Magic Wand tool 
and clic on the dark zone to select it.
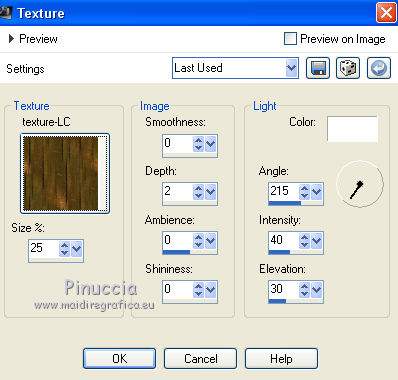
16. Effects>Texture Effects>Texture - select the texture Texture-LC
17. Adjust>Sharpness>Sharpen More.
18. Effects>3D Effects>Drop Shadow, color black.
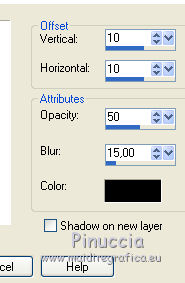
Repeat Drop Shadow, but vertical and horizontal -10.
19. Layers>New Raster layer.
Layers>Arrange>Send to bottom.
Flood Fill  the layer with your Gradient. the layer with your Gradient.
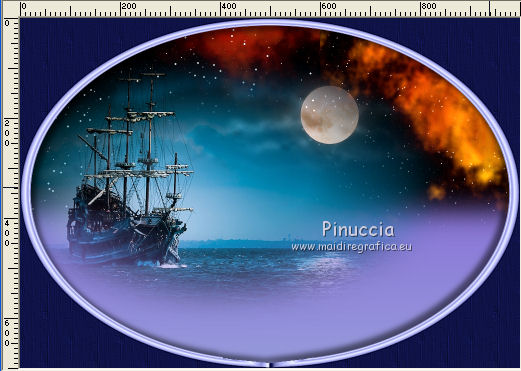
20. Open the tube 04_divers_p2_animabelle - Edit>Copy.
Go back to your work and go to Edit>Paste as new layer.
Move  the tube to the left side. the tube to the left side.
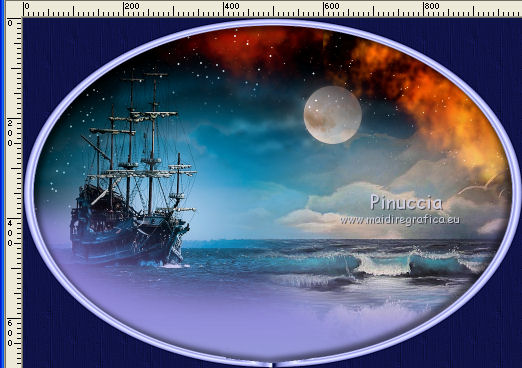
21. Open the tube nrfo0YmJVB149ZIPiMarPyW_gY - Edit>Copy.
Go back to your work and go to Edit>Paste as new layer.
Move  the tube to the right side. the tube to the right side.
22. Layers>Merge>Merge visible.
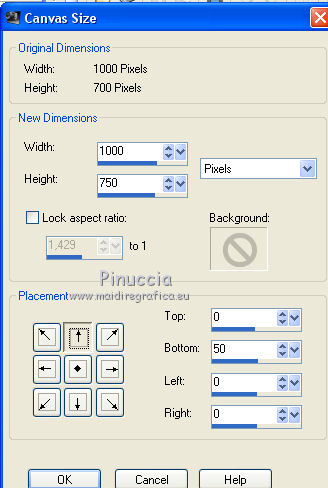
23. Image>Canvas size - 1000 x 750.
24. Layers>New Mask layer>From image
Open the menu under the source window
and select the mask mask.ket-fadesuave:

Layers>Duplicate.
Layers>Merge>Merge Groupe.
25. Open the tube 1250147533_paysages_Nikita - Edit>Copy.
Go back to your work and go to Edit>Paste as new layer.
Move  the tube to the bottom. the tube to the bottom.
26. Open the tube Mina.4166.Man.07.16 - Edit>Copy.
Go back to your work and go to Edit>Paste as new layer.
Image>Resize, to 80%, resize all layers not checked.
Image>Mirror.
Move  the tube to the right side, see my example. the tube to the right side, see my example.
27. Effects>3D Effects>Drop Shadow, color black.
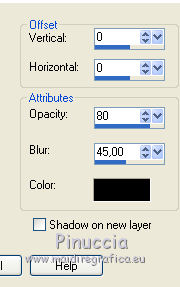
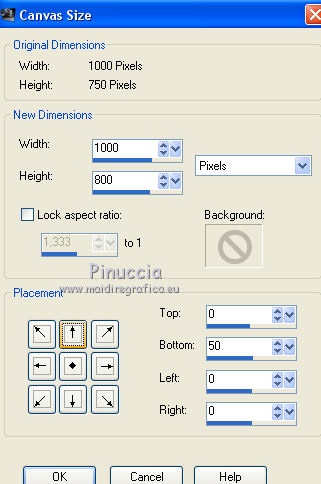
28. Image>Canvas Size - 1000 x 800 pixels.
29. Set your foreground color to #13174e.
Layers>New Raster layer.
Flood Fill  the layer with your foreground color #13174e. the layer with your foreground color #13174e.
Layers>Arrange>Send to Bottom.
30. Activate the layer of the man.
Activate the Selection tool  , feather 15, , feather 15,
and make a selection at the bottom
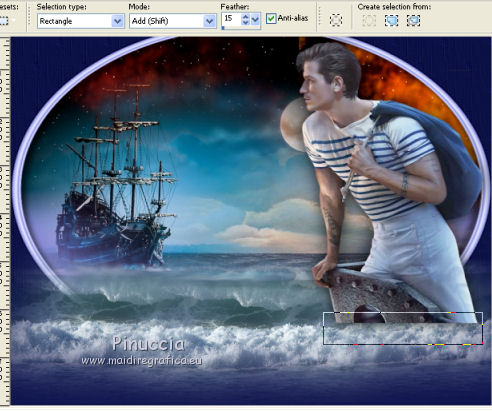
when you release the mouse button, the selection will expand as a result of the feather.
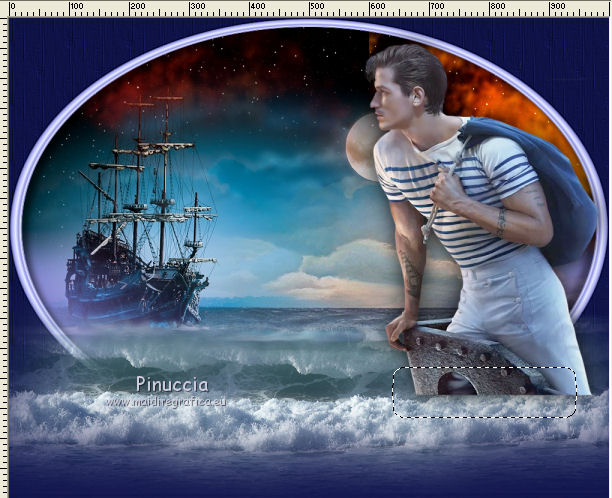
Press CANC on the keyboard.
Selections>Select None.
31. Sign your work.
32. Layers>Merge>Merge All and save as jpg.

If you have problems or doubt, or you find a not worked link, or only for tell me that you enjoyed this tutorial, write to me.
5 October 2016
|

