|
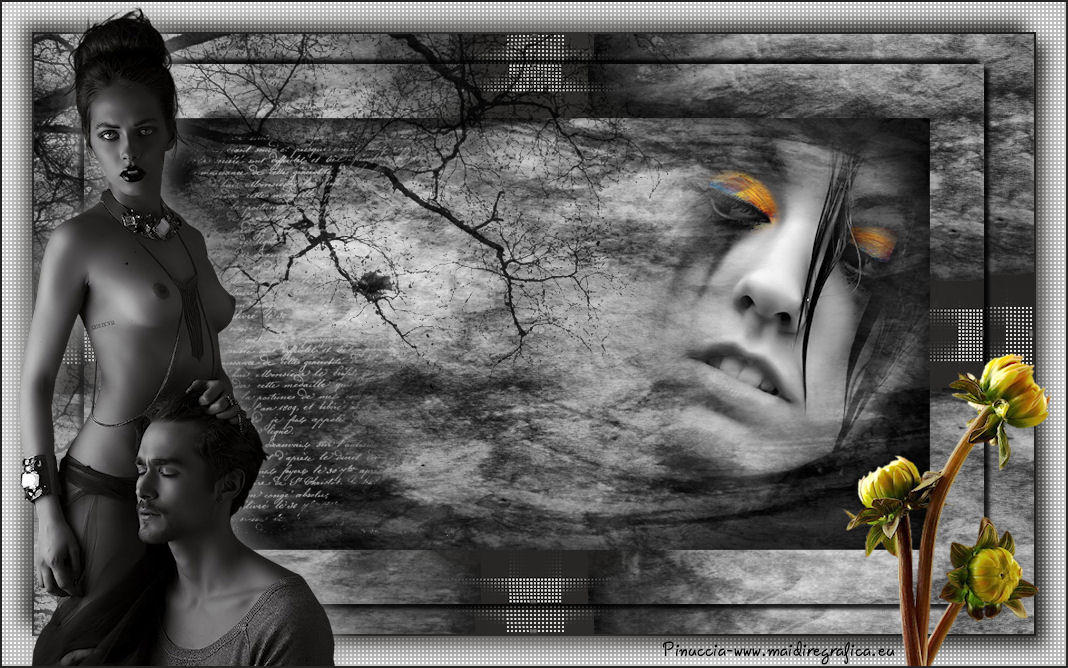
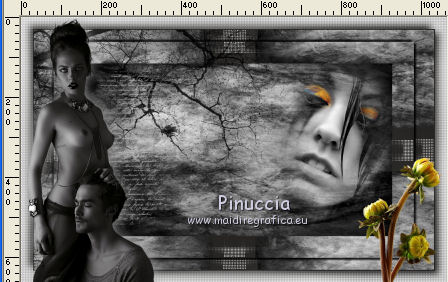
TOP SENSUEL COUPLE
english version
Here you find the original of this tutorial:

This tutorial was created with PSP X2 but it can also be made using other versions of PSP.
Since version PSP X4, Image>Mirror was replaced with Image>Flip Horizontal,
and Image>Flip with Image>Flip Vertical, there are some variables.
In versions X5 and X6, the functions have been improved by making available the Objects menu.
In the latest version X7 command Image>Mirror and Image>Flip returned, but with new differences.
See my schedule here
French translation here
Your versions here
For this tutorial, you will need:
Material here
Tube calguissensualcouple25092015 by Guismo
Mist calguismistface1629 by Guismo
textura-grunge4_by_helenem
Tree Borders_18 D/A
2014EXCLUSIF-Maelledreams-Fleur1
texto-poema_nines
Filtres:
consult, if necessary, my filter section here
AFS IMPORT - sqborder2 ici
Filters Unlimited 2.0 here
Filtres AFS IMPORT peuvent être utilisés seuls ou importés dans Filters Unlimited.
voir comment le faire ici).
Si un filtre est fourni avec cette icône,  on est obligé à l'importer dans Unlimited on est obligé à l'importer dans Unlimited

You can change Blend Modes according to your colors.
1. Open a new transparent image 1000 x 600 pixels.
2. Set your foreground color to #252422
3. Flood Fill  the transparent image with your foreground color. the transparent image with your foreground color.
3. Selections>Select All.
Selections>Modify>Contract - 30 pixels.
Selections>Invert.
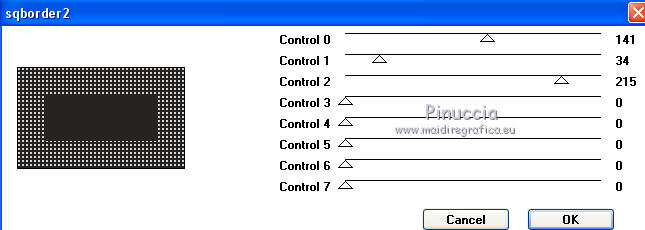
4. Effects>Plugins>Filters Unlimited 2.0 - AFS IMPORT - sqborder2, default settings.
5. Selections>Invert.
Selections>Modify>Contract - 30 pixels.
6. Open textura-grunge4
Activate the Selection tool 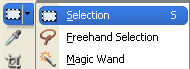
and select the tecture as below.
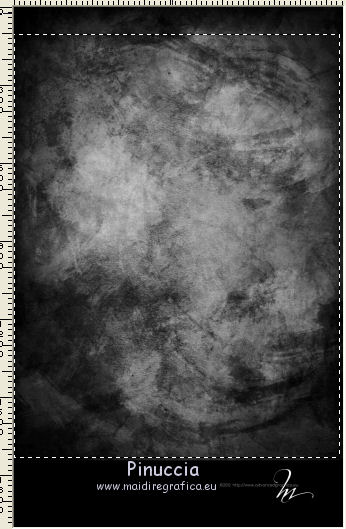
Edit>Copy.
Go back to your work and go to Edit>Paste into Selection.
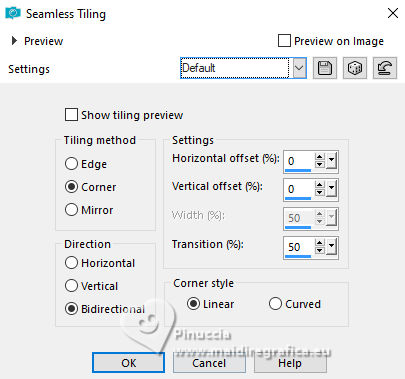
7. Effects>Image Effects>Seamless Tiling, default settings.
Selections>Select None.
8. Layers>Duplicate.
Image>Resize, to 90%, resize all layers not checked.
9. Effects>3D Effects>Drop Shadow, color black.
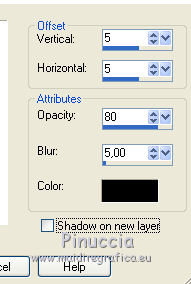
Repeat Drop Shadow, but vertical and horizontal -5.
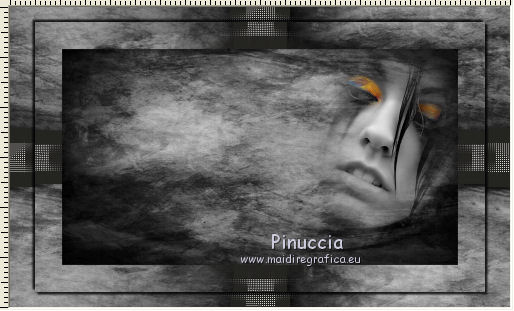
10. Open calguismistface1629, Edit>Copy.
Go back to your work and go to Edit>Paste as new layer.
Image>Resize, 3 time to 80%, resize all layers not checked.
Move  the tube to the right side. the tube to the right side.
11. Open Tree Borders_18, Edit>Copy.
Go back to your work and go to Edit>Paste as new layer.
Image>Mirror.
Move the tube to the left side.
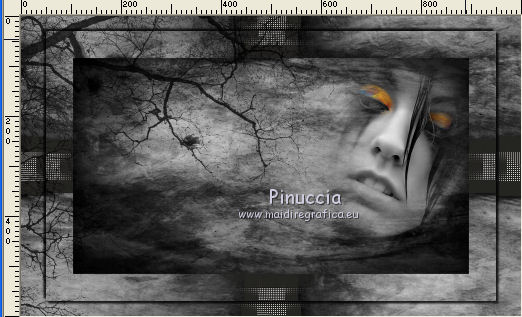
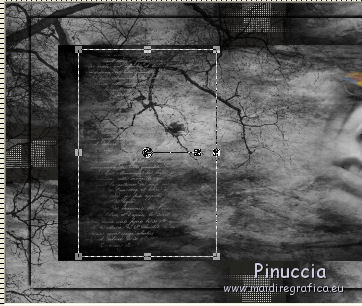
12. Open texto-poema_nines, Edit>Copy.
Go back to your work and go to Edit>Paste as new layer.
Move the text to the left side.
13. Layers>Merge>Merge All.
14. Image>Add borders, 2 pixels, symmetric, color #252422.
Image>Add borders, 30 pixels, simmetric, color #adadad.
15. Activate the Magic Wand tool 
clic on the 30 pixels border to select it.
16. Effects>Plugins>Filters Unlimited 2.0 - AFS IMPORT - sqborder2, same settings.
17. Selections>Invert.
Effects>3D Effects>Drop Shadow, color #252422.
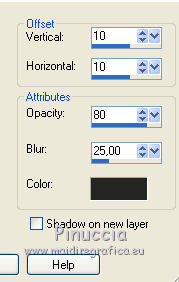
Repeat Drop Shadow, but vertical and horizontal -10.
Selections>Select None.
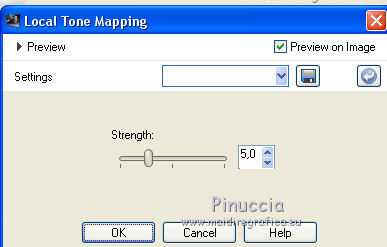
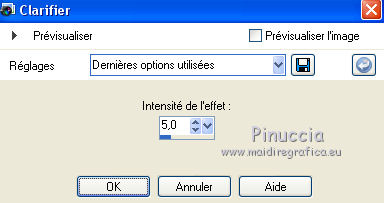
18. Adjust>Brightness and Contraste>Local Tone Mapping.
19. Open the tube calguissensualcouple25092015, Edit>Copy.
Go back to your work and go to Edit>Paste as new layer.
Image>Resize, 2 time to 80%, resize all layers not checked.
Move the tube to the left side.
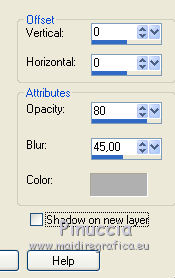
Effects>3D Effects>Drop Shadow, color #b0b0b0.
20. Adjust>Brightness and Contraste>Local Tone Mapping, same settings.
21. Open the tube 2014EXCLUSIF-Maelledreams-Fleur1, keet the selection and go to Edit>Copy.
Go back to your work and go to Edit>Paste as new layer.
Image>Resize, to 80%, resize all layers not checked.
Move the tube to the right side.
22. Layers>Merge>All.
23. Image>Add borders, 2 pixels, symmetric, color #252422.
24. Sign your work and save as jpg.
If you have problems or doubt, or you find a not worked link, or only for tell me that you enjoyed this tutorial, write to me.
14 October 2015
|