|
TOP TAJ MAHAL
english version

Here you find the original of this tutorial:

This tutorial was translated with PSPX3 but it can also be made using other versions of PSP.
Since version PSP X4, Image>Mirror was replaced with Image>Flip Horizontal,
and Image>Flip with Image>Flip Vertical, there are some variables.
In versions X5 and X6, the functions have been improved by making available the Objects menu.
In the latest version X7 command Image>Mirror and Image>Flip returned, but with new differences.
See my schedule here
French translation here
Your versions here
For this tutorial, you will need:
Material here
Tube Malacka ¡cid_ii_i8yox2oa1_14cf6a171b348297
Mist tajmahal_tubed_by_thafs
Plugins
consult, if necessary, my filter section here
Xero - Fritillary here
FM Tile Tools - Saturation Emboss here
Mura's Meister - Perspective Tiling here

In the newest versions of PSP, you cannot find the foreground/background gradient ou Corel_06_29.
You can use the Gradient folder of Corel X that you can find here
1. Open a new transparent image 1000 x 700 pixels.
2. Set your foreground color to #817e00,
and your background color to #034525.
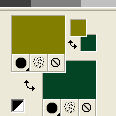
Set your foreground color to a Foreground/Background Gradient, style Linear.
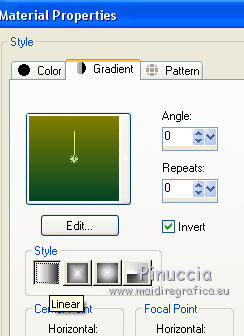
Flood Fill  the transparente image with your Gradient. the transparente image with your Gradient.
3. Selections>Select All.
4. Open the tube tajmahal_tubed_by_thafs - Edit>Copy.
Go back to your work and go to Edit>Paste into Selection.
Selections>Select None.
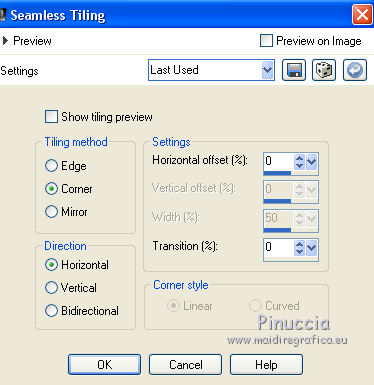
5. Effects>Image Effects>Seamless Tiling, default settings.

6. Adjust>Blur>Radial Blur.
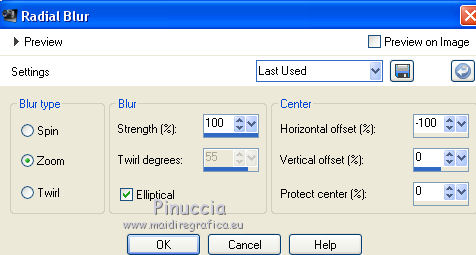
7. Effetcs>Geometric Effects>Perspective Horizontal.
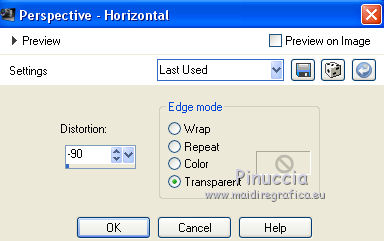
8. Effects>Image Effects>Seamless Tiling.
9. Effects>Distortion Effects>Pinch - 2 times

10. Layers>Duplicate.
Effects>Geometric Effects>Circle.

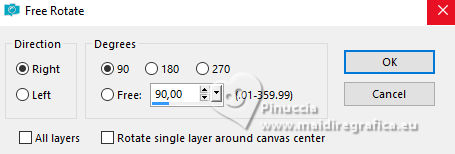
11. Image>Free Rotate - 90 degrees to right.
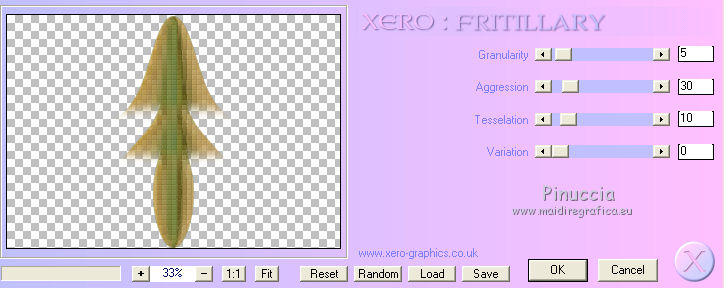
12. Effects>Plugins>Xero - Fritillary
13. Effects>Plugins>FM Tile Tools - Saturation Emboss, default settings.

14. Image>Resize - to 90%, resize all layers not checked.
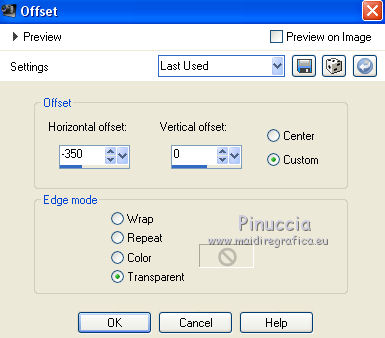
15. Effects>Image Effects>Offset.
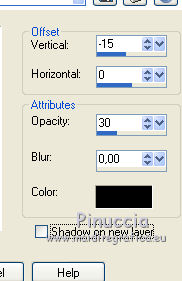
16. Effects>3D Effects>Drop Shadow, color black.
17. Layers>Duplicate.
Image>Mirror.
18. Activate the layer below of the original.
Effects>Plugins>Xero - Fritillary, same settings.

19. Effects>Plugins>FM Tile Tools - Saturation Emboss, default settings.

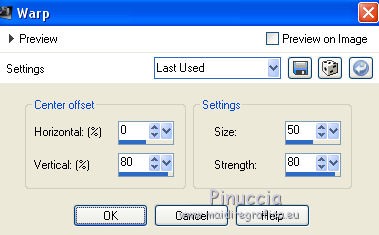
20. Effects>Distortion Effects>Warp.
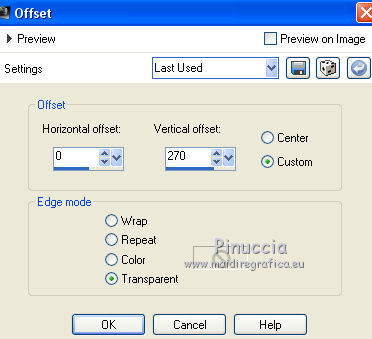
21. Effects>Image Effects>Offset.
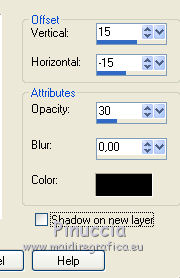
22. Effects>3D Effects>Drop Shadow, color black.
23. Layers>New Raster Layer.
Layers>Arrange>Move down.
Flood Fill  with your Gradient. with your Gradient.
24. Selections>Select All.
Layers>New Raster Layer.
25. Edit>Paste into Selection (the tube Tajmahal_tubed_by_thafs is still in memory).
Selections>Select None.
26. Layers>Merge>Merge visible.
27. Layers>Duplicate.
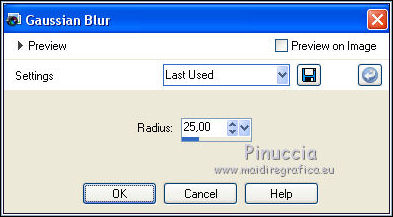
28. Adjust>Blur>Gaussian blur - radius 25.
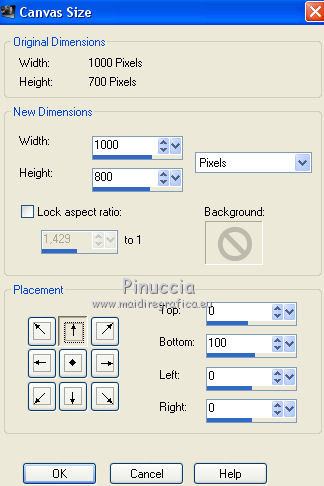
29. Image>Canvas Size - 1000 x 800 pixels.
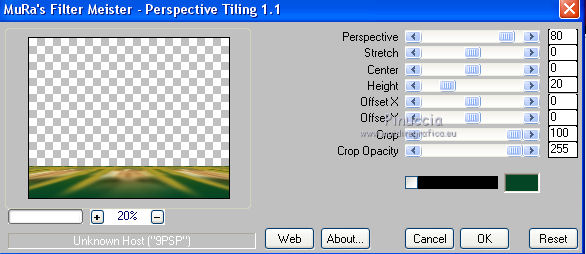
30. Effects>Plugins>Mura's Meister - Perspective Tiling.
31. Activate the Magic Wand tools  , tolerance and feather 20 , tolerance and feather 20
and clic on the transparente zone to select it.
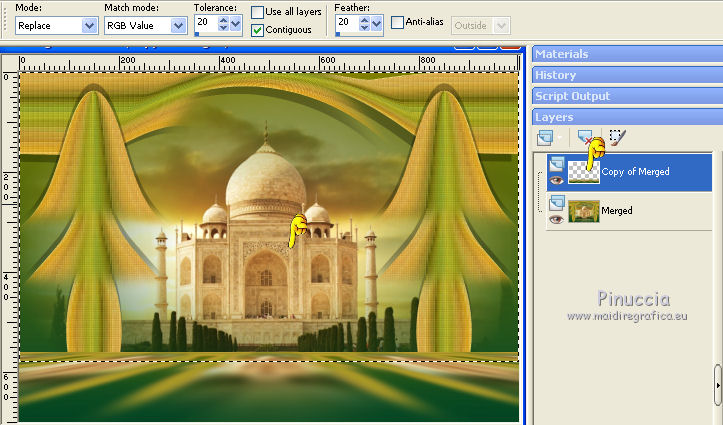
Press many times (for me 10 times) CANC on the keyboard to shade the bord.
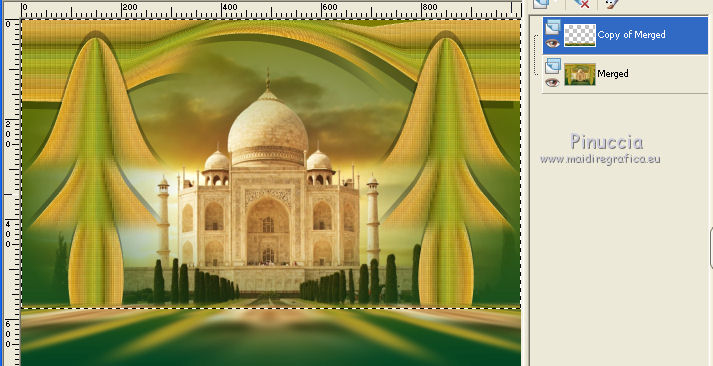
Selections>Select None.
32. Open the tube de Malacka ¡cid_ii_i8yox2oa1_14cf6a171b348297 - Edit>Copy.
Go back to your work and go to Edit>Paste as new layer.
33. Effects>3D Effects>Drop Shadow, color #e7e5b3.
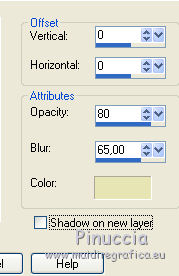
34. Image>Add borders, 2 pixels, symmetric, background color #034525.
35. Sign your work and save as jpg.

If you have problems or doubt, or you find a not worked link, or only for tell me that you enjoyed this tutorial, write to me.
25 June 2016
|


