|
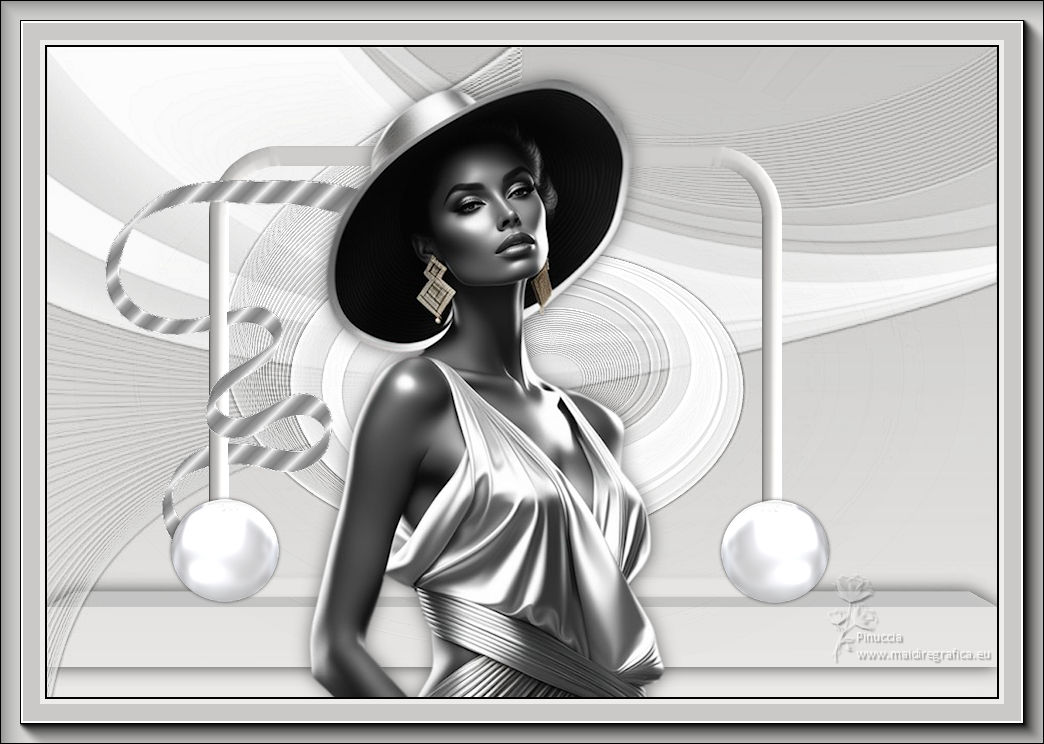
TAG BLANCO Y NEGRO


This tutorial was translated with PSP09 but it can also be made using other versions of PSP.
Since version PSP X4, Image>Mirror was replaced with Image>Flip Horizontal,
and Image>Flip with Image>Flip Vertical, there are some variables.
In versions X5 and X6, the functions have been improved by making available the Objects menu.
In the latest version X7 command Image>Mirror and Image>Flip returned, but with new differences.
See my schedule here
 French translation here French translation here
 Your versions ici Your versions ici
For this tutorial, you will need:

Thanks for the tube Kamil.
Mask sMart
(you find here the links to the material authors' sites)

consult, if necessary, my filter section here
Alien Skin Eye Candy 5 Impact - Extrude here
AAA Frames - Foto Frame here

You can change Blend Modes according to your colors.
In the newest versions of PSP, you don't find the foreground/background gradient (Corel_06_029).
You can use the gradients of the older versions.
The Gradient of CorelX here

Copy the Selection in the Selection Folder.
Open the mask in PSP and minimize it with the rest of the material.
1. Set your foreground color to #eeedeb,
and your background color to #cac9c7.
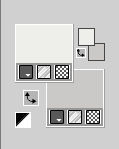
Set your foreground color to a Foreground/Background Gradient, style Linear.
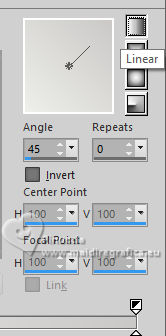
2. Open a new transparent image 950 x 650 pixels.
Flood Fill  the transparent image with your Gradient. the transparent image with your Gradient.
3. Set you foreground color to #ffffff.
Layers>New Raster Layer.
Flood Fill  the layer with color white. the layer with color white.
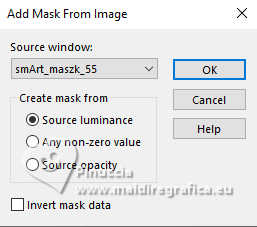
4. Layers>New Mask layer>From image
Open the menu under the source window and you'll see all the files open.
Select the mask smArt_maszk_66.
Layers>Merge>Merge Group.
5. Layers>Duplicate.
Layers>Merge>Merge Down.
6. Image>Mirror>Mirror vertical (Image>Flip).
Adjust>Sharpness>Sharpen More.
7. Effects>3D Effects>Drop Shadow, color #000000.
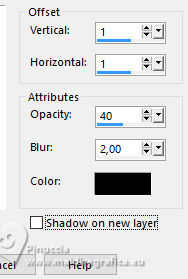
8. Layers>Duplicate.
Effects>Distortion Effects>Polar coordinates.
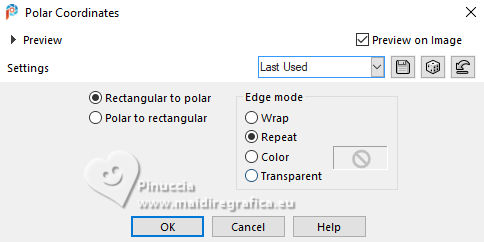
Adjust>Sharpness>Sharpen More.
9. Activate your bottom layer, Raster 1.
Selections>Load/Save Selection>Load Selection from Disk.
Look for and load the selection sel.blancoynegro.nines
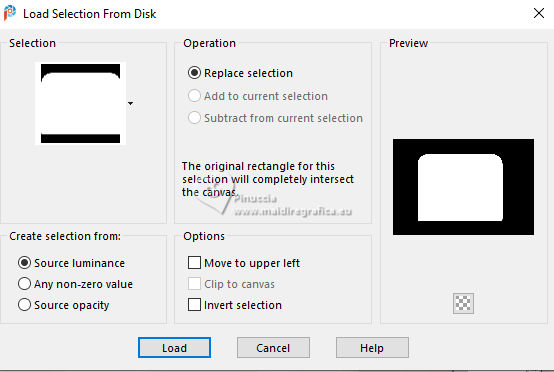
Selections>Promote Selection to Layer.
10. Selections>Modify>Contract - 20 pixels.
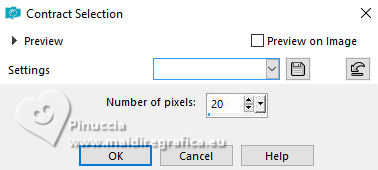
Press CANC on the keyboard 
Selections>Select None.
Layers>View>Current only (to see better).
11. Activate your Magic Wand Tool 
and click in the border to select it.
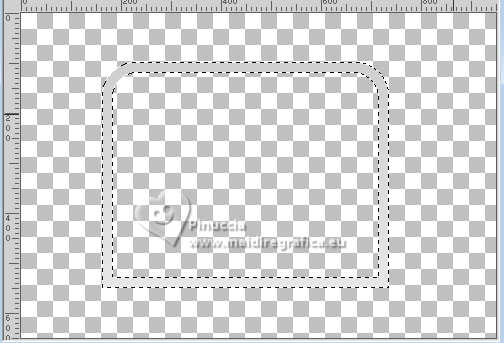
12. Effects>3D Effects>Drop Shadow, color #ffffff.
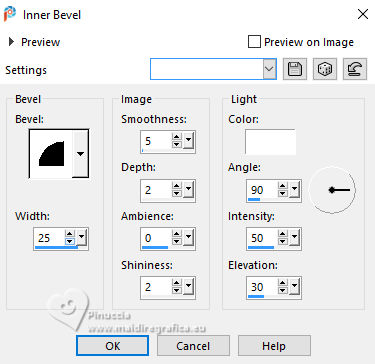
Layers>View>All.
Layers>Arrange>Bring to Top.
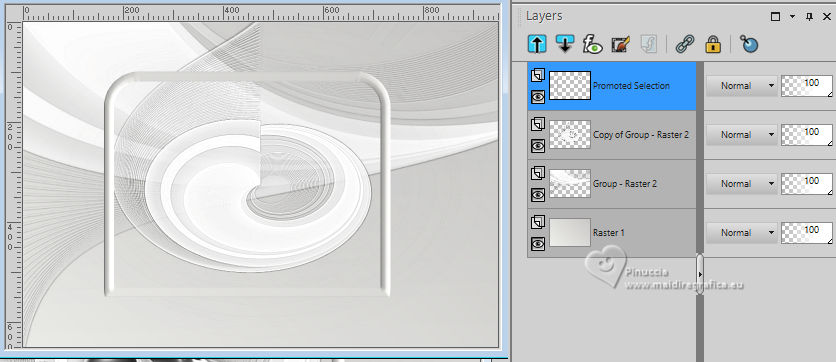
13. Again activate your bottom layer, Raster 1.
Selection Tool 
(no matter the type of selection, because with the custom selection your always get a rectangle)
clic on the Custom Selection 
and set the following settings.
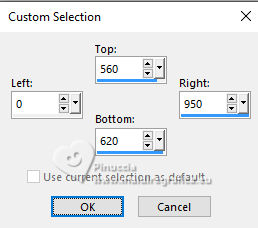
Selections>Promote Selection to layer.
Keep selected.
14. Effects>Plugins>Alien Skin Eye Candy 5 Impact - Extrude.
Solid Color #c9c8c7.
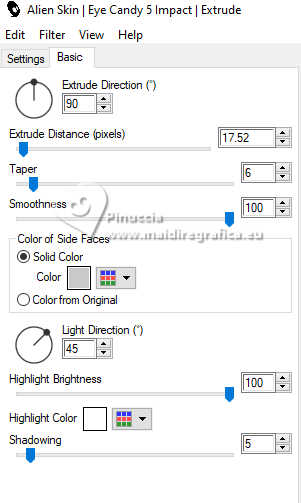
Selections>Select None.
15. Effects>3D Effects>Drop Shadow, color #000000.
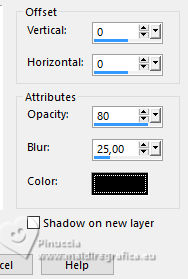
16. Activate your top layer.
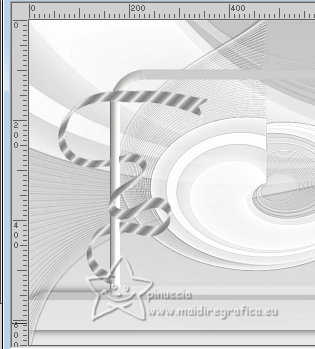
Open lazo_blancoynegro_nines(2) 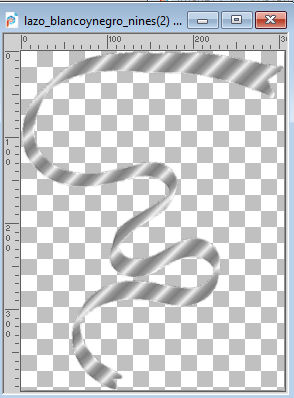
Edit>Copy.
Go back to your work and go to Edit>Paste as new layer.
Place  the tube on the rectangle. the tube on the rectangle.
17. Activate your Selection Tool  , rectangle , rectangle
and apply the 2 little selections
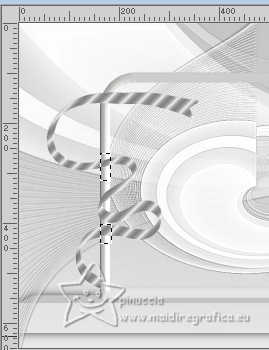
Press CANC on the keyboard.
Selections>Select None.
If you prefer, copy/paste as new layer the tube already cut
lazo_blancoynegro_nines. 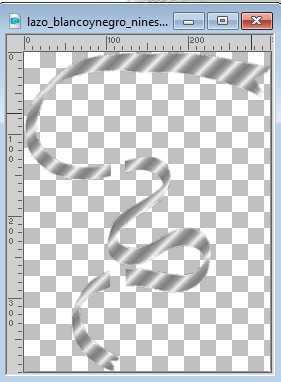
18. Open bola_blanca_nines 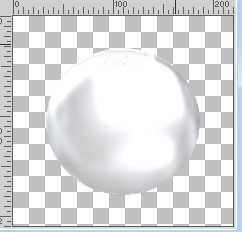
Edit>Copy.
Go back to your work and go to Edit>Paste as new layer.
Image>Resize, to 70%, resize all layers not checked.
Move  the tube on the basis of the rectangle. the tube on the basis of the rectangle.
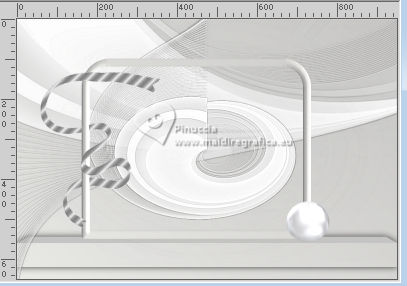
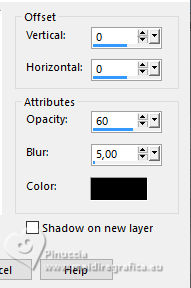
19. Effects>3D Effects>Drop shadow, color #000000.
20. Layers>Duplicate.
Image>Mirror>Mirror horizontal (Image>Mirror).
Place  correctly the tube correctly the tube
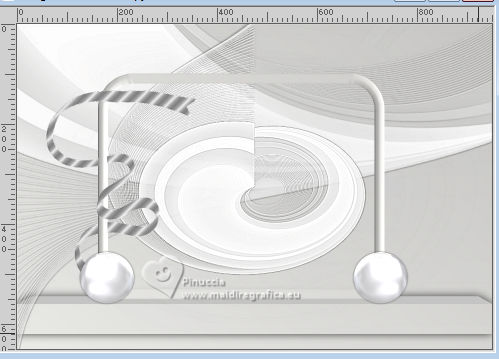
21. Open the tube KamilTube-852 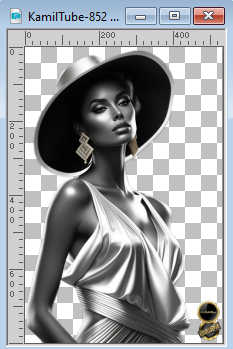
Erase the watermark and go to Edit>Copy.
Go back to your work and go to Edit>Paste as new layer.
Image>Resize, to 80%, resize all layers not checked.
Place  correctly the tube. correctly the tube.
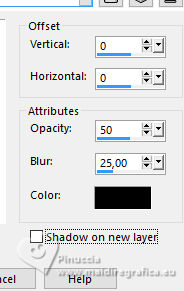
22. Effects>3D Effects>Drop Shadow, color #000000.
23. Layers>Merge>Merge All.
24. Image>Add borders, 2 pixels, symmetric, color #000000.
Image>Add borders, 5 pixels, symmetric, foreground color #eeedeb.
Image>Add borders, 40 pixels, symmetric, background color #cac9c7.
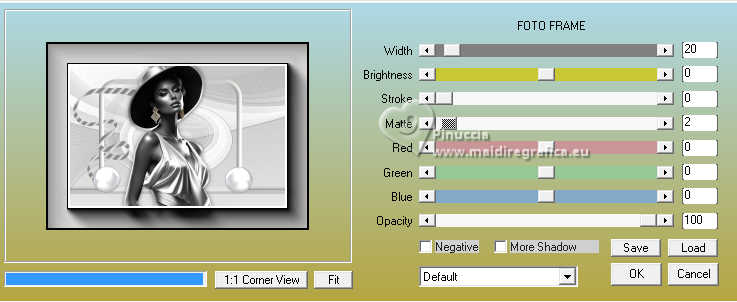
25. Effects>Plugins>AAA Frames - Foto Frame.
26. Sign your work.
Add the author and translator watermarks.
Layers>Merge>Merge All and save as jpg.
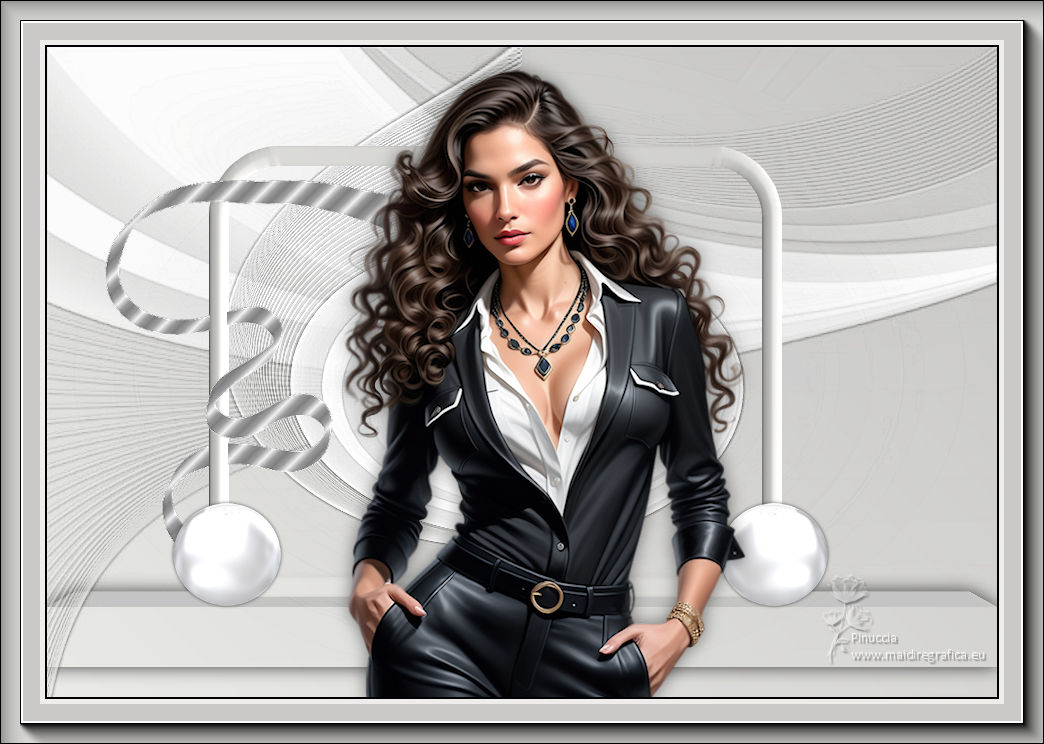
For the tube of this version thanks Kamil

If you have problems or doubts, or you find a not worked link, or only for tell me that you enjoyed this tutorial, write to me.
18 April 2024

|

