|
TAG DULCE NAVIDAD


This tutorial was translated with PSPX7 but it can also be made using other versions of PSP.
Since version PSP X4, Image>Mirror was replaced with Image>Flip Horizontal,
and Image>Flip with Image>Flip Vertical, there are some variables.
In versions X5 and X6, the functions have been improved by making available the Objects menu.
In the latest version X7 command Image>Mirror and Image>Flip returned, but with new differences.
See my schedule here
 French translation here French translation here
 Your versions ici Your versions ici
For this tutorial, you will need:

Renee_TUBES_Doll-157
TubeNaraPamplona 1539 Misted
Belscrap_Magical_Paper Free
Tube BS17-Espumillón3
Tube BS17-Lazo2s
Tube Belscrap_Magical_El 9 Free
Tube DN0012 by Isa
Tube candy_tc_el 76
Tuber candy_ts_el55
Tube FlyPixelCt_ChristmasCooking_el (103)
Tube CHILI_DESINGNZ_Christmas_Joy_cokies
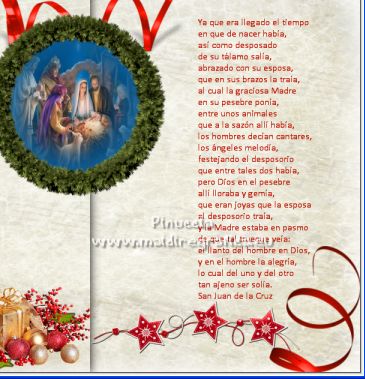
Poema de Navidad de San Juan de la Cruz
Estrellitas_Marcos_Nines
C-MASWORDART1ABCOHDIDIT.png
(you find here the links to the material authors' sites)

1. Open a new transparent image 950 x 650 pixel.
2. Selections>Select All.
Open Belscrap_Magical_Paper Free 
Edit>Copy.
Go back to your work and go to Edit>Paste into Selection.
Selections>Select None.
3. Selection Tool 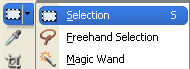
(no matter the type of selection, because with the custom selection your always get a rectangle)
clic on the Custom Selection 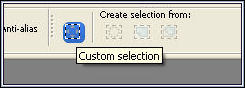
and set the following settings.

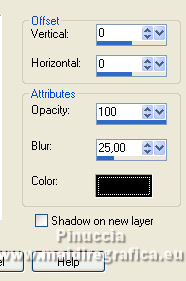
4. Effects>3D Effects>Drop Shadow, color #000000.
Selections>Select None.
5. Open BS17-Espumillón3 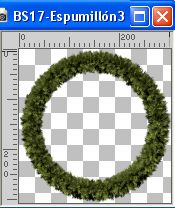
Edit>Copy.
Go back to your work and go to Edit>Paste as new layer.
6. Activate your Magic Wand Tool 
and click in the crown to select it.
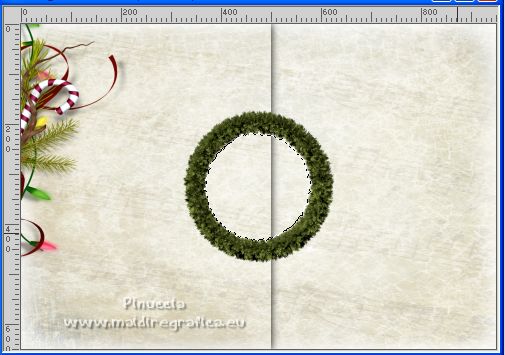
7. Selections>Modify>Expand - 10 pixels.
Layers>New Raster Layer.
Layers>Arrange>Move Down.
8. Set your foreground color to #095d97.
Flood Fill  the layer with your foreground color #095d97. the layer with your foreground color #095d97.
9. Open the tube TubeNaraPamplona 1539 
Edit>Copy.
Go back to your work and go to Edit>Paste dans la sélection.
Selections>Select None.
10. Close the background layer, Raster 1.
Layers>Merge>Merge visible.
11. Effects>Image Effects>Offset.

12. Open the closed layer and stay on the layer Merged.
13. Open the tube candy_tc_el76 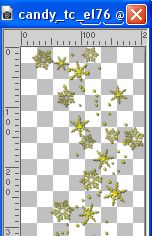
Edit>Copy.
Go back to your work and go to Edit>Paste as new layer.
Move  the tube to the left side, see my example. the tube to the left side, see my example.
14. Open Poema de Navidad de San Juan de la Cruz 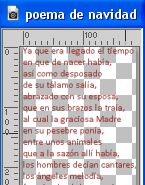
Edit>Copy.
Go back to your work and go to Edit>Paste as new layer.
15. Layers>Duplicate.
Layers>Merge>Merge Down.
16. Effects>Image Effects>Offset.

17. Open BS17-Lazo2s 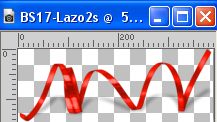
Edit>Copy.
Go back to your work and go to Edit>Paste as new layer.
18. Effects>Image Effects>Offset.

19. Layers>Arrange>Move Down - 3 times (under the crown layer).

20. Open Belscrap_Magical_El 9 Free 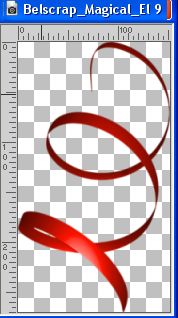
Edit>Copy.
Go back to your work and go to Edit>Paste as new layer.
21. Effects>Image Effects>Offset.

22. Open FlyPixelCt_ChristmasCooking_el (103) 
Edit>Copy.
Go back to your work and go to Edit>Paste as new layer.
Move the tube to the left side.
23. Open CHILI_DESINGNZ_Christmas_Joy_cokies 
Edit>Copy.
Go back to your work and go to Edit>Paste as new layer.
Move also this tube at the bottom left.
24. Open DN0012 by Isa 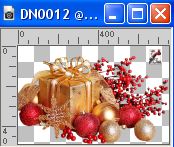
Erase the watermark and go to Edit>Copy.
Go back to your work and go to Edit>Paste as new layer.
Image>Resize, to 30%, resize all layers not checked.
Move the tube down.
25. Open the tube Renee_TUBES_Doll-157 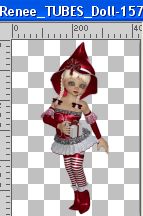
Edit>Copy.
Go back to your work and go to Edit>Paste as new layer.
Image>Resize, to 90%, resize all layers not checked.
Move the tube down, to the left.

26. Effects>3D Effects>Drop Shadow, color #ffffff.
27. Open candy_ts_el55 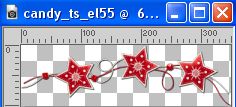
Edit>Copy.
Go back to your work and go to Edit>Paste as new layer.
Move the tube at the bottom right.
28. Layers>Merge>Merge All.
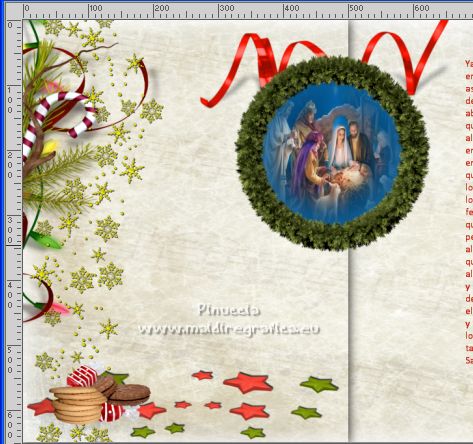
29. Image>Add borders, 2 pixels, symmetric, color #800000.
Image>Add borders, 30 pixels, symmetric, color #ebe8d8.
Image>Add borders, 2 pixels, symmetric, color #800000
30. Open Estrellitas_Marcos_Nines 
Edit>Copy.
Go back to your work and go to Edit>Paste as new layer.
31. Open C-MASWORDART1ABCOHDIDIT.png 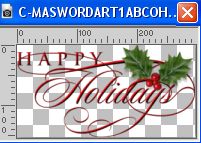
Edit>Copy.
Go back to your work and go to Edit>Paste as new layer.
Move the tube in the center.

32. Sign your work on a new layer.
Add, if you want, author and translator watermarks.
34. Layers>Merge>Merge All and save as jpg.
For the tubes of this versions thanks Elisabeth and Simplement Sylvie

 Your versions here Your versions here

If you have problems or doubts, or you find a not worked link, or only for tell me that you enjoyed this tutorial, write to me.
29 November 2022

|