|
TAG PASCUA 2024


This tutorial was translated with PSP09 but it can also be made using other versions of PSP.
Since version PSP X4, Image>Mirror was replaced with Image>Flip Horizontal,
and Image>Flip with Image>Flip Vertical, there are some variables.
In versions X5 and X6, the functions have been improved by making available the Objects menu.
In the latest version X7 command Image>Mirror and Image>Flip returned, but with new differences.
See my schedule here
 French translation here French translation here
 Your versions ici Your versions ici

For this tutorial, you will need:

Thanks for the tubes AigenbyCaz, Wieske, Belscrap and for the mask Narah.
(you find here the links to the material authors' sites)

consult, if necessary, my filter section here
Filters Unlimited 2.0 here
Tramages - Two the line here
Phpshares-hdj2 - Michele - in the material
Mura's Meister - Perspective Tiling here
Filters Tramages can be used alone or imported into Filters Unlimited.
(How do, you see here)
If a plugin supplied appears with this icon  it must necessarily be imported into Unlimited it must necessarily be imported into Unlimited

You can change Blend Modes according to your colors.
In the newest versions of PSP, you don't find the foreground/background gradient (Corel_06_029).
You can use the gradients of the older versions.
The Gradient of CorelX here

Open the mask in PSP and minimize it with the rest of the material.
1. Set your foreground color to #6394c2,
and your background color to #245196.

Set your foreground color to a Foreground/Background Gradient, style Linear.
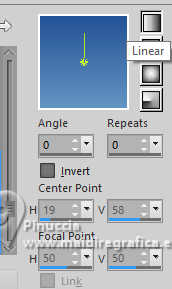
2. Open a new transparent image 900 x 600 pixels.
Flood Fill  the transparent image with your Gradient. the transparent image with your Gradient.
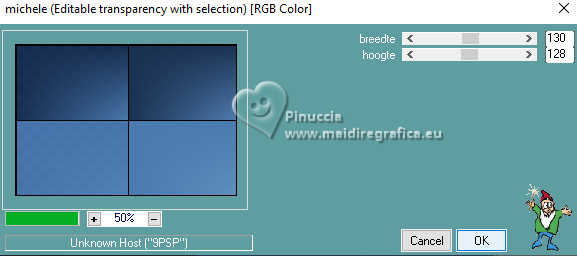
3. Effects>Plugins>Phpshares-hdj2 - Michele.
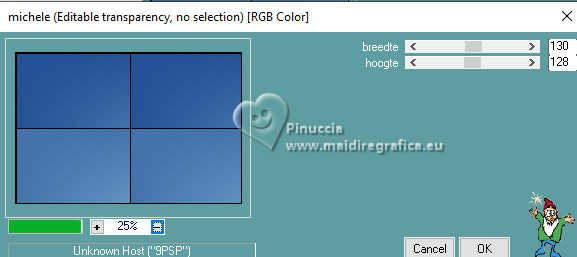
4. Selection Tool 
(no matter the type of selection, because with the custom selection your always get a rectangle)
clic on the Custom Selection 
and set the following settings.
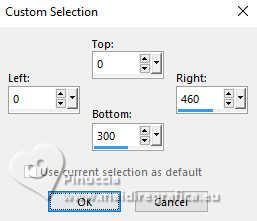
Selections>Promote Selection to Layer.
5. Effects>Plugins>Phpshares-hdj2 - Michele, same settings.
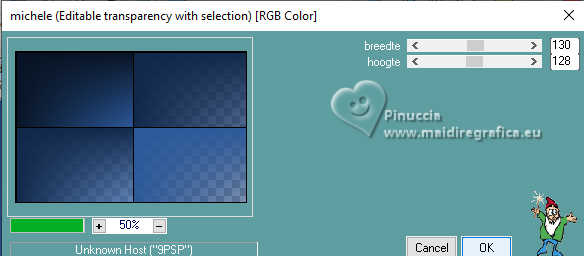
Selections>Select None.
6. Activate your bottom layer.
Custom Selection 
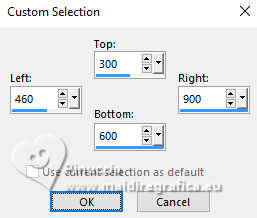
Selections>Promote Selection to Layer.
7. Effects>Plugins>Phpshaers-hdj2 - Michele, same settings.
8. Activate your top layer.
Layers>Merge>Merge Down.
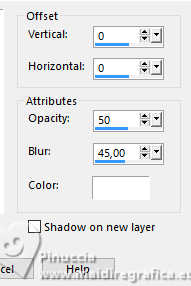
9. Effects>3D Effects>Drop Shadow, color black #000000.

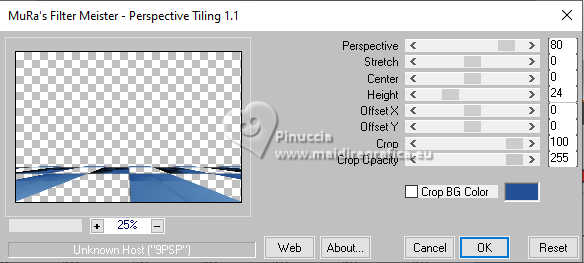
10. Effects>Plugins>Mura's Meister - Perspective Tiling.
11. Activate your Magic Wand Tool  , tolerance and feather 20, , tolerance and feather 20,

and click in the transparent part to select it.
Press 3-4 times CANC on the keyboard 
Selections>Select None.
Set again Tolerance and Feather to 0.
12. Activate your bottom layer, Raster 1.
Set your foreground color to #ffffff.
Layers>New Raster Layer.
Flood Fill  the layer with your color #ffffff. the layer with your color #ffffff.
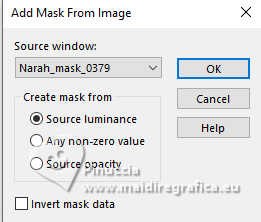
13. Layers>New Mask layer>From image
Open the menu under the source window and you'll see all the files open.
Select the mask Narah_Mask_0379.
Layers>Merge>Merge Group.
Adjust>Sharpness>Sharpen More.
14. Change the Blend Mode of this layer to Luminance (legacy).
15. Stay on the mask's layer.
Custom Selection 
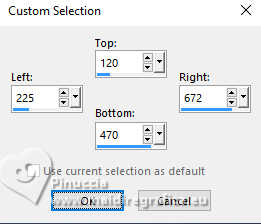
Press CANC on the keyboard 
Keep selected.
16. Layers>New Raster Layer.
Open Belscrap_Stairway_PapIIFree 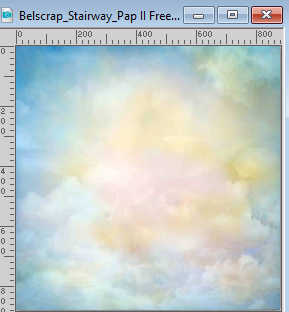
Edit>Copy.
Go back to your work and go to Edit>Paste into Selection.
Selections>Select None.
17. Open the tube 0_fc25b_879a3fa5_XXXL23 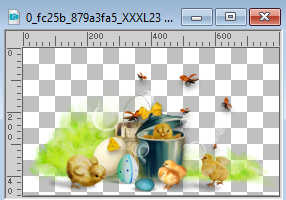
Edit>Copy.
Go back to your work and go to Edit>Paste as new layer.
Image>Resize, to 70%, resize all layers not checked.
Place  correctly the tube. correctly the tube.
18. Custom Selection  , same settings , same settings

Selections>Invert.
Press CANC on the keyboard.
Selections>Select None.
19. Activate your top layer.
Open the tube aigenbycaz_eastergirl24 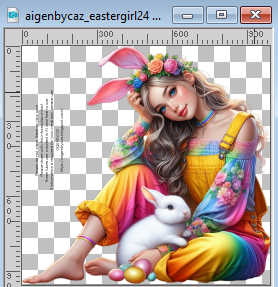
Erase the watermark and go to Edit>Copy.
Go back to your work and go to Edit>Paste as new layer.
Image>Resize, to 50%, resize all layers not checked.
Move  the tube at the bottom right. the tube at the bottom right.
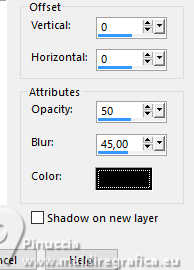
20. Effects>3D Effects>Drop Shadow, color #000000.
21. Open the tube wieskes tube 1951 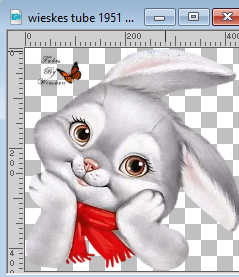
Erase the watermark and go to Edit>Copy.
Go back to your work and go to Edit>Paste as new layer.
Image>Resize, 1 time to 70% and 1 time to 90%, resize all layers not checked.
Move  the tube at the bottom left. the tube at the bottom left.
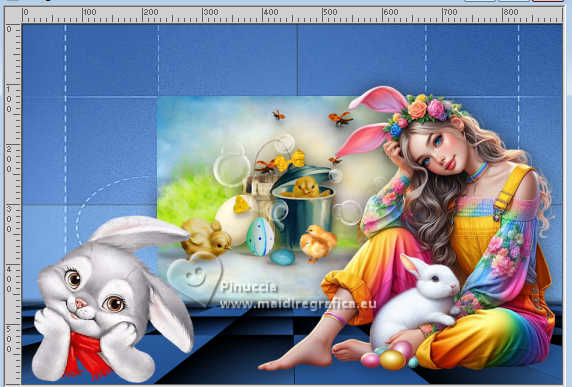
Effects>3D Effects>Drop Shadow, same settings.
22. Open Work Happy Easter 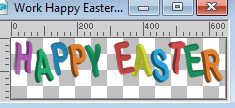
Edit>Copy.
Go back to your work and go to Edit>Paste as new layer.
Image>Resize, to 70%, resize all layers not checked.
Move  the wordart up. the wordart up.
23. Effects>3D Effects>Drop Shadow, color #ffffff.
24. Sign your work.
If you add the author's watermark, don't forget the translator's watermark.
25. Layers>Merge>Merge All.
26. Image>Add borders, 2 pixels, symmetric, background color #245196.
Image>Add borders, 5 pixels, symmetric, color #ffffff.
Image>Add borders, 2 pixels, symmetric, background color #245196.
27. Edit>Copy
28. Image>Add borders, 50 pixels, symmetric, color #ffffff.
29. Activate your Magic Wand Tool 
and click in the last border to select it.
30. Edit>Paste into Selection
31. Adjust>Blur>Gaussian Blur - radius 20.

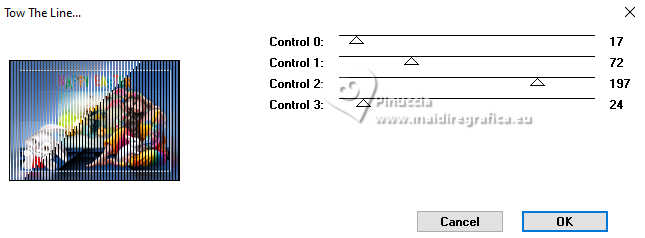
32. Effects>Plugins>Tramages - Tow the line
33. Selections>Invert.
Effects>3D Effects>Drop Shadow, color #ffffff.

Selections>Select None.
34. Open the tube LF-EasterEggs-24032014 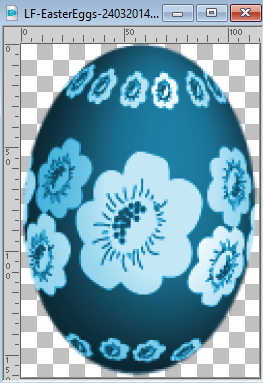
Edit>Copy.
Go back to your work and go to Edit>Paste as new layer.
Image>Resize, to 50%, resize all layers not checked.
Revenir sur votre travail et Édition>Coller comme nouveau calque.
Image>Resize, to 50%, resize all layers not checked.
Move  the tube at the upper left. the tube at the upper left.
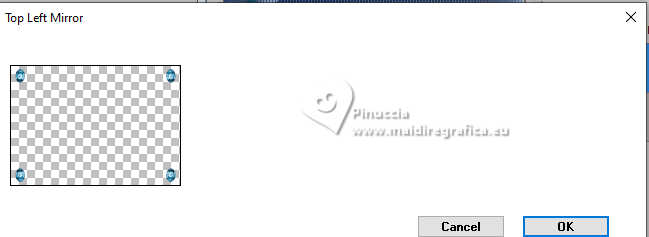
35. Effects>Plugins>Simple - Top Left Mirror.
36. Effects>3D Effects>Drop Shadow, color #000000.

37. Layers>Merge>Merge All.
38. Image>Add borders, 2 pixels, symmetric, background color #245196.
Save as jpg.
For the tube of this version thanks AigenbyCaz


If you have problems or doubts, or you find a not worked link, or only for tell me that you enjoyed this tutorial, write to me.
12 February 2024

|


