|
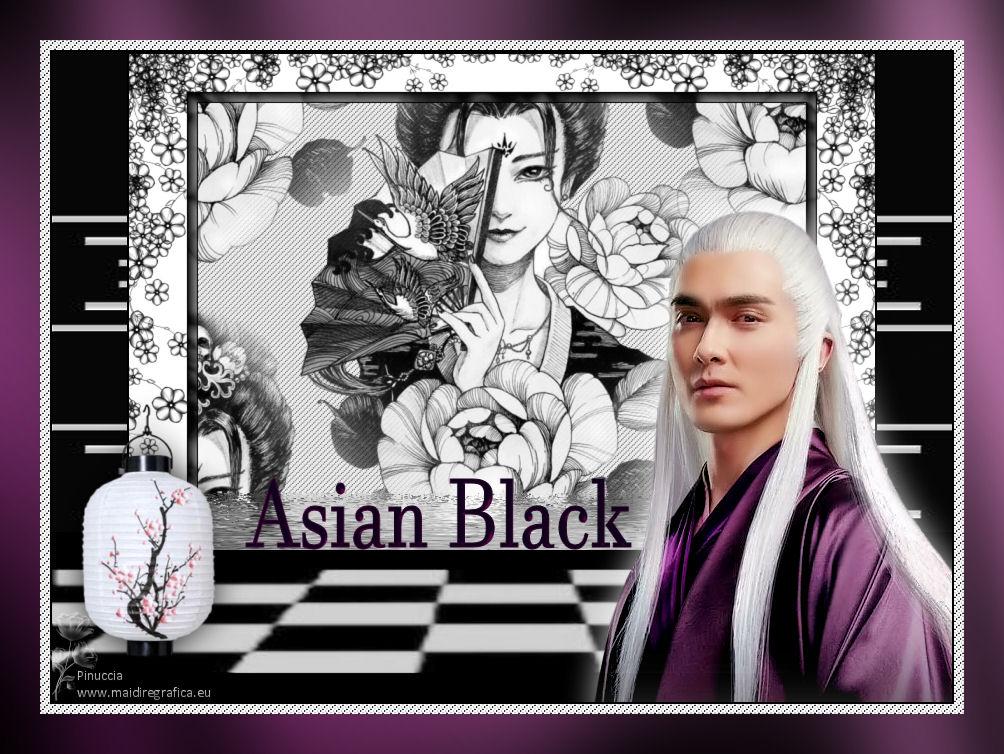
TOP ASIAN BLACK


This tutorial was translated with PSPX7 but it can also be made using other versions of PSP.
Since version PSP X4, Image>Mirror was replaced with Image>Flip Horizontal,
and Image>Flip with Image>Flip Vertical, there are some variables.
In versions X5 and X6, the functions have been improved by making available the Objects menu.
In the latest version X7 command Image>Mirror and Image>Flip returned, but with new differences.
See my schedule here
 French translation here French translation here
 Your versions ici Your versions ici
For this tutorial, you will need:
Material
here
Tube nena-men-5022 by Nena Silva
Tube sassyillusions_vectotoon2493
decoAsie23-coly by Colibrix
Japanese_Foliage 9
maskcameron218
Mask 14_K35
Texto Asian Black.ac
(you find here the links to the material authors' sites)
Plugins
consult, if necessary, my filter section here
Filters Unlimited 2.0 here
Graphics Plus - Cross Shadow here
Flaming Pear - Flood here
AAA Frames - Foto Frame here
Filters Graphics Plus can be used alone or imported into Filters Unlimited.
(How do, you see here)
If a plugin supplied appears with this icon  it must necessarily be imported into Unlimited it must necessarily be imported into Unlimited

You can change Blend Modes according to your colors.
In the newest versions of PSP, you don't find the foreground/background gradient (Corel_06_029).
You can use the gradients of the older versions.
The Gradient of CorelX here
Open the masks in PSP and minimize them with the rest of the material.
1. Open a new transparent image 900 x 600 pixels.
2. Set your foreground color to #ffffff,
and your background color to #000000.
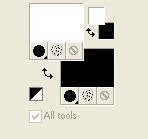
Flood Fill  the transparent image with your foreground color #ffffff. the transparent image with your foreground color #ffffff.
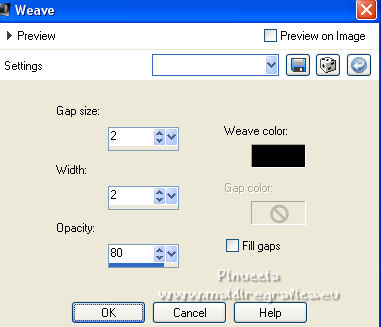
3. Effects>Texture Effects>Weave - weave color #000000.
4. Open the tube sassyillusion_vectortoon2493, erase the watermark and go to Edit>Copy.
Go back to your work and go to Edit>Paste as new layer.
5. Effects>Image Effects>Seamless Tiling, default settings.

6. Layers>New Raster Layer.
Flood Fill  the layer with color #000000. the layer with color #000000.
7. Selections>Select All.
Selections>Modify>Contract - 2 pixels.
Press CANC on the keyboard 
Selections>Select None.
8. Layers>Merge>Merge visible.
9. Image>Resize, to 70%, resize all layers checked.
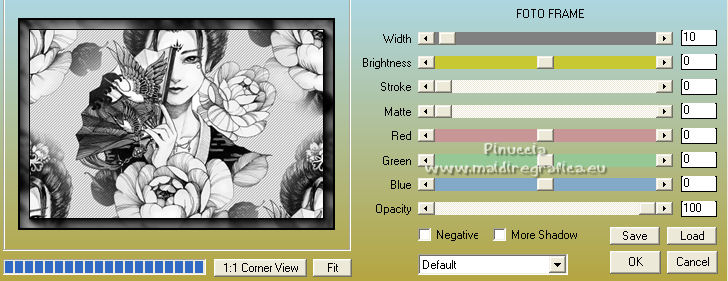
10. Effects>Plugins>AAA Frames - Foto Frame.
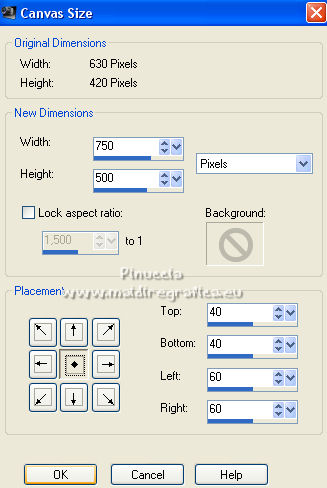
11. Image>Canvas Size - 750 x 500 pixels.
12. Layers>New Raster Layer.
Layers>Arrange>Send to Bottom.
Flood Fill  the layer with color #ffffff. the layer with color #ffffff.
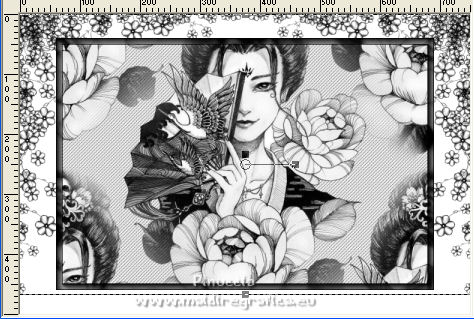
13. Open the tube Japanese_Foliage 9 and go to Edit>Copy.
Go back to your work and go to Edit>Paste as new layer.
Move  the tube up, against the border. the tube up, against the border.
14. Layers>Merge>Merge visible.
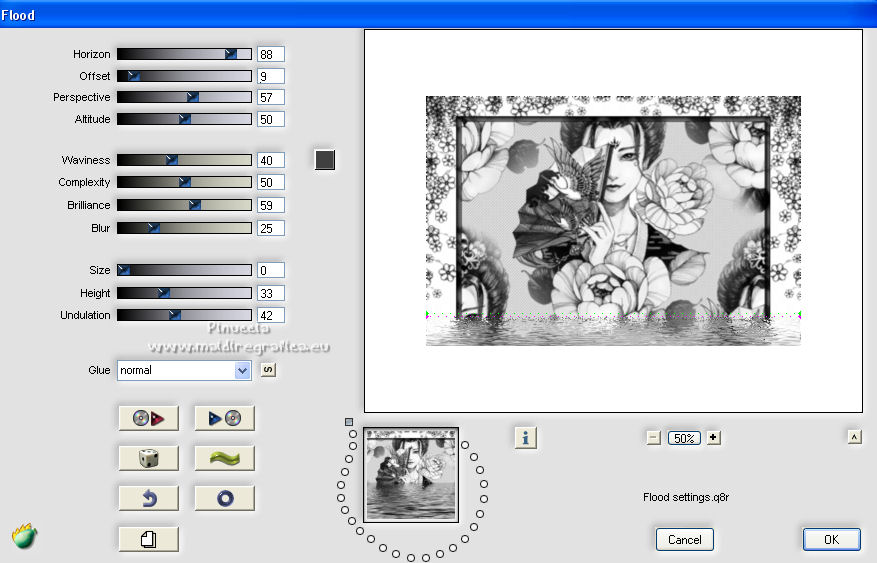
15. Effects>Plugins>Flaming Pear - Flood - color #404040.
16. Layers>New Raster Layer.
Flood Fill  the layer with color #000000. the layer with color #000000.
17. Selections>Select All.
Selections>Modify>Contract - 2 pixels.
Press CANC on the keyboard.
Selections>Select None.
18. Layers>Merge>Merge visible.
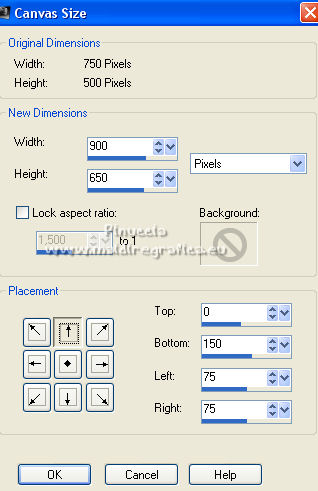
19. Image>Canvas Size - 900 x 650 pixels.
20. Layers>New Raster Layer.
Layers>Arrange>Send to Bottom.
Flood Fill  the layer with color #ffffff. the layer with color #ffffff.
21. Layers>New Mask layer>From image
Open the menu under the source window and you'll see all the files open.
Select the mask maskcameron218.
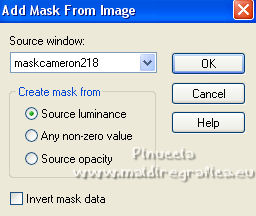
Layers>Merge>Merge Group.
22. Effects>3D Effects>Drop Shadow, color #000000.
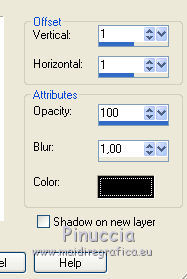
23. Selection Tool 
(no matter the type of selection, because with the custom selection your always get a rectangle)
clic on the Custom Selection 
and set the following settings.
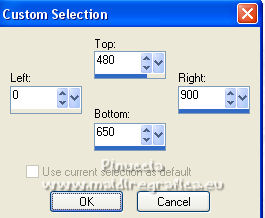
Press CANC on the keyboard.
Selections>Select None.
24. Layers>New Raster Layer.
Layers>Arrange>Send to Bottom.
Flood Fill  the layer with color #ffffff. the layer with color #ffffff.
25. Layers>New Mask layer>From image
Open the menu under the source window
and select the mask 14_K35.
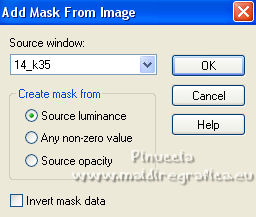
Layers>Merge>Merge Group.
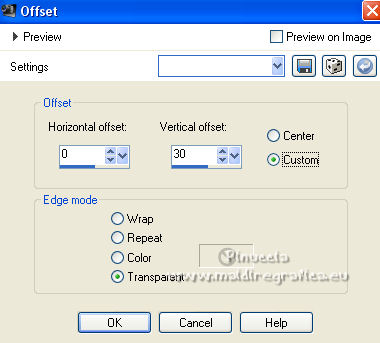
26. Effects>Image Effects>Offset.
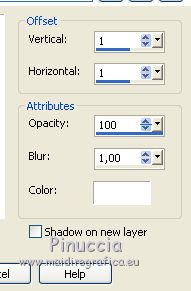
27. Effects>3D Effects>Drop Shadow, color #ffffff.
28. Layers>New Raster Layer.
Layers>Arrange>Send to Bottom.
Flood Fill  the layer with color #000000. the layer with color #000000.
29. Activate your top layer.
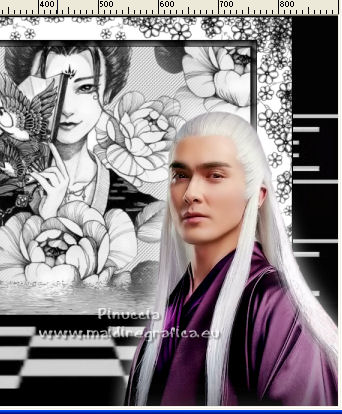
Open the tube nena-men-5022, erase the watermark and go to Edit>Copy.
Go back to your work and go to Edit>Paste as new layer.
Image>Mirror.
Move  the tube to the right side. the tube to the right side.
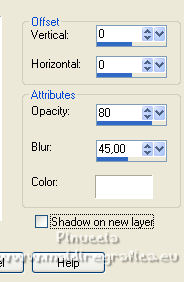
30. Effects>3D Effects>Drop Shadow, color #ffffff.
31. Open the tube decoAsie23-coly.
Avec votre FreeHand Selection Tool  select the white deco. select the white deco.
Edit>Copy.
Go back to your work and go to Edit>Paste as new layer.
Image>Resize, 2 times to 80%, resize all layers not checked.
Move  the tube to the left side. the tube to the left side.
32. Effects>3D Effects>Drop Shadow, color #000000.

33. Layers>Merge>Merge All.
34. Image>Ajouter des bordures, 2 pixels, symétrique, couleur #000000.
Image>Add borders, 10 pixels, symmetric, color #ffffff.
Select the last border with your Magic Wand Tool 
35. Effects>Texture Effects>Weave, same settings.

Selections>Select None.
36. Set your foreground color to #946287,
and your background color to #2d0727.
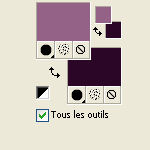
Set your foreground color to a Foreground/Background Gradient, style Linear.
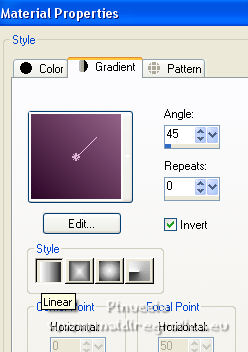
37. Image>Add borders, 40 pixels, symmetric, color #945783.
Activate your Magic Wand Tool 
and click in the border to select it.
Flood Fill  the selection with your gradient. the selection with your gradient.
38. Effects>Plugins>Graphics Plus - Cross Shadow.
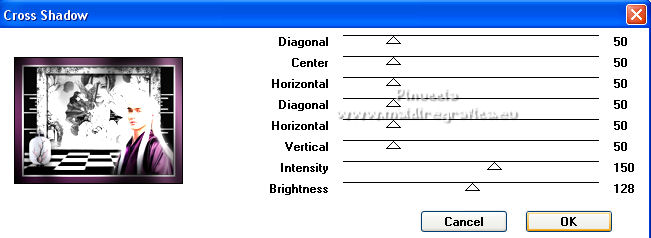
Selections>Select None.
39. Open the text Asian Black and go to Edit>Copy.
Go back to your work and go to Edit>Paste as new layer.
Move  the text down, or to your liking. the text down, or to your liking.
40. Sign your work on a new layer.
Layers>Merge>Merge All and save as jpg.
For the tube of these versions thanks Guismo
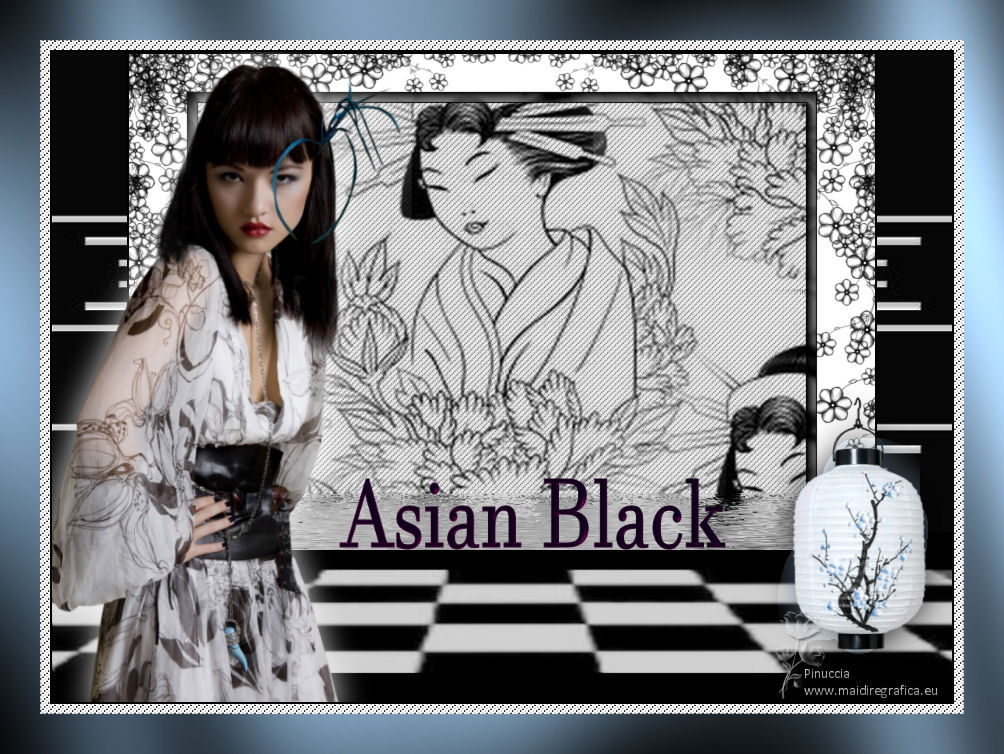
 Your versions here Your versions here

If you have problems or doubts, or you find a not worked link, or only for tell me that you enjoyed this tutorial, write to me.
27 August 2022

|

