|
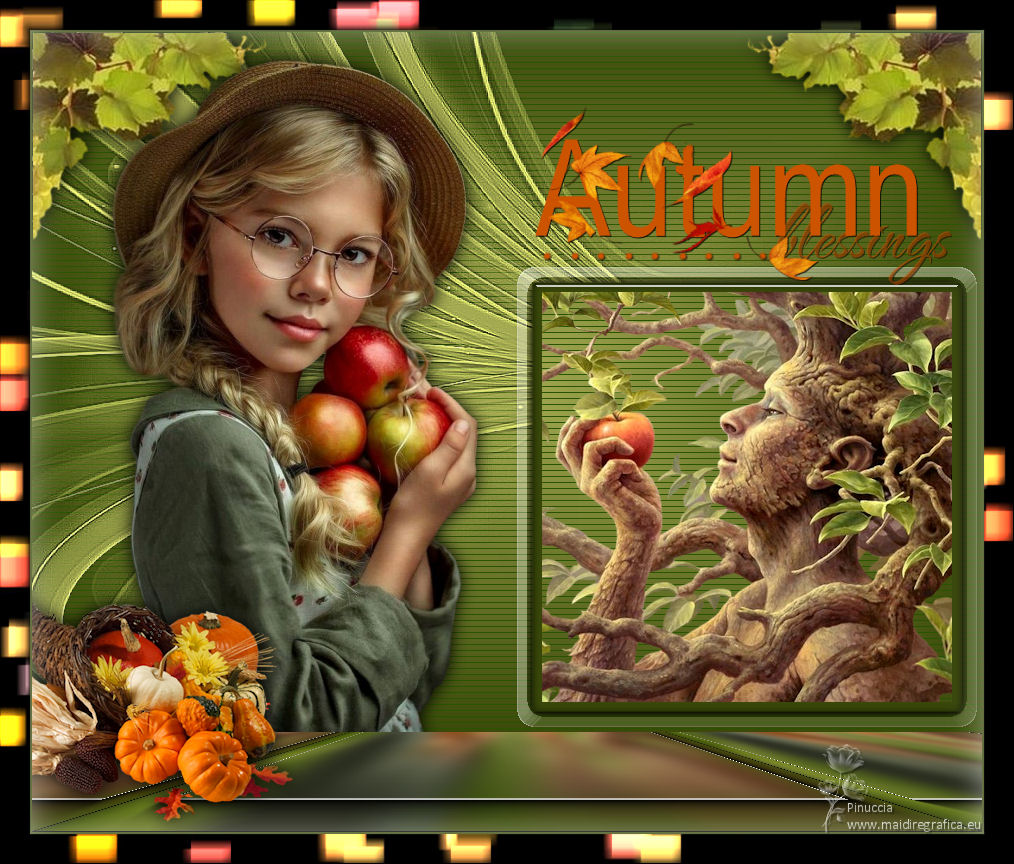
TOP AUTOMNE


This tutorial was translated with PSPX7 but it can also be made using other versions of PSP.
Since version PSP X4, Image>Mirror was replaced with Image>Flip Horizontal,
and Image>Flip with Image>Flip Vertical, there are some variables.
In versions X5 and X6, the functions have been improved by making available the Objects menu.
In the latest version X7 command Image>Mirror and Image>Flip returned, but with new differences.
See my schedule here
 French translation here French translation here
 Your versions ici Your versions ici

For this tutorial, you will need:
Material
here
Tube LD-Little girl-158 by Lana
Mina@.4311.FACE TREE.iLLISTRATION.11.16
517hojas top otoño.nines
Tube DBK AUTUMN-12
517.WordART_Autumn
Silvie_Mask_Abstrat_Lines_Light3G6
(you find here the links to the material authors' sites)
Plugins
consult, if necessary, my filter section here
Filters Unlimited 2.0 here
Mura's Meister - Perspective Tiling here
Willy - Tablet Lines here
Alien Skin Eye Candy 5 Impact - Glass here
AAA Frames - Foto Frame here
Filters Willy can be used alone or imported into Filters Unlimited.
(How do, you see here)
If a plugin supplied appears with this icon  it must necessarily be imported into Unlimited it must necessarily be imported into Unlimited

You can change Blend Modes according to your colors.
In the newest versions of PSP, you don't find the foreground/background gradient (Corel_06_029).
You can use the gradients of the older versions.
The Gradient of CorelX here
Open the mask in PSP and minimize it with the rest of the material.
1. Open a new transparent image 950 x 700 pixels.
2. Set your foreground color to #a5ab52
and your background color to #3a490a.
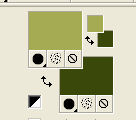
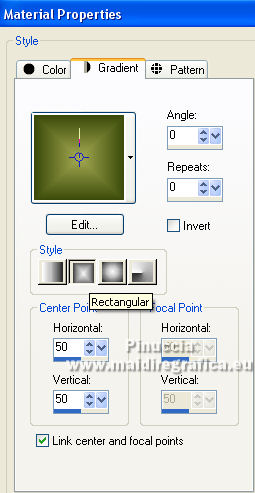
Set your foreground color to a Foreground/Background Gradient, style Rectangular.
Flood Fill  the transparent image with your Gradient. the transparent image with your Gradient.
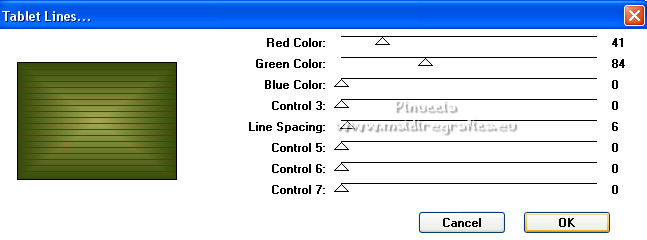
3. Effects>Plugins>Willy - Tablet Lines.
4. Set your foreground color to Color.
Layers>New Raster Layer.
Flood Fill  the layer with your foreground color #a5ab52. the layer with your foreground color #a5ab52.
5. Layers>New Mask layer>From image
Open the menu under the source window and you'll see all the files open.
Select the mask Silvie_Mask_Abstract_Lines_Light3G6.
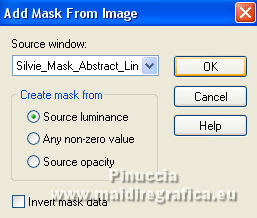
Layers>Merge>Merge Group.
Image>Flip.
Effects>Edge Effects>Enhance More.
6. Activate your background layer, Raster 1.
Selection Tool 
(no matter the type of selection, because with the custom selection your always get a rectangle)
clic on the Custom Selection 
and set the following settings.
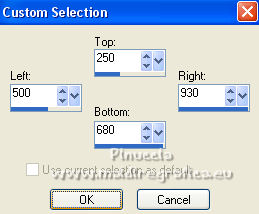
Selections>Promote Selection to Layer.
Layers>Arrange>Bring to Top.
7. Effects>3D Effects>Drop Shadow, color #000000.
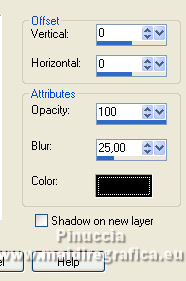
8. Layers>New Raster Layer.
Flood Fill  the layer with your background color #3a490a. the layer with your background color #3a490a.
9. Selections>Modify>Contract - 10 pixels.
Press CANC on the keyboard 
Keep selected.
10. Open the tube Min@.4311.FACE TREE.iLLISTRATION.11.16 and go to Edit>Copy.
Go back to your work and go to Edit>Paste as new layer.
Image>Resize, to 80%, resize all layers not checked.
Place  correctly the tube in the selection. correctly the tube in the selection.
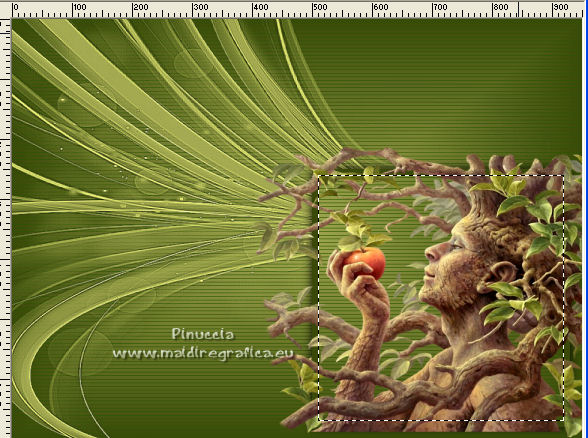
11. Selections>Invert.
Press CANC on the keyboard.
Selections>Select None.
12. Layers>Arrange>Move Down (under the frame's layer).
Activate the layer above of the frame.
Layers>Merge>Merge Down - 2 times.
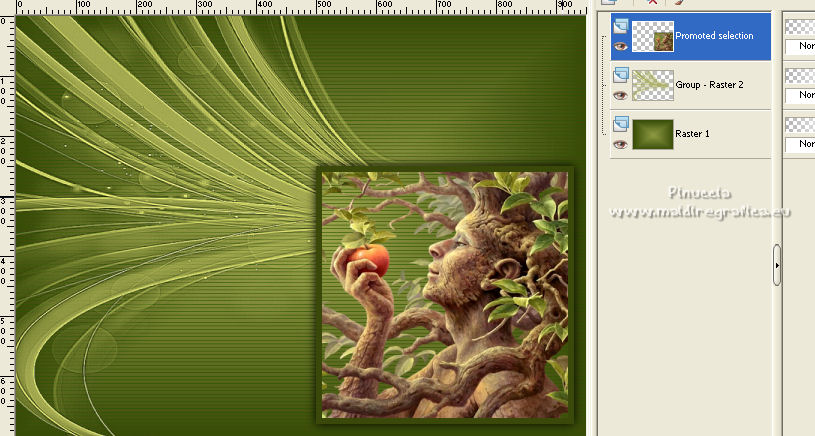
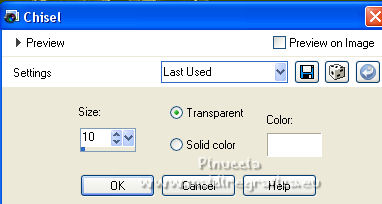
13. Effects>3D Effects>Chisel - color #ffffff.
14. Custom Selection  , same settings. , same settings.

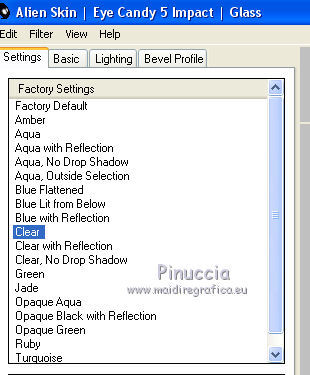
15. Effects>Plugins>Alien Skin Eye Candy 5 Impact - Glass.
Select the preset Clear and ok.
Selections>Select None.
16. Open 517hojas top otoño.nines and go to Edit>Copy.
Go back to your work and go to Edit>Paste as new layer.
Move  the tube at the upper right. the tube at the upper right.
17. Effects>3D Effects>Drop Shadow, same settings.

18. Layers>Duplicate.
Image>Mirror.
19. Open the tube LD-Little girl-158 and go to Edit>Copy.
Go back to your work and go to Edit>Paste as new layer.
Move  the tube to the left side. the tube to the left side.
20. Effects>3D Effects>Drop Shadow, same settings.

21. Layers>Merge>Merge visible.
22. Layers>Duplicate.
Adjust>Blur>Gaussian Blur - radius 30.

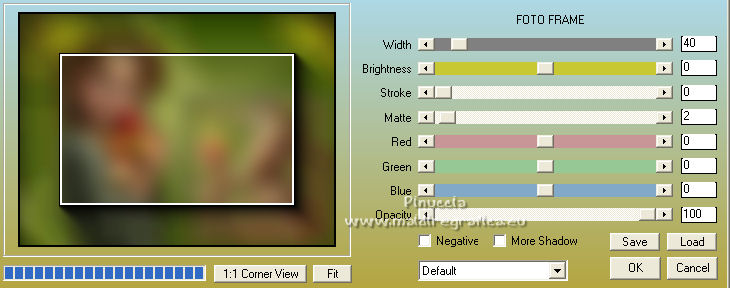
23. Effects>Plugins>AAA Frames - Foto Frame.
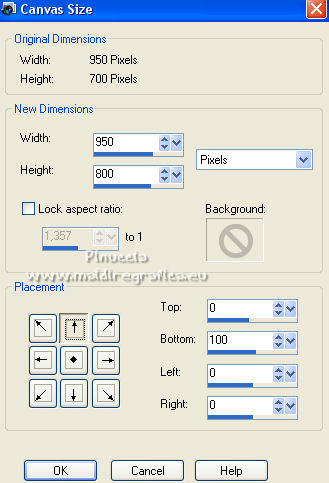
24. Image>Canvas Size - 950 x 800 pixels.
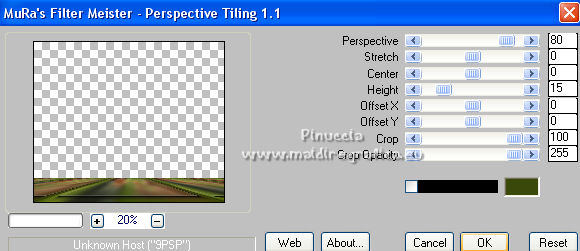
25. Effects>Plugins>Mura's Meister - Perspective Tiling.
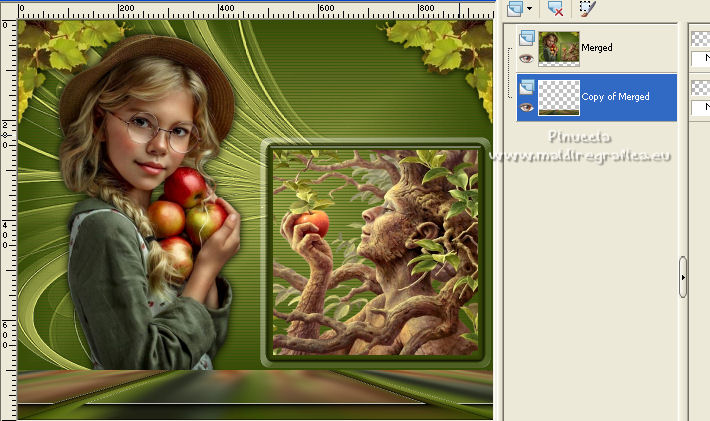
26. Layers>Arrange>Move Down.
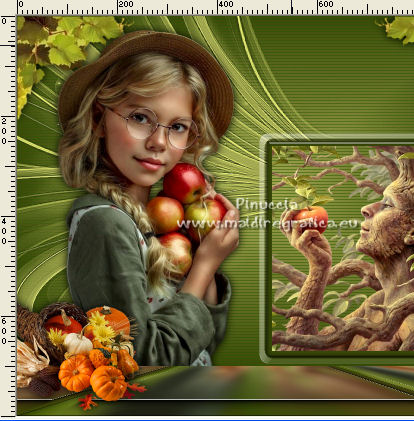
27. Activate your top layer.
Open the tube DBK AUTUMN-12 and go to Edit>Copy.
Go back to your work and go to Edit>Paste as new layer.
Image>Resize, 1 time to 50% and 1 time to 80%, resize all layers not checked.
Image>Mirror.
Effects>3D Effects>Drop Shadow, same settings.
Move  the tube to the bottom left. the tube to the bottom left.
28. Open the tube 517.WordART_Autumn and go to Edit>Copy.
Go back to your work and go to Edit>Paste as new layer.
Move  the tube to the right side, over the frame. the tube to the right side, over the frame.
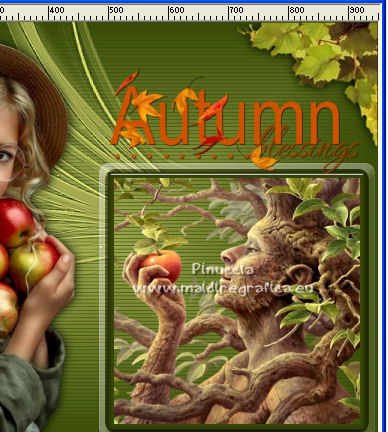
29. Layers>Merge>Merge All.
30. Image>Add borders, 2 pixels, symmetric, background color #3a490a.
Image>Add borders, 30 pixels, symmetric, whatever color.
31. Activate your Magic Wand Tool 
and click in the last border to select it.
32. Open the frame cadre and to to Edit>Copy.
Go back to your work and go to Edit>Paste into Selection.
33. Effects>3D Effects>Inner Bevel.

34. Selections>Invert.
Layers>New Raster Layer.
Effects>3D Effects>Cutout.
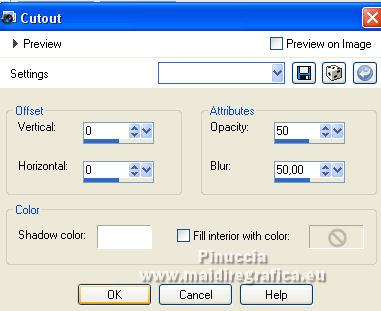
Selections>Select None.
35. Sign your work on a new layer.
Layers>Merge>Merge All and save as jpg.
For the tubes of this version thanks Jeanne and Mentali; the misted is mine
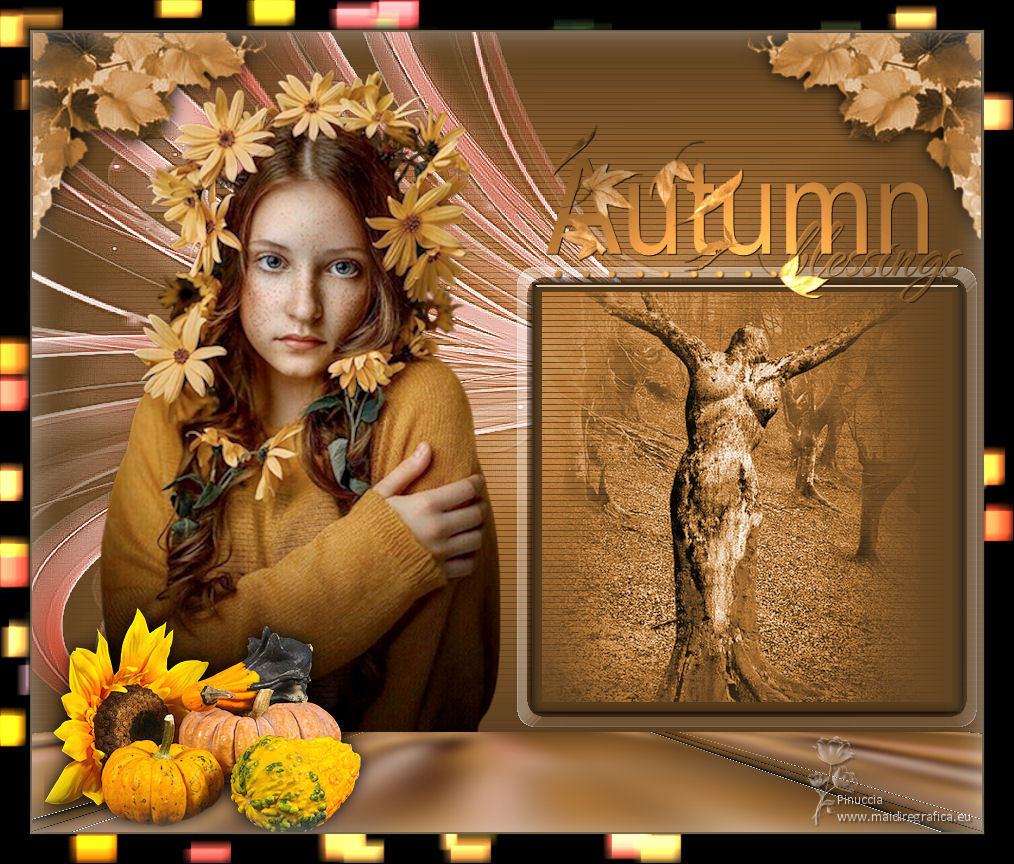
 Your versions here Your versions here

If you have problems or doubts, or you find a not worked link, or only for tell me that you enjoyed this tutorial, write to me.
25 Septembre 2022

|

