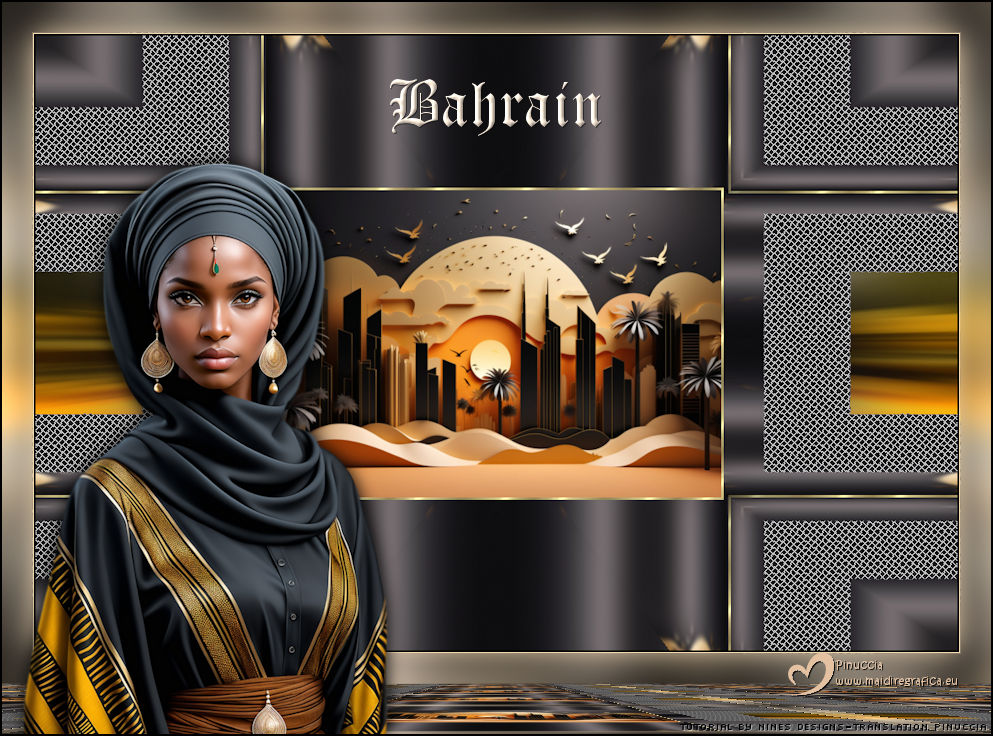
|
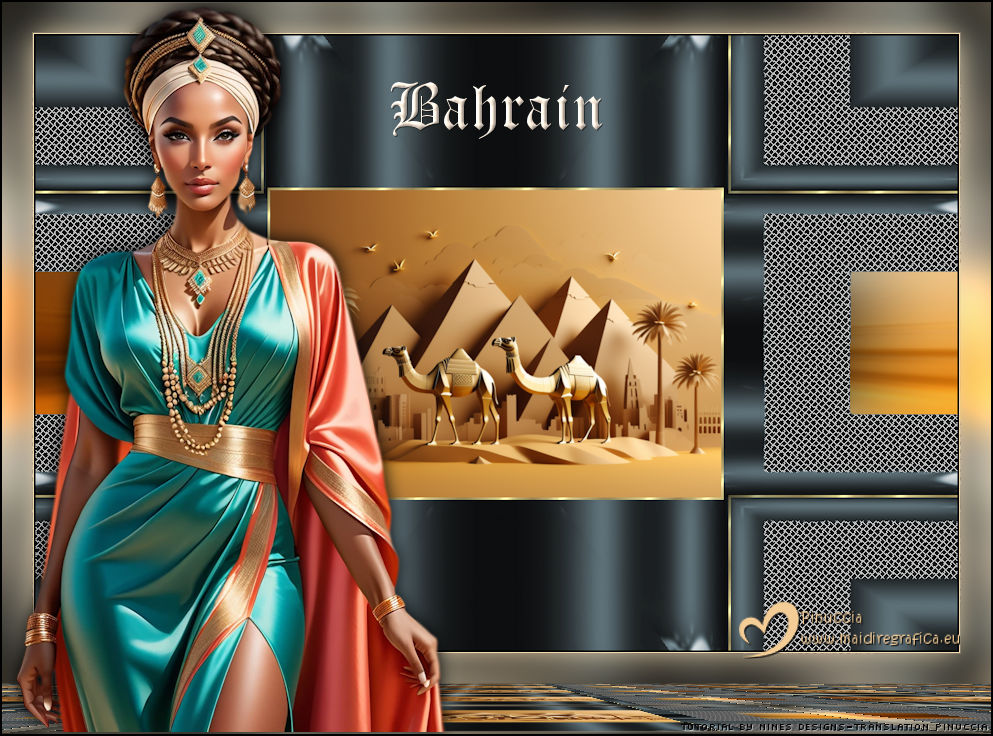
TOP BARHAIN


This tutorial was translated with PSPX9 and PSP2020, but it can also be made using other versions of PSP.
Since version PSP X4, Image>Mirror was replaced with Image>Flip Horizontal,
and Image>Flip with Image>Flip Vertical, there are some variables.
In versions X5 and X6, the functions have been improved by making available the Objects menu.
In the latest version X7 command Image>Mirror and Image>Flip returned, but with new differences.
See my schedule here
 French translation here French translation here
 Your versions here Your versions here
For this tutorial, you will need:

Thanks for the tube Kamil.
(you find here the links to the material authors' sites)

consult, if necessary, my filter section here
Filters Unlimited 2.0 here
AP Lines - Lines SilverLining here
Simple - Top Bottom Wrap here
Nik Software - Color Efex Pro here
Tramages - Pool Shadow here
Mura's Meister - Perspective Tiling here
Filters Simple can be used alone or imported into Filters Unlimited.
(How do, you see here)
If a plugin supplied appears with this icon  it must necessarily be imported into Unlimited it must necessarily be imported into Unlimited

You can change Blend Modes according to your colors.

Open the golden pattern goldfill in PSP and minimize it with the rest of the material.
1. Open the image imagen fondo bahrain 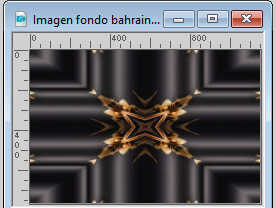
This image will be the basis of your work.
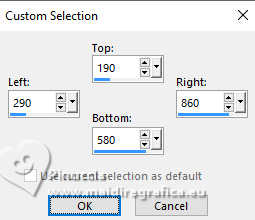
2. Activate your Selection Tool 
(no matter the type of selection, because with the custom selection your always get a rectangle)
clic on the Custom Selection 
and set the following settings.
3. Set your foreground color to Pattern and select the golden pattern goodfill
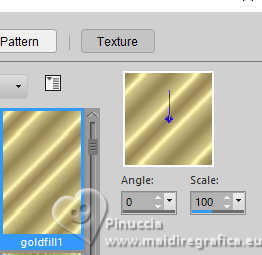
4. Layers>New Raster Layer.
Flood Fill  the layer with the golden pattern goldfill the layer with the golden pattern goldfill
5. Selections>Modify>Contract - 3 pixels.
Press CANC on the keyboard 
Selections>Select None.
6. Layers>Duplicate.
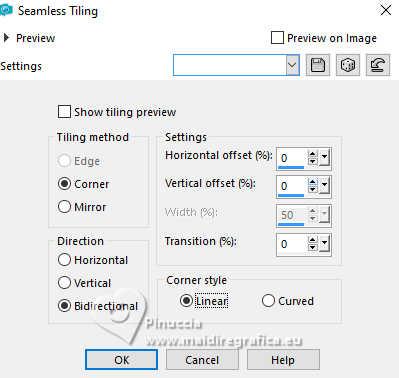
Effects>Image Effects>Seamless Tiling.
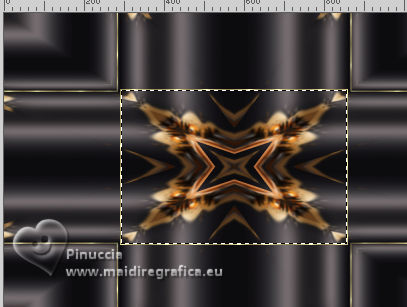
7. Activate the layer Raster 2 (the original layer of the square)
Activate your Magic Wand Tool 
and click in the central part to select it.
8. Layers>New Raster Layer.
Open the image KamilTube-2641-BG 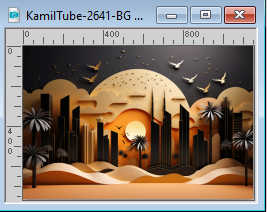
Edit>Copy.
Go back to your work and go to Edit>Paste into Selection.
Selections>Select None.
9. Activate your background layer, Raster 1.
Activate again your Magic Wand Tool  , tolerance 20 , tolerance 20
and click in the indicated parts to select them.
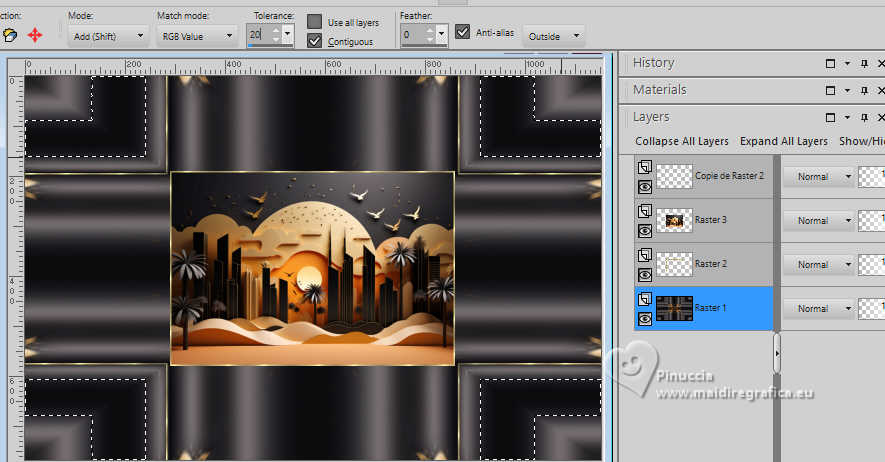
Selections>Promote Selection to Layer.
10. Effects>Plugins>AP Lines - Lines SilverLining.
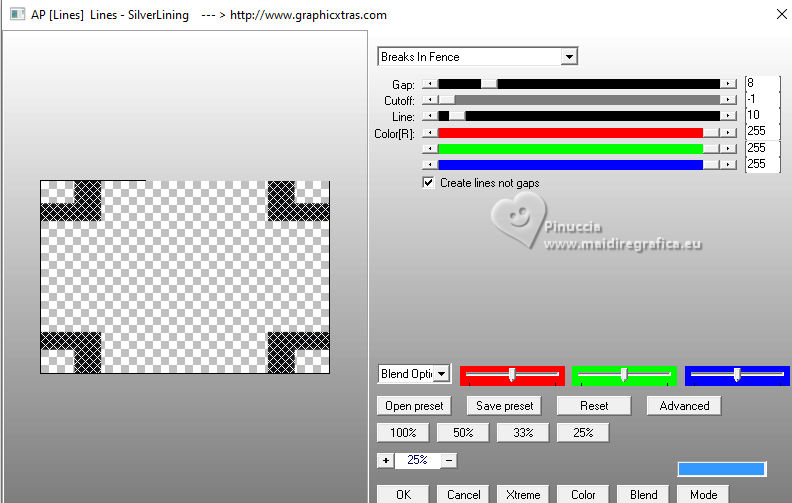
Selections>Select None.
11. Layers>Duplicate.
Effects>Plugins>Filters Unlimited 2.0 - Simple - Top Bottom Wrap
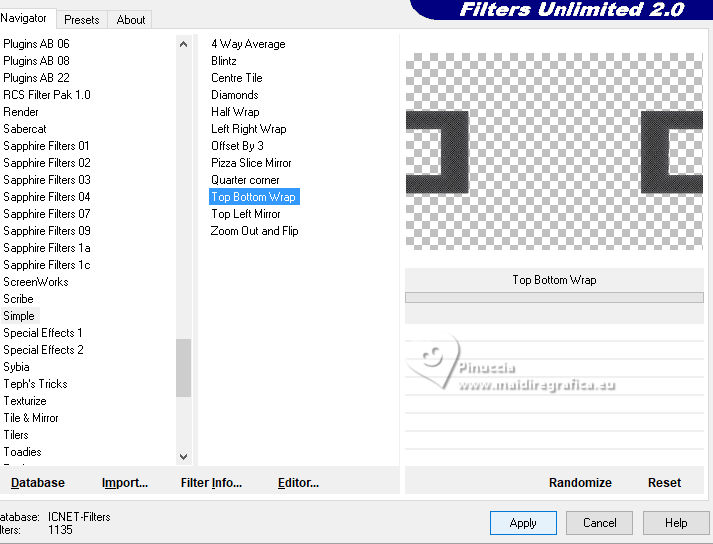
12. Click in the transparent part to select it with your Magic Wand Tool 
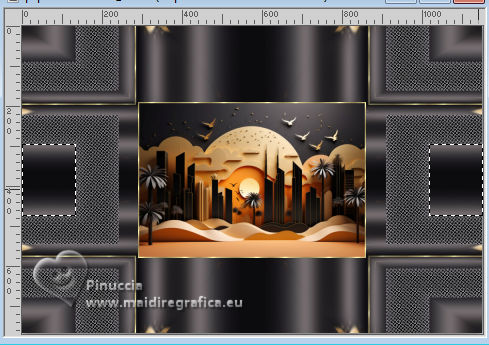
13. Layers>New Raster Layer.
Edit>Paste into Selection - the image KamilTube-2641-BG is still in memory.
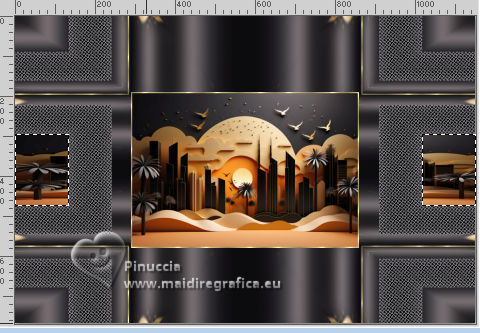
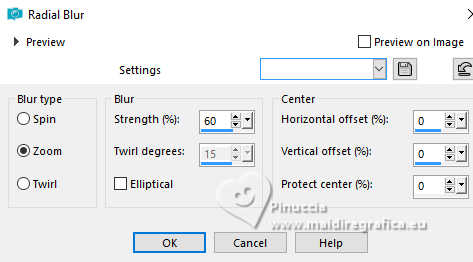
14. Adjust>Blur>Radial Blur.
15. Effects>Plugins>Nik Software - Color Efex Pro
Bi-Color Filters - to the right Green/Brown 4
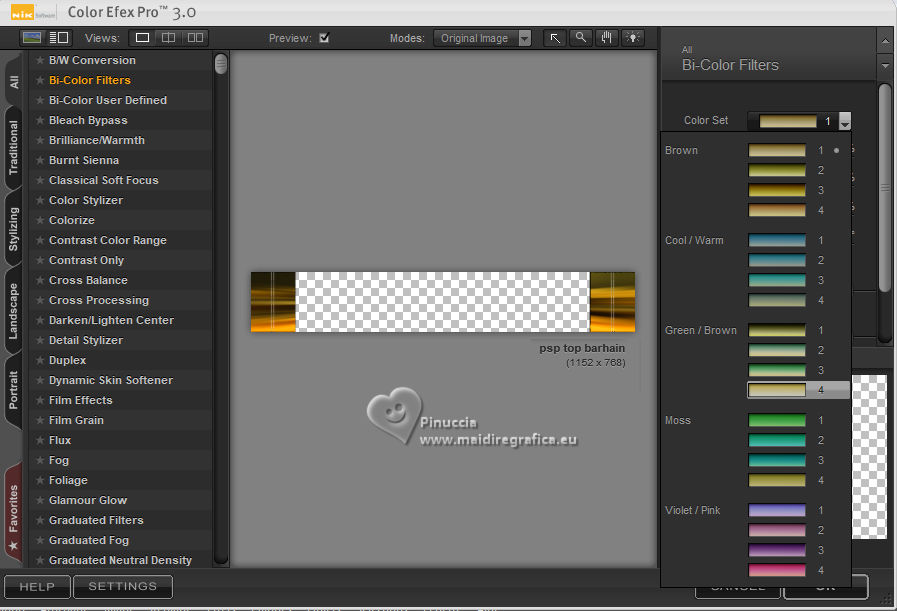
you can adapt according to your colors
Selections>Select None.
16. Layers>Merge>Merge All.
17. Image>Add Borders, 2 pixels, symmetric, color #000000.
18. Image>Resize, to 80%, resize all layers checked.
19. Image>Add borders, 2 pixels, symmetric, color #f2d9b0.
20. Edit>Copy
21. Image>Add Borders, 30 pixels, symmetric, color #ffffff.
22. Activate your Magic Wand Tool 
and click in the white border to select it.
23. Edit>Paste into Selection - your work in memory
24. Adjust>Blur>Gaussian Blur - radius 20.

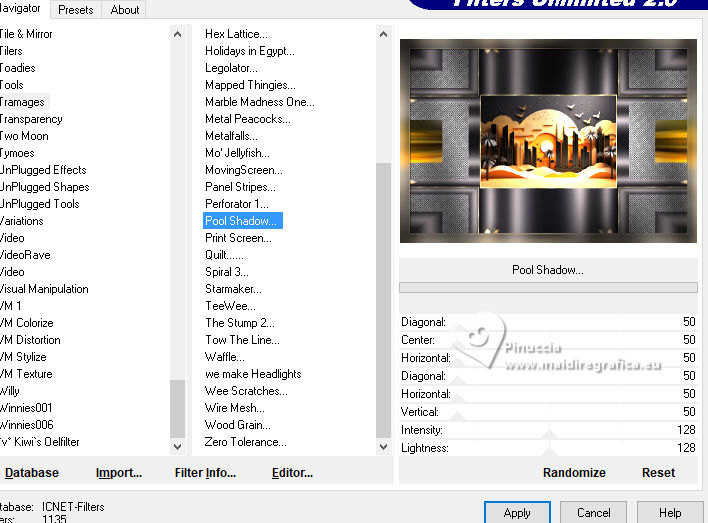
25. Effecs>Plugins>Filters Unlimited 2.0 - Tramages - Pool Shadow, default settings.
26. Selections>Invert.
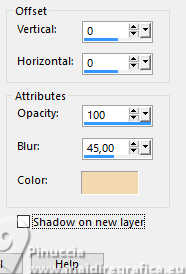
Effects>3D Effects>Drop Shadow, color #f2d9b0.
27. Image>Add Borders, symmetric not checked, color #000000.
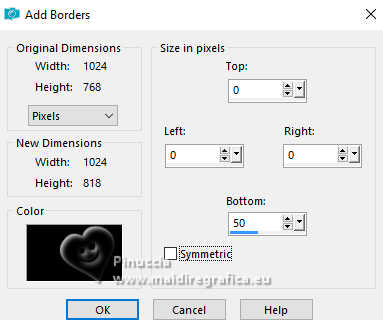
28. Select this border with your Magic Wand Tool  , tolerance and feather 0, , tolerance and feather 0,
Selections>Invert.
29. Edit>Copy.
Selections>Invert.
Edit>Paste into Selection
30. Effects>Plugins>Mura's Meister - Perspective Tiling.
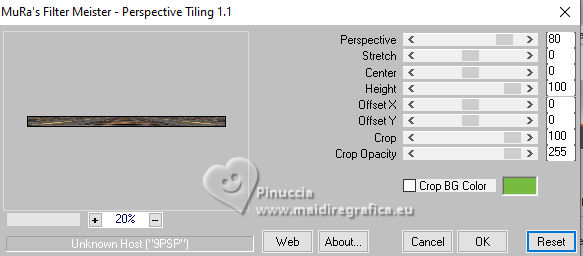
Selections>Select None.
31. Open the tube KamilTube-2748 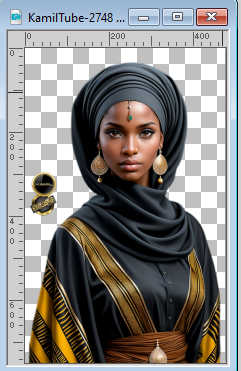
Erase the watermark and go to Edit>Copy.
Go back to your work and go to Edit>Paste as new layer.
Image>Resize, to 80%, resize all layers not checked.
Move  the tube to the left side. the tube to the left side.
32. Effects>3D Effects>Drop Shadow, color #000000.

33. Open Texto Barhain_ac 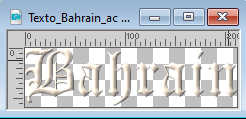
Edit>Copy.
Go back to your work and go to Edit>Paste as new layer.
Move  the text up. the text up.
34. Sign your work on a new layer.
Add the author and the translator's watermarks.
35. Layers>Merge>Merge All.
36. Image>Add borders, 2 pixels, symmetric, color #000000.
Save as jpg.
For the tubes of this version thanks Kamil.
 Your versions here Your versions here

If you have problems or doubts, or you find a not worked link, or only for tell me that you enjoyed this tutorial, write to me.
29 May 2025

|

