|
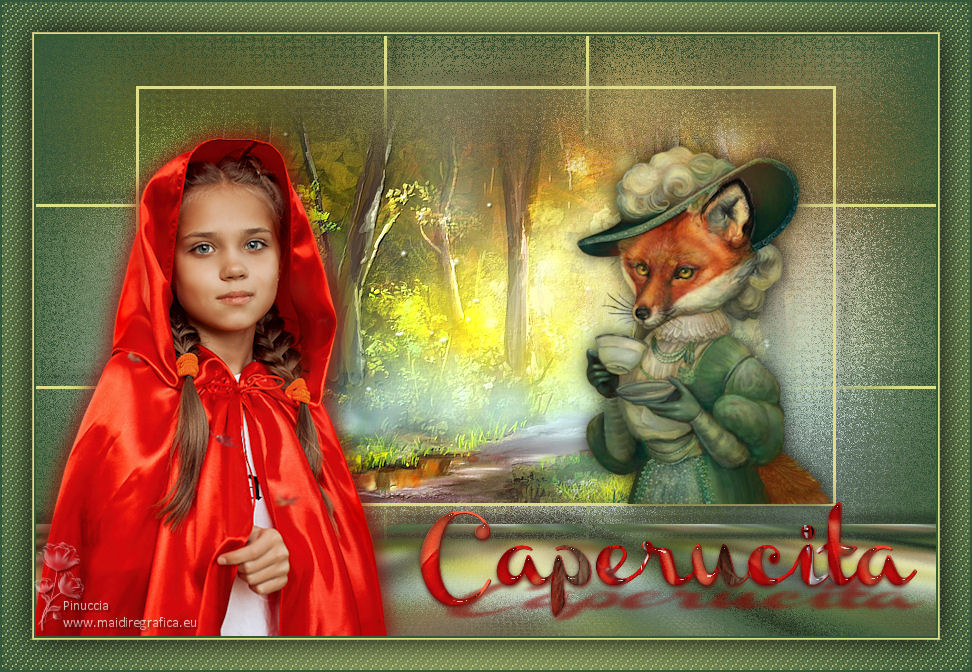
TOP CAPERUCITA


This tutorial was translated with PSPX7 but it can also be made using other versions of PSP.
Since version PSP X4, Image>Mirror was replaced with Image>Flip Horizontal,
and Image>Flip with Image>Flip Vertical, there are some variables.
In versions X5 and X6, the functions have been improved by making available the Objects menu.
In the latest version X7 command Image>Mirror and Image>Flip returned, but with new differences.
See my schedule here
 Original tutorial here Original tutorial here
 French translation here French translation here
 Your versions ici Your versions ici
For this tutorial, you will need:
Material
here
Tube mentali-enfant89
Tube Vos12112015es by Ellys
Paysage misted jewel 058
(you find here the links to the material authors' sites)
Plugins
consult, if necessary, my filter section here
Eye Candy 3.1 - Perspective Shadow here
FM Tile Tools - Saturation Emboss here
Mura's Meister - Perspective Tiling here

You can change Blend Modes according to your colors.
In the newest versions of PSP, you don't find the foreground/background gradient (Corel_06_029).
You can use the gradients of the older versions.
The Gradient of CorelX here
1. Open a new transparent image 900 x 600 pixels.
2. Set your foreground color to #dfdf89,
and your background color to #36583a.
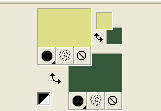
Set your foreground color to a Foreground/Background gradient, style Sunburst.
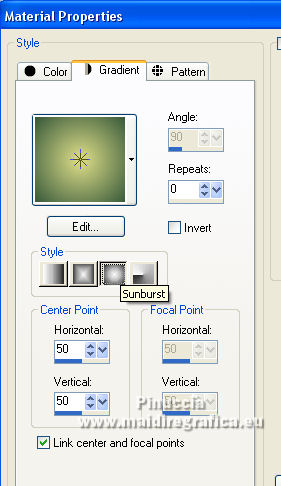
Flood Fill  the transparent image with your Gradient. the transparent image with your Gradient.
3. Open the tube Paysage misted jewel 058 and go to Edit>Copy.
Go back to your work and go to Edit>Paste as new layer.
4. Adjust>Blur>Gaussian Blur radius 20.

5. Layers>Merge>Merge down.
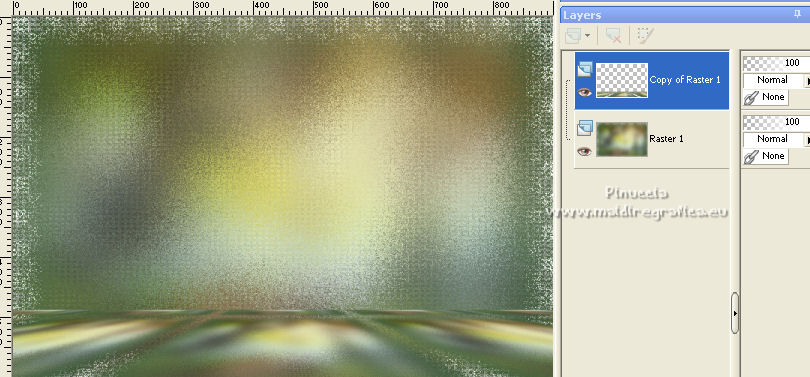
6. Effects>Texture Effects>Mosaic Antique.
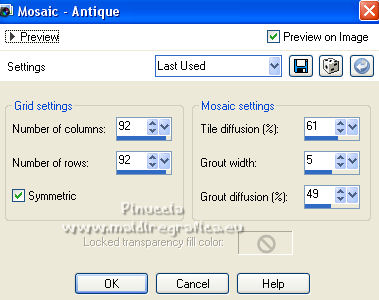
7. Layers>Duplicate.
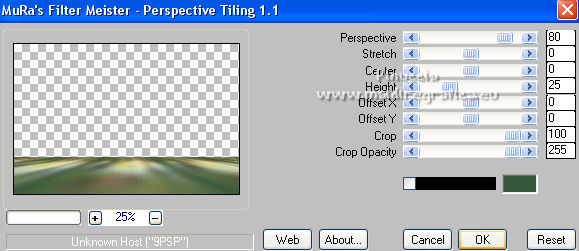
8. Effects>Plugins>Mura's Meister - Perspective Tiling.
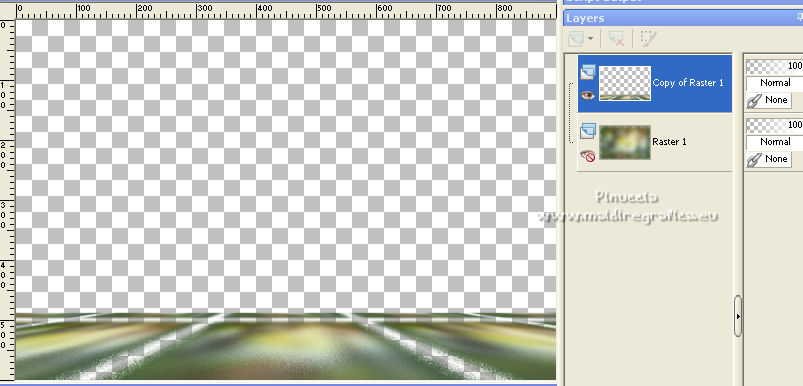
of you close the layer below, you'll see this
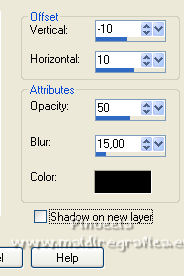
9. Effects>3D Effects>Drop Shadow, color #000000.
10. Activate your Magic Wand Tool  , feather 20, , feather 20,

Click in the transparent part to select it.
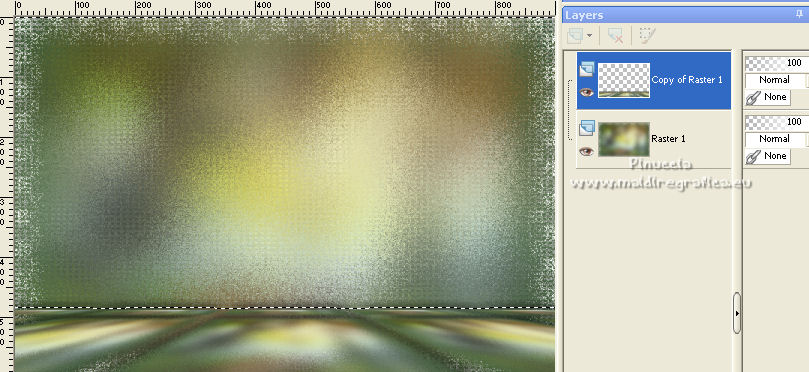
Press 3 times CANC on the keyboard 
Selections>Select None.
11. Layers>New Raster Layer.
Layers>Arrange>Send to Bottom.
Flood Fill  with your background color #36583a. with your background color #36583a.
12. Activate the layer above, Raster 1.
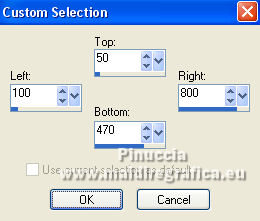
13. Selection Tool 
(no matter the type of selection, because with the custom selection your always get a rectangle)
clic on the Custom Selection 
and set the following settings.
14. Selections>Promote Selection to Layer.
15. Set your foreground color to Color.
Layers>New Raster Layer.
Flood Fill  the layer with your foreground color #dfdf89. the layer with your foreground color #dfdf89.
16. Selections>Modify>Contract - 3 pixels.
Press CANC on the keyboard.
Keep selected.
17. Edit>Paste as new layer (the tube Paysage misted jewel 058 is still in memory).
Image>Resize, to 70%, resize all layers not checked.
18. Selections>Invert.
Press CANC on the keyboard.
Selections>Select None.
19. Effects>Plugins>FM Tile Tools - Saturation Emboss, default settings.

20. Activate the layer of the frame, Raster 3.
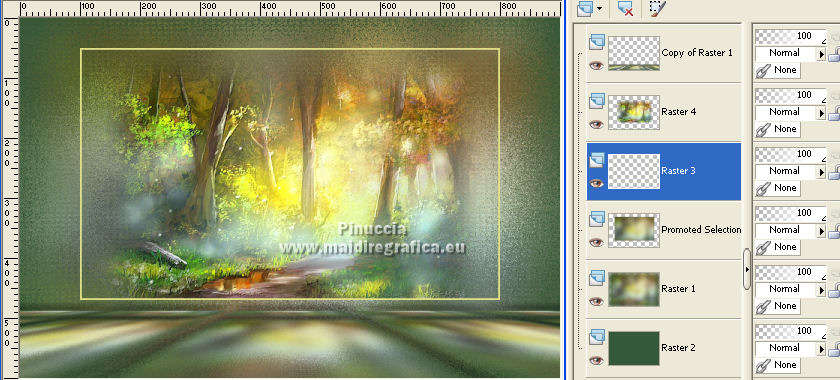
Layers>Duplicate.
Effects>Image Effects>Seamless Tiling, default settings

21. Effects>3D Effects>Drop Shadow, color #000000.

22. Activate your top Layer.
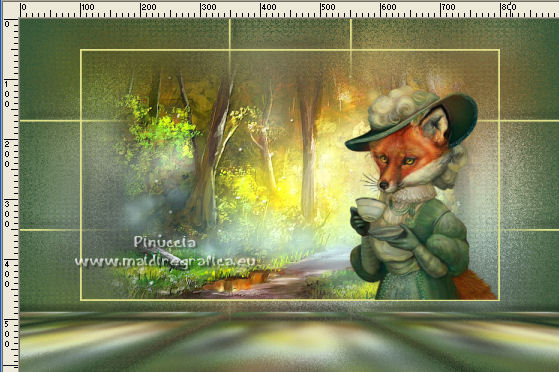
Open the Vos12112015es tube by Ellys and go to Edit>Copy.
Go back to your work and go to Edit>Paste as new layer.
Image>Resize, 1 time to 70% and 1 time to 90%, resize all layers not checked.
Move  the tube over the yellow bord of the frame. the tube over the yellow bord of the frame.
23. Effects>3D Effects>Drop Shadow, color #000000.
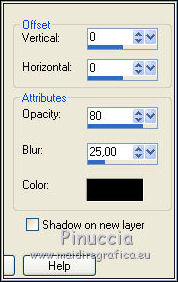
24. Open the tube mentali-enfant89 and go to Edit>Copy.
Go back to your work and go to Edit>Paste as new layer.
Image>Resize, 1 time to 80% and 1 time to 90%, resize all layers not checked.
Move  the tube at the bottom left. the tube at the bottom left.
25. Effects>3D Effects>Drop Shadow, color #8d0807.
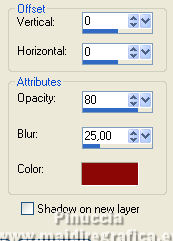
Edit>Repeat Drop Shadow.
26. Open the tube Texto-Caperucita-nines and go to Edit>Copy.
Go back to your work and go to Edit>Paste as new layer.
Move  the tube at the bottom right. the tube at the bottom right.
27. Effects>Plugins>Eye Candy 3.1 - Perspective Shadow - shadow color #800000.
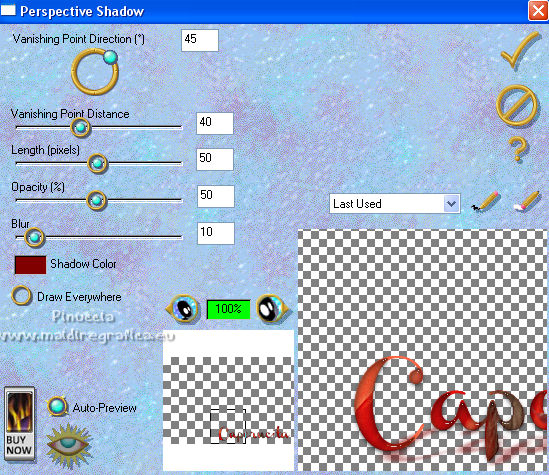
28. Effects>3D Effects>Drop Shadow, color #d80807.
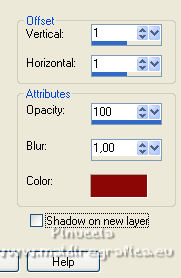
29. Layers>Merge>Merge All.
30. Set again your foreground color to Gradient.

Image>Add borders, 2 pixels, symmetric, background color #36583a.
Image>Add borders, 2 pixels, symmetric, foreground color #dfdf89.
Image>Add borders, 30 pixels, symmetric, color #ffffff.
31. Activate your Magic Wand Tool  , feather 0, , feather 0,
and click on the white border to select it.
Flood Fill  the selection with your gradient. the selection with your gradient.
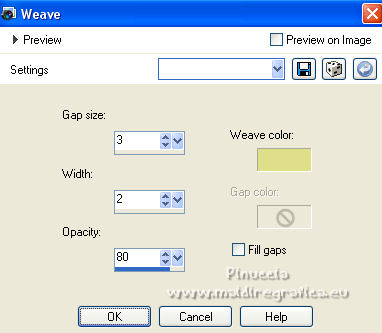
32. Effects>Texture Effects>Weave
Weave color: foreground color #dfdf89
33. Selections>Invert.
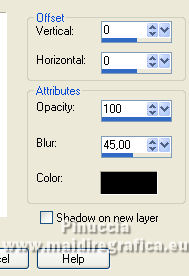
Effects>3D Effects>Drop Shadow, color #000000.
Selections>Select None.
34. Image>Add borders, 2 pixels, symmetric, background color #36583a.
35. Sign your work and save as jpg.
For the tubes of this version thanks Lana and Annette
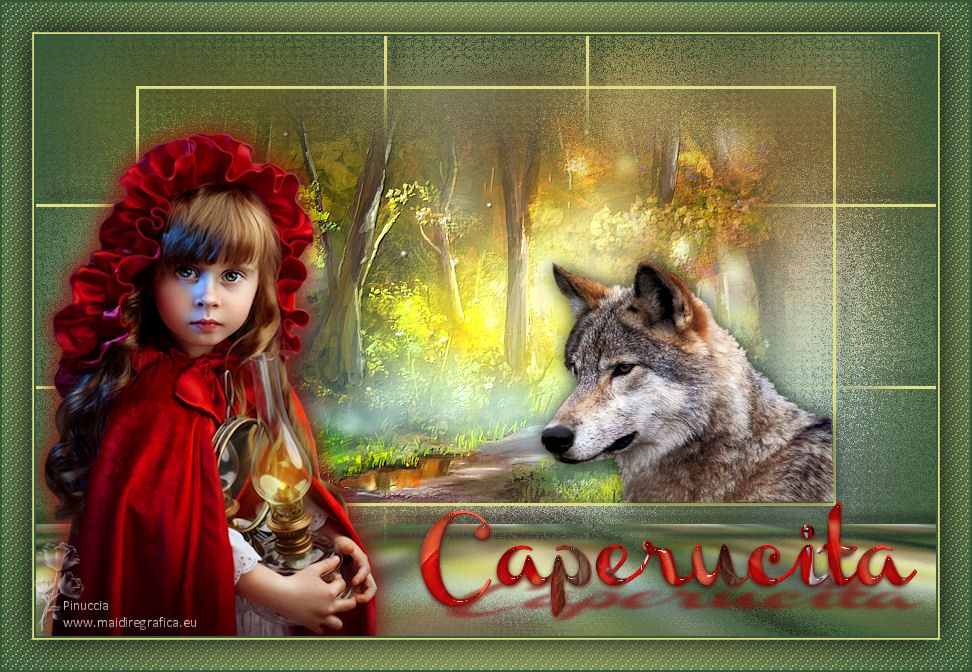
 Your versions here Your versions here

If you have problems or doubts, or you find a not worked link, or only for tell me that you enjoyed this tutorial, write to me.
27 June 2022

|

