|
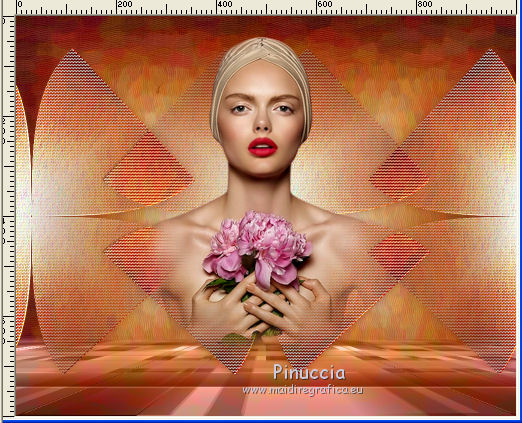
TOP CHOISES UNE ÉTOILE
 TOP CHOOSE A STAR TOP CHOOSE A STAR
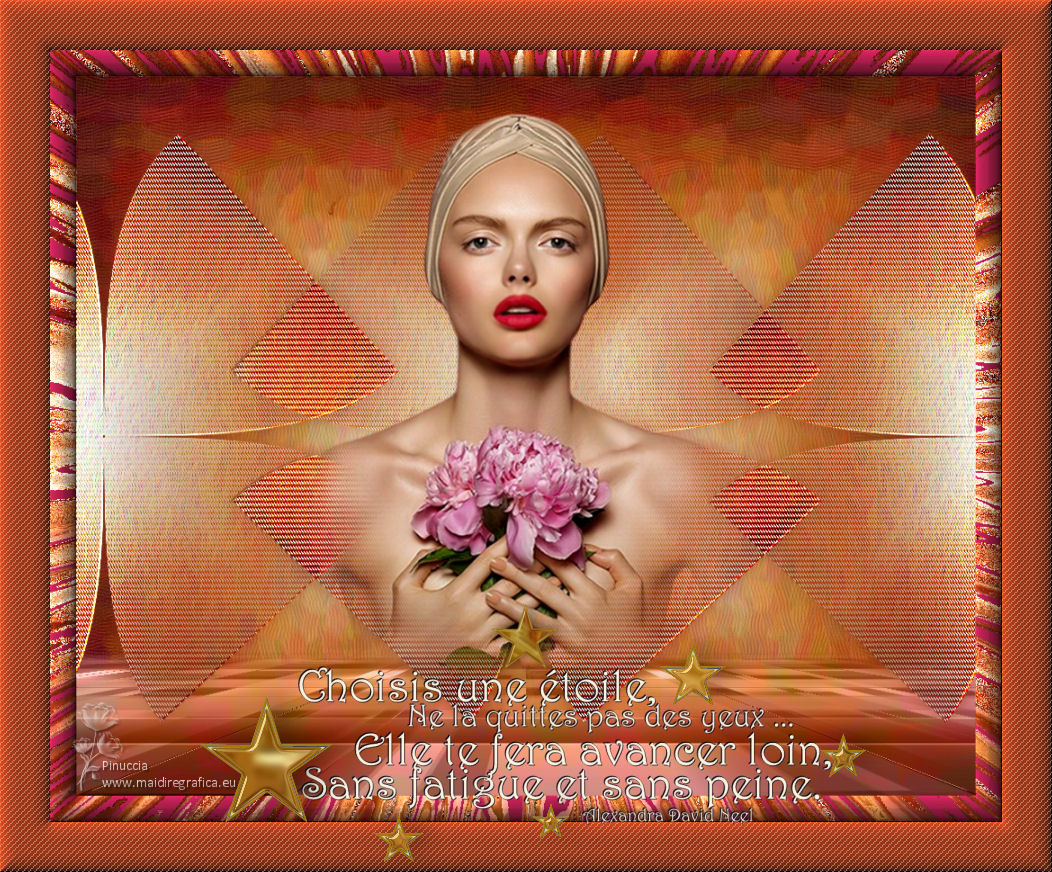

"Choisissez une étoile, ne la quittez pas des yeux.
Elle vous fera avancer loin, sans fatigue et sans peine".
"Choose a star, don't take your eyes off it.
It will make you go far, effortlessly and without difficulty"
Alexandra David-Néel
This tutorial was translated with PSPX7 but it can also be made using other versions of PSP.
Since version PSP X4, Image>Mirror was replaced with Image>Flip Horizontal,
and Image>Flip with Image>Flip Vertical, there are some variables.
In versions X5 and X6, the functions have been improved by making available the Objects menu.
In the latest version X7 command Image>Mirror and Image>Flip returned, but with new differences.
See my schedule here
 French translation here French translation here
 Your versions ici Your versions ici
For this tutorial, you will need:
Material
here
Tube 7266-Luz Cristina
calguiswordartetoile04022018 by Guismo
(you find here the links to the material authors' sites)
Plugins
consult, if necessary, my filter section here
Filters Unlimited 2.0 here
Virtual Paint 4 here
Flaming Pear - Flexify 2 here
FM Tile Tools - Saturation Emboss here
Alien Skin Eye Candy 5 Impact - Perspective Shadow here
Distortion Filter - Warp Jump here
Mura's Meister - Perspective Tiling here

You can change Blend Modes according to your colors.
In the newest versions of PSP, you don't find the foreground/background gradient (Corel_06_029).
You can use the gradients of the older versions.
The Gradient of CorelX here
Copy the preset Emboss 3 in the presets Folder.
1. Open a new transparent image 1000 x 800 pixels.
2. Set your foreground color to #caceb4,
and your background color to #8a4a27.
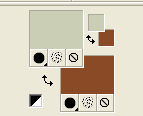
Set your foreground color to a Foreground/Background Gradient, style Rectangular.
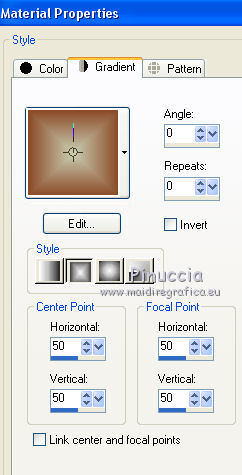
Flood Fill  the transparent image with your Gradient. the transparent image with your Gradient.
3. Effects>Plugins>Virtual Paint 4
Filter: Oil Painting - Material: Canvas Fine
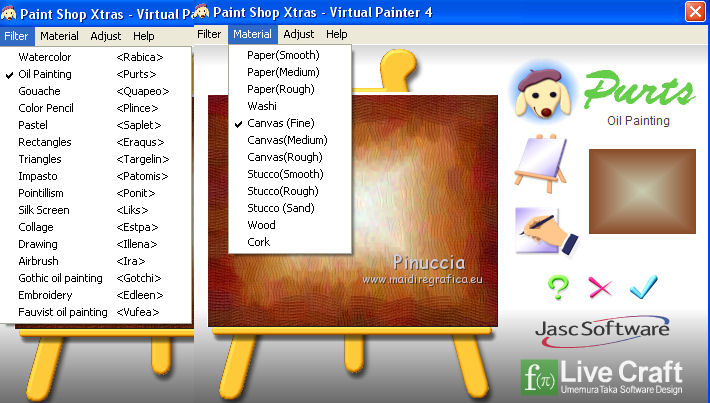
4. Layers>Duplicate.
5. Effects>Plugins>Flaming Pear - Flexify 2.
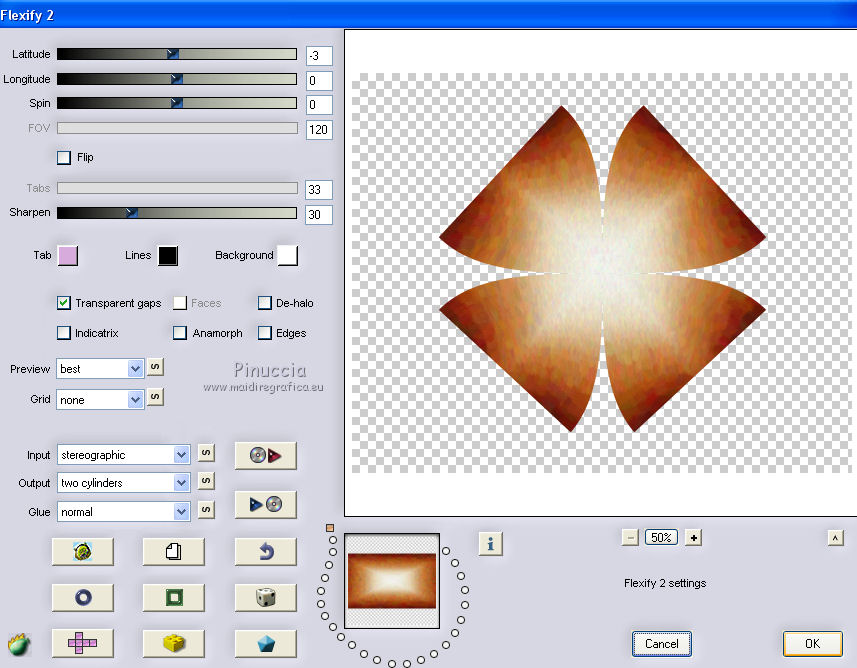
6. Effects>Plugins>AP Lines - Lines SilverLining.
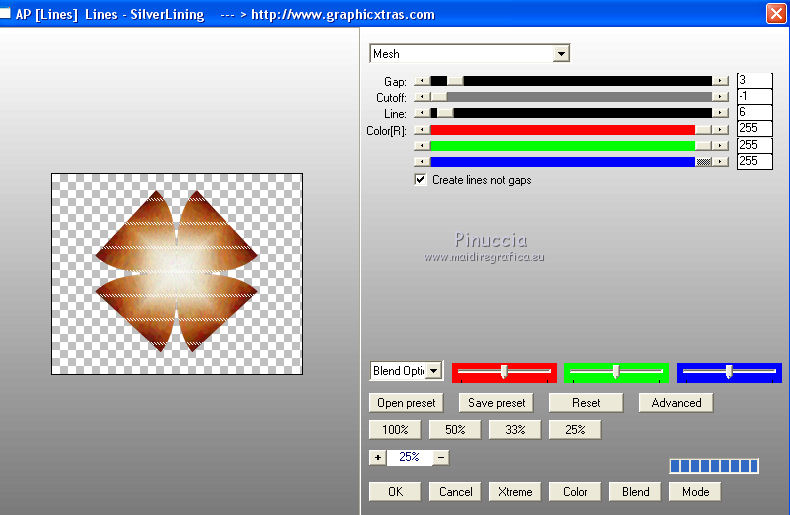
7. Effects>Image Effects>Seamless Tiling, side by side.

8. Effects>User Defined Filter - Emboss 3.

9. Effects>Plugins>FM Tile Tools - Saturation Emboss, default settings.

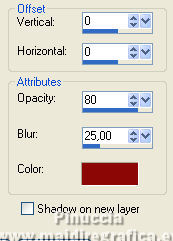
10. Effects>3D Effects>Drop Shadow, color #8d361a.
11. Activate your bottom layer, Raster 1.
Layers>New Raster Layer.
Selections>Select All.
12. Open the mask FR800522 back, and go to Edit>Copy.
Go back to your work and go to Edit>Paste into Selection.
Change the Blend Mode of this layer to Luminance (legacy).
Selections>Select None.
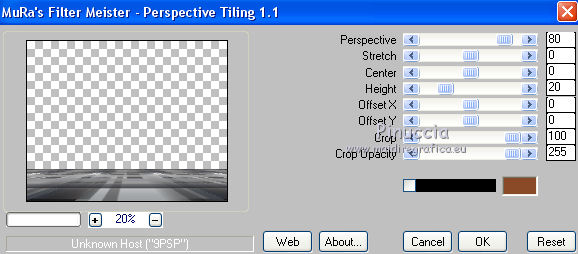
13. Effects>Plugins>Mura's Meister - Perspective Tiling.
14. Activate your Magic Wand Tool  , feather 20, , feather 20,

Press 5 times CANC on the keyboard 
Selections>Select None.
15. Activate your top layer.
Open the tube 7266-Luz Cristina and go to Edit>Copy.
Go back to your work and go to Edit>Paste as new layer.
Image>Resize, to 90%, resize all layers not checked.
Place  correctly the tube in the center. correctly the tube in the center.

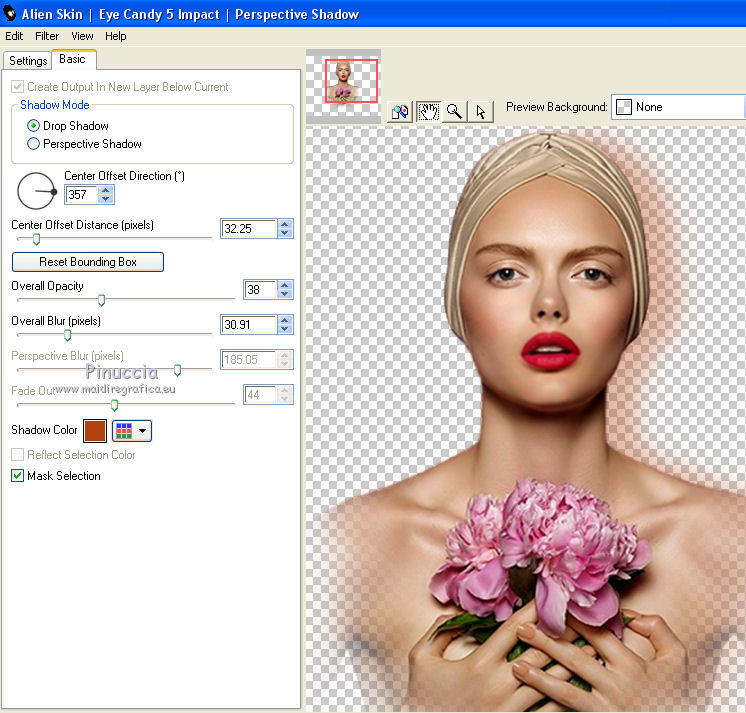
16. Effects>Plugins>Alien Skin Eye Candy 5 Impact - Perspective Shadow
color #b1420d

17. Layers>Merge>Merge All.
18. Image>Add borders, 29 pixels, symmetric, color #9b1c45.
Activate your Magic Wand Tool  , feather 0, , feather 0,

and click in the border to select it.
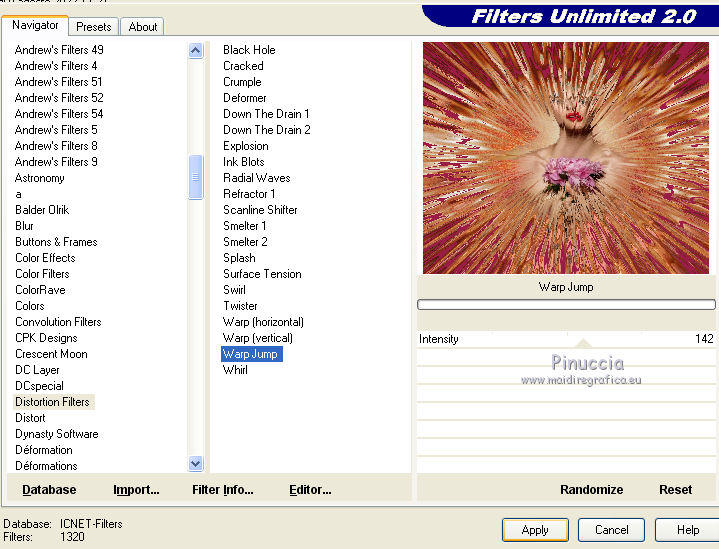
19. Effects>Plugins>Filters Unlimited 2.0 - Distortion Filter - Warp Jump.

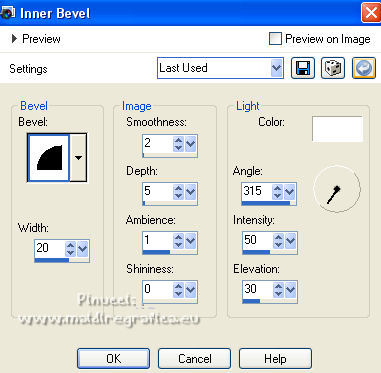
20. Effects>3D Effects>Inner Bevel.

Selections>Select None.
21. Image>Resize, 90%, resize all layers checked.
22. Image>Add borders, 50 pixels, symmetric, color #963011.
Select this border with your Magic Wand Tool 
23. Effects>3D Effects>Inner Bevel, same settings.
Effects>Texture Effects>Weave
weave color: #eccbba

Selections>Select None.
24. Open the tube calguiswordartetoile04022018 by Guismo and go to Edit>Copy.
Go back to your work and go to Edit>Paste as new layer.
Move  the tube down. the tube down.
25. Sign your work on a new layer.
Layers>Merge>Merge All and save as jpg.
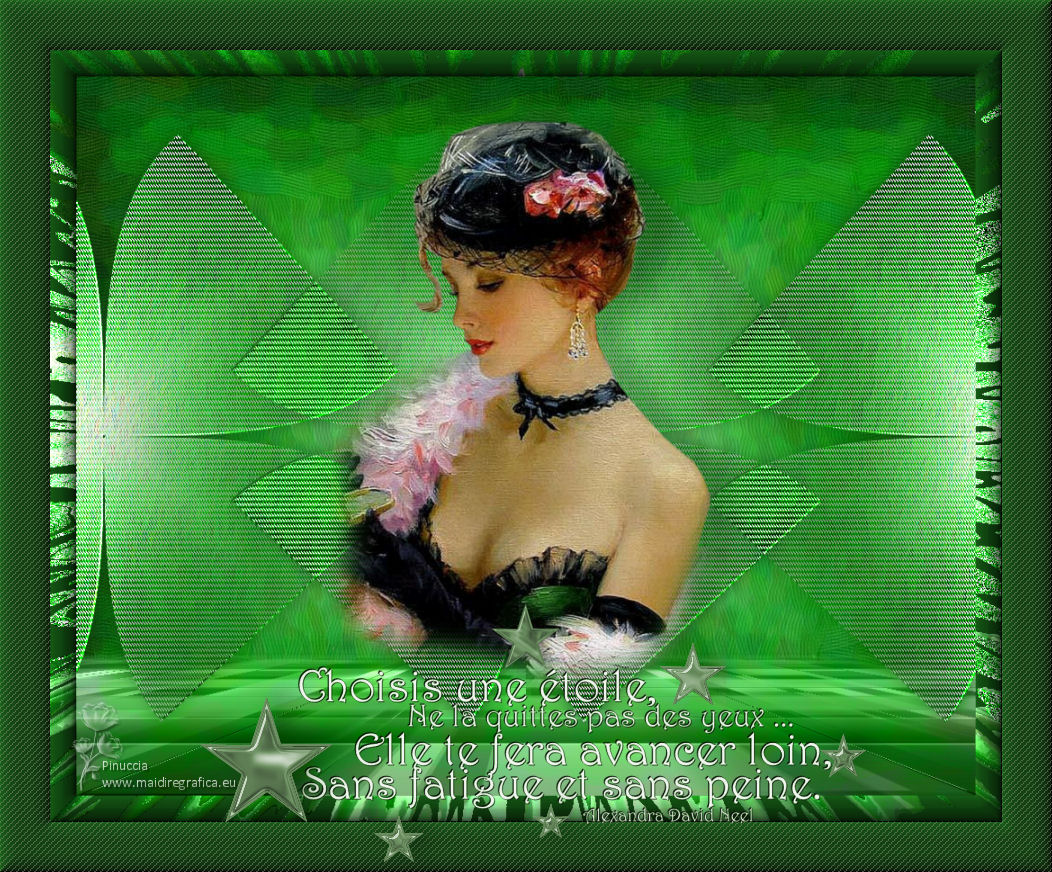
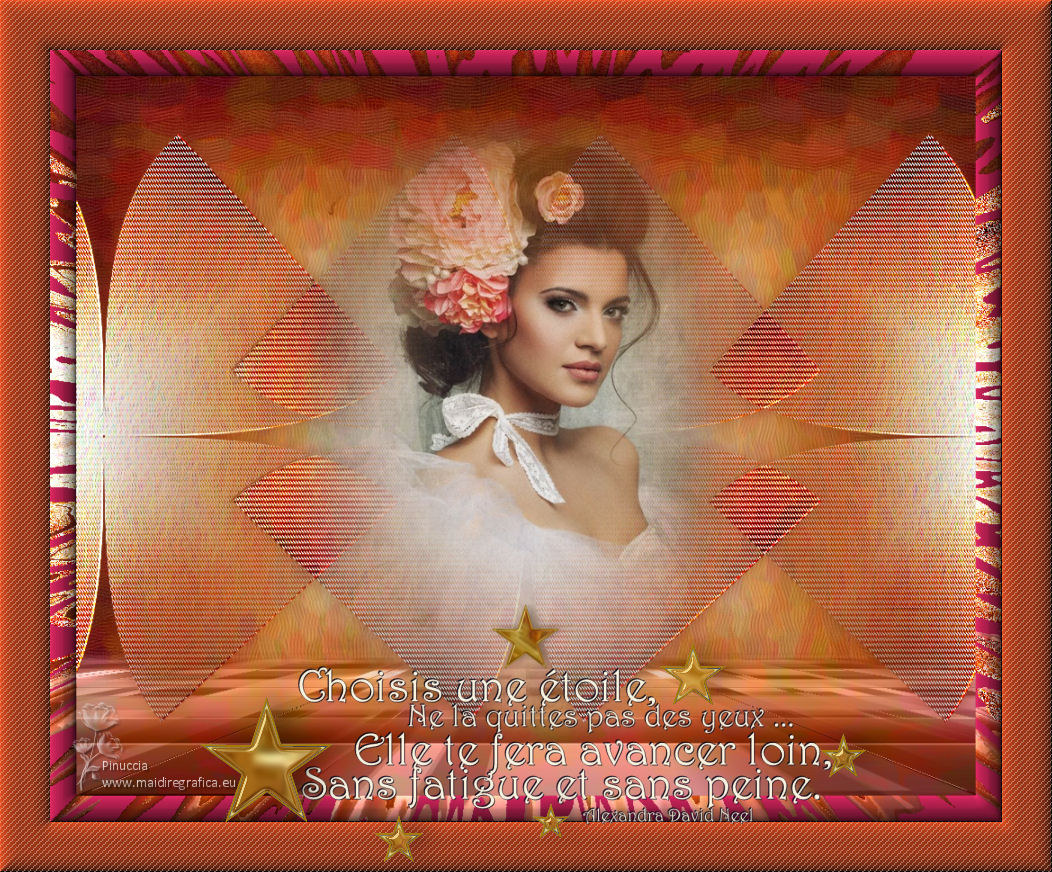
For the tube of these versions thanks
Lana

Isa

 Your versions here Your versions here

If you have problems or doubts, or you find a not worked link, or only for tell me that you enjoyed this tutorial, write to me.
9 August 2022

|
 TOP CHOOSE A STAR


 French translation
  Your versions


 the transparent image with your Gradient.


 , feather 20,

 correctly the tube in the center.