|
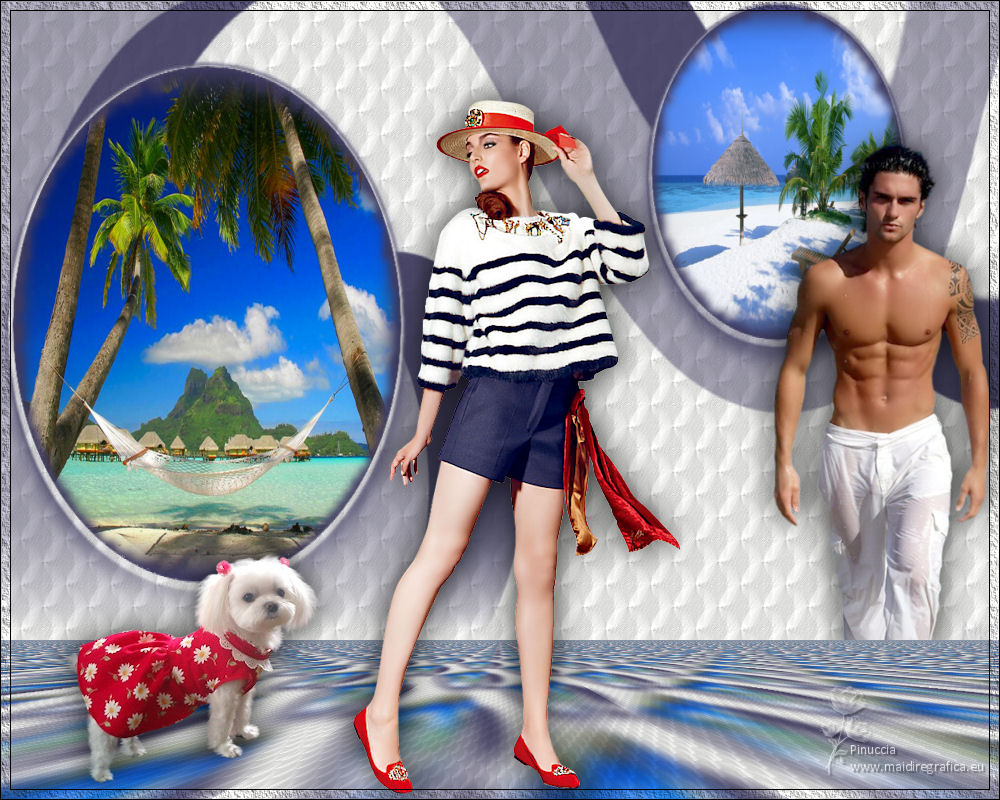
TOP EN LA PLAYA


This tutorial was translated with PSPX7 but it can also be made using other versions of PSP.
Since version PSP X4, Image>Mirror was replaced with Image>Flip Horizontal,
and Image>Flip with Image>Flip Vertical, there are some variables.
In versions X5 and X6, the functions have been improved by making available the Objects menu.
In the latest version X7 command Image>Mirror and Image>Flip returned, but with new differences.
See my schedule here
 Original tutorial here Original tutorial here
 French translation here French translation here
 Your versions ici Your versions ici
For this tutorial, you will need:
Material
here
Tube Tocha24592 by Tony Chavarria
Tube Min@.uomo25.07.14
Tube DBK WATER 0UTDOORS-008 by Katrina
Tube DBK WATER 0UTDOORS-002 by Katrina
Tube H@nne_ATT2
1250181760_nikita_masques
(you find here the links to the material authors' sites)
Plugins
consult, if necessary, my filter section here
AAA Frames - Texture Frame here
Mura's Meister - Perspective Tiling here

You can change Blend Modes according to your colors.
Copy the texture in the Textures Folder.
Open the mask in PSP and minimize it with the rest of the material.
1. Open a new transparent image 1000 x 650 pixels.
2. Set your foreground color to #3c385d,
and your background color to #eeeeec.
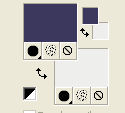
Flood Fill  the transparent image with your foreground color. the transparent image with your foreground color.
3. Layers>New Raster Layer.
Flood Fill  with your background color #eeeeec. with your background color #eeeeec.
4. Layers>New Mask Layer>From Image.
Open the menu under the source window and you'll see all the files open.
Select the mask 1250181760_nikita.
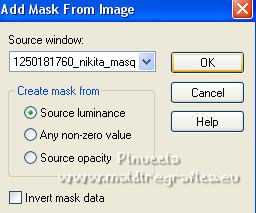
Layers>Merge>Merge Group.
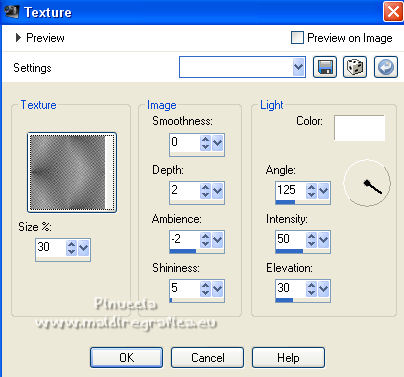
5. Effects>Texture Effects>Texture - select the texture ABsilver8.
6. Activate your Magic Wand Tool  with these settings. with these settings.

Click in the big left circle to select it.
7. Layers>New Raster Layer.
Layers>Arrange>Move Down.
8. Open the tube DBK WATER 0UTDOORS-008 and go to Edit>Copy.
Go back to your work and go to Edit>Paste into Selection.
Selections>Select None.
9. Activate again the mask layer.
Select the little right circle with your Magic Wand Tool 
Layers>New Raster layer.
Layers>Arrange>Move Down.
10. Open the tube DBK WATER 0UTDOORS-002 and go to Edit>Copy.
Go back to your work and go to Edit>Paste into Selection.
Selections>Select None.
11. Layers>Merge>Merge visible.
12. Layers>Duplicate.
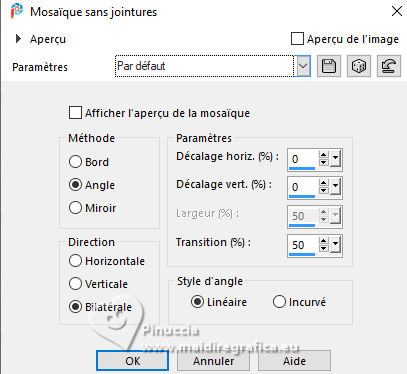
Effects>Image Effects>Seamless Tiling, default settings.
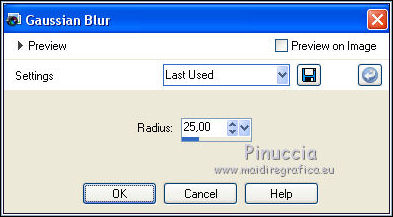
13. Adjust>Blur>Gaussian Blur - radius 25.
14. Effects>Texture Effects>Texture, same settings.

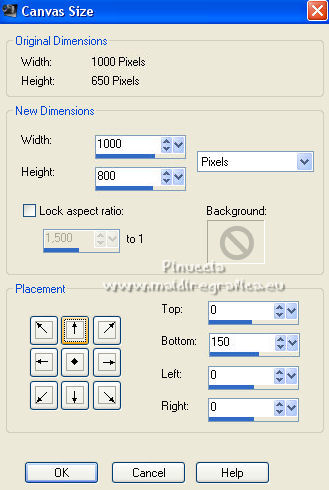
15. Image>Canvas Size - 1000 x 800 pixels.
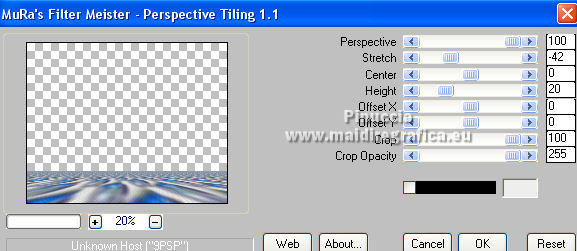
16. Effects>Plugins>Mura's Meister - Perspective Tiling.
17. Open the tube Mina@uomo25 and go to Edit>Copy.
Go back to your work and go to Edit>Paste as new layer.
Image>Resize, 2 times to 80% and 1 time to 90%, resize all layers not checked.
Move  the tube to the right side. the tube to the right side.
Layers>Arrange>Move Down (under the Mura's layers)
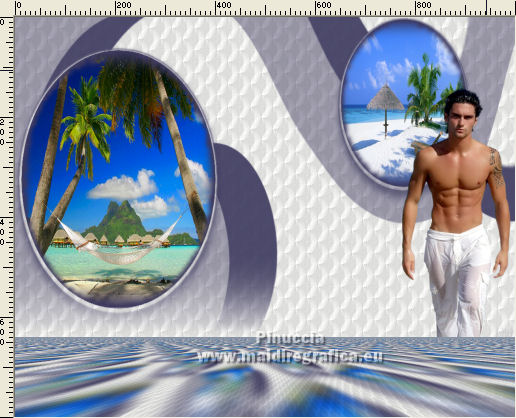
18. Effects>3D Effects>Drop Shadow, color black.

19. Activate your top layer.
Open the tube Tocha24592 and go to Edit>Copy.
Go back to your work and go to Edit>Paste as new layer.
Image>Resize, to 80%, resize all layers not checked.
Place  correctly the tube. correctly the tube.
20. Effects>3D Effects>Drop Shadow, same settings.

21. Open the tube H@nna_ATT2 and go to Edit>Copy.
Go back to your work and go to Edit>Paste as new layer.
Image>Resize, to 90%, resize all layers not checked.
Image>Mirror.
Move  the tube at the bottom left. the tube at the bottom left.
Effects>3D Effects>Drop Shadow, same settings.
22. Layers>Merge>Merge visible.
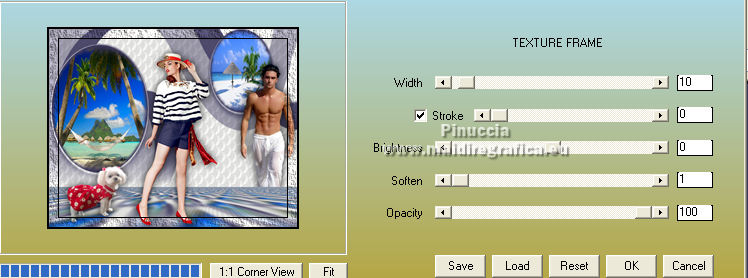
23. Effects>Plugins>AAA Frames - Texture Frame.
24. Sign your work on a new layer.
Layers>Merge>Merge All and save as jpg.
For the tubes of this version thanks Maryse and Mina
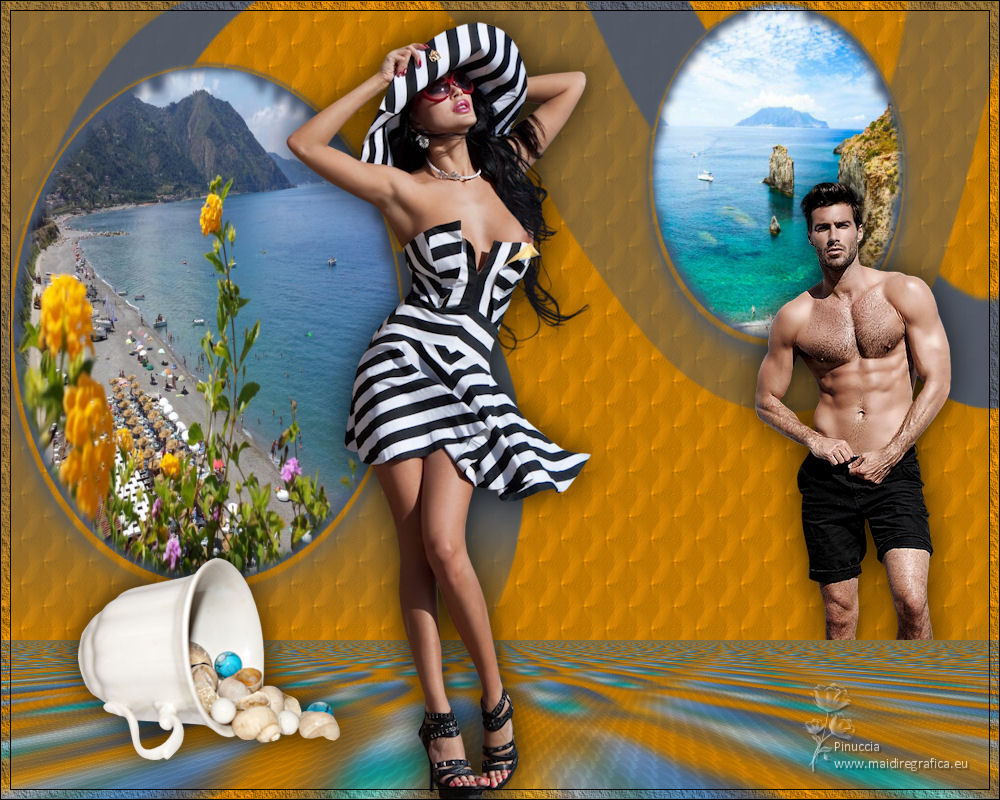
 Your versions here Your versions here

If you have problems or doubts, or you find a not worked link, or only for tell me that you enjoyed this tutorial, write to me.
29 June 2022

|

