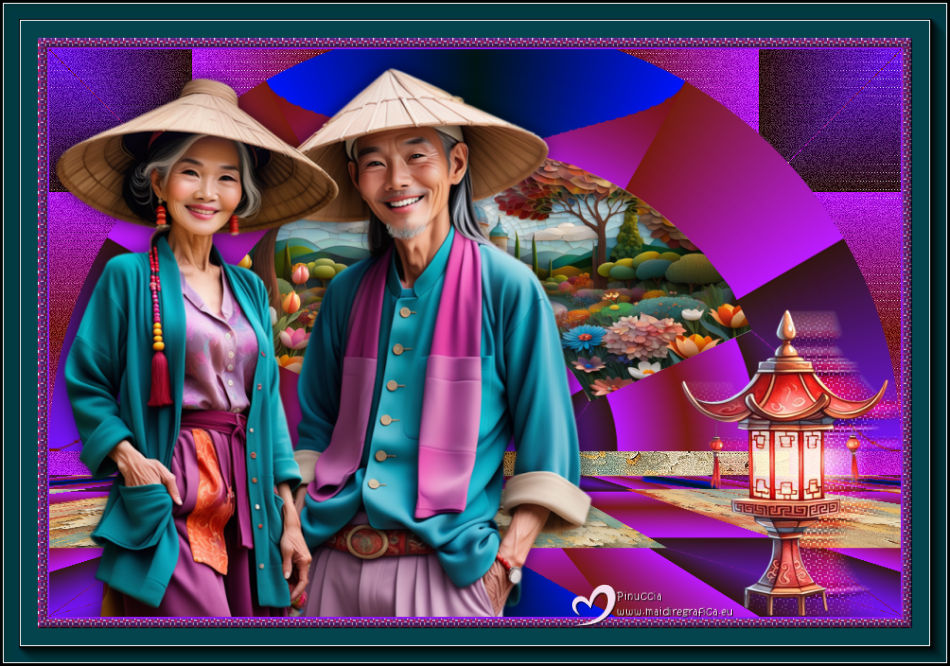
|
TOP ESPY JUST


This tutorial was translated with PSPX9 and PSP2020, but it can also be made using other versions of PSP.
Since version PSP X4, Image>Mirror was replaced with Image>Flip Horizontal,
and Image>Flip with Image>Flip Vertical, there are some variables.
In versions X5 and X6, the functions have been improved by making available the Objects menu.
In the latest version X7 command Image>Mirror and Image>Flip returned, but with new differences.
See my schedule here
 French translation here French translation here
 Your versions here Your versions here
For this tutorial, you will need:

Thanks for the tubes Kamil.
(you find here the links to the material authors' sites)

consult, if necessary, my filter section here
Filters Unlimited 2.0 here
Filter Factory Gallery P - Frame 21 Seamless here
Flaming Pear - Flexify 2 here
Mura's Meister - Perspective Tiling here
L&K's - L&K's Zitah here
AAA Frames - Foto Frame here
Filters Factory Gallery can be used alone or imported into Filters Unlimited.
(How do, you see here)
If a plugin supplied appears with this icon  it must necessarily be imported into Unlimited it must necessarily be imported into Unlimited

You can change Blend Modes according to your colors.

Copy the Selection in the Selections Folder.
1. Open a new transparent image 900 x 600 pixels.
2. Selections>Select All.
Open the image Imagen espy just backgrounds 2B 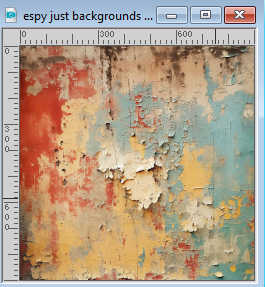
Edit>Copy.
Go back to your work and go to Edit>Paste into Selection.
Selections>Select None.
3. Effects>Plugins>Filter Factory Gallery P - Frame 21 Seamless.
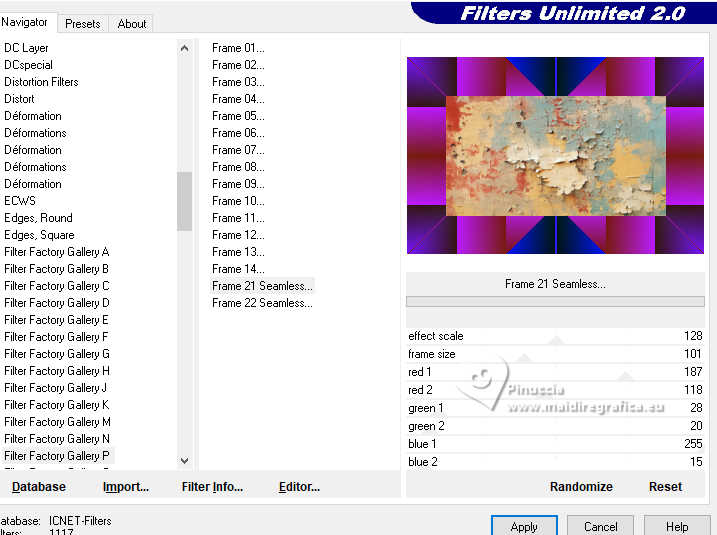
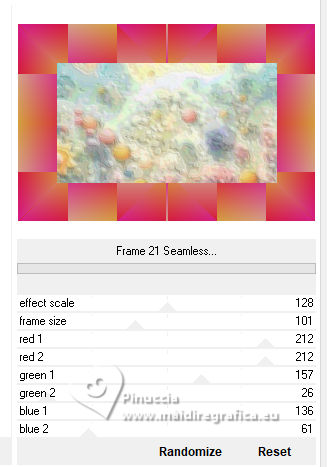
You can change the colors and shape of the frame by clicking on Randomize.
When you are satisfied with the result,
set again the first two settings to 128 and 101.
4. Layers>Duplicate.
Effects>Plugins>Flaming Pear - Flexify 2.
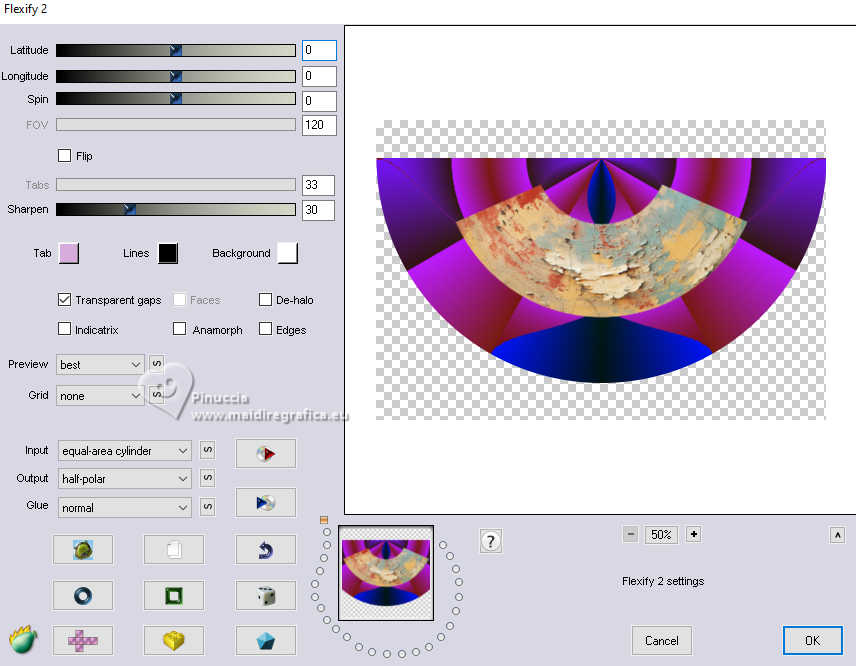
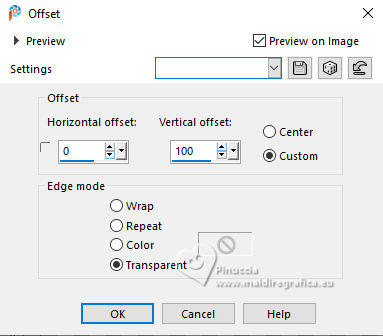
5. Image>Mirror>Mirror vertical (Image>Flip).
Effects>Image Effects>Offset.
6. Selections>Load/Save Selection>Load Selection from Disk.
Look for and load the selection sel.537.nines
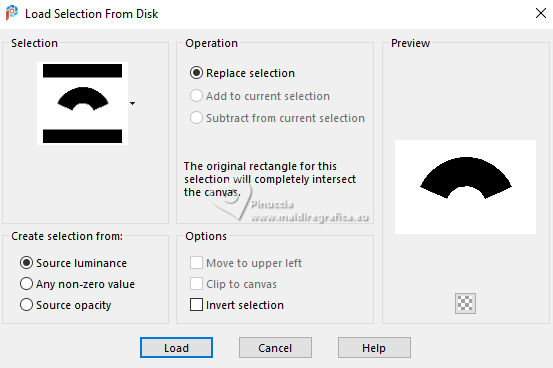
Selections>Invert.
7. Layers>New Raster Layer.
Open the tube KamilTube 2497 BG 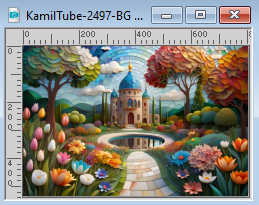
Edit>Copy.
Go back to your work and go to Edit>Paste into Selection.
Selections>Select None.
8. Activate your bottom layer, Raster 1.
Layers>Duplicate.
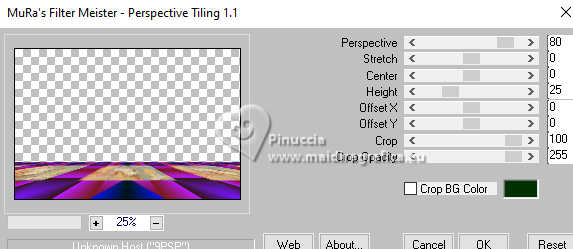
9. Effects>Plugins>Mura's Meister - Perspective Tiling.
10. Activate again your top layer, Raster 1.
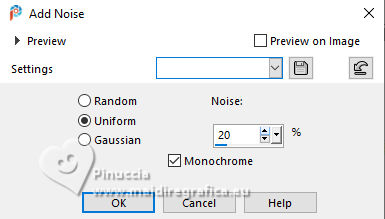
Adjust>Add/Remove Noise>Add Noise.
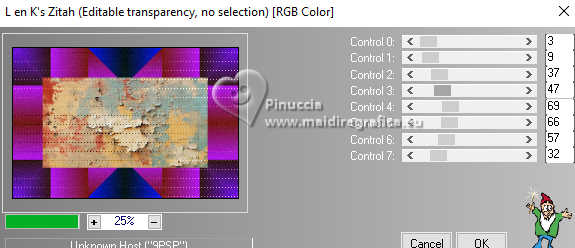
11. Effects>Plugins>L&K's - L&K's Zitah.
Adjust>Sharpness>Sharpen.
12. Activate your top layer.
Open the tube KamilTube-2108 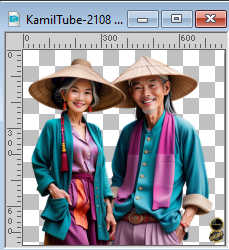
Erase the watermark and go to Edit>Copy.
Go back to your work and go to Edit>Paste as new layer.
Image>Resize, to 80%, resize all layers not checked.
Move  the tube to the left side. the tube to the left side.
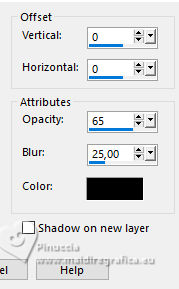
13. Effects>3D Effects>Drop Shadow, color #000000.
14. Open element_EF (12a) 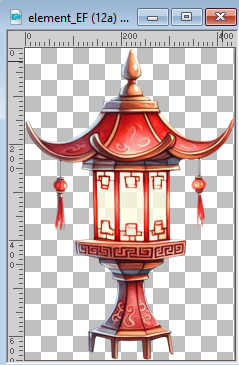
Edit>Copy.
Go back to your work and go to Edit>Paste as new layer.
Image>Resize, to 50%, resize all layers not checked.
Move  the tube to the right, see my example. the tube to the right, see my example.
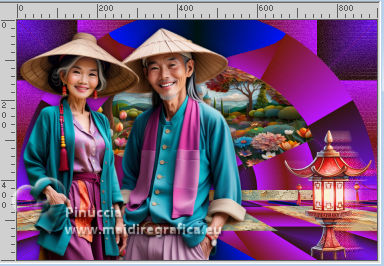
15. Layers>Duplicate.
Activate the layer below of the original.
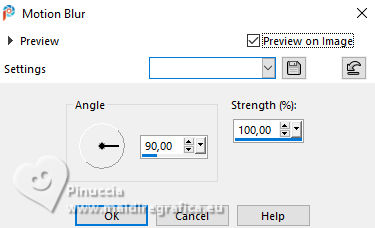
Adjust>Blur>Motion Blur.
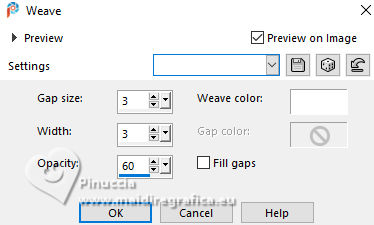
16. Effects>Texture Effects>Weave
weave color #ffffff
Change the Blend Mode of this layer to Hard Light.
17. Sign your work.
Add the author and the translator's watermarks.
18. Layers>Merge>Merge All.
19. Image>Add borders, 2 pixels, symmetric, color #8e174f.
Image>Add borders, 10 pixels, symmetric, color #491864.
20. Activate your Magic Wand Tool 
and click in the last border to select it.
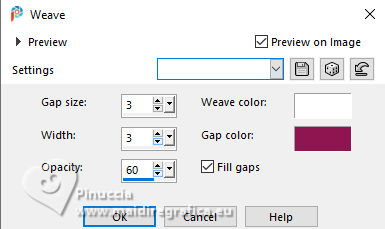
21. Effects>Texture Effects>Weave
weave color #ffffff
gap color #8e174f.
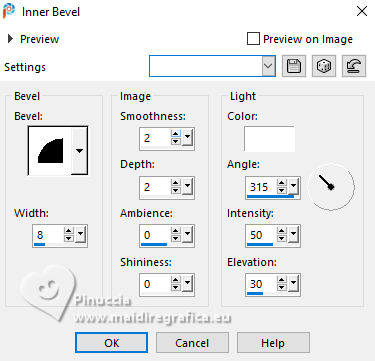
22. Effects>3D Effects>Inner Bevel, color #ffffff.
23. Image>Add Borders, 40 pixels, symmetric, color #04454d.
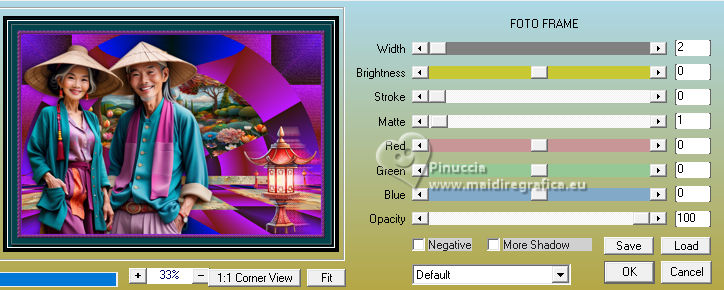
24. Effects>Plugins>AAA Frames - Foto Frame.
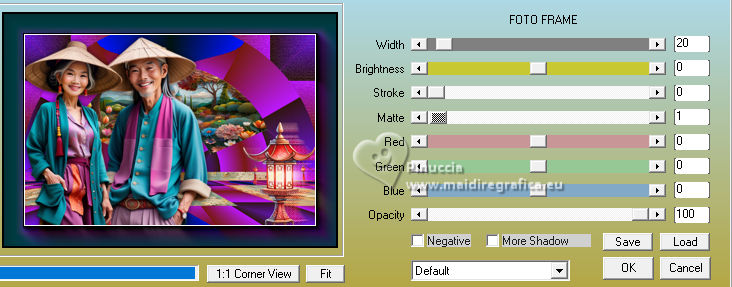
25. Repeat Effects>Plugins>AAA Frames - Foto Frame - width 2
26. Save as jpg.
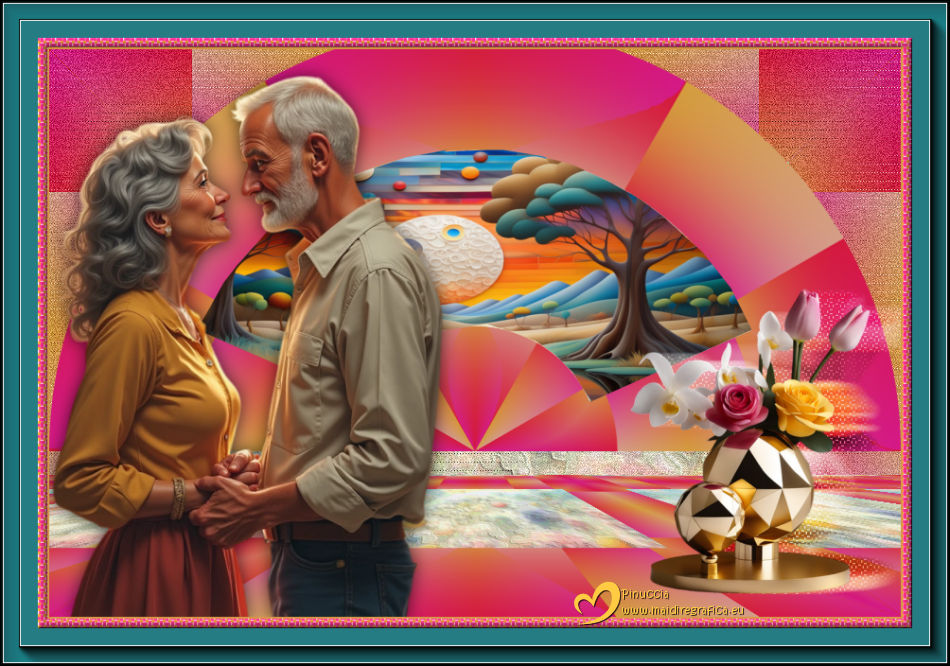
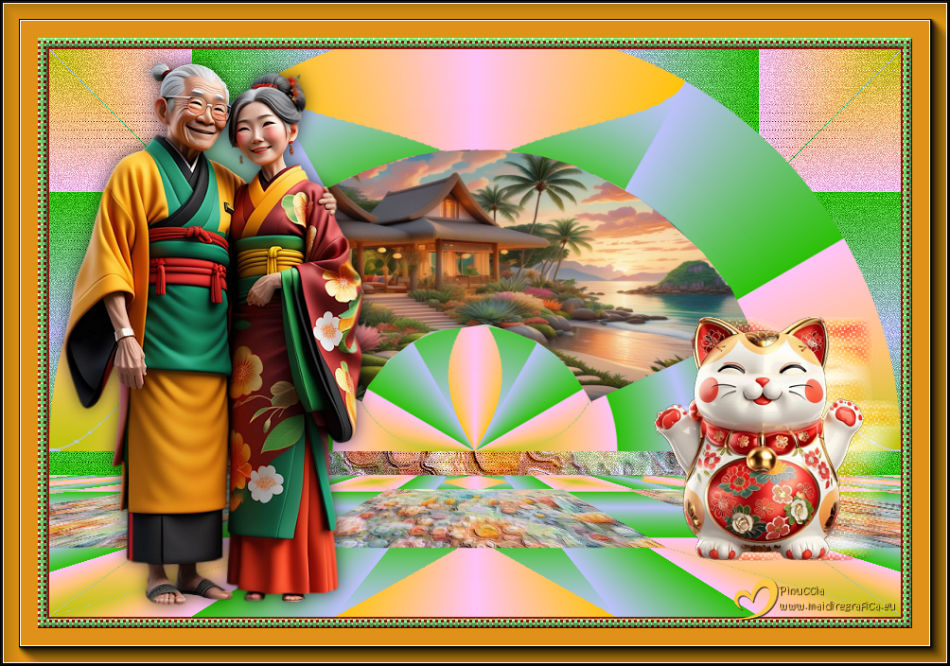
 Your versions here Your versions here

If you have problems or doubts, or you find a not worked link, or only for tell me that you enjoyed this tutorial, write to me.
24 Avril 2025

|

