|
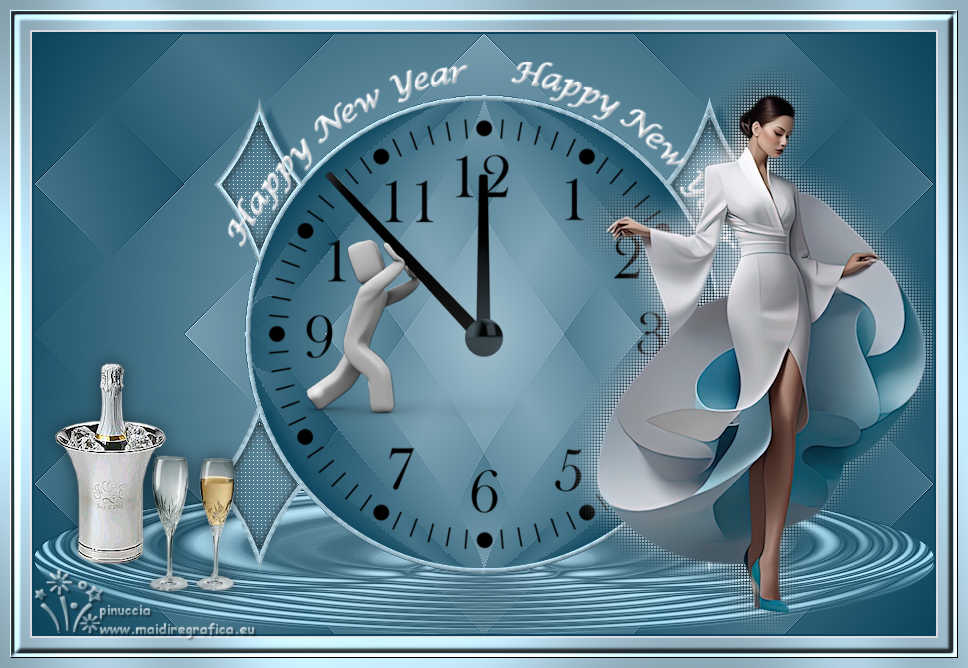
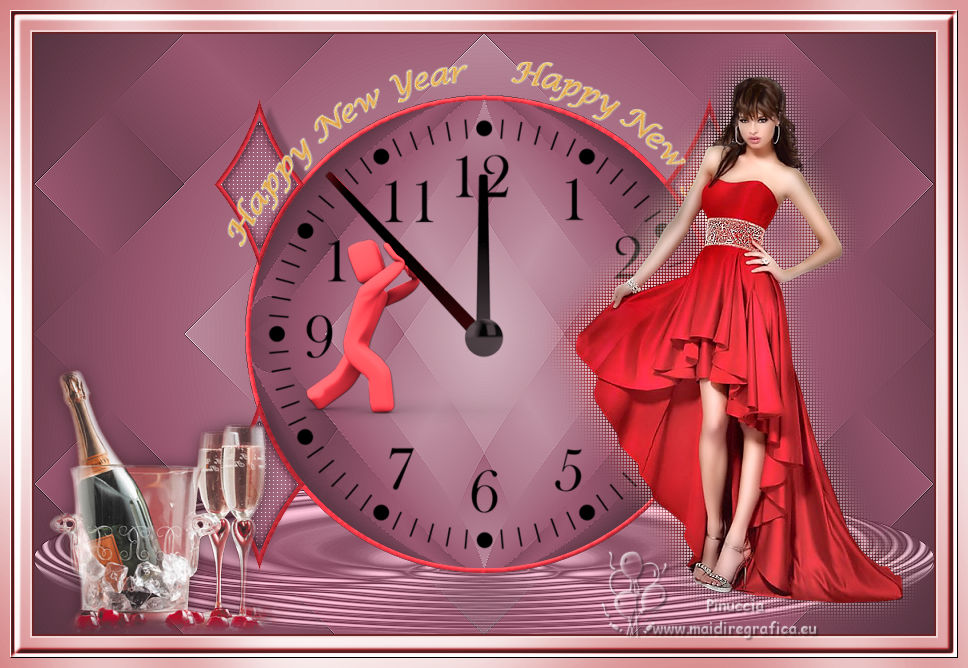
TOP FELIZ 2025


This tutorial was translated with PSP09 but it can also be made using other versions of PSP.
Since version PSP X4, Image>Mirror was replaced with Image>Flip Horizontal,
and Image>Flip with Image>Flip Vertical, there are some variables.
In versions X5 and X6, the functions have been improved by making available the Objects menu.
In the latest version X7 command Image>Mirror and Image>Flip returned, but with new differences.
See my schedule here
 French translation here French translation here
 Your versions here Your versions here
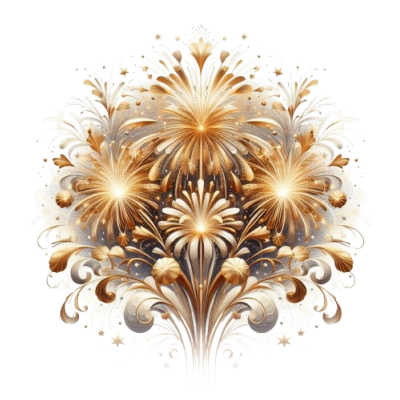
For this tutorial, you will need:

For the tubes thanks Kamil and Guismo.
(you find here the links to the material authors' sites)

consult, if necessary, my filter section here
Filters Unlimited 2.0 here
Mehdi - Sorting Tiles here
Simple - Centre Tile here
AP Lines - Lines SilverLining here
Alien Skin Eye Candy 5 Impact - Glass here
Transparency - Eliminate Black here
Tramages - Pool Shadow here
Filters Simple, Transparency and Tramages can be used alone or imported into Filters Unlimited.
(How do, you see here)
If a plugin supplied appears with this icon  it must necessarily be imported into Unlimited it must necessarily be imported into Unlimited

You can change Blend Modes according to your colors.
In the newest versions of PSP, you don't find the foreground/background gradient (Corel_06_029).
You can use the gradients of the older versions.
The Gradient of CorelX here

Copy the preset Emboss 6 in the Presets Folder.
1. Open a new transparent image 900 x 600 pixels.
2. Set your foreground color to #a1c0cf,
and your background color to #0a435b.
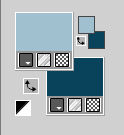
Set your foreground color to a Foreground/Background Gradient, style Sunburst.
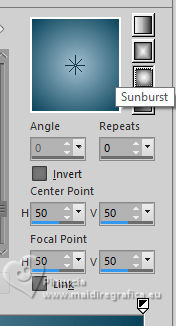
Flood Fill  the transparent image with your Gradient. the transparent image with your Gradient.
3. Effects>Plugins>Mehdi - Sorting Tiles.
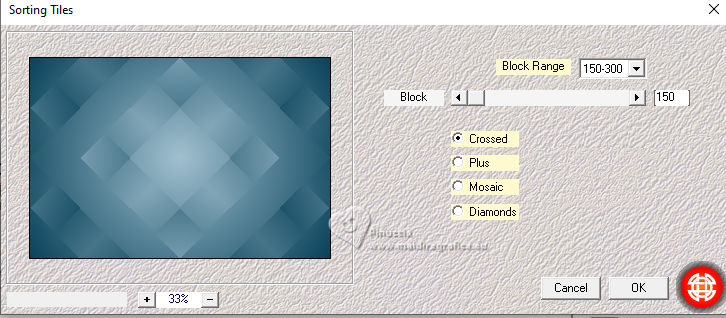
Effects>Edge Effects>Enhance.
4. Layers>Duplicate.
Effects>Geometric Effects>Circle.
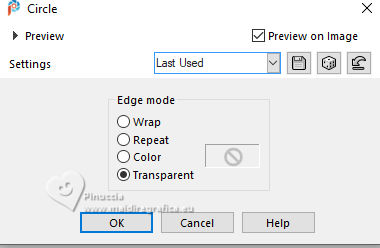
5. Image>Resize, to 80%, resize all layers not checked.
6. Selections>Select All.
Selections>Float.
Selections>Modify>Select Selection Borders.
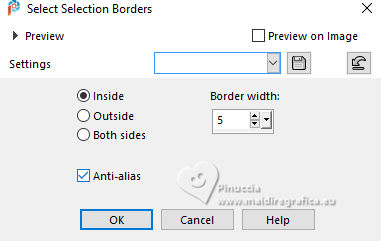
7. Set your foreground color to Color.
Layers>New Raster Layer.
Flood Fill  the selection with your foreground color #a1c0cf. the selection with your foreground color #a1c0cf.
8. Effects>3D Effects>Inner Bevel.
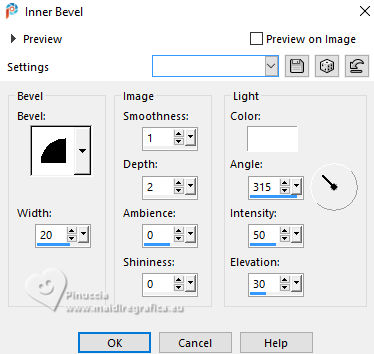
Selections>Select None.
9. Layers>Duplicate (don't move it)
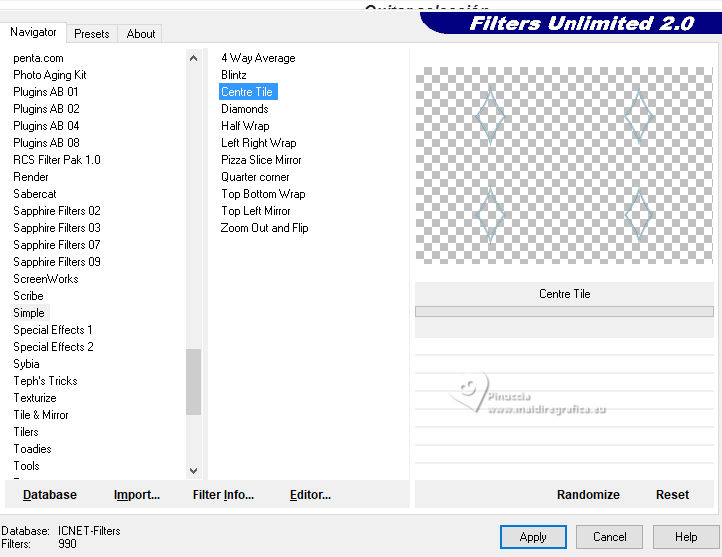
10. Effects>Plugins>Filters Unlimited 2.0 - Simple - Centre Tile.
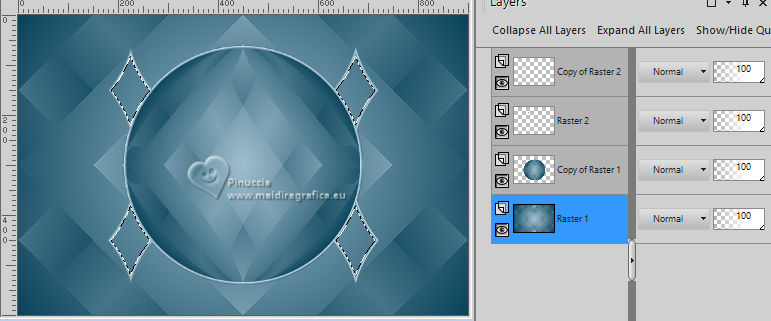
11. Activate your Magic Wand Tool 
and click in the center of the 4 drawings
Activate your bottom layer, Raster 1.
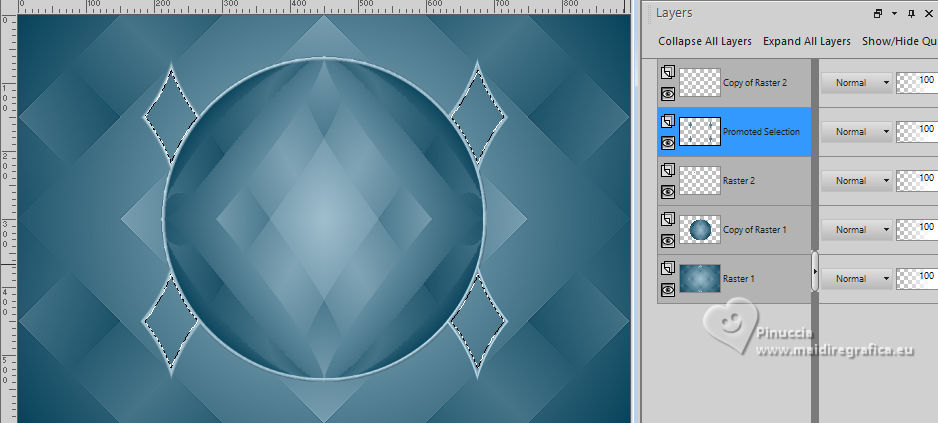
12. Selections>Promote Selection to Layer.
Move this layer under the 4 drawings' (Layers>Arrange>Move up - 2 times).
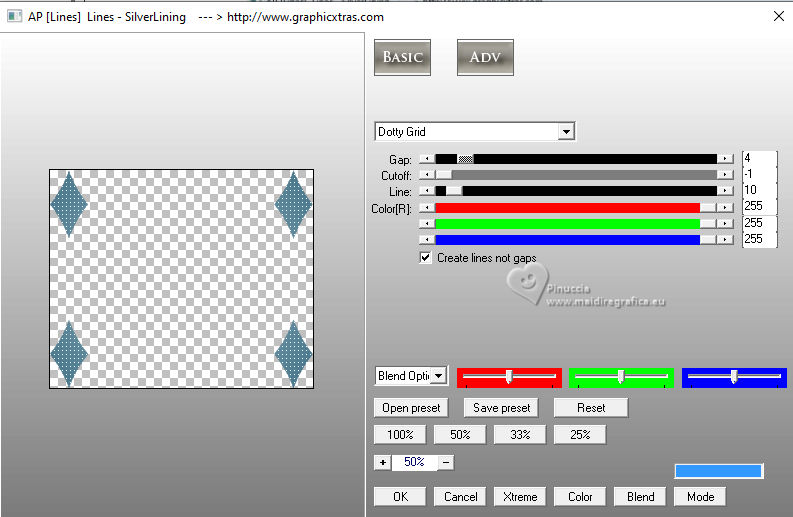
13. Effects>Plugins>AP Lines - Lines SilverLining.
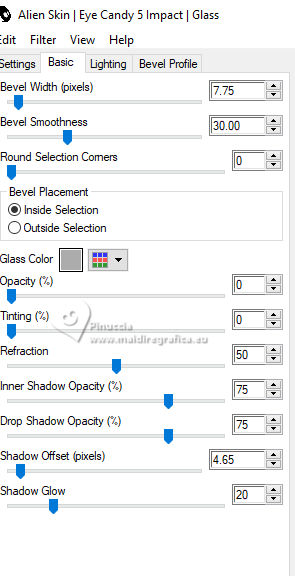
14. Effects>Plugins>Alien Skin Eye Candy 5 Impact - Glass.
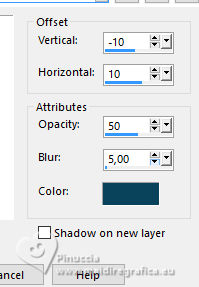
15. Effects>3D Effects>Drop Shadow, foreground color #0a435b.
16. Activate again your top layer, Raster 1.
Selection Tool 
(no matter the type of selection, because with the custom selection your always get a rectangle)
clic on the Custom Selection 
and set the following settings.
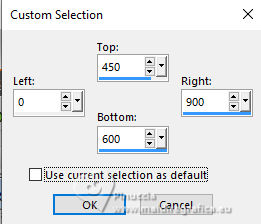
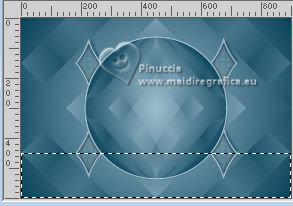
The new selection has replaced the previous one.
17. Selections>Promote Selection to Layer.
18. Open the masque linesin4worisch 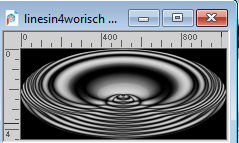
Edit>Copy.
Go back to your work and go to Edit>Paste into Selection.
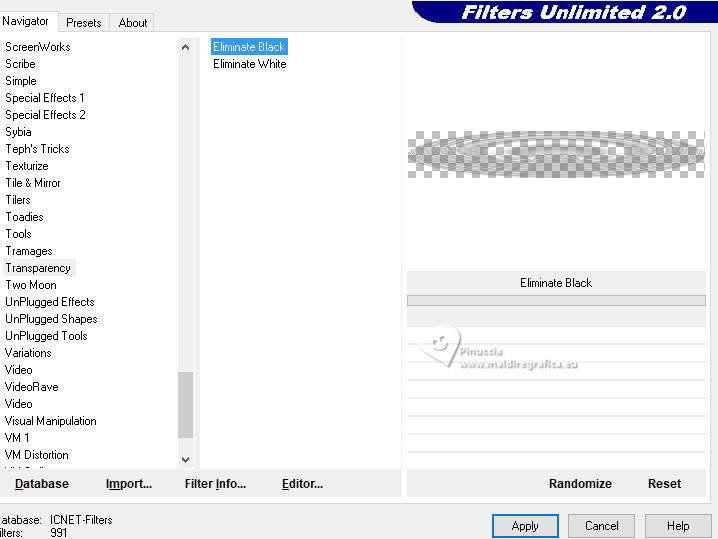
19. Effects>Plugins>Filters Unlimited 2.0 - Transparency - Eliminate Black.
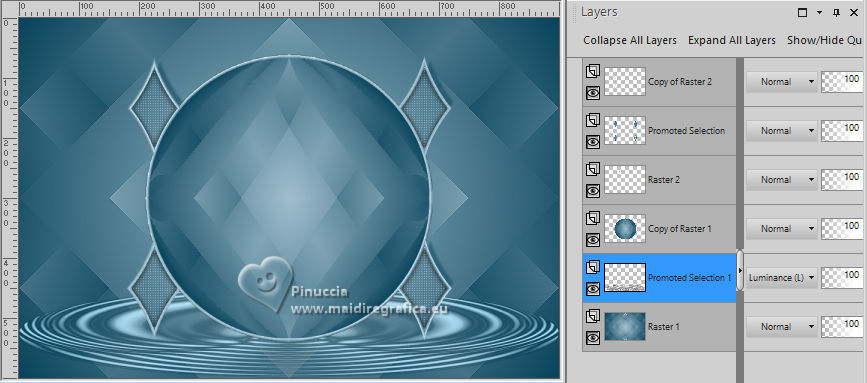
20. Layers>Duplicate.
Layers>Merge>Merge Down.
Adjust>Sharpness>Sharpen.
Change the Blend Mode of this layer to Luminance (legacy).
21. Selections>Select None.
Layers>Duplicate.
Layers>Merge>Merge Down.
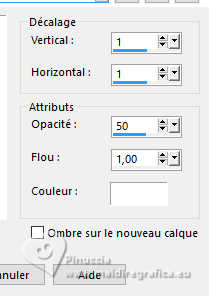
22. Effects>3D Effects>Drop Shadow, color #ffffff.
23. Activate your top layer.
Open the tube calguisnewyear08122017 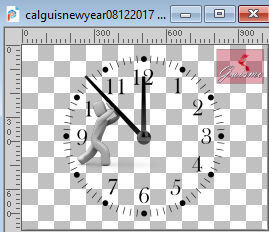
Erase the watermark and go to Edit>Copy.
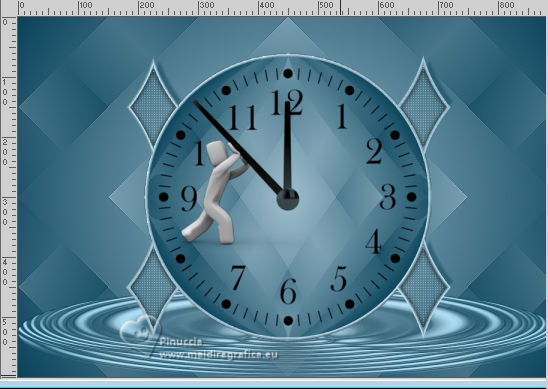
Go back to your work and go to Edit>Paste as new layer.
Image>Resize, 2 times to 80%, resize all layers not checked.
The tube is at its place.
24. Open Texto Happy New Year 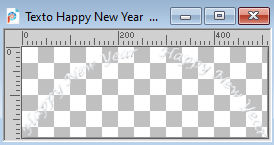
Edit>Copy.
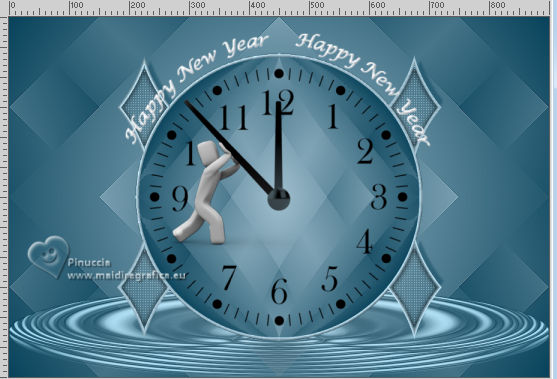
Go back to your work and go to Edit>Paste as new layer.
Place  correctly the text over the clock. correctly the text over the clock.
25. Open the tube KamilTube-1242 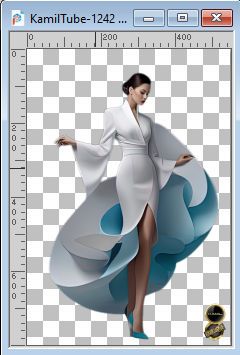
Erase the watermark and go to Edit>Copy.
Go back to your work and go to Edit>Paste as new layer.
Image>Resize, 1 time to 80% and 1 time to 90%, resize all layers not checked.
Move  the tube to the right side. the tube to the right side.
26. Layers>Duplicate.
Activate the layer below of the original.
27. Adjust>Blur>Gaussian Blur - radius 15.

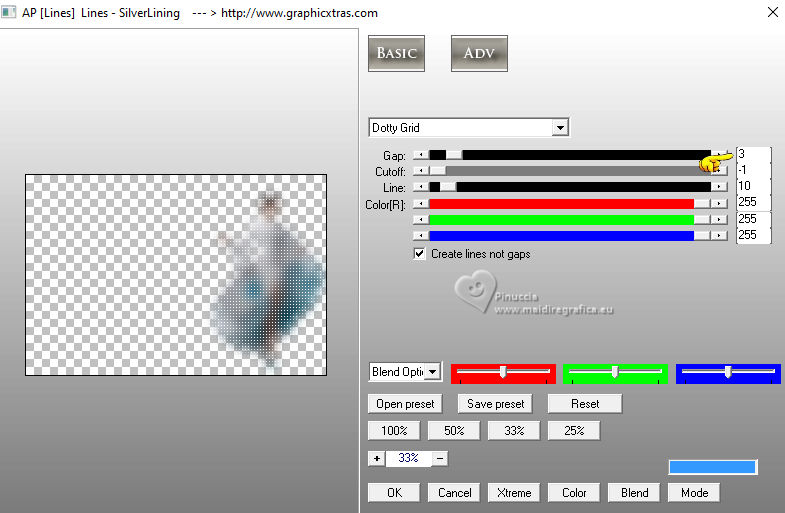
28. Effects>Plugins>AP Lines - Lines SilverLining.
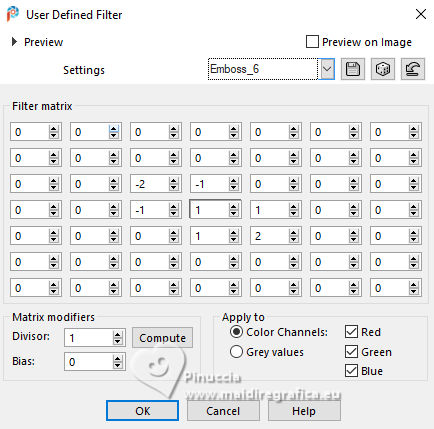
29. Effects>User Defined Filter - select the preset Emboss 6 and ok.
30. Open Crunch99_ChamoagnelceBucket_Glasses 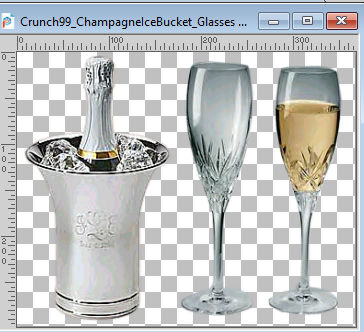
This tube has 2 layers: activate the layer Raster 2 (the bottle).
Edit>Copy.
Go back to your work and go to Edit>Paste as new layer.
Image>Resize, to 70%, resize all layers not checked.
Move  the tube at the bottom left. the tube at the bottom left.
31. Go back to the tube and activate the layer Raster 1 (the glasses).
Edit>Copy.
Go back to your work and go to Edit>Paste as new layer.
Image>Resize, 2 times to 70%, resize all layers not checked.
Move  the tube at the bottom left, next to the bottle. the tube at the bottom left, next to the bottle.

32. Layers>Merge>Merge Down.
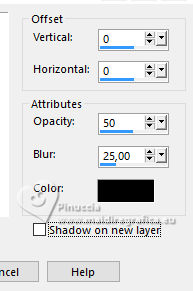
Effects>3D Effects>Drop Shadow, color #000000.
33. Layers>Merge>Merge All.
34. Image>Add borders, 2 pixels, symmetric, background color #0a435b.
Image>Add borders, 2 pixels, symmetric, color #dadae0.
Image>Add borders, 30 pixels, symmetric, foreground color #a1c0cf.
35. Activate your Magic Wand Tool 
and click in the last border to select it.
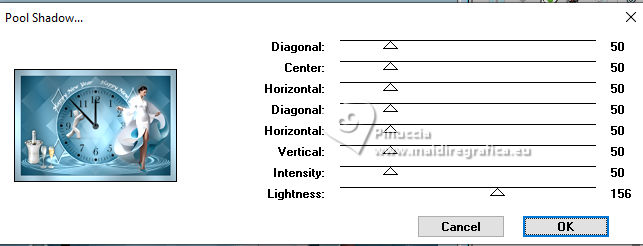
36. Effects>Plugins>Tramages - Pool Shadow.
37. Selections>Select All.
Selections>Modify>Contract - 10 pixels.
38. Effects>3D Effects>Inner Bevel.
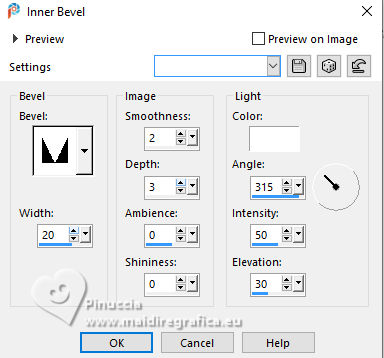
for my example, I changed the setting of Width to 10
Effects>3D Effects>Inner Bevel.
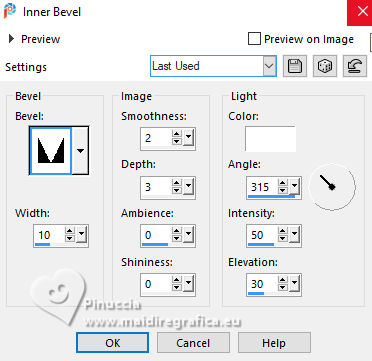
the choice is yours, comparing the difference.
Selections>Select None.
39. Sign your work.
Add the author and translator's watermarks.
40. Layers>Merge>Merge All and save as jpg.
For the tube of this version thanks Gabry

If you have problems or doubts, or you find a not worked link, or only for tell me that you enjoyed this tutorial, write to me.
12 November 2024

|

