|
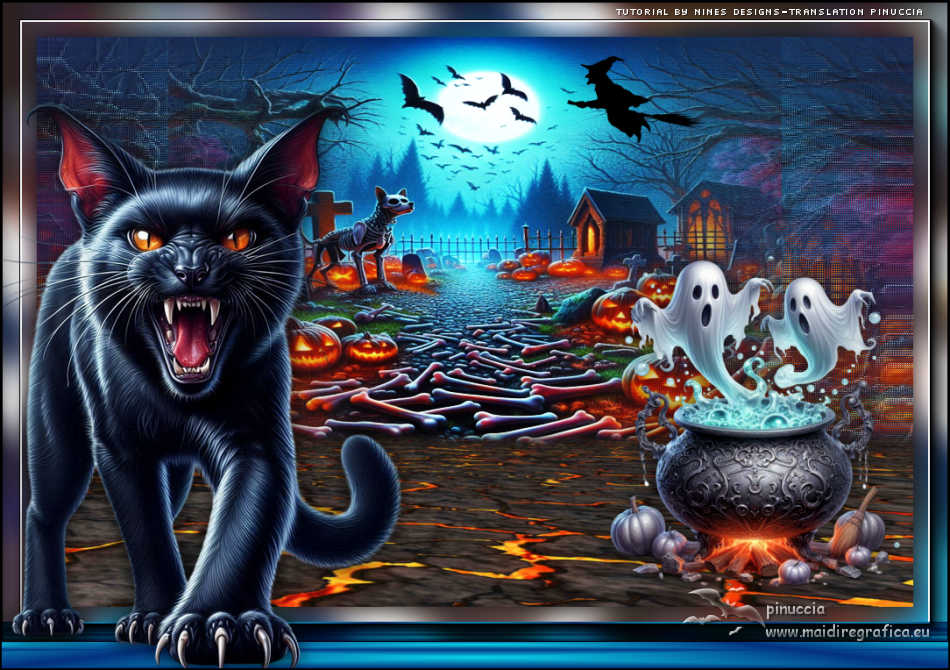
TOP HALLOWEEN


This tutorial was translated with PSPX9 and PSP2020, but it can also be made using other versions of PSP.
Since version PSP X4, Image>Mirror was replaced with Image>Flip Horizontal,
and Image>Flip with Image>Flip Vertical, there are some variables.
In versions X5 and X6, the functions have been improved by making available the Objects menu.
In the latest version X7 command Image>Mirror and Image>Flip returned, but with new differences.
See my schedule here
 French translation here French translation here
 Your versions here Your versions here
For this tutorial, you will need:

Thanks for the tubes Virginia and Riet.
(you find here the links to the material authors' sites)

consult, if necessary, my filter section here
Filters Unlimited 2.0 here
Funhouse - Loom here
Simple - Diamonds here
Mura's Meister - Perspective Tiling here
AAA Frames - Foto Frame here
Filters Funhouse and Simple can be used alone or imported into Filters Unlimited.
(How do, you see here)
If a plugin supplied appears with this icon  it must necessarily be imported into Unlimited it must necessarily be imported into Unlimited

You can change Blend Modes according to your colors.
In the newest versions of PSP, you don't find the foreground/background gradient (Corel_06_029).
You can use the gradients of the older versions.
The Gradient of CorelX here

1. Open a new transparent image 1000 x 650 pixels.
2. Selections>Select All.
Open the image paper_EF(19) 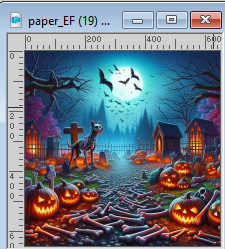
Edit>Copy.
Go back to your work and go to Edit>Paste into Selection.
Selections>Select None.
3. Effects>Plugins>Filters Unlimited 2.0 - Funhouse - Loom.
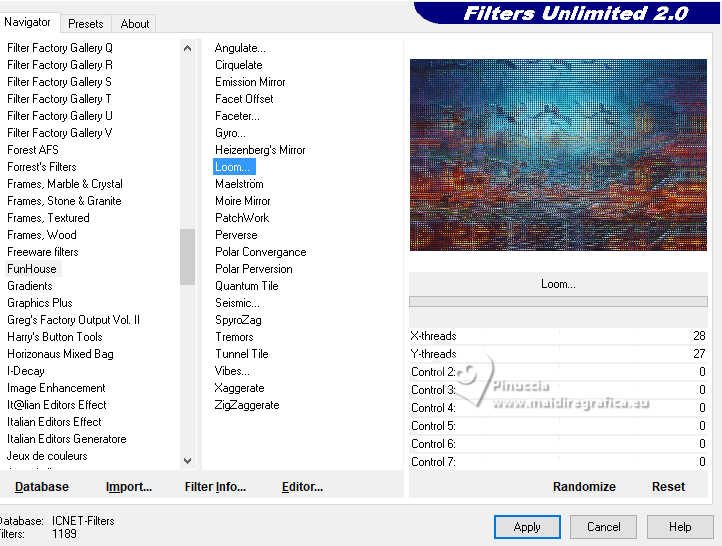
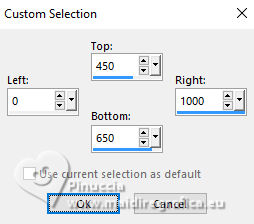
4. Activate your Selection Tool 
(no matter the type of selection, because with the custom selection your always get a rectangle)
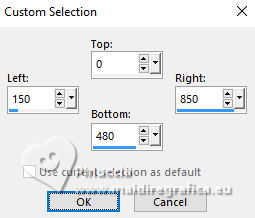
clic on the Custom Selection 
and set the following settings.
5. Layers>New Raster Layer.
Edit>Paste into Selection - the image paper_EF(19) is still in memory.
Selections>Select None.
6. Layers>New Mask layer>From image
Open the menu under the source window and you'll see all the files open.
Select the mask ketmaskdoblefadelateral.
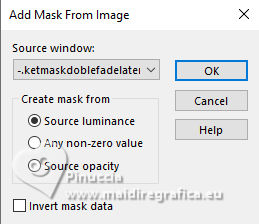
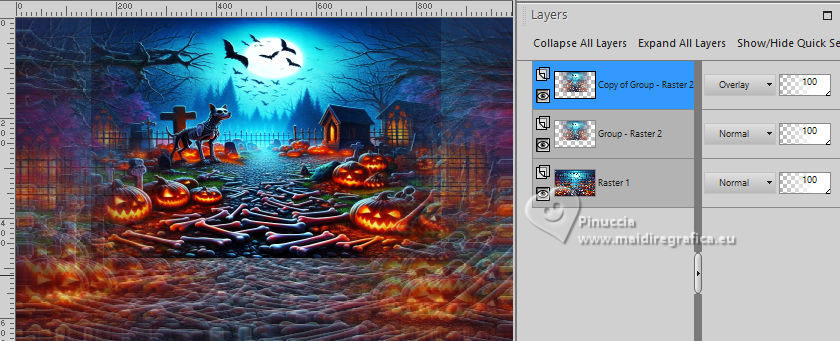
To better blur the edges of the image I did: Layers>Duplicate.
Layers>Merge>Merge Group.
Layers>Duplicate.
Change the Blend Mode of this layer to Overlay.
7. Custom Selection 
8. Layers>New Raster Layer.
Open lave8 by Helenem 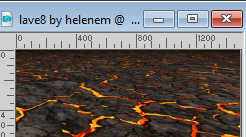
Edit>Copy.
Go back to your work and go to Edit>Paste into Selection.
9. Activate your Magic Wand Tool  , tolerance 0 and feather 20 , tolerance 0 and feather 20

Click in the transparent part to select it.
Press 3/4 fois CANC on the keyboard 
Selections>Select None.
10. Open the tube Riet_913_201022 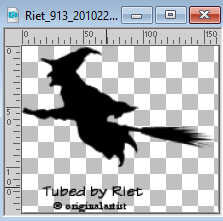
Erase the watermark and go to Edit>Copy.
Go back to your work and go to Edit>Paste as new layer.
Move  the tube at the upper right. the tube at the upper right.
11. Open the tube CV_Halloween_0038 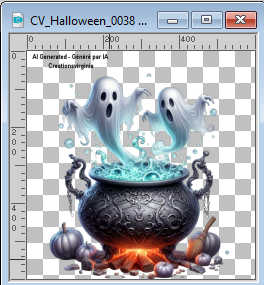
Erase the watermark and go to Edit>Copy.
Go back to your work and go to Edit>Paste as new layer.
Move  the tube at the bottom right. the tube at the bottom right.
12. Effects>3D Effects>Drop Shadow, color #000000.

13. Layers>Merge>Merge visible.
14. Selections>Select All.
Image>Add Borders, 40 pixels, symmetric, color #ffffff.
Selections>Invert.
15. Effects>Plugins>Filters Unlimited 2.0 - Simple - Diamonds.
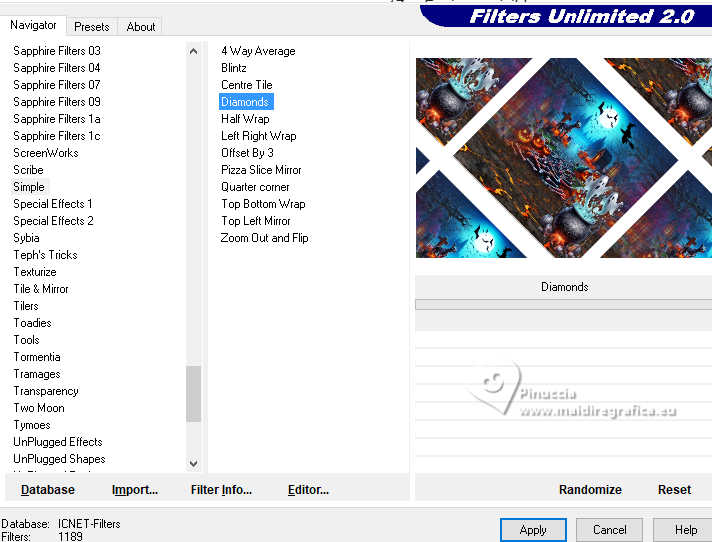
16. Adjust>Blur>Gaussian Blur - radius 20.

17. Selections>Invert.
Effects>3D Effects>Drop Shadow, same settings.

18. Selections>Select All.
Effects>Plugins>AAA Frames - Foto Frame.
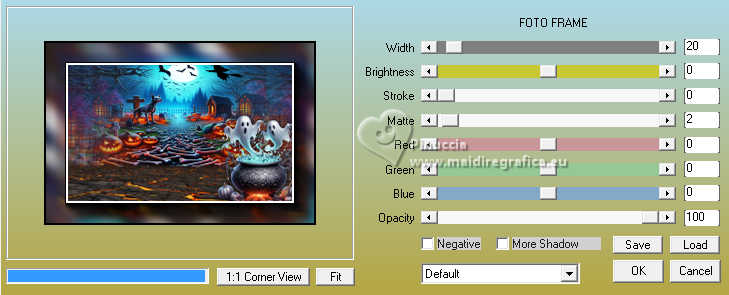
Selections>Select None.
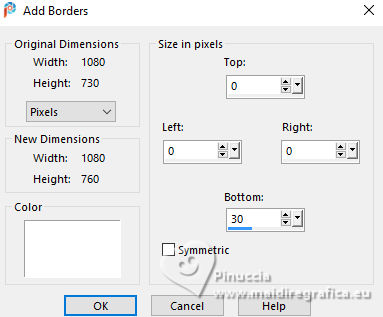
19. Image>Add borders, symmetric not checked, color #ffffff.
20. Activate your Magic Wand Tool 
(don't forget to set again the feather to 0)
and click in the white border to select it.
21. Set your foreground color to #0ad6ec,
and your background color to #04317e.
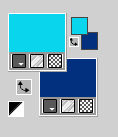
Set your foreground color to a Foreground/Background Gradient, style Rectangular.
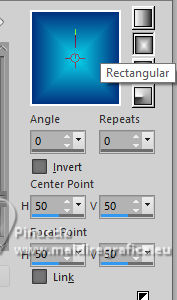
Layers>New Raster Layer.
Flood Fill  the selection with your Gradient. the selection with your Gradient.
Selections>Select None.
22. Effects>Plugins>Mura's Meister - Perspective Tiling.
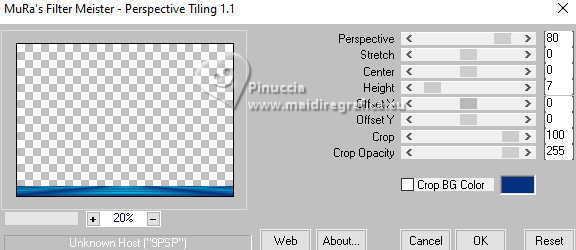
23. Change the Blend Mode of this layer to Multiply.
24. Open element_EF(75) 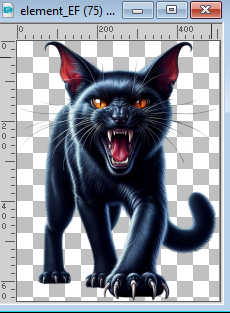
Edit>Copy.
Go back to your work and go to Edit>Paste as new layer.
Move  the tube to the left side. the tube to the left side.
25. Effects>3D Effects>Drop shadow, color #000000.

26. Add the author's watermark, without forgetting the translator's
Sign your work.
27. Layers>Merge>Merge All.
28. Image>Add Borders, 2 pixels, symmetric, color #000000.
Save as jpg.
For the main tube thanks Bella Caribeña

 Your versions here Your versions here


If you have problems or doubts, or you find a not worked link, or only for tell me that you enjoyed this tutorial, write to me.
20 October 2025

|

