|
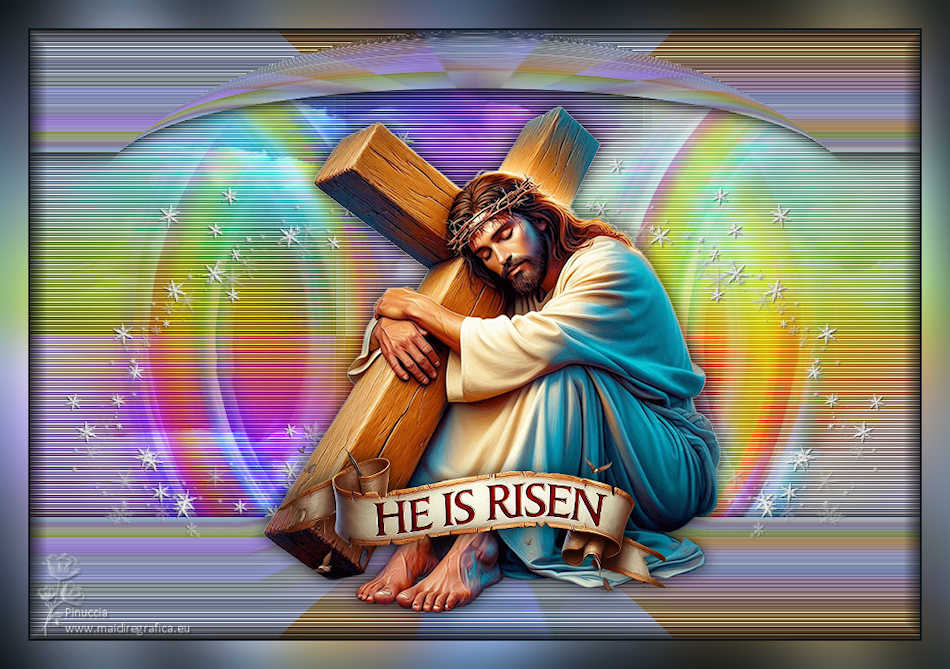
TOP HE IS RISEN


This tutorial was translated with PSPX7 but it can also be made using other versions of PSP.
Since version PSP X4, Image>Mirror was replaced with Image>Flip Horizontal,
and Image>Flip with Image>Flip Vertical, there are some variables.
In versions X5 and X6, the functions have been improved by making available the Objects menu.
In the latest version X7 command Image>Mirror and Image>Flip returned, but with new differences.
See my schedule here
 French translation here French translation here
 Your versions here Your versions here
For this tutorial, you will need:

Thanks for the tubes AigenbyCaz.
(you find here the links to the material authors' sites)

consult, if necessary, my filter section here
Filters Unlimited 2.0 here
Tramages - Pool Shadow here
Mura's Meister - Perspective Tiling here
Mura's Meister - Pole Transform here
Carolaine and Sensibility - CS_Texture here
FM Tile Tools - Saturation Emboss here
Filters Tramages can be used alone or imported into Filters Unlimited.
(How do, you see here)
If a plugin supplied appears with this icon  it must necessarily be imported into Unlimited it must necessarily be imported into Unlimited

You can change Blend Modes according to your colors.

Copy the texture 58 in the Textures Folder.
Open the mask in PSP and minimize it with the rest of the material.
1. Open a new transparent image 950 x 650 pixels.
2. Selections>Select All.
Open Rainbow-Cotton-Candy-Cloud 1(1) 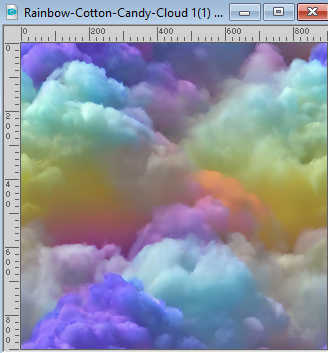
Edit>Copy.
Go back to your work and go to Edit>Paste into Selection.
Selections>Select None.
3. Adjust>Blur>Radial Blur.
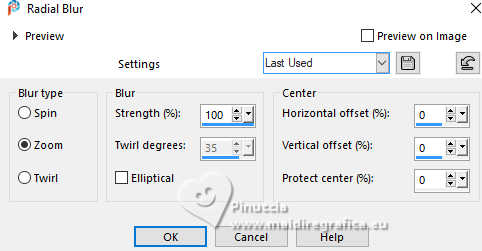
4. Effects>Plugins>Mehdi - Sorting Tiles.
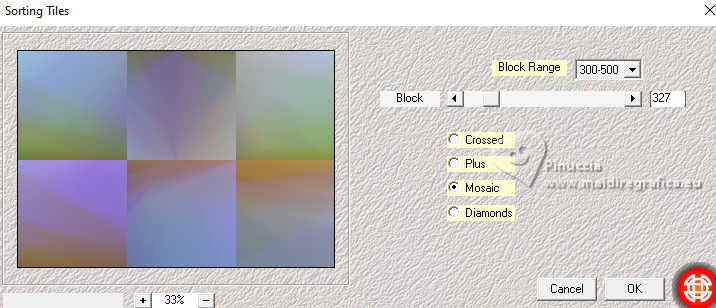
5. Effects>Plugins>Carolaine and Sensibility - CS_Texture, default settings.

Effects>Edge Effects>Enhance.
6. Selections>Select All.
Layers>New Raster Layer.
7. Edit>Paste into Selection (the image Rainbow-Cotton-Candy-Cloud 1(1) is still in memory).
Selections>Select None.
8. Layers>Load/Save Mask>Load Mask from Disk.
Look for and load the mask 20-20.
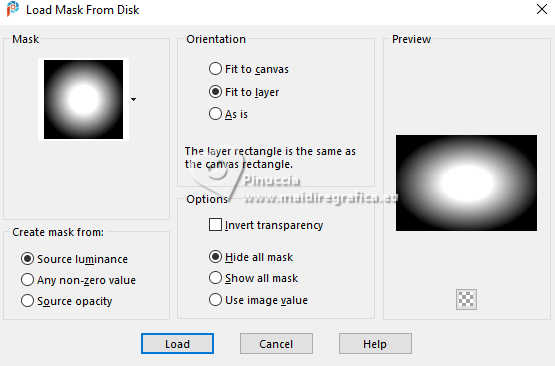
Layers>Merge>Merge Group.
9. Effects>Plugins>FM Tile Tools - Saturatione Emboss, default settings.

10. Change the Blend Mode of this layer to Hard Light.
11. Layers>Duplicate.
Effects>Plugins>Mura's Meister - Pole Transform.
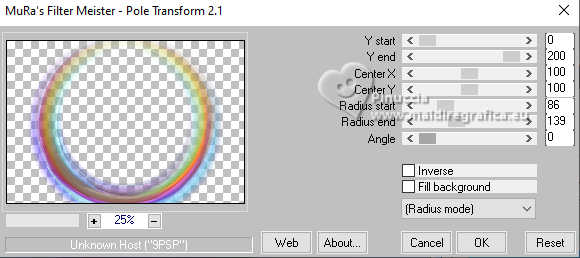
12. Effects>Image Effects>Seamless Tiling, Side by Side.

13. Activate your bottom layer, Raster 1.
Layers>Duplicate.
14. Effects>Plugins>Mura's Meister - Perspective Tiling.
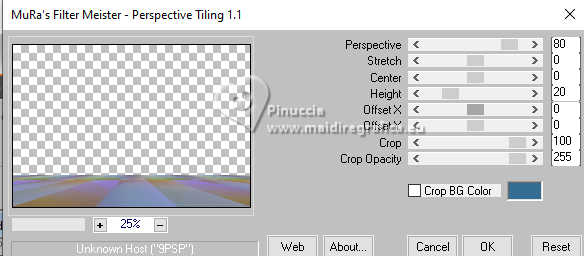
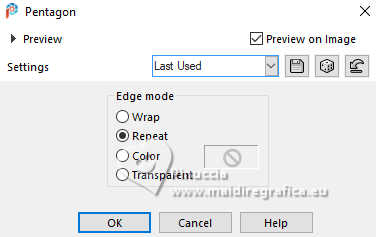
15. Effects>Geometric Effects>Pentagon
16. Effects>3D Effects>Drop Shadow, color #000000.

17. Layers>Arrange>Bring to Top.
Layers>Duplicate.
Image>Mirror>Mirror vertical (Image>Flip).
18. Effects>Geometric Effects>Spherize.
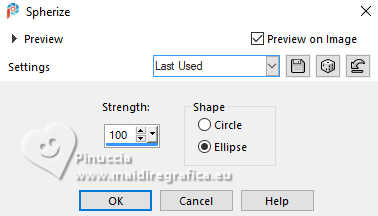
19. Effects>3D Effects>Drop Shadow, color #000000.
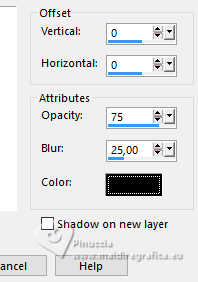
20. Open BS17-Copos 
Edit>Copy.
Go back to your work and go to Edit>Paste as new layer.
21. Effects>Image Effects>Offset.
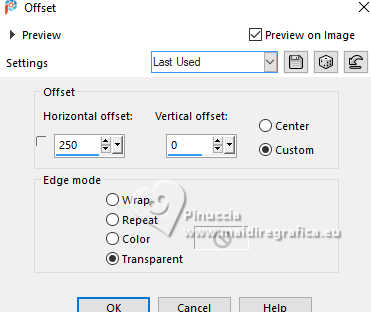
22. Effects>3D Effects>Drop Shadow, color #000000.
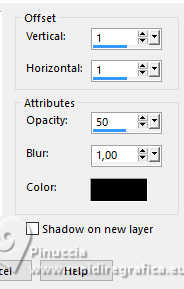
23. Layers>Duplicate.
Layers>Merge>Merge Down.
24. Layers>Duplicate.
Image>Mirror>Mirror horizontal (Image>Mirror).
25. Open the tube aigenbycaz_jesusateaster (1) 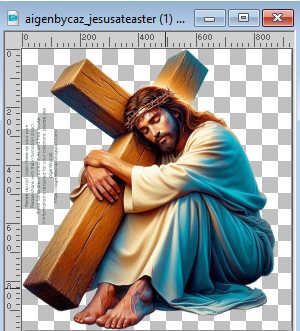
Erase the watermark and go to Edit>Copy.
Go back to your work and go to Edit>Paste as new layer.
Image>Resize, 1 time to 70% and 1 time to 80%, resize all layers not checked.
Place  the tube in the center. the tube in the center.
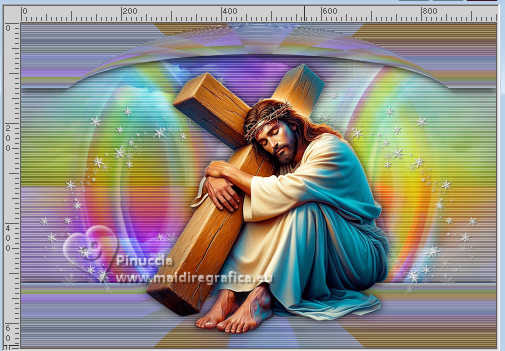
26. Effects>3D Effects>Drop Shadow, color #000000.

27. Open aigenbycaz_heisriseningns(8) 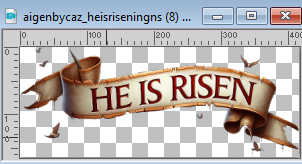
Edit>Copy.
Go back to your work and go to Edit>Paste as new layer.
Place  the image over the tube. the image over the tube.

Effects>3D Effects>Drop Shadow, same settings.
28. Layers>Merge>Merge All.
29. Image>Add borders, 2 pixels, symmetric, color #0b354d.
Edit>Copy.
30. Image>Add borders, 30 pixels, symmetric, color #ffffff.
Activate your Magic Wand Tool  and click in the border to select it. and click in the border to select it.
Edit>Paste into Selection.
31. Adjust>Blur>Gaussian Blur - radius 25.

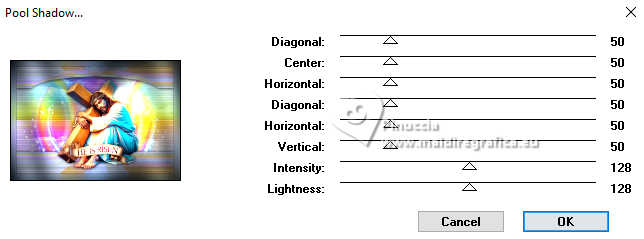
32. Effects>Plugins>Tramages - Pool Shadow, default settings.
33. Selections>Invert.
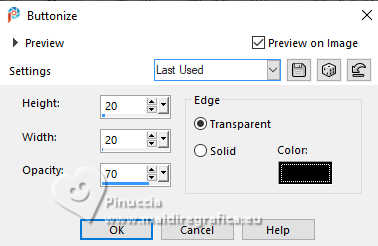
Effects>3D Effects>Buttonize, color #000000.
Selections>Select None.
34. Sign your work on a new layer.
Addr votre travail sur un nouveau calque.
Ajouter le watermark de l'auteur, sans oublier celui du traducteur.
35. Calques>Fusionner>Tous et enregistrer en jpg.
Add the watermark of the author and of the translator.
41. Layers>Merge>Merge All and save as jpg.
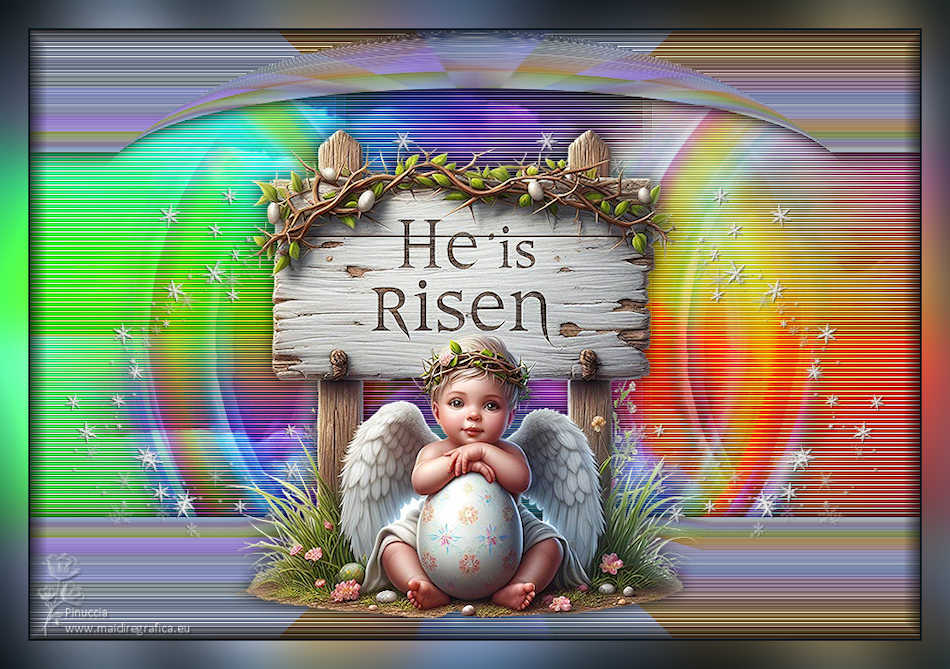
For the tube of this version thanks AigenbyCaz
 Your versions here Your versions here

If you have problems or doubts, or you find a not worked link, or only for tell me that you enjoyed this tutorial, write to me.
19 March 2024

|

