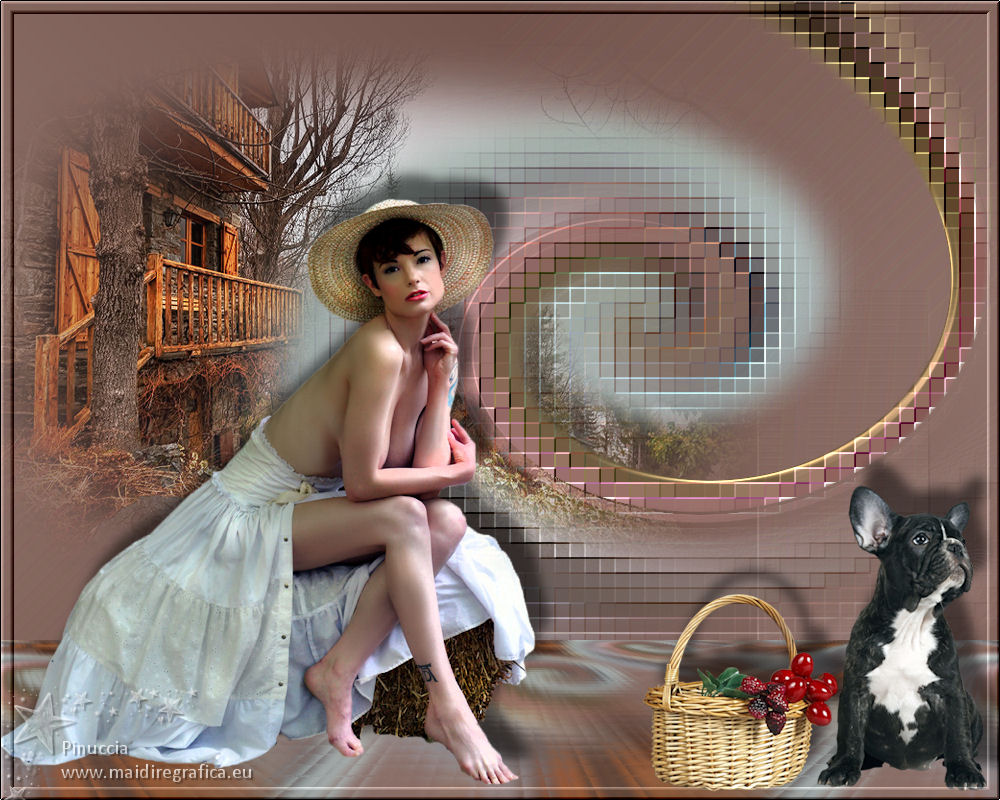
|
TOP MY STUFF


This tutorial was translated with PSPX7 but it can also be made using other versions of PSP.
Since version PSP X4, Image>Mirror was replaced with Image>Flip Horizontal,
and Image>Flip with Image>Flip Vertical, there are some variables.
In versions X5 and X6, the functions have been improved by making available the Objects menu.
In the latest version X7 command Image>Mirror and Image>Flip returned, but with new differences.
See my schedule here
 French translation here French translation here
 Your versions ici Your versions ici
For this tutorial, you will need:
Material
here
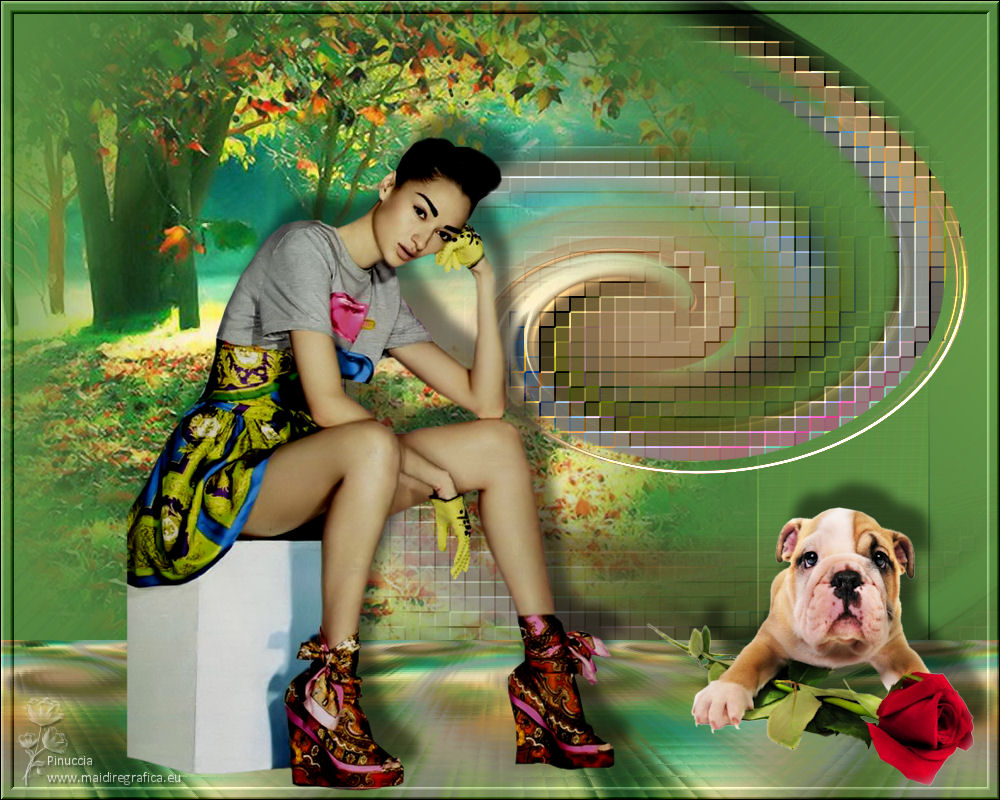
Tube1943_mulher_mara_pontes
Tube Grisi_Misted_Land_361
Tube 43_animabelle_tubes_animaux
(you find here the links to the material authors' sites)
Plugins
consult, if necessary, my filter section here
Filters Unlimited 2.0 here
DC Special - PerssianRug - Melt here
Mura's Meister - Perspective Tiling here
Bordermania - Frame 2 here
Filters DC Special can be used alone or imported into Filters Unlimited.
(How do, you see here)
If a plugin supplied appears with this icon  it must necessarily be imported into Unlimited it must necessarily be imported into Unlimited

You can change Blend Modes according to your colors.
In the newest versions of PSP, you don't find the foreground/background gradient (Corel_06_029).
You can use the gradients of the older versions.
The Gradient of CorelX here
Copy the preset Emboss 6 in the Presets Folder.
1. Open a new transparent image 1000 x 650 pixels.
2. Set your foreground color to #664740,
and your background color to #a0847c.
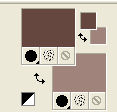
Set your foreground color to a Foreground/Background Gradient, style Linear.
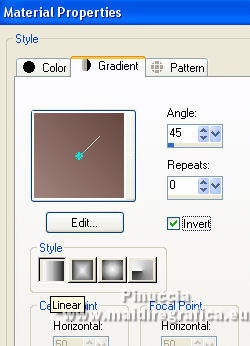
Flood Fill  the transparent image with your Gradient. the transparent image with your Gradient.
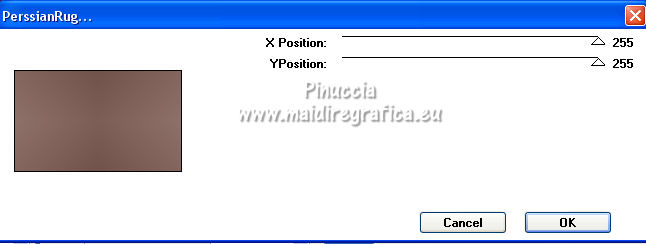
3. Effects>Plugins>DC Special - PerssianRug, default settings.
4. Effects>Plugins>DC Special - Melt.
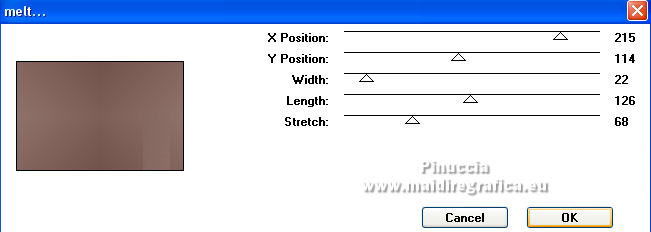
5. Effects>User Defined Filter - select the preset Emboss 6 and ok
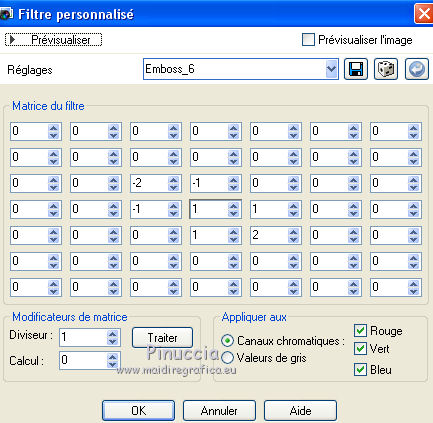
6. Open the tube Grisi_Misted_Land_361 and go to Edit>Copy.
Go back to your work and go to Edit>Paste as new layer.
7. Effects>Image Effects>Offset.
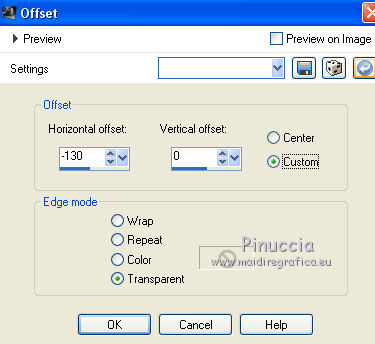
8. Layers>Duplicate.
Layers>Merge>Merge Down.
9. Open the tube 1943_mulher_mara_pontes and go to Edit>Copy.
Go back to your work and go to Edit>Paste as new layer.
10. Adjust>Blur>Radial Blur.
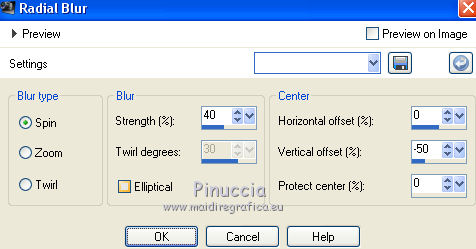
11. Effects>Distortion Effects>Twirl.
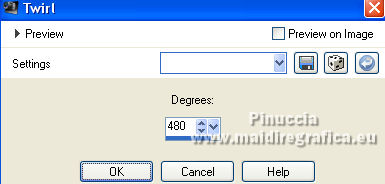
12. Effects>Distortion Effects>Pixelate.
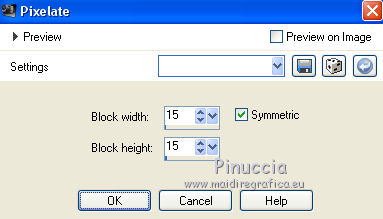
13. Effects>User Defined Filter - preset Emboss 6 and ok.
14. Effects>Image Effects>Offset.
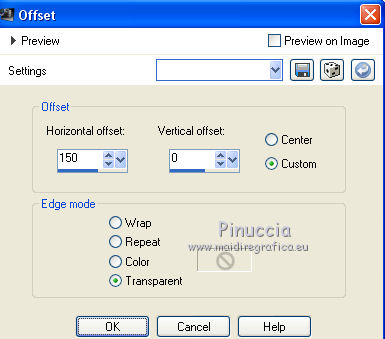
15. Layers>Merge>Merge visible.
16. Layers>Duplicate.
17. Effects>Image Effects>Seamless Tiling, default settings.

18. Adjust>Blur>Gaussian Blur - radius 15.

19. Effects>Texture Effects>Glass Mosaic.
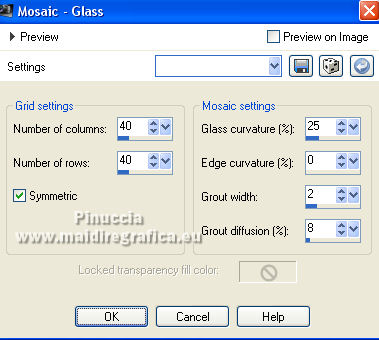
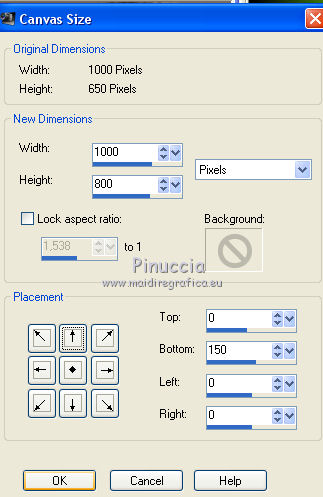
20. Image>Canvas Size - 1000 x 800 pixels.
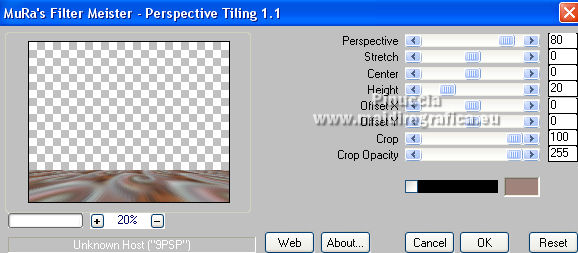
21. Effects>Plugins>Mura's Meister - Persperctive Tiling.
22. Effects>Image Effects>Seamless Tiling.

23. Open the tube 1943 mulher_mara_pontes and go to Edit>Copy.
Go back to your work and go to Edit>Paste as new layer.
Image>Resize, to 80%, resize all layers not checked.
Move  the tube to the left side. the tube to the left side.
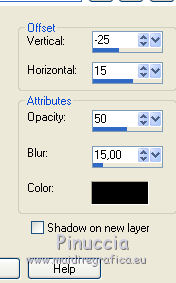
24. Effects>3D Effects>Drop Shadow, color black.
25. Open the tube 43_animabelle_tubes animaux and go to Edit>Copy.
Go back to your work and go to Edit>Paste as new layer.
Image>Resize, 4 times to 80%, resize all layers not checked.
Move  the tube at the bottom right. the tube at the bottom right.
26. Effects>3D Effects>Drop shadow, same settings.

27. Layers>Merge>Merge visible.
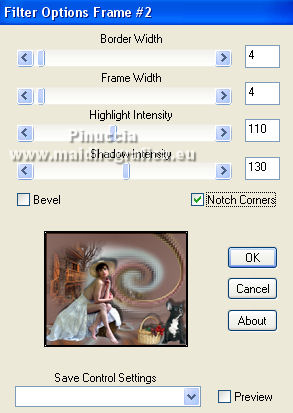
28. Effects>Plugins>Bordermania - Frame#2.
29. Sign your work on a new layer.
Layers>Merge>Merge All and save as jpg.
Version with tubes by Luz Cristina, LisaT and Lana
 Your versions here Your versions here

If you have problems or doubts, or you find a not worked link, or only for tell me that you enjoyed this tutorial, write to me.
9 Septembre 2021

|

