|
TOP ROJO Y ORO


This tutorial was translated with PSPX9 and PSP2020, but it can also be made using other versions of PSP.
Since version PSP X4, Image>Mirror was replaced with Image>Flip Horizontal,
and Image>Flip with Image>Flip Vertical, there are some variables.
In versions X5 and X6, the functions have been improved by making available the Objects menu.
In the latest version X7 command Image>Mirror and Image>Flip returned, but with new differences.
See my schedule here
 French translation here French translation here
 Your versions here Your versions here
For this tutorial, you will need:

Thanks for the tubes Kamil.
(you find here the links to the material authors' sites)

consult, if necessary, my filter section here
Filters Unlimited 2.0 here
AAA Frames - Foto Frame here
Eye Candy 4000 - Glass here
Eye Candy 3.1 - Perspective Shadow here
Mura's Meister - Perspective Tiling here
Alien Skin Eye Candy 5 Impact - Extrude here

You can change Blend Modes according to your colors.
In the newest versions of PSP, you don't find the foreground/background gradient (Corel_06_029).
You can use the gradients of the older versions.
The Gradient of CorelX here

Copy the Selection in the Selections Folder.
Open the golden pattern Gradiente oro in PSP and minimize it with the rest of the material.
1. Open a new transparent image 900 x 500 pixels.
Set your foreground color to #7f0504,
and your background color to #e20013.
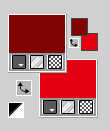
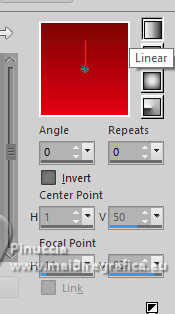
2. Set your foreground color to a Foreground/Background Gradient, style Linear.
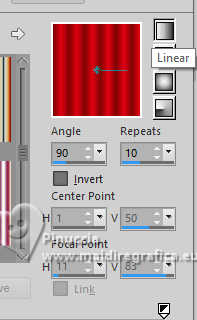
3. Selection Tool 
(no matter the type of selection, because with the custom selection your always get a rectangle)
clic on the Custom Selection 
and set the following settings.
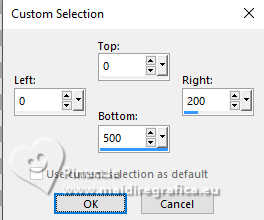
Flood Fill  the selection with your Gradient. the selection with your Gradient.
Selections>Select None.
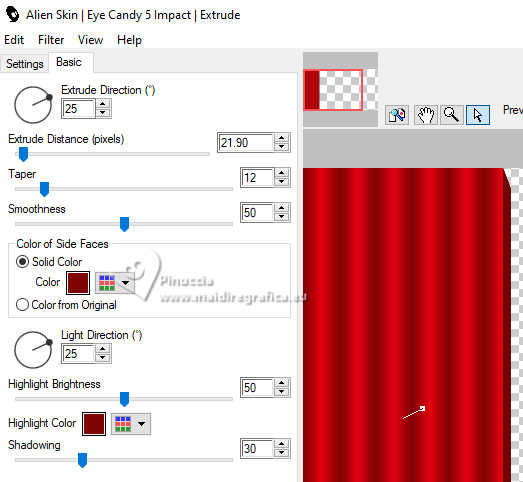
4. Effects>Plugins>Alien Skin Eye Candy 5 Impact - Extrude
both colors: foreground color #7f0504
5. Effects>3D Effects>Drop Shadow, color #000000.

6. Layers>Duplicate.
Image>Mirror>Mirror Horizontal.
Layers>Merge>Merge Down.
7. Layers>Duplicate.
Effects>Geometric Effects>Circle.
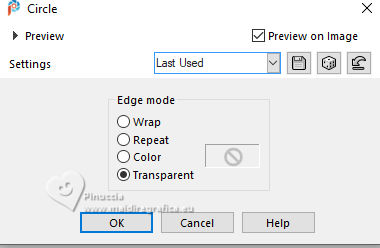
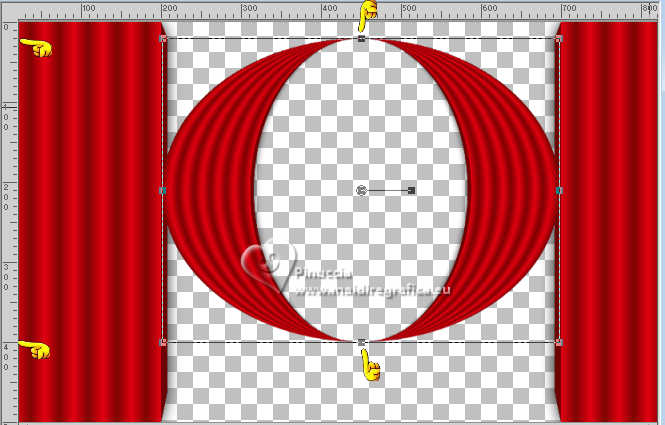
8. Activate your Pick Tool 
in mode Scale 
pull the top central node down, until 20 pixels,
and the bottom central node up, until 400 pixels.
9. Effects>3D Effects>Drop Shadow, color #000000.

Adjust>Sharpness>Sharpen More.
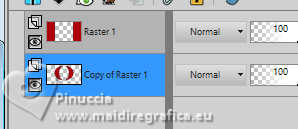
10. Layers>Arrange>Send to Bottom (under the layer Raster 1).
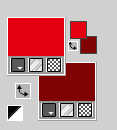
11. Invert the palette's colors
foreground color #e20013,
background color #7f0504,
Change the settings of your Gradient: angle and repeats 0
12. Layers>New Raster Layer.
Layers>Arrange>Move Down.
Flood Fill the layer with your Gradient.
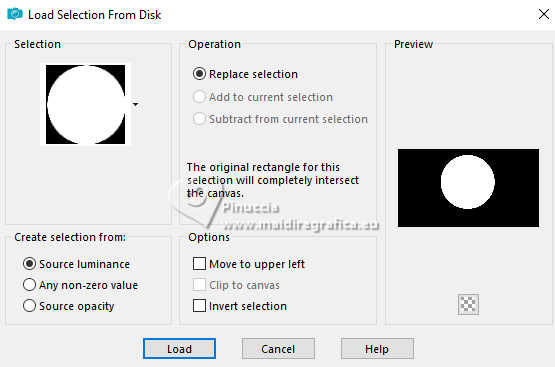
13. Selections>Load/Save Selection>Load Selection from Disk.
Look for and load the selection sel.535.nines
Selections>Promote Selection to Layer.
Layers>Arrange>Bring to top.
14. Selections>Modify>Contract - 10 pixels.
15. Layers>New Raster Layer.
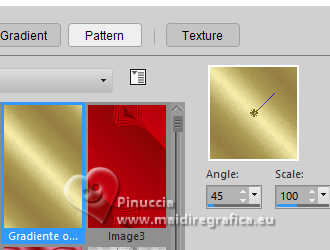
Set your foreground color to Pattern and select the golden pattern Gradiente oro
For my translation, these are the settings
Flood Fill  the layer with your golden pattern. the layer with your golden pattern.
16. Selections>Modify>Contract - 5 pixels.
Press CANC on the keyboard 
Selections>Select None.
17. Layers>Merge>Merge Down.
18. Effects>3D Effects>Drop Shadow, color #000000.

19. Layers>Merge>Merge visible.
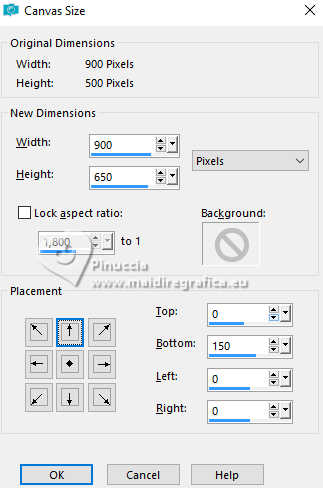
20. Image>Canvas Size- 900 x 650 pixels.
21. Layers>Duplicate.
Adjust>Blur>Gaussian Blur - radius 15.

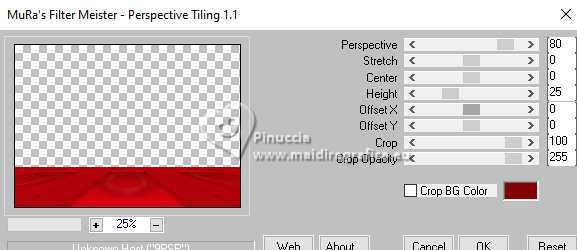
22. Effects>Plugins>Mura's Meister - Perspective Tiling.
23. Open cuadrado_dorado_nines 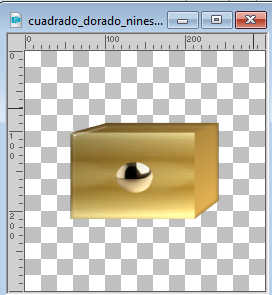
Edit>Copy.
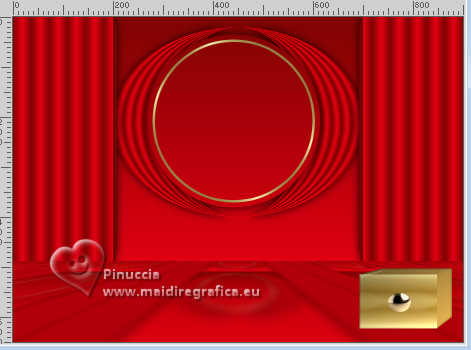
Go back to your work and go to Edit>Paste as new layer.
Move  the tube to the right. the tube to the right.
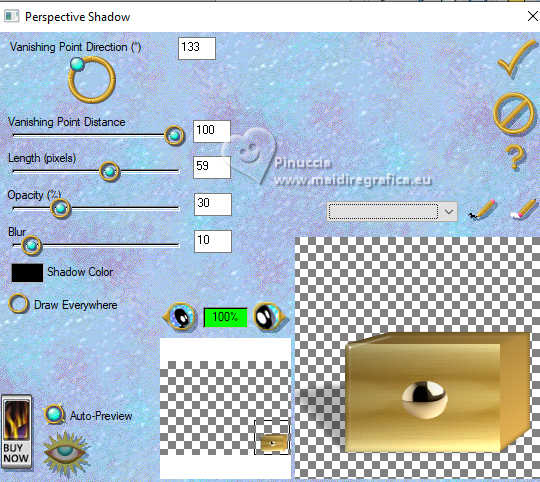
24. Effects>Plugins>Eye Candy 3.1 - Perspective Shadow - color #000000.
25. Effects>3D Effects>Drop Shadow, color #000000.

26. Open KamilTube-1021-Deco 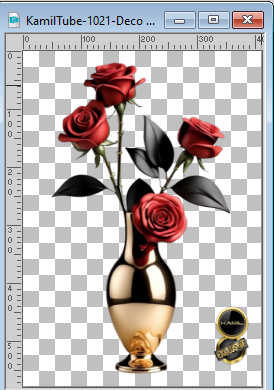
Erase the watermark and go to Edit>Copy.
Go back to your work and go to Edit>Paste as new layer.
Image>Resize, 1 time to 80% and 1 time to 90%, resize all layers not checked.
Place  the tube on the golden cadre. the tube on the golden cadre.
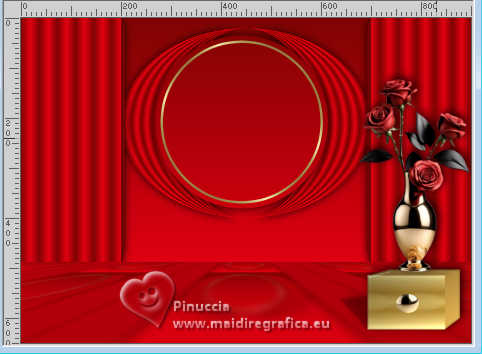
Effects>3D Effects>Drop Shadow, same settings.
27. Open KamilTube-1033-Animals 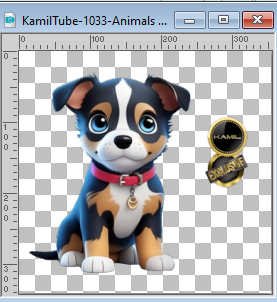
Erase the watermark and go to Edit>Copy.
Go back to your work and go to Edit>Paste as new layer.
Image>Resize, to 80%, resize all layers not checked.
Move  the tube to the left side. the tube to the left side.
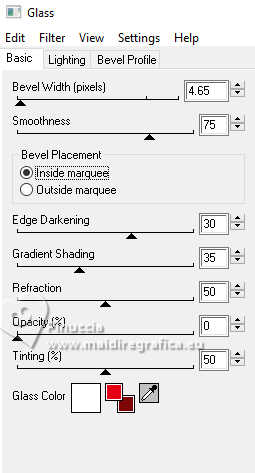
28. Effects>Plugins>Eye Candy 4000 - Glass.
Glass color: #ffffff
29. Effects>Plugins>Eye Candy 3.1 - Perspective Shadow - color #000000.
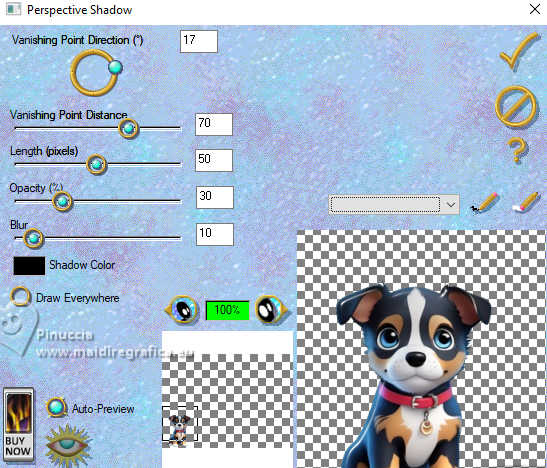
30. Open KamilTube-1005 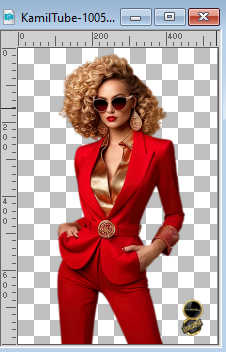
Erase the watermark and go to Edit>Copy.
Go back to your work and go to Edit>Paste as new layer.
Image>Resize, to 90%, resize all layers not checked.
Move  the tube down, as below the tube down, as below
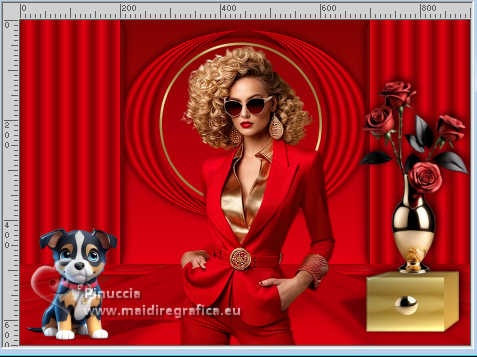
31. Effects>Plugins>Eye Candy 3.1 - Perspective Shadow - color #000000.
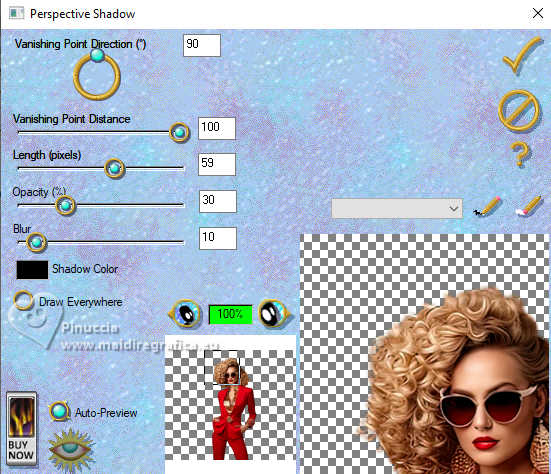
32. Sign your work on a new layer.
Add the author's and the translator's watermarks.
33. Layers>Merge>Merge All.
34. Image>Add borders, 2 pixels, symmetric, color #830505.
Image>Add borders, 5 pixels, symmetric, color #d3a54d.
Image>Add borders, 30 pixels, symmetric, color #830505.
35. Effects>Plugins>AAA Frames - Foto Frame.
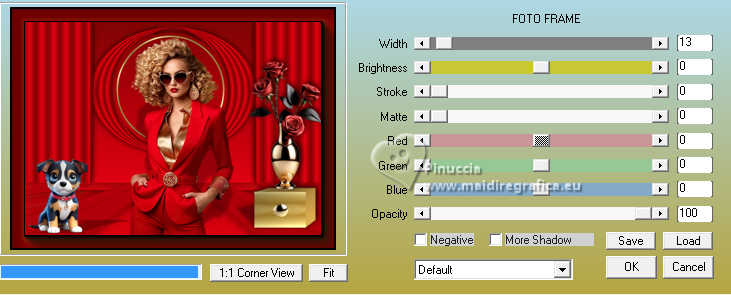
36. Save as jpg.
For the tubes of this version thanks Kamil and DBK Katrina

 Your versions here Your versions here

If you have problems or doubts, or you find a not worked link, or only for tell me that you enjoyed this tutorial, write to me.
14 September July 2024

|

