|
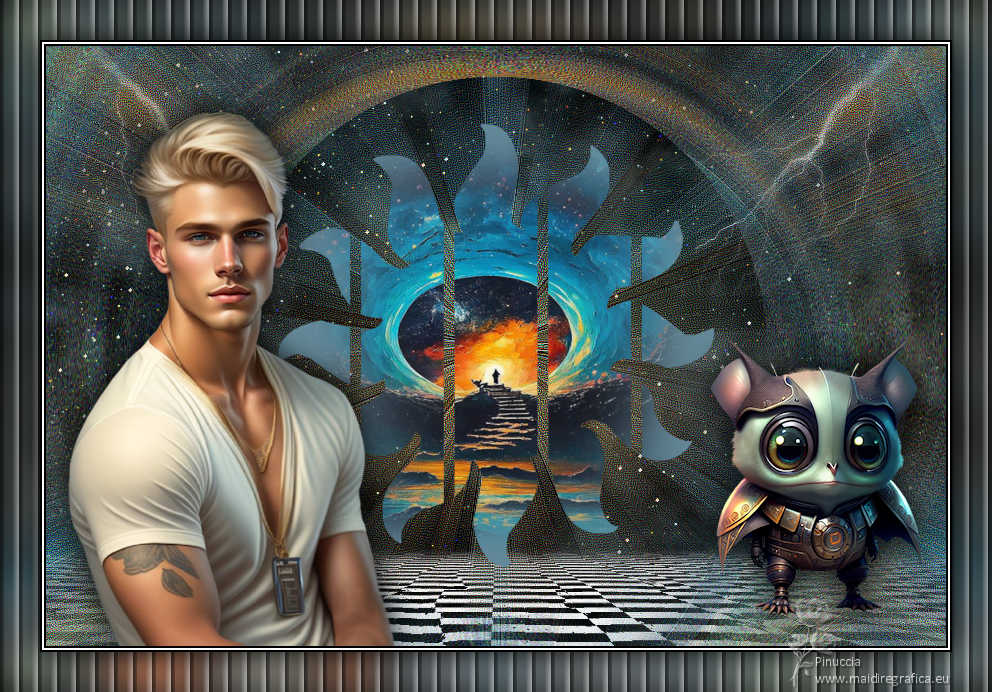
TOP SLATS FANTASIE


This tutorial was translated with PSPX7 but it can also be made using other versions of PSP.
Since version PSP X4, Image>Mirror was replaced with Image>Flip Horizontal,
and Image>Flip with Image>Flip Vertical, there are some variables.
In versions X5 and X6, the functions have been improved by making available the Objects menu.
In the latest version X7 command Image>Mirror and Image>Flip returned, but with new differences.
See my schedule here
 French translation here French translation here
 Your versions here Your versions here
For this tutorial, you will need:

Thanks for the tube Lana, Colybrix and Tineke.
(you find here the links to the material authors' sites)

consult, if necessary, my filter section here
Filters Unlimited 2.0 here
Toadies - 3D Checkers here
Graphics Plus - Panel Stripes here
Mura's Meister - Perspective Tiling here
Mura's Meister - Pole Transform here
Flaming Pear - Glitterato here
Filters Toadies and Graphics Plus can be used alone or imported into Filters Unlimited.
(How do, you see here)
If a plugin supplied appears with this icon  it must necessarily be imported into Unlimited it must necessarily be imported into Unlimited

You can change Blend Modes according to your colors.

1. Open a new transparent image 900 x 600 pixels.
2. Effects>Plugins>Flaming Pear - Glitterato
colors #e3dc1b - #61d890 - #62849a - #7d7e6a
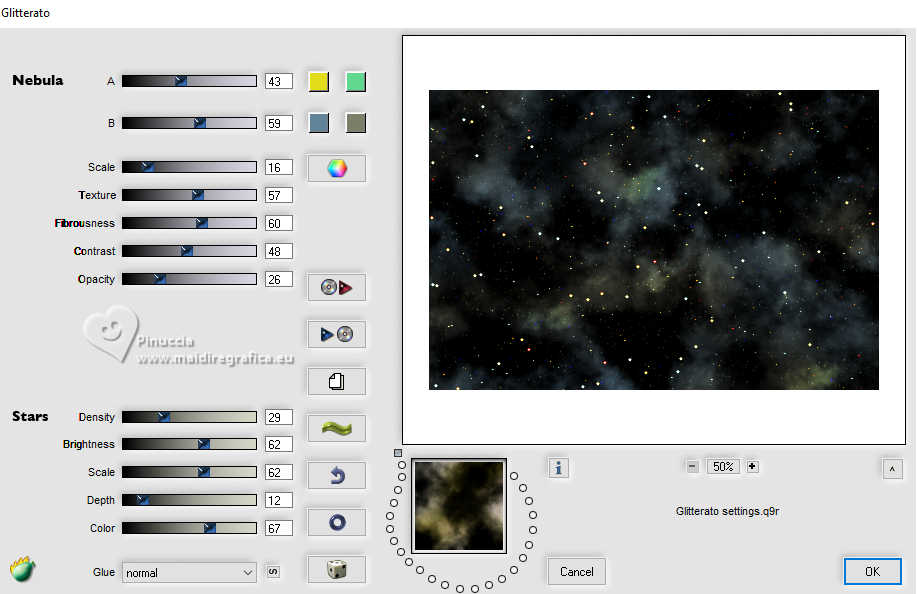
If you want to change the background colors,
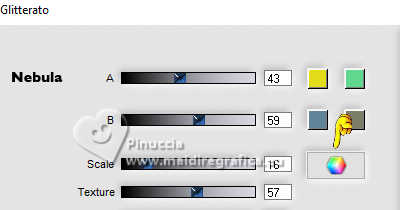
click on the die until you see the result you prefer.
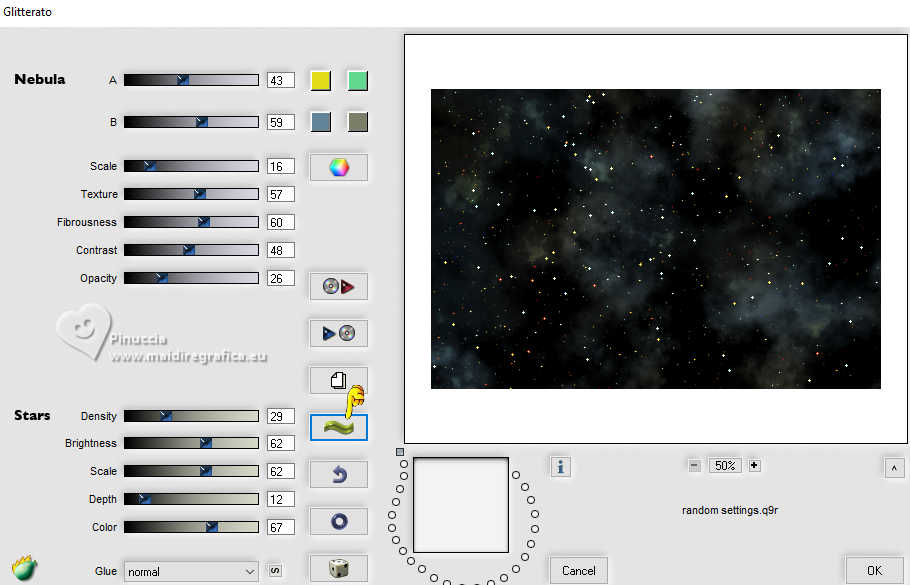
if you want to change the appearance of the sky without changing the colors,
click on the green wave
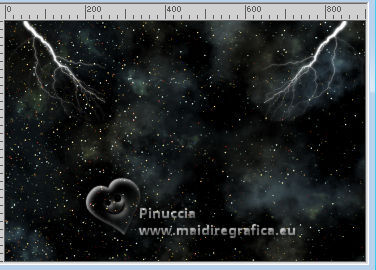
3. Open Adorno_Rayos_nines 
Edit>Copy.
Go back to your work and go to Edit>Paste as new layer.
Objects>Align>Top.
4. Open TD_Slats_015 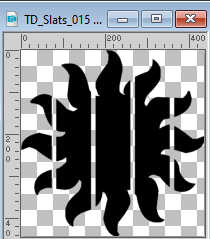
Edit>Copy.
Go back to your work and go to Edit>Paste as new layer.
5. Set your foreground color to #658999.
Selections>Select All.
Selections>Float.
Selections>Defloat.
Layers>New Raster Layer.
Flood Fill  the layer with your foreground color #658999. the layer with your foreground color #658999.
6. Open chemin-escalier-coly 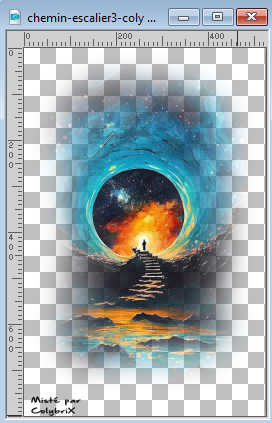
Erase the watermark et Edit>Copy.
Go back to your work and go to Edit>Paste into Selection.
Selections>Select None.
7. Effects>3D Effects>Drop Shadow, color #000000.

8. And now you can delete the calque Raster 3 of the black slat.
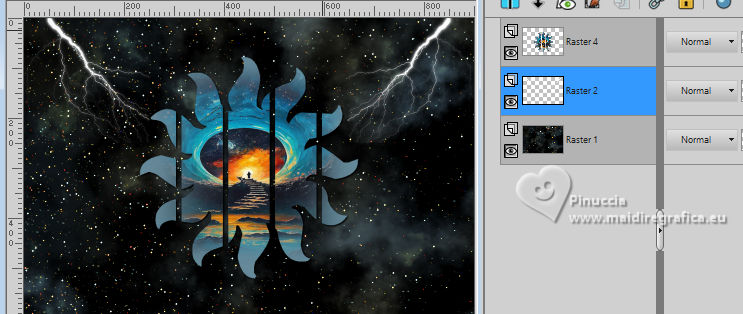
Activate your top layer.
Layers>Duplicate, and close this layer for the moment.
9. Activate the layer above of the original.
Effects>Image Effects>Seamless Tiling, default settings.

10. Adjust>Blur>Radial Blur.
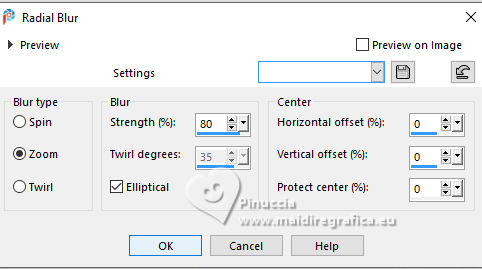
Effects>Edge Effects>Enhance more - 2 times.
11. Layers>Duplicate.
Effects>Plugins>Mura's Meister - Pole Transform.
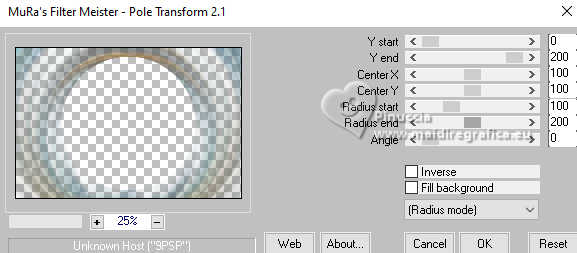
12. Open the layer above of the copy,
and activate your bottom layer, Raster 1.
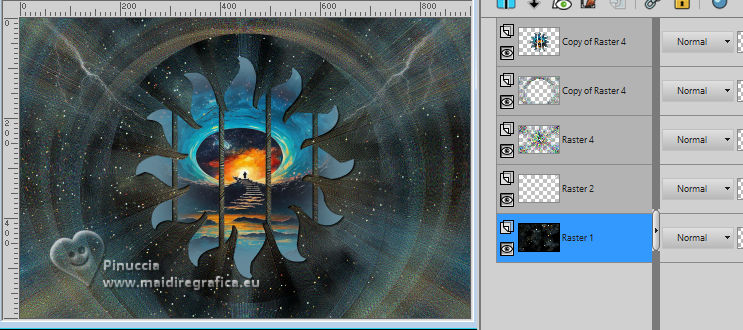
13. Selection Tool 
(no matter the type of selection, because with the custom selection your always get a rectangle)
clic on the Custom Selection 
and set the following settings.
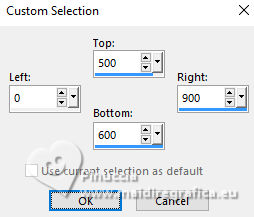
Selections>Promote Selection to Layer.
Keep selected.
14. Effects>Plugins>Toadies - 3D Checkers
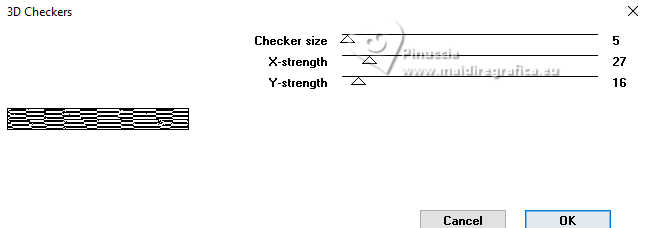
15. Effects>Plugins>Mura's Meister - Perspective Tiling.

Selections>Select None.
16. Activate your Magic Wand Tool  , tolerance and feather 20 , tolerance and feather 20

Click in the transparent part to select it.
Press 7 times CANC on the keyboard 
Selections>Select None.
Don't forget to set again tolerance and feather to 0.
17. Activate your top layer.
Open the tube LD-male model-121 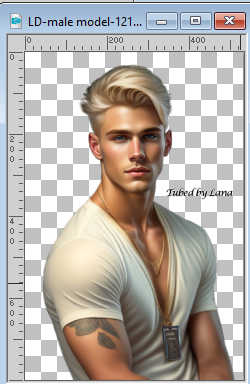
Erase the watermark and go to Edit>Copy.
Go back to your work and go to Edit>Paste as new layer.
Image>Resize, to 70%, resize all layers not checked.
18. Effects>3D Effects>Drop Shadow, color #000000.
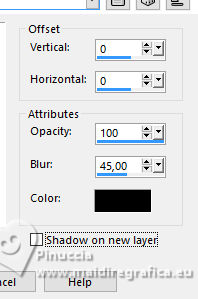
Move  the tube to the left side. the tube to the left side.
19. Open the tube Tineke's tubes-1166-fantasie 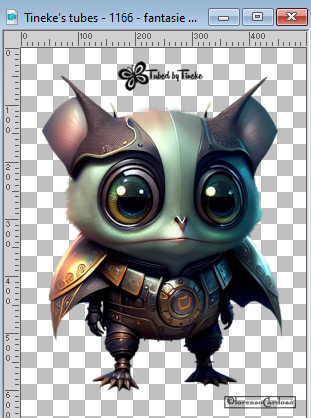
Erase the watermark and go to Edit>Copy.
Go back to your work and go to Edit>Paste as new layer.
Image>Resize, to 50%, resize all layers not checked.
Effects>3D Effects>Drop Shadow, same settings.
Move  the tube to the right. the tube to the right.
20. Sign your work.
Add the author and translator's watermarks.
21. Layers>Merge>Merge All.
22. Image>Add borders, 2 pixels, symmetric, color #000000.
Image>Add borders, 2 pixels, symmetric, color #ffffff.
Image>Add borders, 2 pixels, symmetric, color #000000.
23. Edit>Copy
24. Image>Add borders, 40 pixels, symmetric, color #ffffff.
Select this border with your Magic Wand Tool  , tolerance and feather 0 , tolerance and feather 0
Edit>Paste into Selection
25. Adjust>Blur>Gaussian Blur - radius 15.

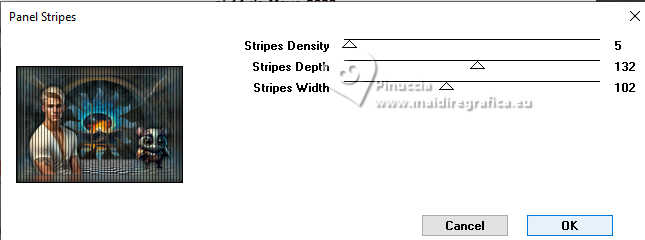
26. Effects>Plugins>Graphics Plus - Panel Stripes
27. Selections>Invert.
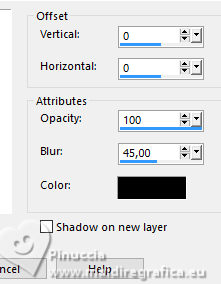
Effects>3D Effects>Drop Shadow, color #000000.
Selections>Select None.
28. Save as jpg.
For the tubes of this version thanks Silvie
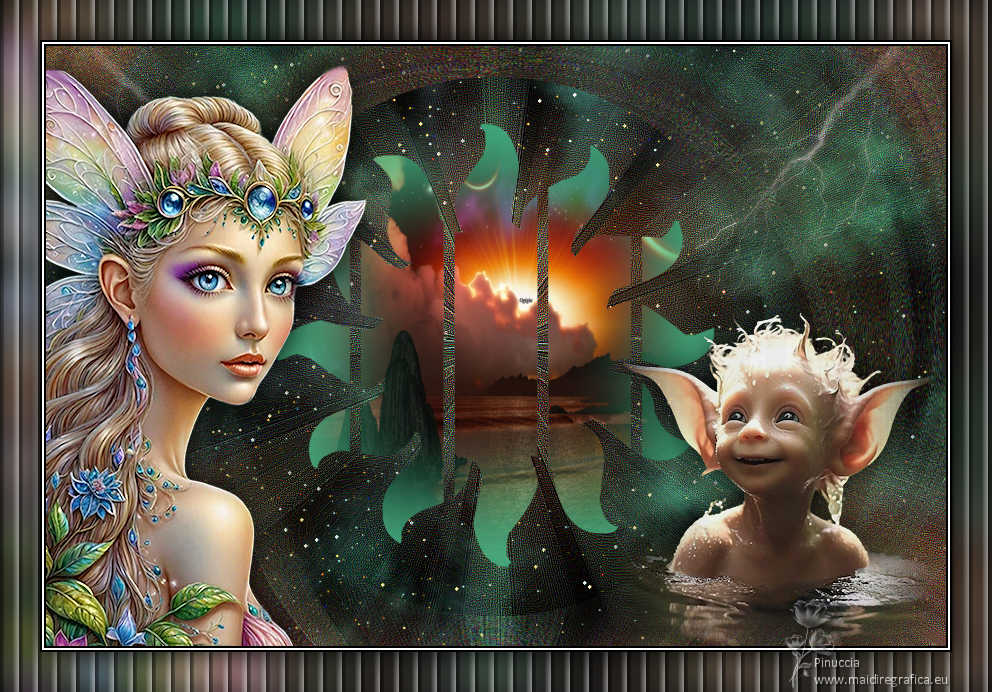
 Your versions here Your versions here

If you have problems or doubts, or you find a not worked link, or only for tell me that you enjoyed this tutorial, write to me.
27 March 2024

|

