|
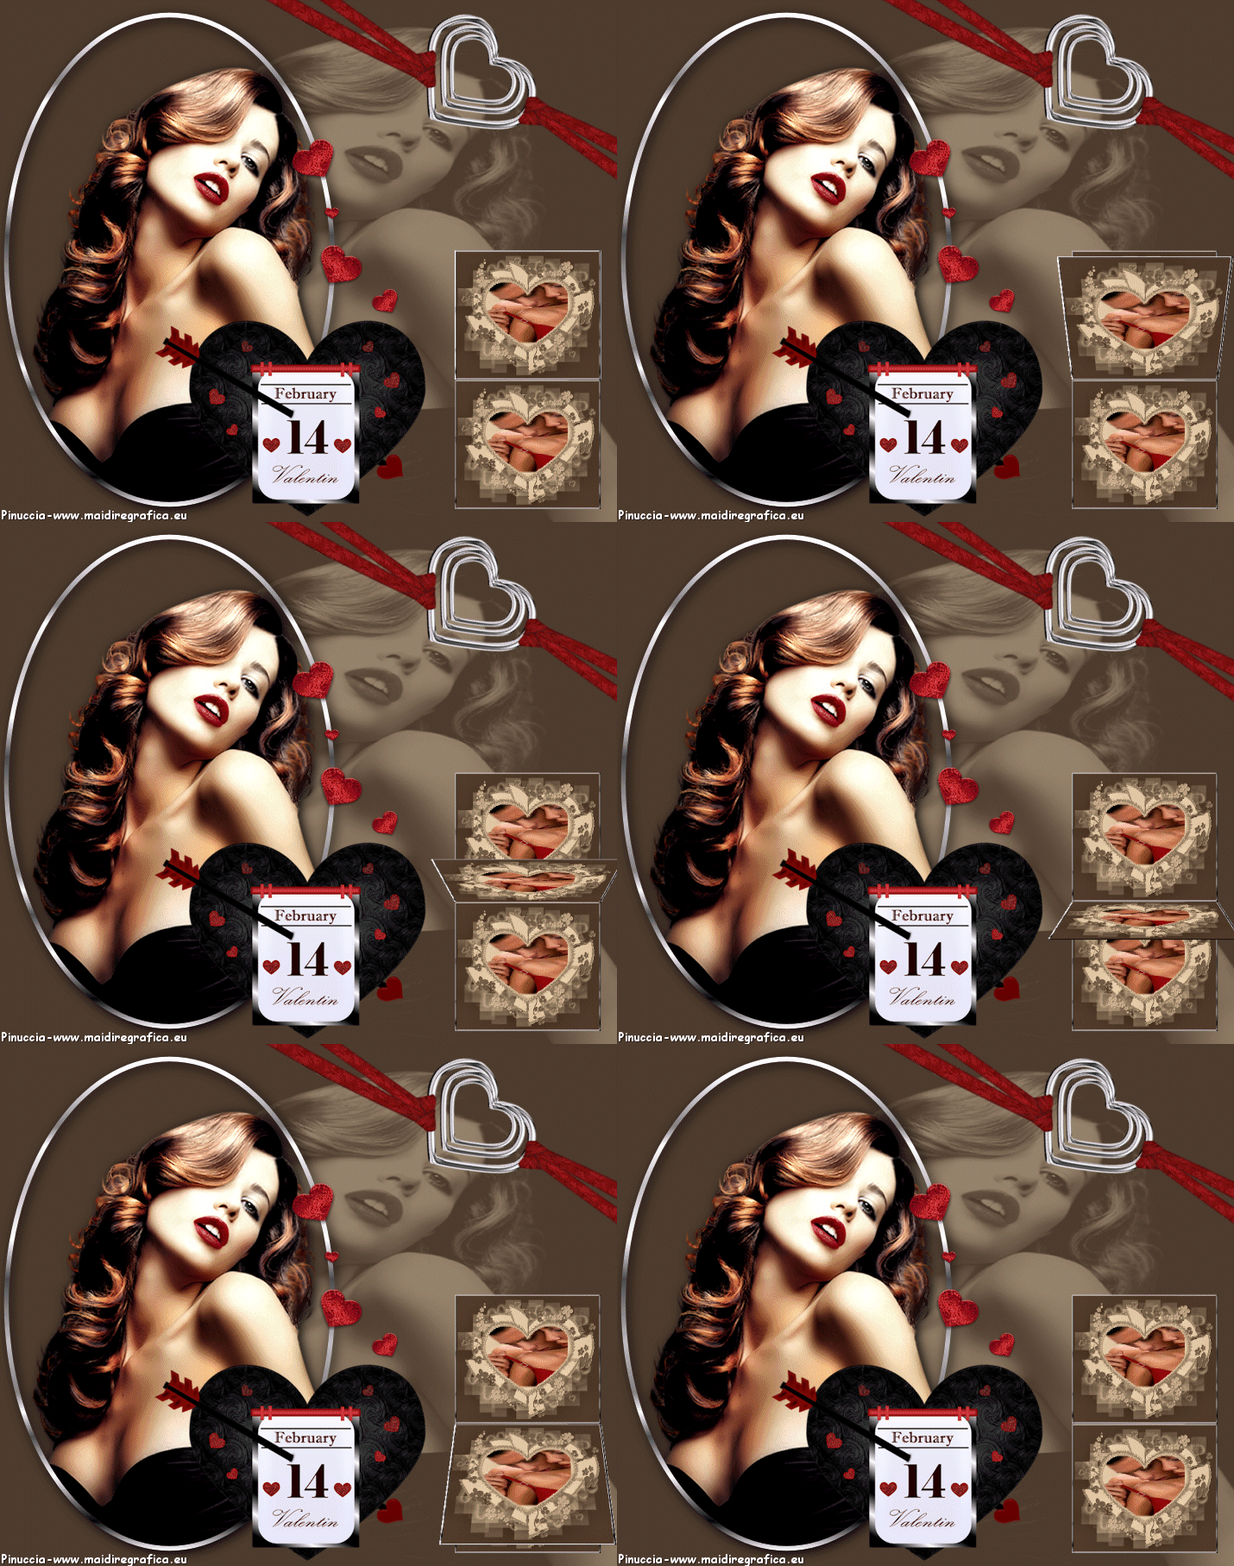
BE MY VALENTINE

Thanks Gerrie for your invitation to translate your tutorials.

This tutorial was translated with PSP2020 but it can also be made using other versions of PSP.
Since version PSP X4, Image>Mirror was replaced with Image>Flip Horizontal,
and Image>Flip with Image>Flip Vertical, there are some variables.
In versions X5 and X6, the functions have been improved by making available the Objects menu.
In the latest version X7 command Image>Mirror and Image>Flip returned, but with new differences.
See my schedule here
 Italian translation qui Italian translation qui
 French translation here French translation here
 Your versions ici Your versions ici

For this tutorial, you will need:

Thanks for the tubes Belscrap, Lila and Gabry
(you find here the links to the material authors' sites)

consult, if necessary, my filter section here
Nik Software - Color Efex Pro here
Ulead Effects - Gif-X2 here

You can change Blend Modes according to your colors.

Copy the Gradient in the Gradients Folder.
Open the mask in PSP and minimize it with the rest of the material.
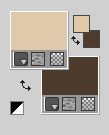
1. Set your foreground color with the light color #dfc9aa,
and your background color with the dark color #4e3c2e.
2. Open a new transparent image 650 x 550 pixels.
Flood fill  the transparent image with your foreground color #dfc9aa. the transparent image with your foreground color #dfc9aa.
3. Layers>New Raster Layer.
Flood Fill  the layer with your background color #4e3c2e. the layer with your background color #4e3c2e.
4. Open the tube Gabry-woman 299 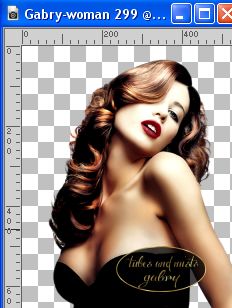
Close the watermark layers and minimize the tube (you'll use it as mask).
Layers>New Mask layer>From image
Open the menu under the source window and you'll see all the files open.
Select the tube by Gabry Gabry-woman 299

Reduce the opacity of this layer to 50%.
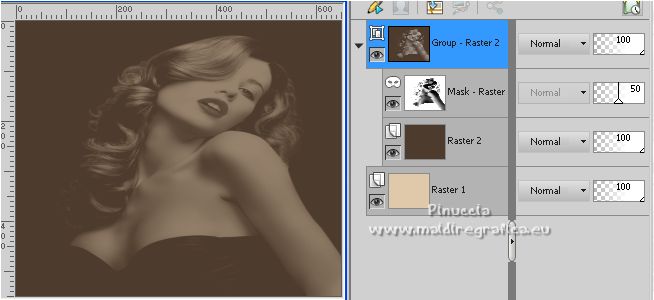
5. Layers>Merge>Merge All.
6. Image>Resize, to 110%, resize all layers checked.
7. Set your foreground color to Gradient and select the metallic gradient Corel_06_023.
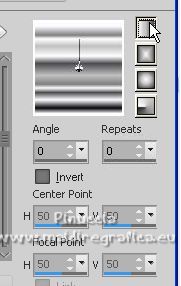
8. Close your background color.
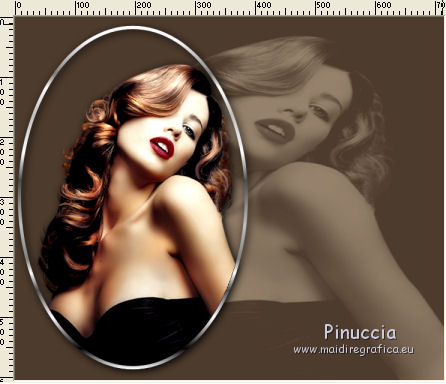
Activate your Preset Shape Tool - Ellipse 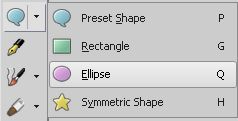

Draw the ellipse from top to bottom
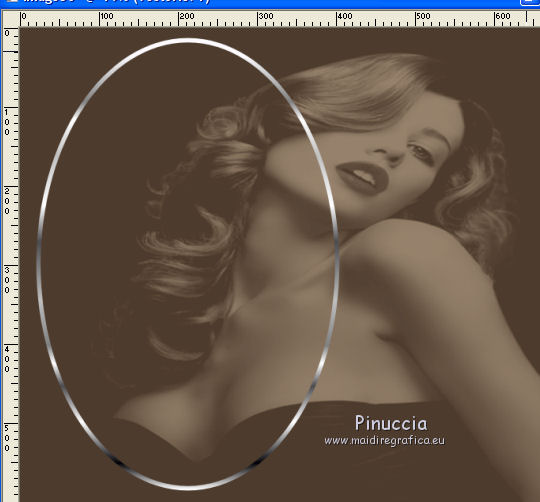
Layers>Convert in Raster Layer.
9. Activate your Magic Wand Tool 
and click in the ellipse to select it.
10. Activate the tube Gabry-woman 299.
Image>Mirror (optional, according to your tube and to your liking; I didn't it)
Edit>Copy.
Go back to your work and go to Edit>Paste as new layer.
Image>Resize, if necessary and according to your tube, resize all layers not checked.
Place  the tube on the selection. the tube on the selection.
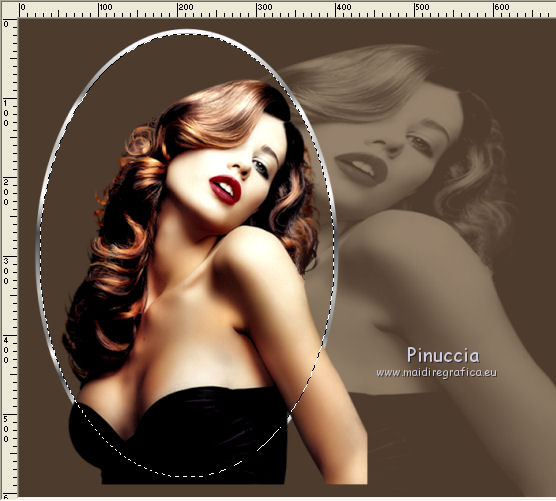
11. Selections>Invert.
Press CANC on the keyboard 
12. Layers>Merge>Merge Down.
Move  the frame to the left side. the frame to the left side.
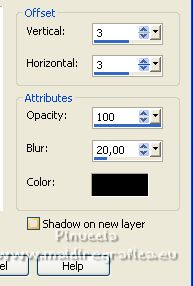
13. Effects>3D Effects>Drop shadow, color black.
14. Open the tube Element 1 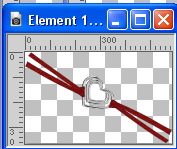
Edit>Copy.
Go back to your work and go to Edit>Paste as new layer.
Move  the tube at the upper right. the tube at the upper right.
15. Open thee tube Belscrap_do you love me_El 11 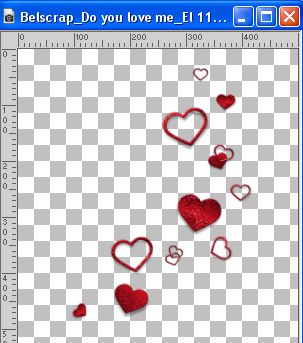
Edit>Copy.
Go back to your work and go to Edit>Paste as new layer.
Place  the tube to your liking. the tube to your liking.
For me
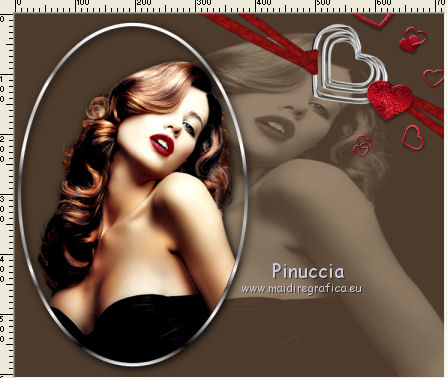
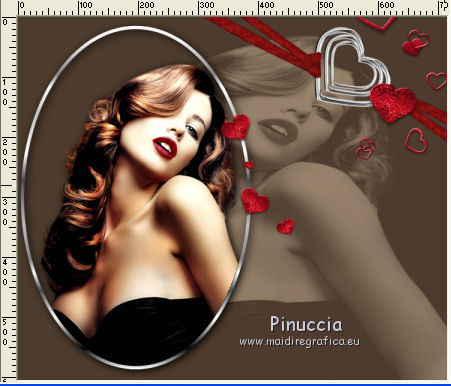
For me, I duplicate the hearts and placed them as below.
16. Open the text mod_article37652833_17 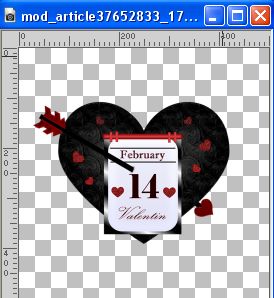
or, according to your colors, mod_article37652833_18 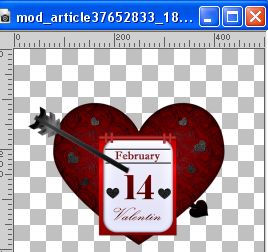
Edit>Copy.
Go back to your work and go to Edit>Paste as new layer.
Image>Resize, to 80%, resize all layers not checked.
Move  the tube down on the frame. the tube down on the frame.

17. Sign your work on a new layer.
18. Layers>Merge>Merge All.
19. Effects>Plugins>Nik Software - Color Efex Pro - Tonal Contrast, default settings.
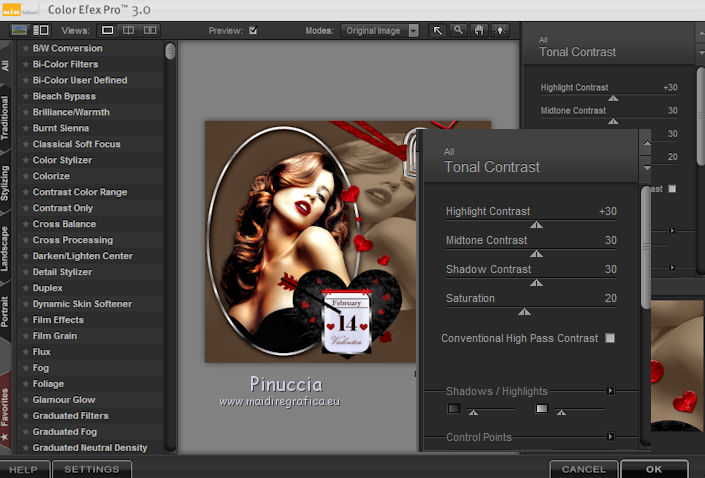
according to your image; for my example I didn't apply it
Minimize this image for the moment.
20. Open a new transparent image 450 x 400 pixels.
Set your foreground color to Color.
Flood Fill  the image with your foreground color #dfc9aa. the image with your foreground color #dfc9aa.
21. Layers>New Raster Layer.
Flood Fill  the layer with your background color #4e3c2e. the layer with your background color #4e3c2e.
22. Layers>New Mask layer>From image
Open the menu under the source window
and select the mask sg_sweet-valentine.
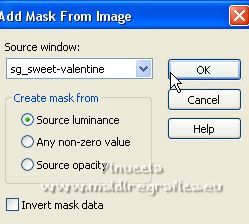
Layers>Merge>Merge All.
Activate your Magic Wand Tool 
and click in the frame to select it.
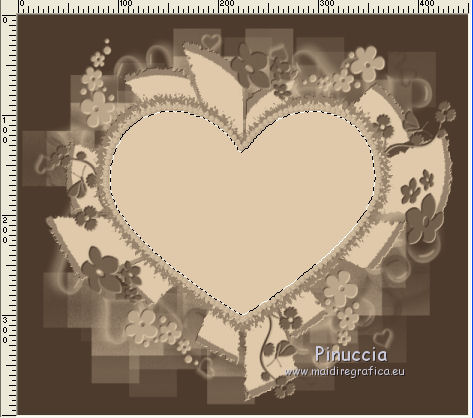
23. Open the couple tube 3836 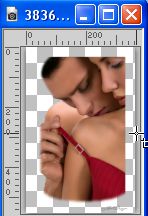
Edit>Copy.
Go back to your work and go to Edit>Paste into Selection.
Selections>Select None.
Image>Add borders, 4 pixels, symmetric, color black.
24. Select this border with your Magic Wand Tool 
Set again your foreground color to Gradient,
and Flood Fill  the selection with your Gradient. the selection with your Gradient.
25. Effects>3D Effects>Inner Bevel.
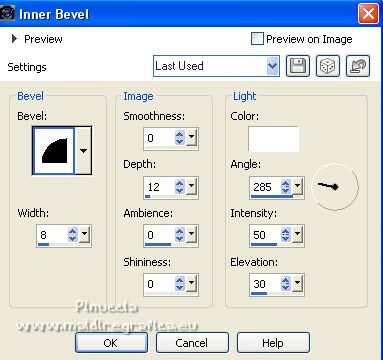
Selections>Select None.
26. Effects>Plugins>Nik Software - Color Efex Pro - Tonal Contrast, default settings.
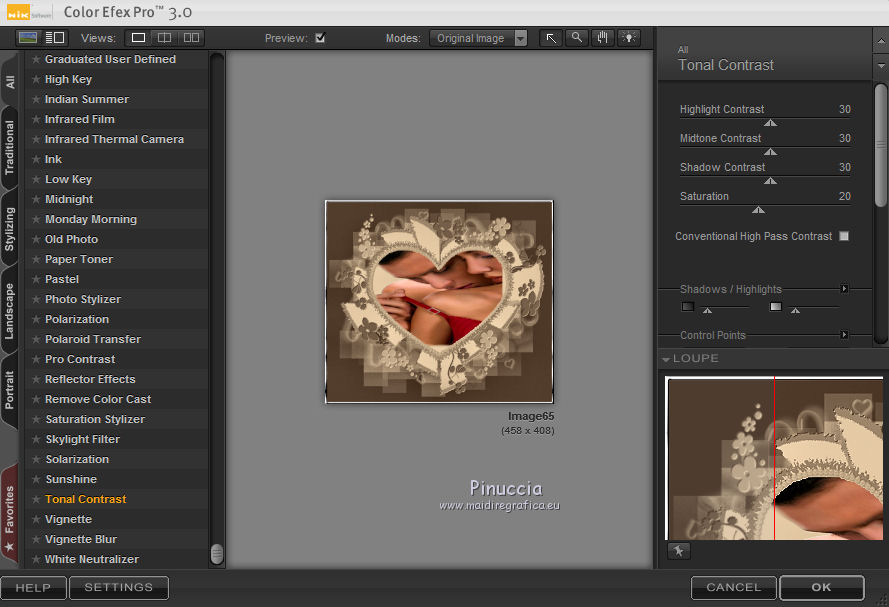
27. Selections>Select All.
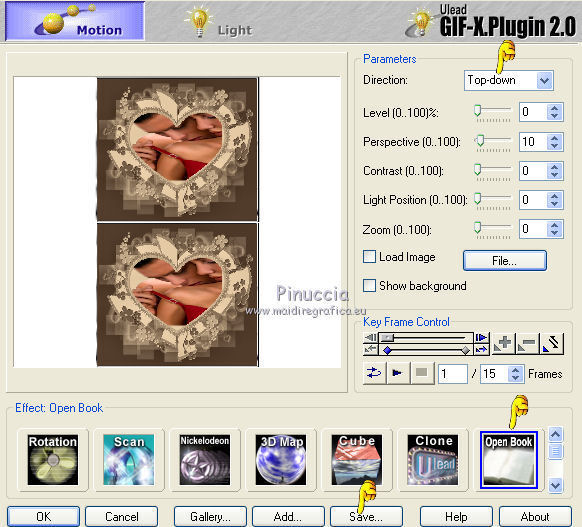
Effects>Plugins>Ulead Effects - Gif X 2.0
Select Open Book
Don't worry for the color of the background, it doesn't matter.
With PSPX is white
with PSPX2 is dark
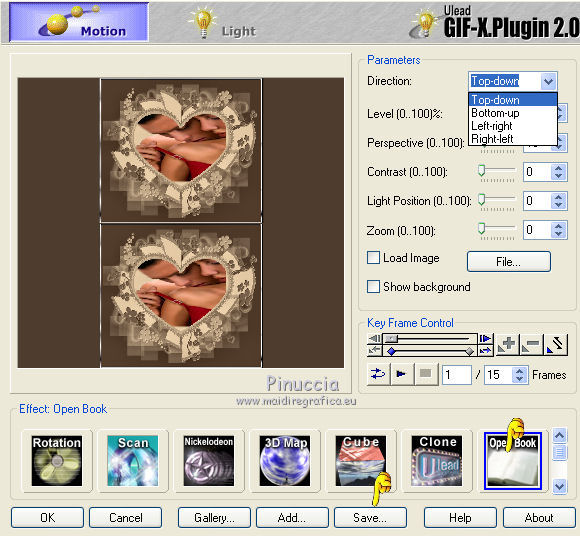
Click on Save to save the animation in gif, in a folder at your choice.
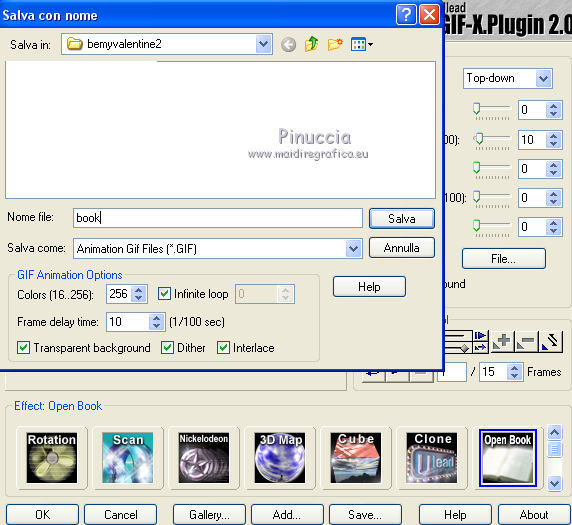
You can close the plugin, clicking on Cancel.
28. If you want, you can save the original image:
Selections>Select All and save.
Now you no longer need this image.
29. Activate the work you left on hold at point 19.
Edit>Copy.
Open Animation Shop and go to Edit>Paste>Paste as new animation.
30. Edit>Duplicate and repeat until you have an animation composed by 15 frames.
Click on the first frame to select it and go to Edit>Select All.
31. Open the book image you saved with the plugin Ulead Gif-X.
Also this image is composed by 15 frames.

And about the background, as you see, it's transparent.
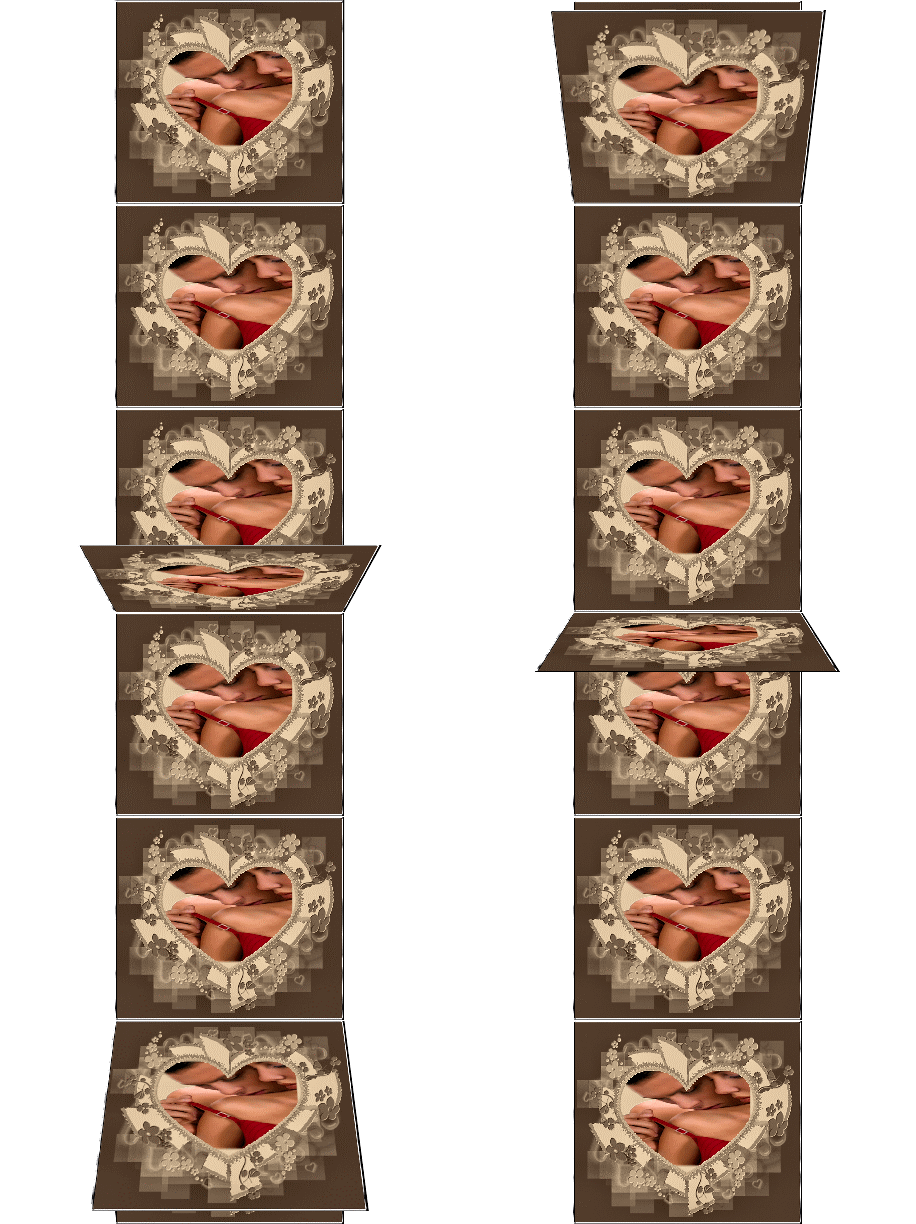
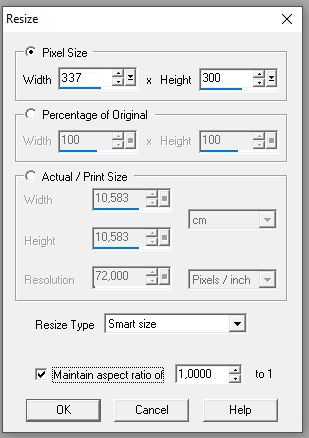
32. Image>Resize - 337 x 300 pixels
33. Edit>Select All.
Edit>Copy.
34. Activate your work and go to Edit>Paste>Paste in the selected frame.
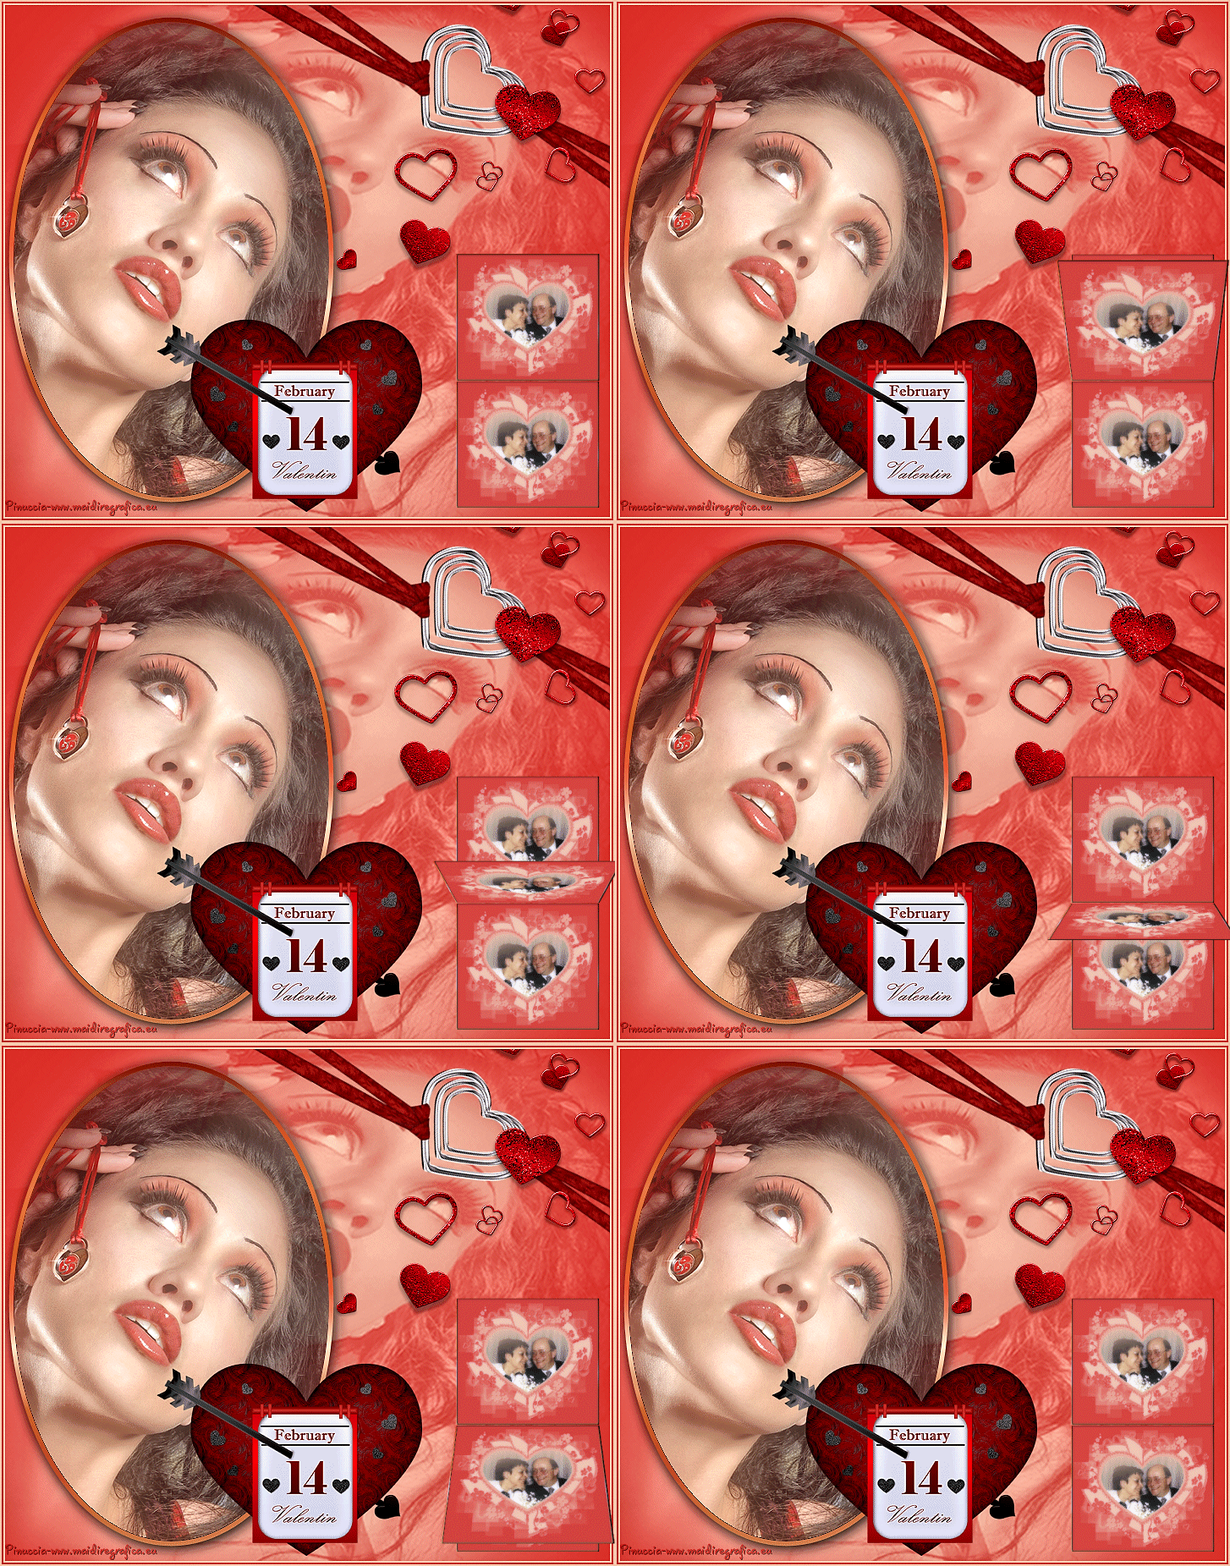
Place the book at the bottom right.
Check your result clicking on View animation 
and save as gif.
For the tubes of this version thanks Luz Cristina and Criss

For the tube of this version thanks Yoka (for the animation, I used a photo of my marriage).

If you have problems or doubts, or you find a not worked link, or only for tell me that you enjoyed this tutorial, write to me.
8 February 2023

|


