|
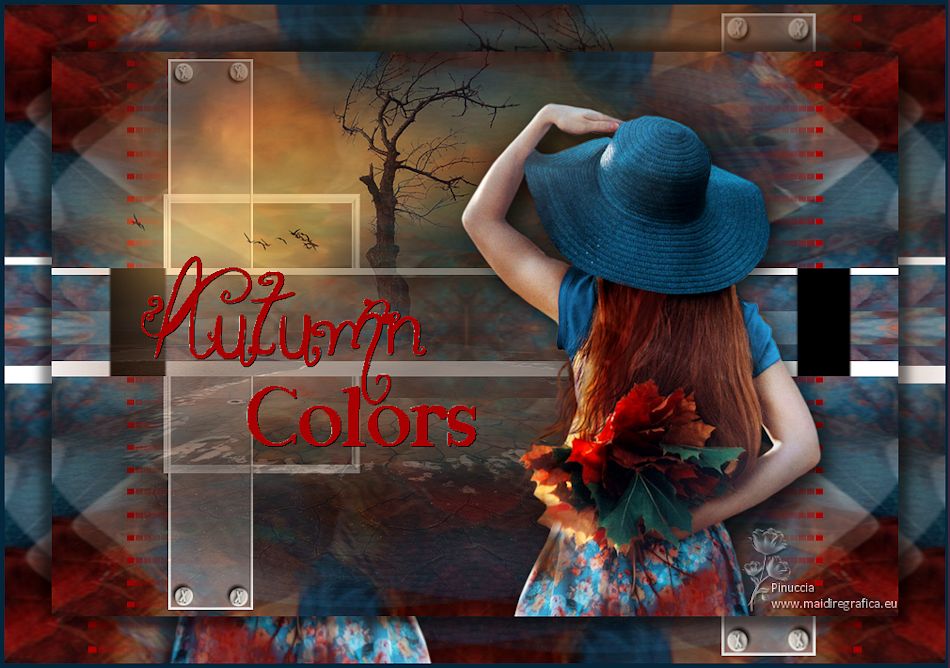
AUTUMN COLORS

Thanks Gerrie for your invitation to translate your tutorials.

This tutorial was translated with PSP2020 but it can also be made using other versions of PSP.
Since version PSP X4, Image>Mirror was replaced with Image>Flip Horizontal,
and Image>Flip with Image>Flip Vertical, there are some variables.
In versions X5 and X6, the functions have been improved by making available the Objects menu.
In the latest version X7 command Image>Mirror and Image>Flip returned, but with new differences.
See my schedule here
 Italian translation qui Italian translation qui
 French translation here French translation here
 Your versions ici Your versions ici
For this tutorial, you will need:
Material
here
Thanks for the tubes @lina and Verlaine and for the mask Ildiko.
(you find here the links to the material authors' sites)
Plugins
consult, if necessary, my filter section here
Filters Unlimited 2.0 here
Mura's Meister - Copies here
AAA Filters - Custom here
Simple - 4Way Average here
Filters Simple can be used alone or imported into Filters Unlimited.
(How do, you see here)
If a plugin supplied appears with this icon  it must necessarily be imported into Unlimited it must necessarily be imported into Unlimited

You can change Blend Modes according to your colors.
Open the mask in PSP and minimize it with the rest of the materiel.
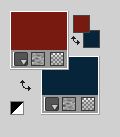
1. Set your foreground color with a light color of your tube: #791b12,
and your background color with a dark color: #08253a
2. Open Alfa_Autumn Colors.
Window>Duplicate or, on the keyboard, shift+D to make a copy.

Close the original.
The copy, that will be the basis of your work, is not empty,
but contains a selection saved to alpha channel.
3. Selections>Select All.
Open the woman tube @Alina, erase the watermark and go to Edit>Copy.
Minimize the tube.
Go back to your work and go to Edit>Paste into Selection.
Selections>Select None.
4. Effects>Plugins>Mura's Meister - Copies.
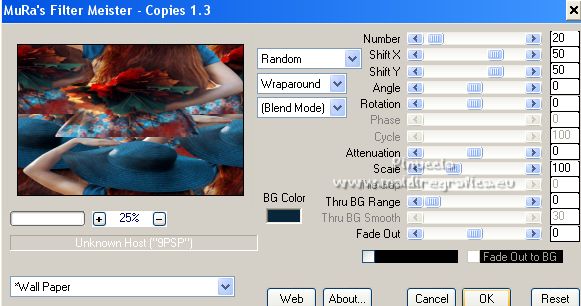
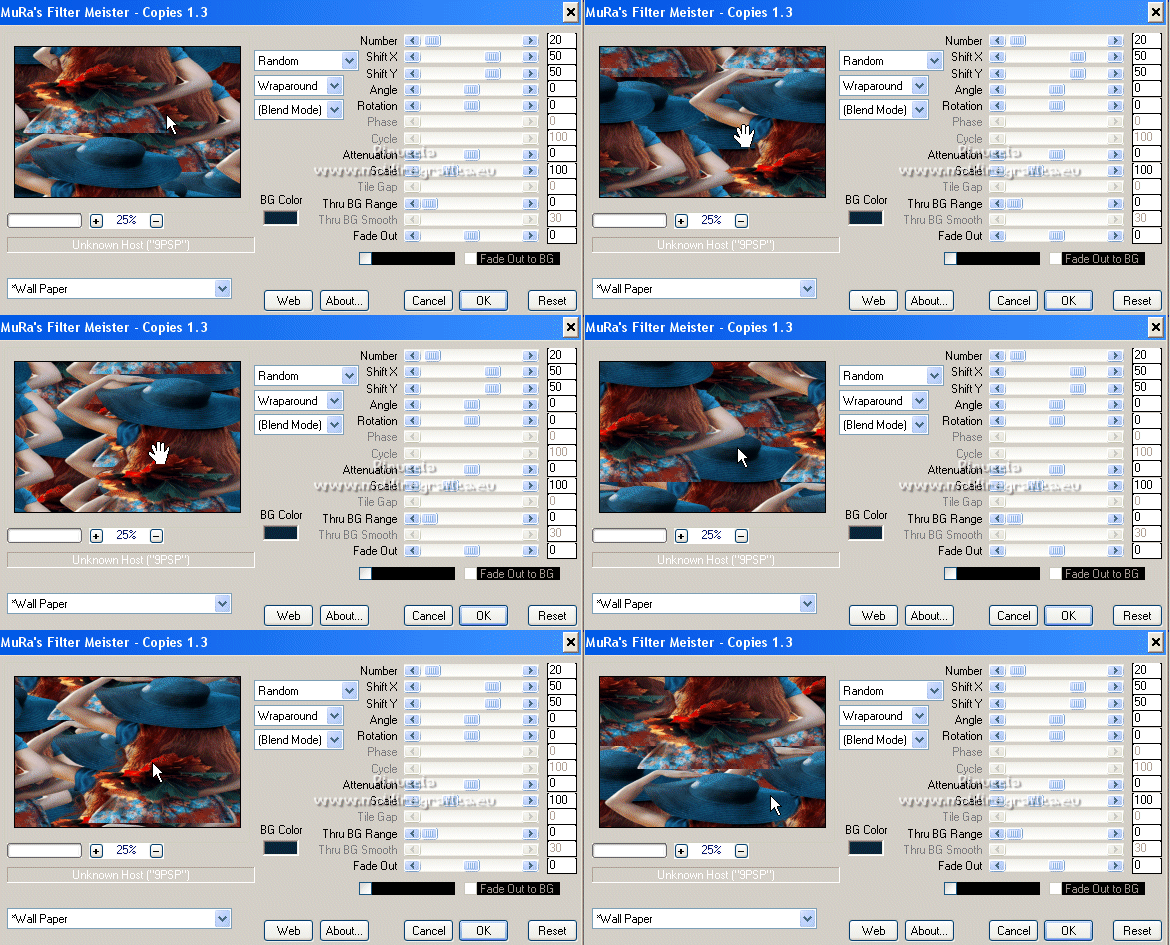
The result of this effects is Random, so it cannot be the same as mine;
if you want to change the result, click on the preview window,
until you see what your like.
5. Effects>Plugins>Filters Unlimited 2.0 - Simple - 4Way Average.

6. Selections>Load/Save Selection>Load Selection from Alpha Channel.
The selection #1 is immediately available. You just have to click Load.
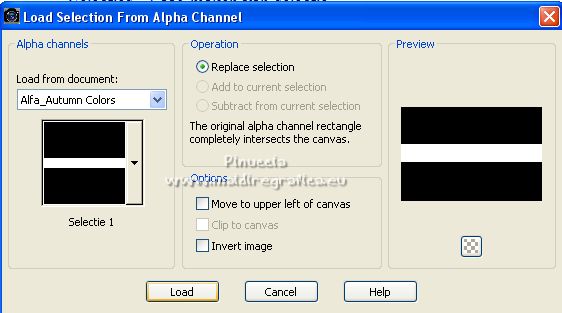
Selections>Promote Selection to Layer.
Selections>Select None.
7. Effects>Plugins>Filters Unlimited 2.0 - Special Effect 2 - Filmstrip.
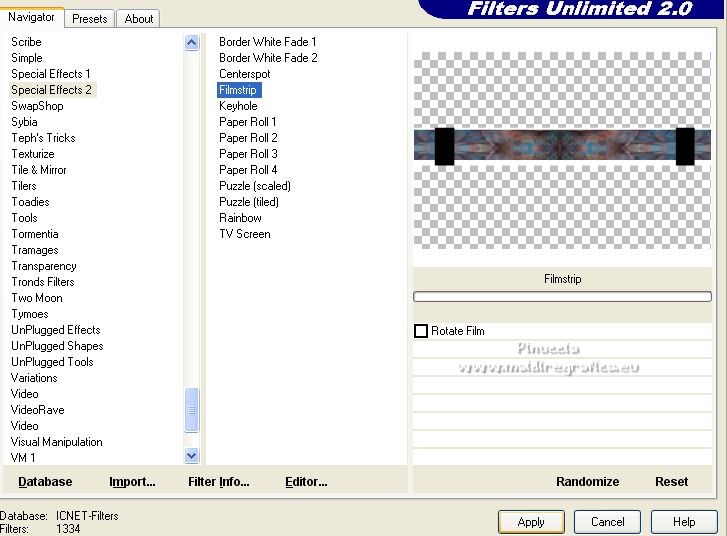
8. Activate your bottom layer.
Layers>New Raster Layer.
Set your foreground color to a different one; for me #a50106.
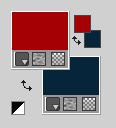
Flood Fill  the layer with your foreground color #a50106. the layer with your foreground color #a50106.
9. Layers>New Mask layer>From image
Open the menu under the source window and you'll see all the files open.
Select the mask ildiko_create_0011free_mask_2.
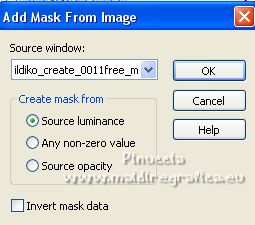
Layers>Merge>Merge Group.
10. Move  the mask to the left side. the mask to the left side.
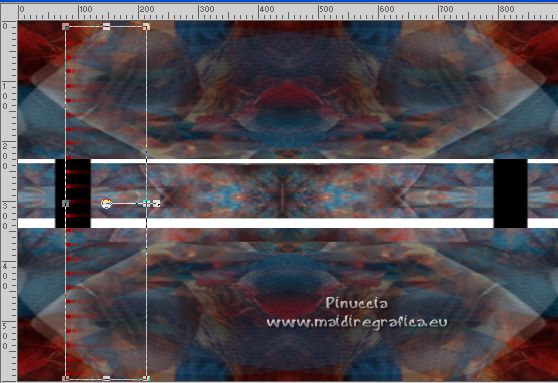
11. Layers>Duplicate.
Image>Mirror.
Layers>Merge>Merge Down.
Effects>3D Effects>Drop Shadow, at your choice.
Layers>Arrange>Move Down.
12. Stay on this layer.
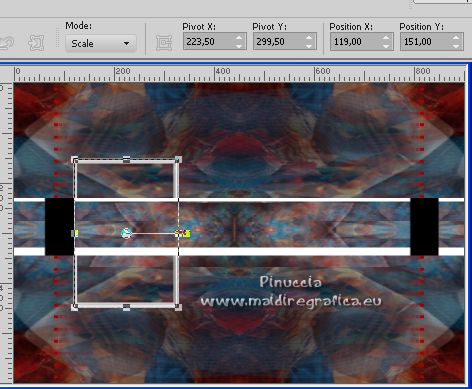
Open the tube Deco_01 and go to Edit>Copy.
Go back to your work and go to Edit>Paste as new layer.
Move  the tube to the left side. the tube to the left side.
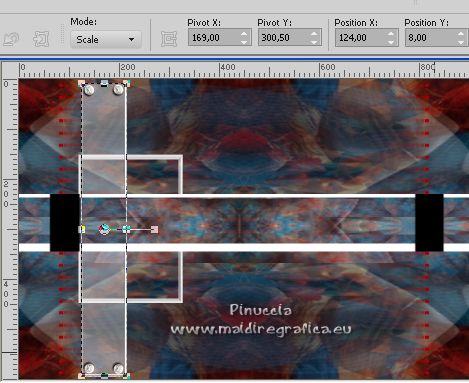
13. Open Deco_02 and go to Edit>Copy.
Go back to your work and go to Edit>Paste as new layer.
Image>Resize, to 90%, resize all layers not checked.
Move  the tube to the left side. the tube to the left side.
14. Activate your top layer.
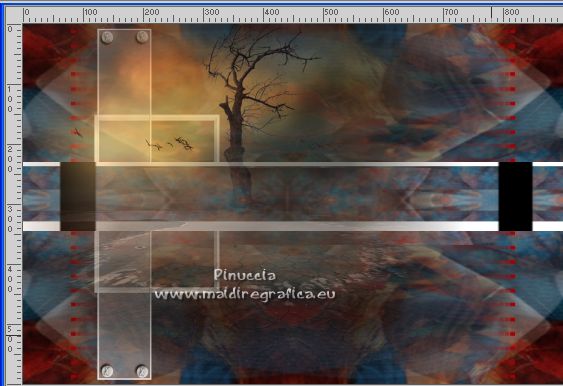
Open the misted Verlaine C63 and go to Edit>Copy.
Go back to your work and go to Edit>Paste as new layer.
Place  correctly the tube. correctly the tube.
Reduce the opacity of this layer to 65%.
15. Activate again the woman tube @alina and go to Edit>Copy.
Go back to your work and go to Edit>Paste as new layer.
Place  correctly the tube. correctly the tube.
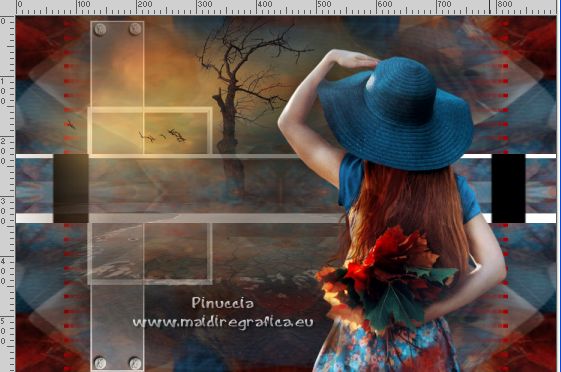
Effects>3D Effects>Drop Shadow, at your choice.
16. Layers>Merge>Merge All.
17. Edit>Copy
18. Selections>Select All.
Image>Add borders, 50 pixels, symmetric, background color.
19. Selections>Invert.
Edit>Paste into Selection.
Image>Mirror.
Selections>Invert.
20. Effects>3D Effects>Drop Shadow, color black.
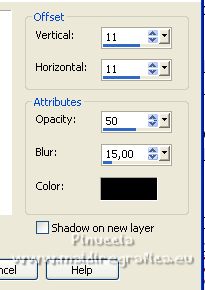
Repeat Drop Shadow, vertical and horizontal -11.
Selections>Select None.
21. Open WordArt Gerrie, erase the watermark and go to Edit>Copy.
Go back to your work and go to Edit>Paste as new layer.
Move  the tube to your liking. the tube to your liking.
Correspondance of your Flood Fill Tool to None
Flood Fill  the text with your color the text with your color
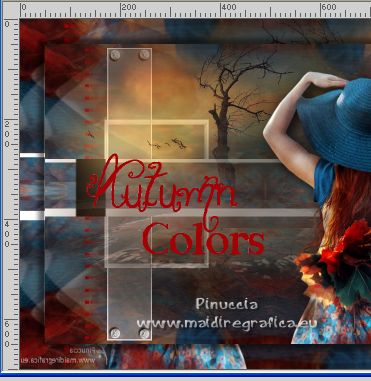
Effects>3D Effects>Drop Shadow, at your choice.
22. Image>Add borders, 5 pixels, symmetric, background color.
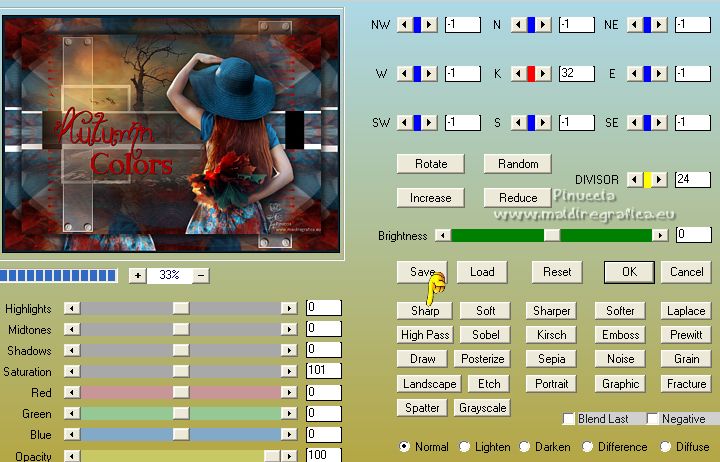
23. Effects>Plugins>AAA Filters - Custom - click on Sharp and ok.
24. Sign your work on a new layer.
Layers>Merge>Merge All and save as jpg.
For the tube of this version thanks Vera Mendes; the misted is mine
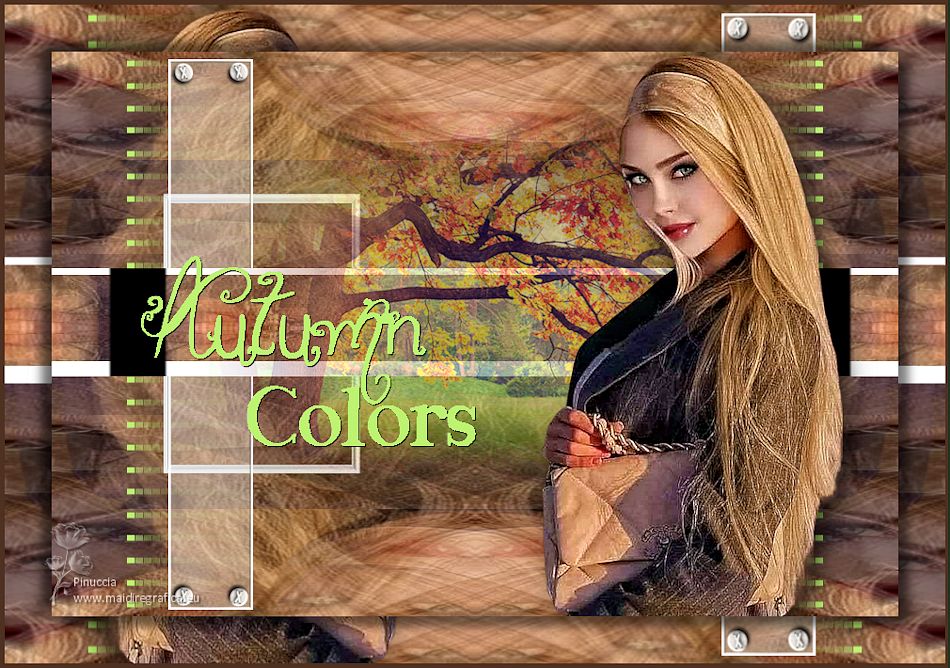
 Your versions here Your versions here

If you have problems or doubts, or you find a not worked link, or only for tell me that you enjoyed this tutorial, write to me.
8 September 2022

|


