|
BOEDDHA KARMA VRIENDELIJK
BOEDDHA KARMA FRIENDLY

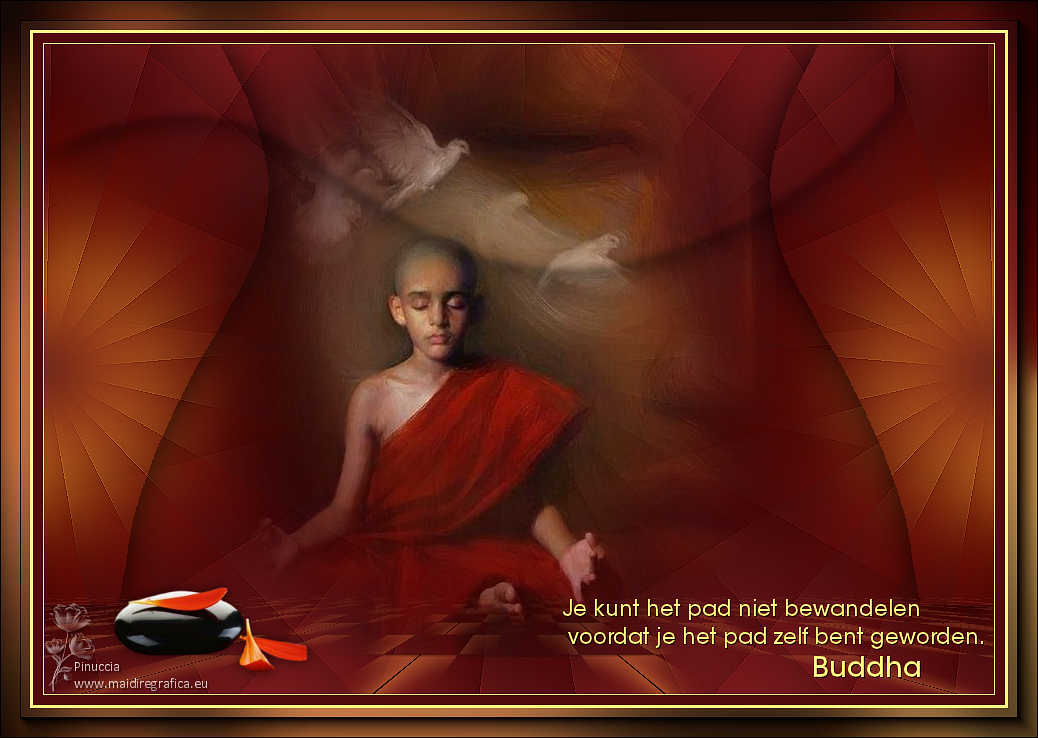
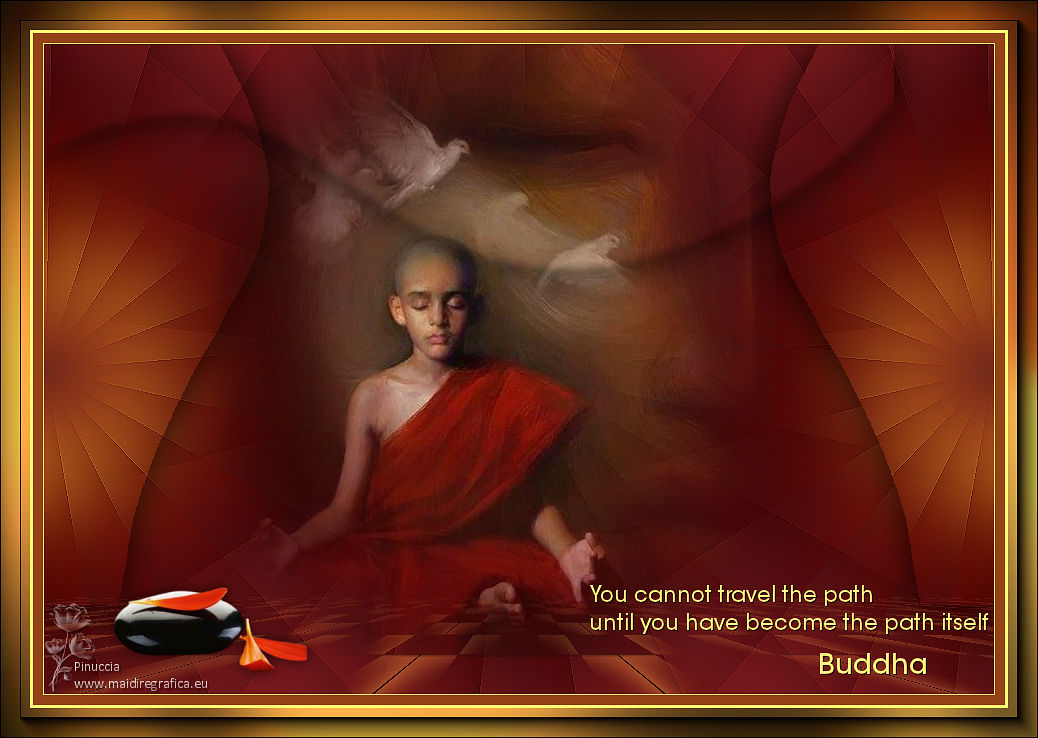
Thanks Gerrie for your invitation to translate your tutorials.

This tutorial was created with PSP2020 and translated with PSPX9, but it can also be made using other versions of PSP.
Since version PSP X4, Image>Mirror was replaced with Image>Flip Horizontal,
and Image>Flip with Image>Flip Vertical, there are some variables.
In versions X5 and X6, the functions have been improved by making available the Objects menu.
In the latest version X7 command Image>Mirror and Image>Flip returned, but with new differences.
See my schedule here
 Italian translation qui Italian translation qui
 French translation here French translation here
 Your versions ici Your versions ici
For this tutorial, you will need:

(you find here the links to the material authors' sites)

consult, if necessary, my filter section here
Filters Unlimited 2.0 here
&<Kaleidoscope> - Radial Replicate (to import in Unlimited) here
PHP Shares-hdj2 - Michele - in the material
AAA Frames - Foto Frame / AAA Frames - Custom here
Graphics Plus - Cross Shadow here
Mura's Meister - Perspective Tiling here
Filters Graphics Plus can be used alone or imported into Filters Unlimited.
(How do, you see here)
If a plugin supplied appears with this icon  it must necessarily be imported into Unlimited it must necessarily be imported into Unlimited

You can change Blend Modes according to your colors.
In the newest versions of PSP, you don't find the foreground/background gradient (Corel_06_029).
You can use the gradients of the older versions.
The Gradient of CorelX here

1. Set your foreground color to the light color #fcf781,
and your background color to the dark color #520e0f.
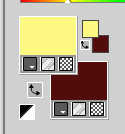
Set your foreground color to a Foreground/Background Gradient, style Radial.
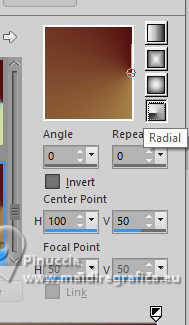
2. Open Alfa_Boeddha
Window>Duplicate or, on the keyboard, shift+D to make a copy.

Close the original.
The copy, that will be the basis of your work, is not empty,
but contains the selections saved to alpha channel.
3. Selections>Select All.
Open the image pspmagnifique 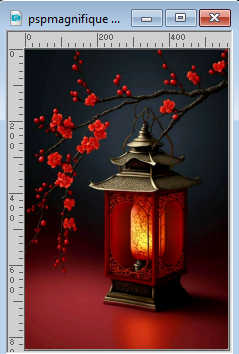
Edit>Copy.
Go back to your work and go to Edit>Paste into Selection.
Selections>Select None.
4. Effects>Image Effects>Seamless Tiling.

5. Adjust>Blur>Gaussian Blur - radius 40.

6. Effects>Plugins>Filters Unlimited 2.0 - &<Bkg Kaleidoscope> - Radial Replicate, default settings.
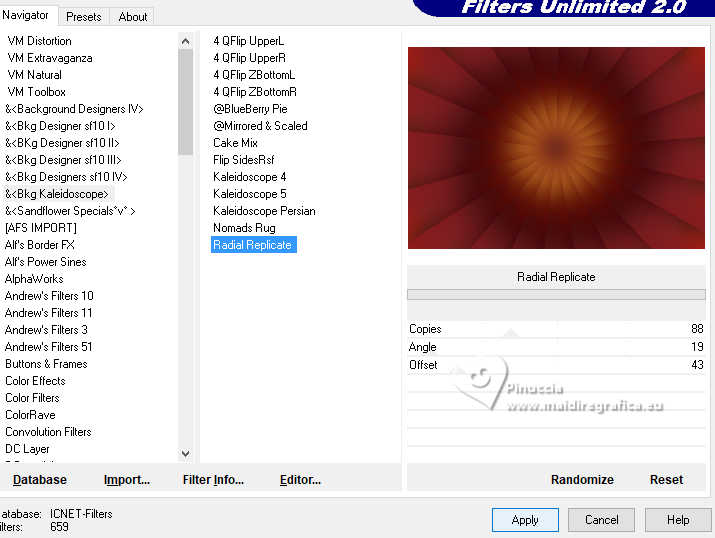
Effects>Edge Effects>Enhance.
7. Effects>Image Effects>Seamless Tiling, same settings.

8. Selections>Load/Save Selection>Load Selection from Alpha Channel.
The selection Selectie #1 is immediately available. You just have to click Load.
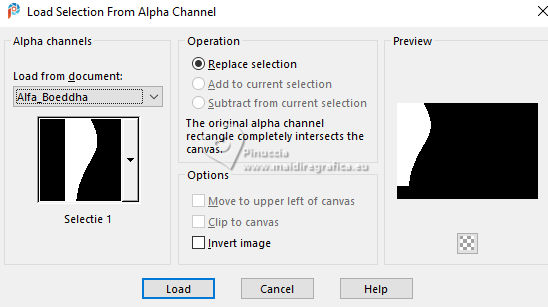
Selections>Promote Selection to Layer.
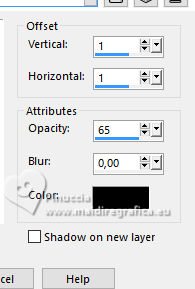
9. Effects>3D Effects>Drop Shadow, color black.
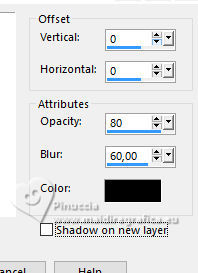
Selections>Select None.
10. Effects>Reflection Effects>Rotatint Mirror.

Layers>Merge>Merge Down.
11. Layers>New Raster Layer.
Selections>Load/Save Selection>Load Selection from Alpha Channel.
Open the Selections menu and load the selection Selectie #2
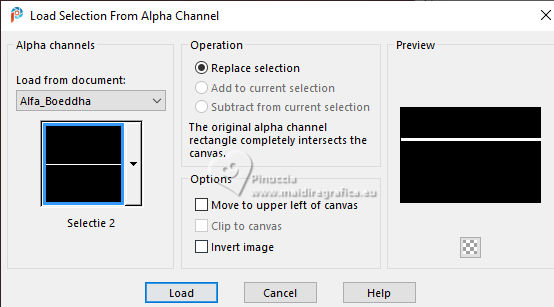
Flood fill  the selection with your Gradient. the selection with your Gradient.
Selections>Select None.
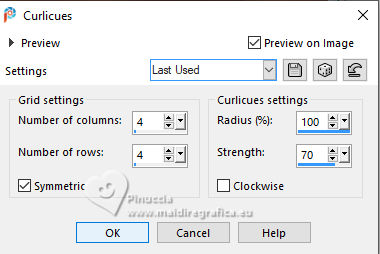
12. Effects>Distortion Effects>Curlicues.
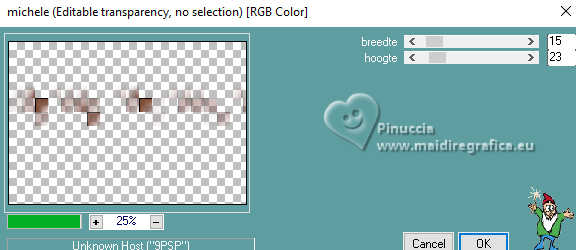
13. Effects>Plugins>PHPShares-hdj2 - Michele, default settings.
14. Effects>Reflection Effects>Rotating Mirror, same settings.

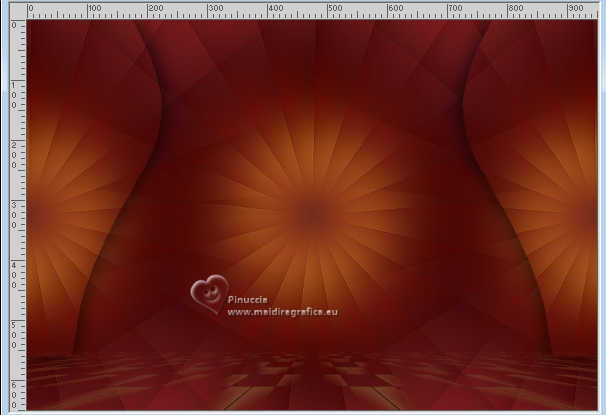
15. Effects>Plugins>Mura's Meister - Perspective Tiling.
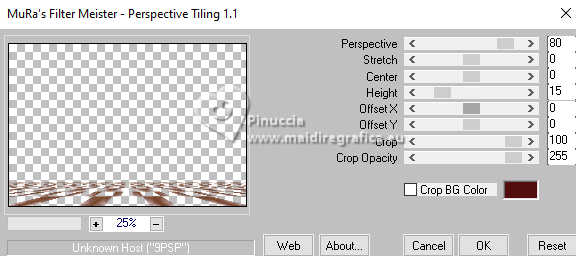
Activate your Magic Wand Tool 

and click in the transparent part to select it.
don't worry if you see al the image selected
16. Press CANC on the keyboard 
Selections>Select None.
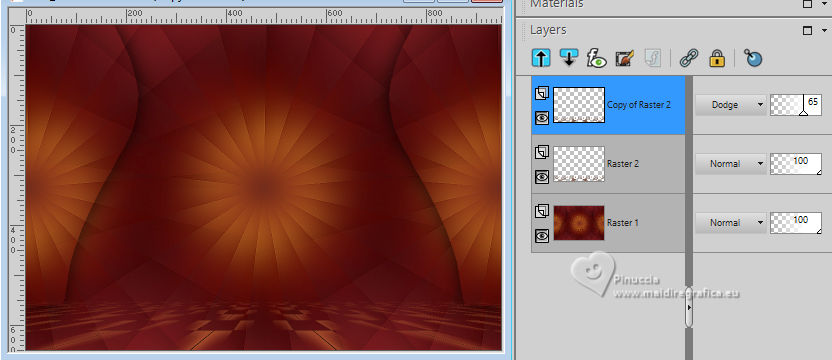
17. Layers>Duplicate.
Change the Blend Mode of this layer to Dodge and reduce the opacity to 65%, or according to your colors.
18. Open the tube Buddha 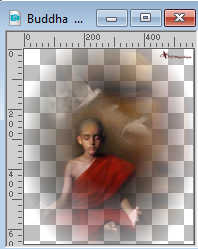
Erase the watermark and go to Edit>Copy.
Go back to your work and go to Edit>Paste as new layer.
19. K key to activate your Pick Tool 
and set Position X: 168,00 and Position Y: -37,00.

M key to deselect the tool.
20. Layers>New Raster Layer.
Selections>Load/Save Selection>Load Selection from Alpha Channel.
Open the Selections Menu and load the selection Selectie #3.
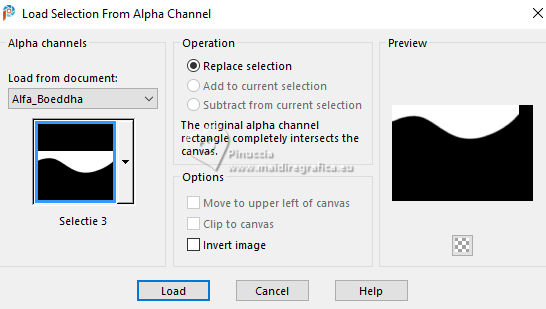
21. Effects>3D Effects>Drop Shadow, same settings.
Selections>Select None.
22. Activate your Text Tool  , ,
Font ITC Avant Gard Std MD - or at your choice a tua scelta

Adapt the size according to your text and your PSP version.
Set your background color to the light color, or a color at your choice.
Write the text Je kunt het pad niet bewandelen
woordat je het pad zelf bent geworden. Buddha
english: You cannot travel the path until you have become the path itself. Buddha
Layers>Convert in Raster Layer.
If necessary, resize the text and place it at the bottom right.
23. Effects>3D Effects>Drop Shadow, color black or a color at your choice.
24. Open the tube Steen 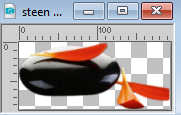
Edit>Copy.
Go back to your work and go to Edit>Paste as new layer.
Resize, if necessary - for the supplied tube it is not necessary.
Move  the tube at the bottom left. the tube at the bottom left.
Effects>3D Effects>Drop Shadow, at your choice.
25. Sign your work on a new layer.
26. For the bords, invert again the colors of your palette and set your foreground color to Gradient.
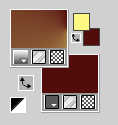
Image>Add borders, 1 pixel, symmetric, foreground color.
Image>Add borders, 10 pixels, symmetric, background color.
Image>Add borders, 3 pixels, symmetric, foreground color.
27. Selections>Select All.
Image>Add borders, 30 pixels, symmetric, whatever color.
Selections>Invert.
Flood Fill  the selection with your Gradient. the selection with your Gradient.
27. Effects>Plugins>Graphics Plus - Cross Shadow, default settings.
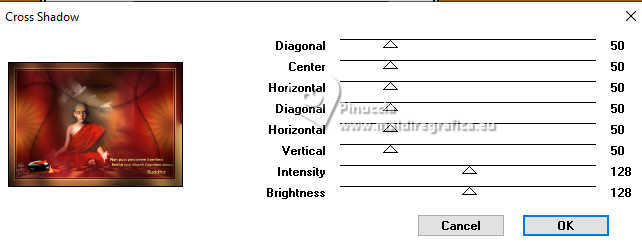
28. Effects>Plugins>AAA Frames - Foto Frame.
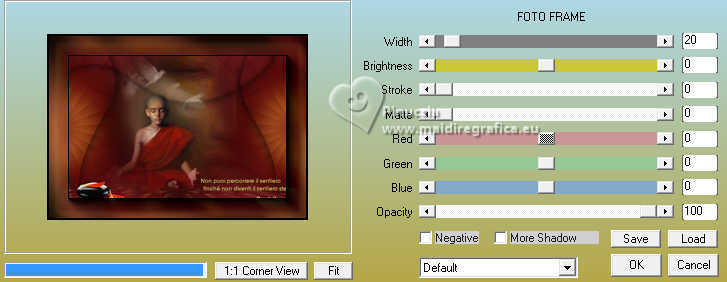
Selections>Select None.
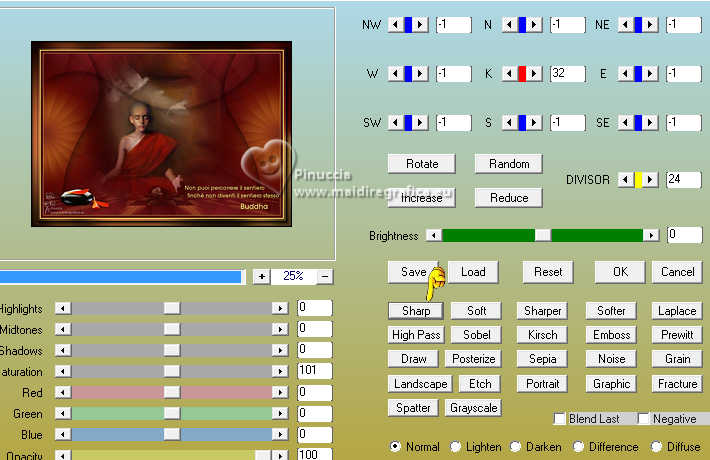
29. Effects>Plugins>AAA Filtres - Custom - clicca su Sharp e ok.
30. Save as jpg.
For the tubes of this version thanks Guismo
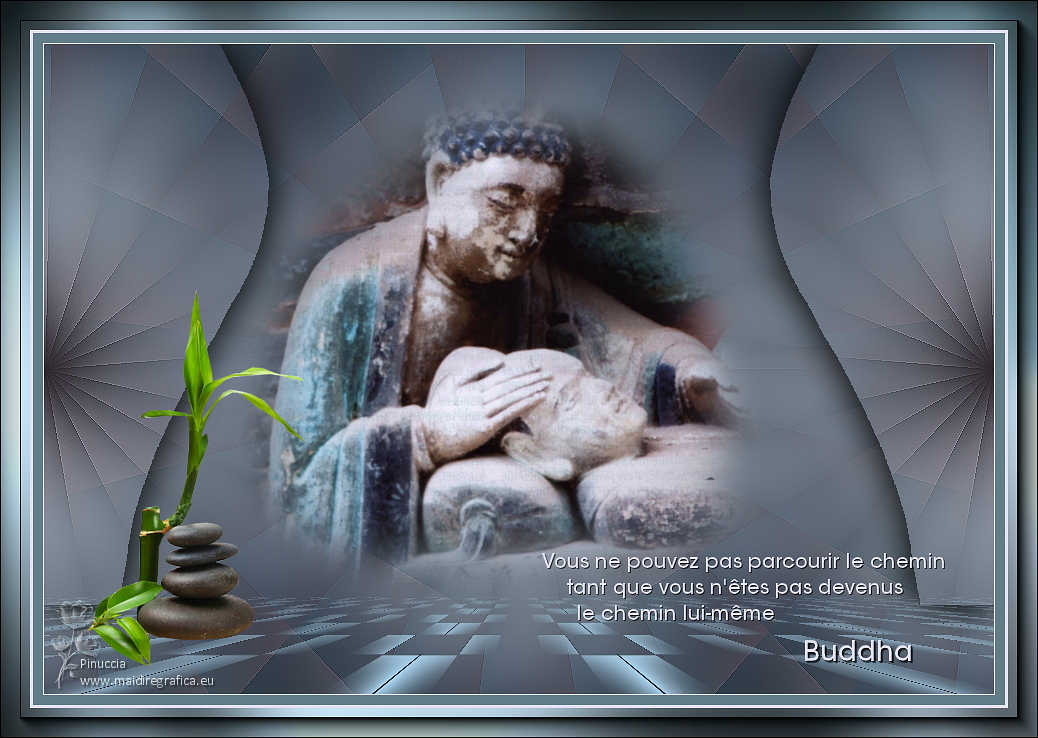

If you have problems or doubts, or you find a not worked link, or only for tell me that you enjoyed this tutorial, write to me.
25 November 2023

|


