|
PIET MONDRIAN


Thanks Gerrie for your invitation to translate your tutorials.

This tutorial was translated with PSP2020 but it can also be made using other versions of PSP.
Since version PSP X4, Image>Mirror was replaced with Image>Flip Horizontal,
and Image>Flip with Image>Flip Vertical, there are some variables.
In versions X5 and X6, the functions have been improved by making available the Objects menu.
In the latest version X7 command Image>Mirror and Image>Flip returned, but with new differences.
See my schedule here
 Italian translation qui Italian translation qui
 French translation here French translation here
 Your versions ici Your versions ici
For this tutorial, you will need:
Material
here
The material is by Gerrie.
(you find here the links to the material authors' sites)
Plugins
consult, if necessary, my filter section here
Mura's Meister - Perspective Tiling here
AAA Frames - Foto Frame here
Nik Software - Color Efex Pro here

You can change Blend Modes according to your colors.
Open the Mask in PSP and minimize it with the rest of the material.
1. Choose two colors from your tube.
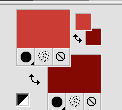
Set your foreground color to light color #cb3c34,
and your background color to dark color #840c04.
2. Open a new transparent image 900 x 600 pixels.
Selections>Select All.
Open the background image AG1.
Colorize, if you use other colors.
Edit>Copy.
Go back to your work and go to Edit>Paste into Selection.
Selections>Select None.
3. Layers>Duplicate, 2 times.
Activate the layer below of the first copy, Copy of Raster 1.
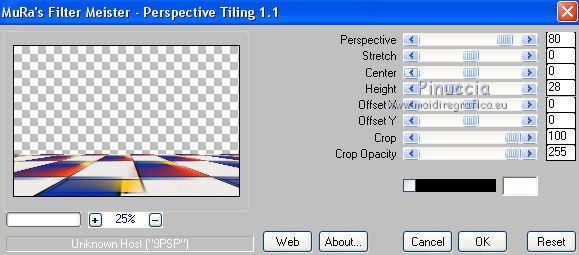
4. Effects>Plugins>Mura's Meister - Perspective Tiling.
5. Effects>Reflection Effects>Rotating Mirror.

6. Activate the top layer of the second copy.
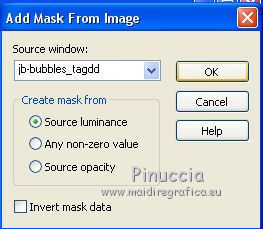
Layers>New Mask layer>From image
Open the menu under the source window and you'll see all the files open.
Select the mask jb-bubbles_tagdd.
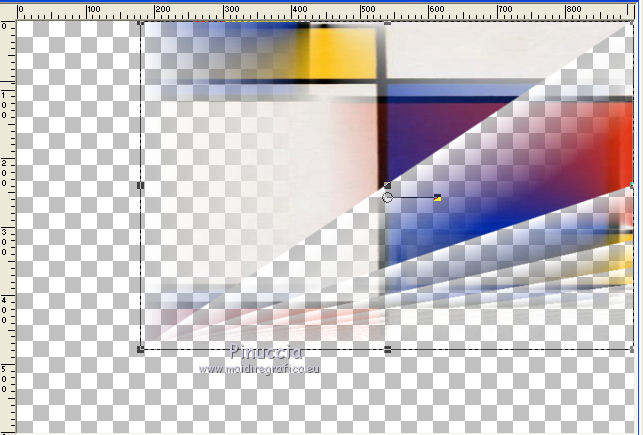
Layers>Merge>Merge Group.
Image>Flip.
Move  the mask again the top edge. the mask again the top edge.
If you want, close the layers below to see better.
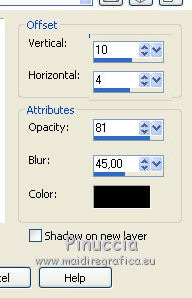
7. Effects>3D Effects>Drop Shadow, color black.
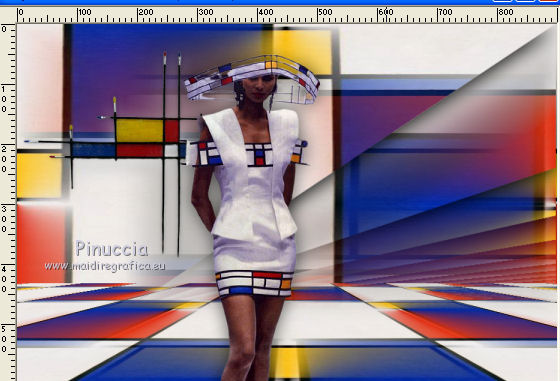
8. Open the person tube, Mondrian Gerrie and go to Edit>Copy.
Go back to your work and go to Edit>Paste as new layer.
Move  the tube down and a little more to the left. the tube down and a little more to the left.
Effects>3D Effects>Drop Shadow, at your choice.
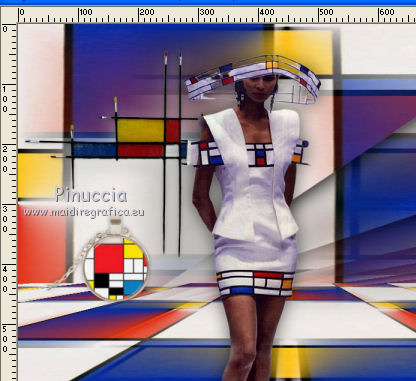
9. Open the tube Deco 01 and go to Edit>Copy.
Go back to your work and go to Edit>Paste as new layer.
Move  the tube at the upper left. the tube at the upper left.
Layers>Arrange>Move Down.
Effects>3D Effects>Drop Shadow, at your choice.
10. Activate the top layer.
Open the tube Deco 02 and go to Edit>Copy.
Go back to your work and go to Edit>Paste as new layer.
Move  the tube at the bottom left. the tube at the bottom left.
Effects>3D Effects>Drop Shadow, at your choice.
11. Open the tube deco 03 and go to Edit>Copy.
Go back to your work and go to Edit>Paste as new layer.
Move  the tube at the bottom right. the tube at the bottom right.
Effects>3D Effects>Drop Shadow, at your choice.
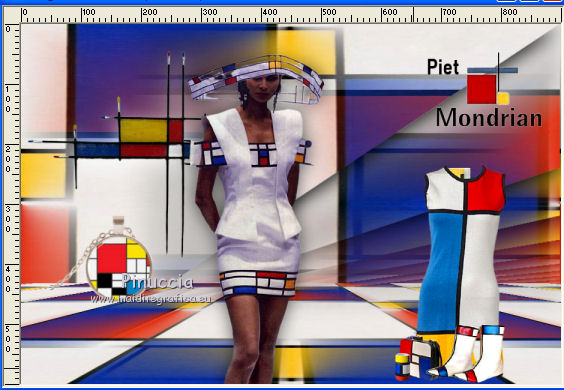
12. Open the tube WordArt_Gerrie 1 and go to Edit>Copy.
Go back to your work and go to Edit>Paste as new layer.
Move  the tube at the upper right. the tube at the upper right.
Déplacer  le tube en haut à droite. le tube en haut à droite.
Effects>3D Effects>Drop Shadow, at your choice.
13. Sign your work on a new layer.
14. Image>Add borders, 2 pixels, symmetric, color black.
15. Effects>Plugins>Nik Software - Color Efex Pro - Tonal Contrast.
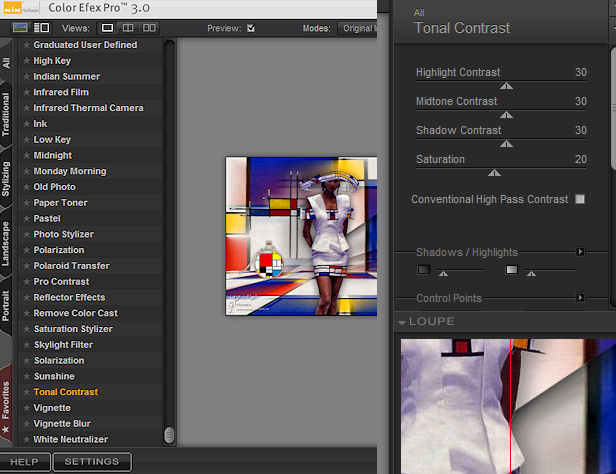
16. Selections>Select All.
Image>Add borders, 5 pixels, symmetric, color black.
17. Effects>Plugins>AAA Frames - Foto Frame.
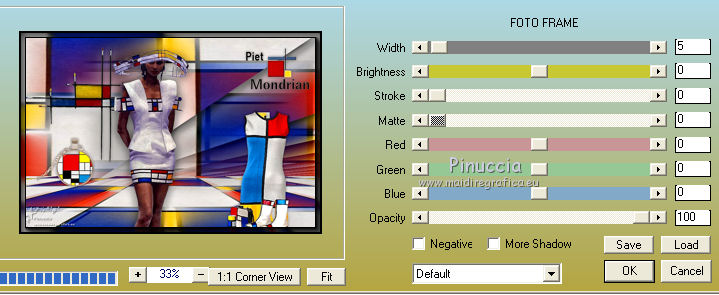
Selections>Select None.
18. Save as jpg.
Version with tube by AnaRidzi and Gerrie
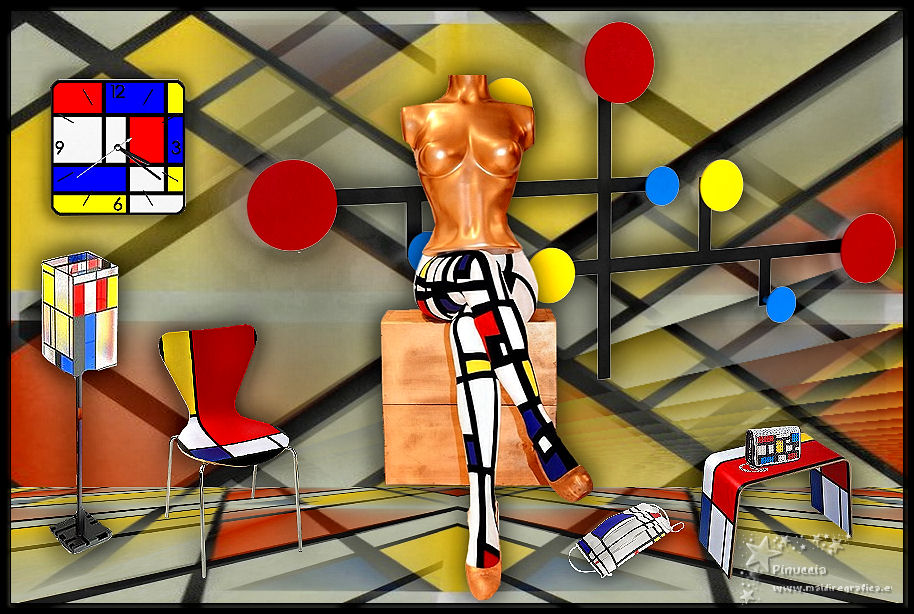
 Your versions here Your versions here

If you have problems or doubts, or you find a not worked link, or only for tell me that you enjoyed this tutorial, write to me.
18 April 2021
|


