|
PINK RIBBON


Thanks Gerrie for your invitation to translate your tutorials.

This tutorial was created with PSPX2 and translated with PSPX, PSPX2, PSPX3, but it can also be made using other versions of PSP.
Since version PSP X4, Image>Mirror was replaced with Image>Flip Horizontal,
and Image>Flip with Image>Flip Vertical, there are some variables.
In versions X5 and X6, the functions have been improved by making available the Objects menu.
In the latest version X7 command Image>Mirror and Image>Flip returned, but with new differences.
See my schedule here
 Italian translation qui Italian translation qui
 French translation here French translation here
 Your versions ici Your versions ici
For this tutorial, you will need:

Thanks for the tubes Tocha.
(you find here the links to the material authors' sites)

consult, if necessary, my filter section here
Filters Unlimited 2.0 here
Photo Killer (to import in Unlimited) - in the material.
VM Extravaganza - Shoutin' here
Alien Skin Xenofex 2 - Constellation here
Filters VM Extravaganza can be used alone or imported into Filters Unlimited.
(How do, you see here)
If a plugin supplied appears with this icon  it must necessarily be imported into Unlimited it must necessarily be imported into Unlimited

Copy the Gradient in the Gradients Folder.
Copy the preset Emboss 3 in the Presets Folder.
1. Open the tubes and on each of the:
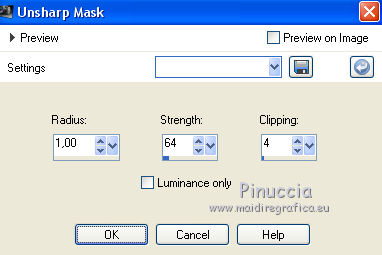
Adjust>Sharpness>Unsharp Mask.
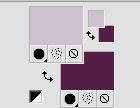
2. Choose two colors of the tube,
Set your foreground color with the light color: #cec2ce,
and your background color with the dark color: #531f45
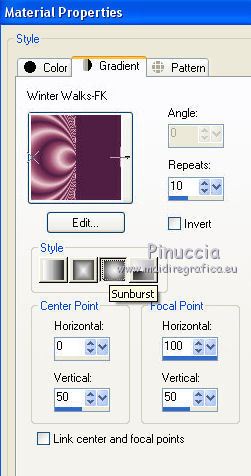
3. Set your foreground color to Gradient and select the gradient Winter Walks-FK, style Sunburst.
4. Open a new transparent image 1000 x 650 pixels.
Flood Fill  l'image transparent with your Gradient. l'image transparent with your Gradient.
5. Layers>Duplicate.
Image>Mirror.
Reduce the opacity of this layer to 50%.
Layers>Merge>Merge Down.
6. Layers>Duplicate.
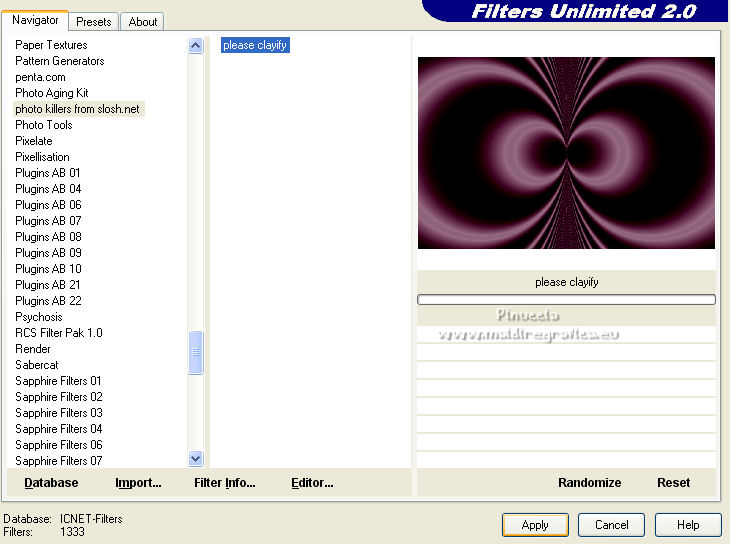
Effects>Plugins>Filters Unlimited 2.0 - Photo Killers From Slochnet - Please Clayify
Effects>User Defined Filter - select the preset Emboss 3 and ok.

7. Effects>Plugins>VM Extravaganza - Shoutin'
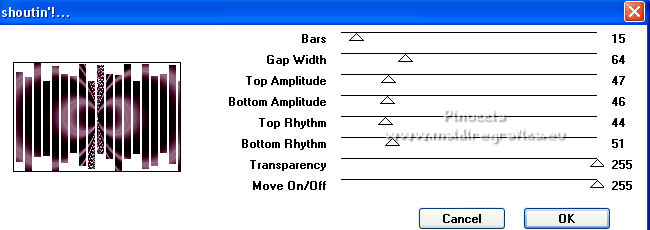
8. Activate your Magic Wand Tool 

and click in the white space to select it.
Press CANC on the keyboard 
Selections>Select None.
If you set Transparency to 0, le step 8 the step 8 is not necessary.
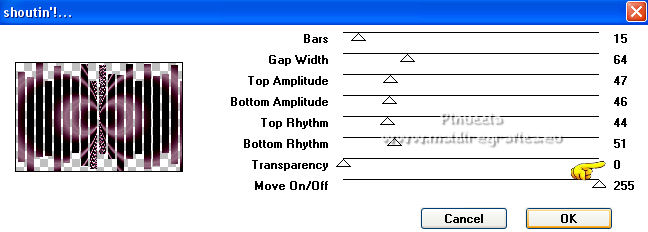
As you can see, if you close the bottom layer, yoll have the transparent espace.
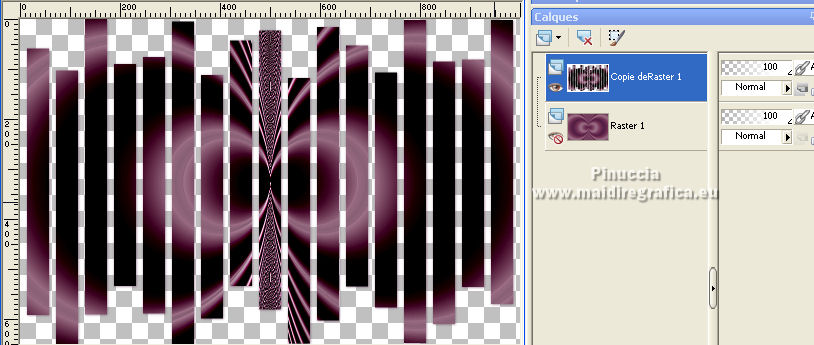
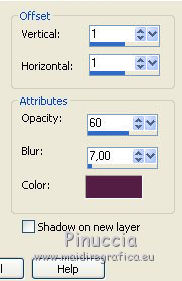
Effects>3D Effects>Drop Shadow, color at your choice, for me background color.
9. Open the tube Tocha24101 and go to Edit>Copy.
Go back to your work and go to Edit>Paste as new layer.
Place  the tube in the center, or to your liking. the tube in the center, or to your liking.
10. Open the tube Tocha24105 and go to Edit>Copy.
Go back to your work and go to Edit>Paste as new layer.
Image>Resize, 1 time to 80% and 1 time to 90%, resize all layers not checked.
Place  also this tube in the center. also this tube in the center.
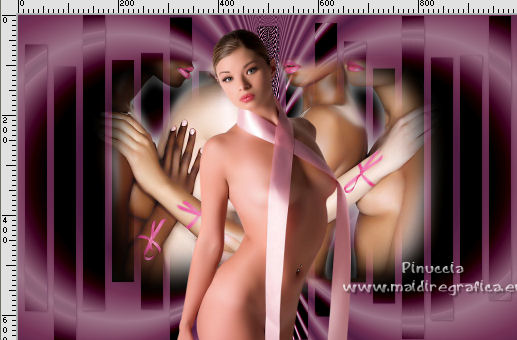
Effects>3D Effects>Drop Shadow, at your choice.
11. Open the perfume tube Tocha24102 and go to Edit>Copy.
Go back to your work and go to Edit>Paste as new layer.
Image>Resize, 2 times to 80% and 1 times to 90%, resize all layers not checked.
Move  this tube to the left side. this tube to the left side.
Effects>3D Effects>Drop Shadow, at your choice.
Open the guitar tube Tocha24106 and go to Edit>Copy.
Go back to your work and go to Edit>Paste as new layer.
Image>Resize, 3 times to 80% and 1 time to 90%, resize all layers not checked.
redimensionner tous les calques décoché.
Image>Free Rotate - 30 degrees to right

Move  the tube to the right side. the tube to the right side.
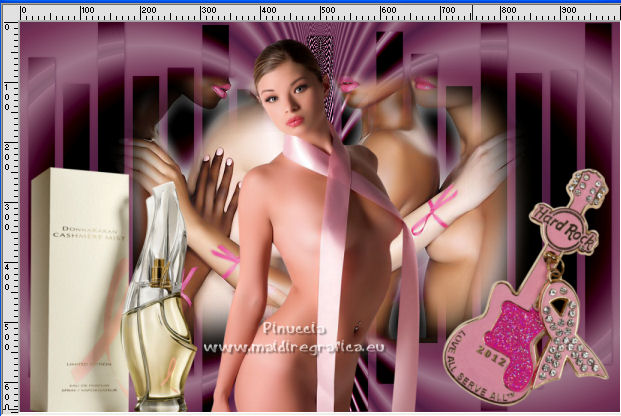
Effects>3D Effects>Drop Shadow, at your choice.
13. Sign your work on a new layer.
14. Activate the layer of Shoutin' layer, Copy of Raster 1.
Effects>Plugins>Alien Skin Xenofex 2.0 - Constellation
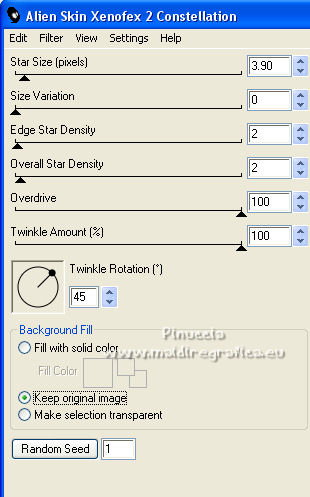
Edit>Copy Special>Copy Merged.
Open Animation Shop and go to Edit>Paste>Paste as new image.
15. Go back to PSP.
Edit>Undo Constellation.
Effects>Plugins>Alien Skin Xenofex 2.0 - Constellation, click on Random Seed and ok.
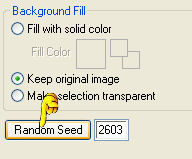
Edit>Copy Special>Copy Merged.
Go back to Animation Shop and go to Edit>Paste>Paste after the current frame.
16. Go back to PSP.
Edit>Undo Constellation.
Effects>Plugins>Alien Skin Xenofex 2.0 - Constellation, click on Random Seed and ok.
Édition>Copie Spéciale>Copier avec fusion.
In Animation Shop: Edit>Paste>Paste after the current frame.
Check your result clicking on View Animation 
You may have an unsatisfactory result, par example as here below
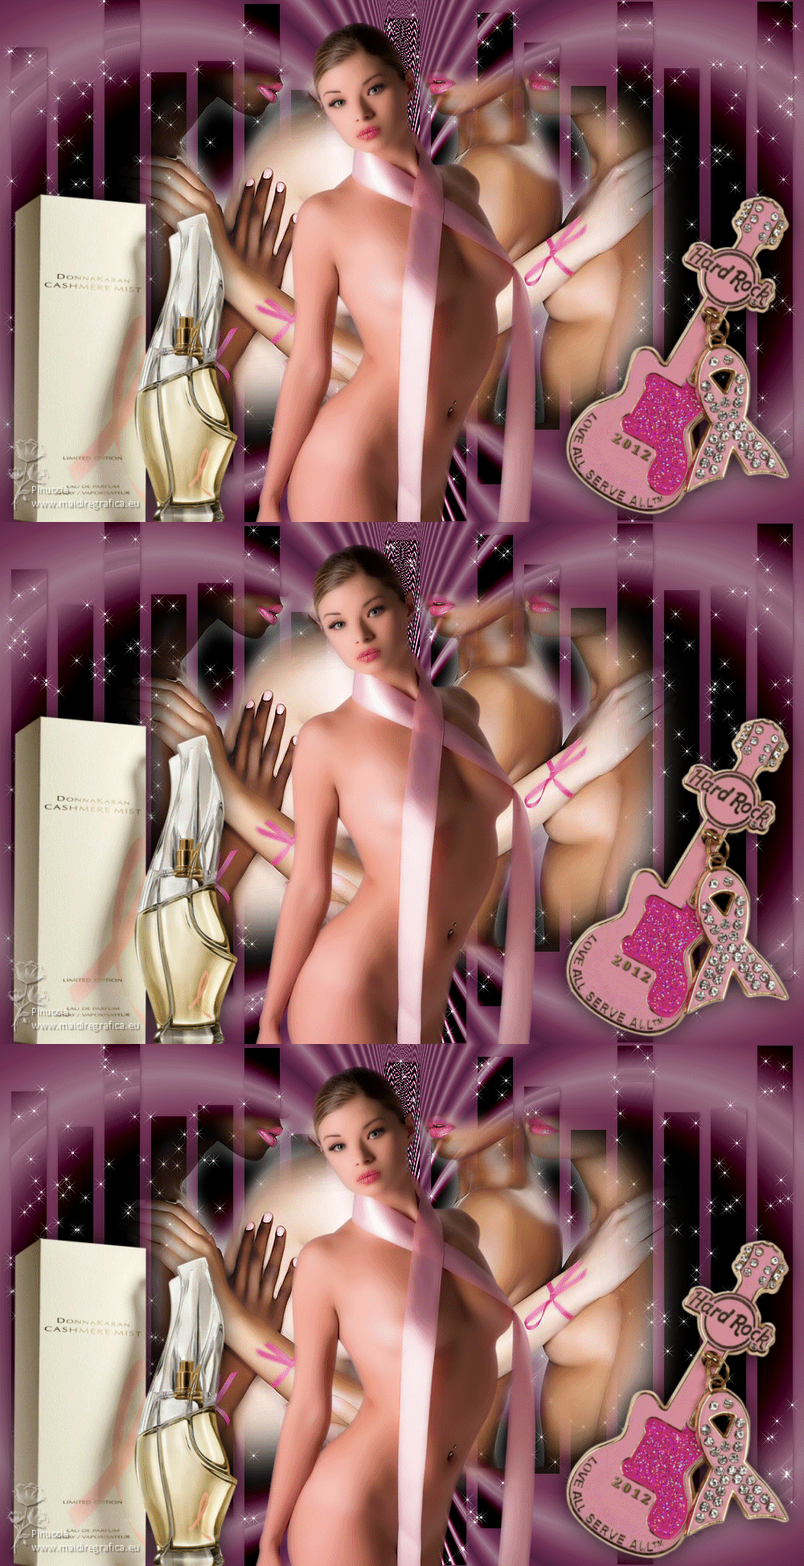
Unfortunately, the rules are not suitable for all images and/or colors.
I tried many settings before arriving at the result that pleased me the most, as the result below.
For my example, under Custom; I deselected all the cases.
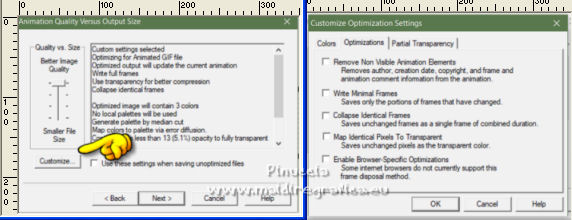
When you are satisfied of your result, save as gif.
For the tubes of this version thanks Tocha
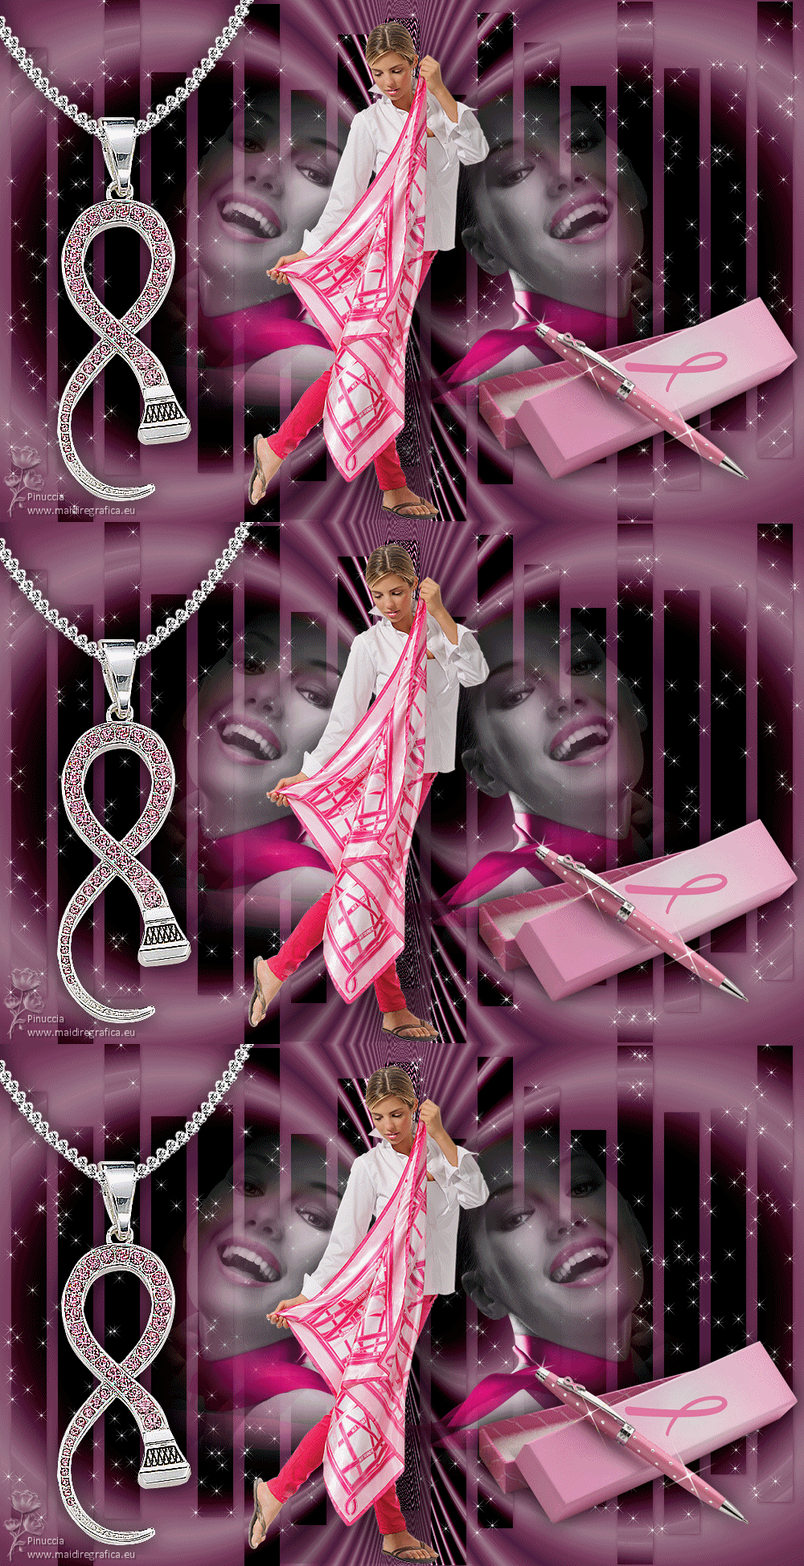
For the tubes of this version thanks Katrina and Tocha

 Your versions here Your versions here

If you have problems or doubts, or you find a not worked link, or only for tell me that you enjoyed this tutorial, write to me.
11 October 2022

|


