|
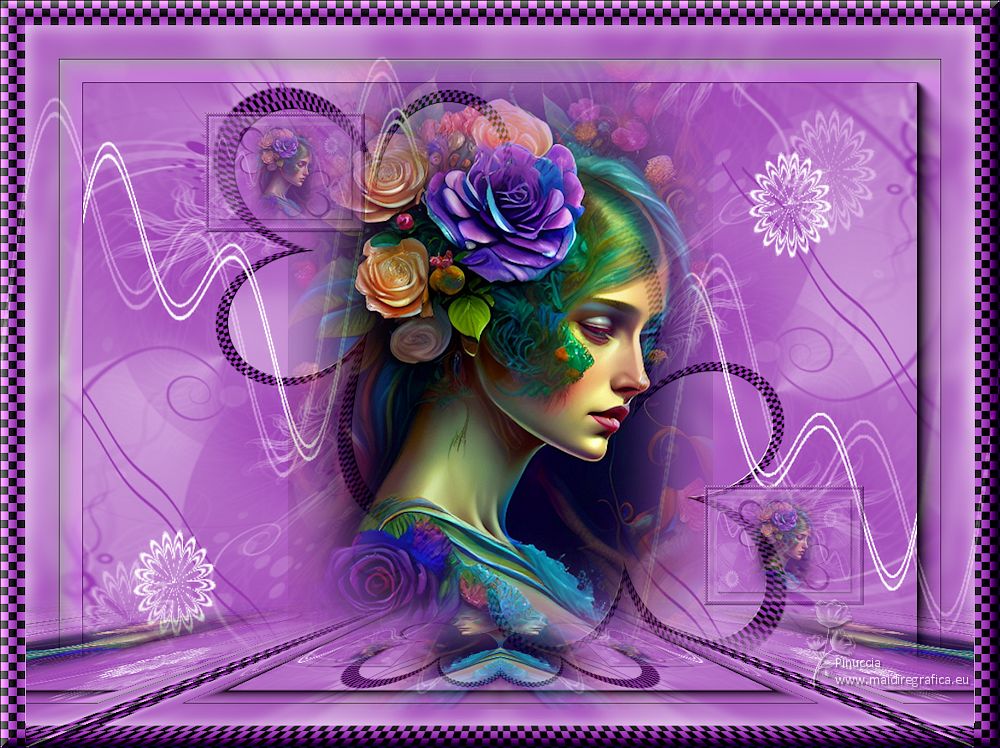
SUMMER TIME

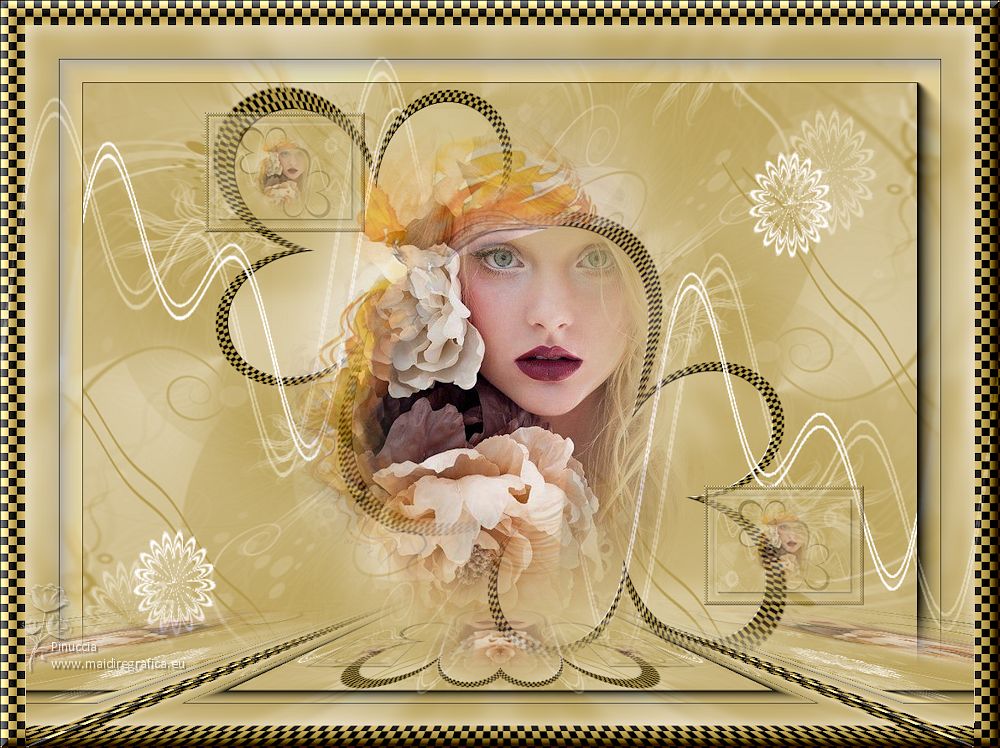
Thanks Gerrie for your invitation to translate your tutorials.

This tutorial was created with PSPX2 and translated with PSPX7, but it can also be made using other versions of PSP.
Since version PSP X4, Image>Mirror was replaced with Image>Flip Horizontal,
and Image>Flip with Image>Flip Vertical, there are some variables.
In versions X5 and X6, the functions have been improved by making available the Objects menu.
In the latest version X7 command Image>Mirror and Image>Flip returned, but with new differences.
See my schedule here
 Italian translation qui Italian translation qui
 French translation here French translation here
 Your versions ici Your versions ici
For this tutorial, you will need:

Thanks for the tube K@rine
(you find here the links to the material authors' sites)

consult, if necessary, my filter section here
Filters Unlimited 2.0 here
Flaming Pear - Flexify 2 here
L&K's - L&K's Pia here
Mura's Seamless - Emboss at Alpha here
Mura's Meister - Perspective Tiling here
AAA Frames - Foto Frame / AAA Filters - Custom here
Filters Mura's Seamless can be used alone or imported into Filters Unlimited.
(How do, you see here)
If a plugin supplied appears with this icon  it must necessarily be imported into Unlimited it must necessarily be imported into Unlimited

You can change Blend Modes according to your colors.

Copy the preset for Flexify in a folder at your choice.
From this folder you'll import it, when you'll need it.
Open the masks in PSP and minimize them with the rest of the material.
1. Choose two colors from your tube
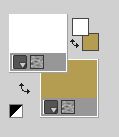
and set your foreground color to light color: #ffffff,
and your background color to dark color: #b49d50.
2. Open a new transparent image 1000 x 700 pixels.
Flood Fill  the transparent image with your background color. the transparent image with your background color.
3. Layers>New Raster Layer.
Flood Fill  the layer with your foreground color. the layer with your foreground color.
4. Layers>New Mask layer>From image
Open the menu under the source window and you'll see all the files open.
Select the mask TD_TagMask064
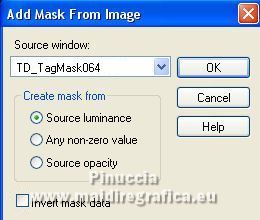
Layers>Merge>Merge Group.
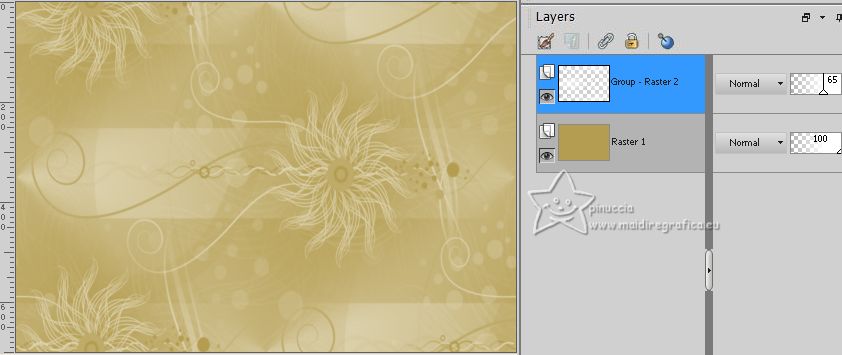
5. Effects>Image Effects>Seamless Tiling, default settings.

Reduce the opacity of this layer to 65%.
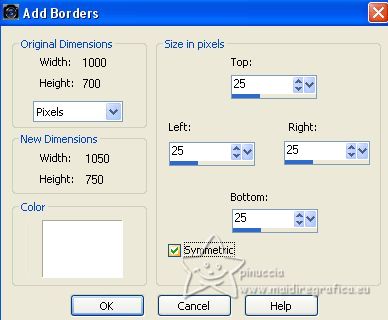
6. Image>Add borders, 25 pixels, symmetric, color white #ffffff.
7. Activate your Magic Wand Tool 

8. Click on the white border to select it.
Flood Fill  the selection with your background color, or to your liking. the selection with your background color, or to your liking.
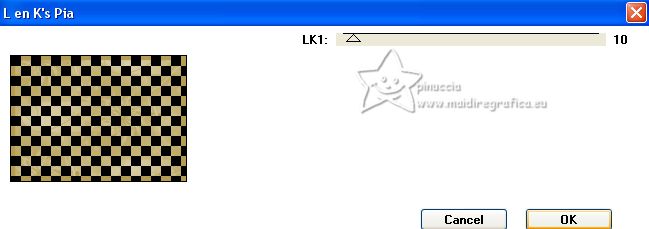
9. Effects>Plugins>L&K's - L&K's Pia
Selections>Select None.
10. Layers>Duplicate.
Image>Resize, to 60%, resize all layers not checked.
11. Effects>Plugins>Flaming Pear - Flexify 2.
Click on the red button and look for the preset in the folder you saved it
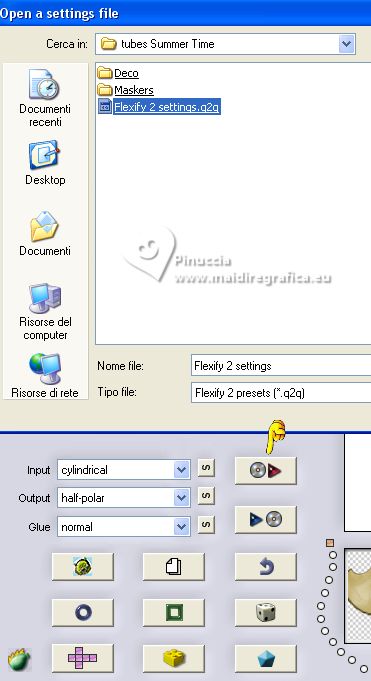
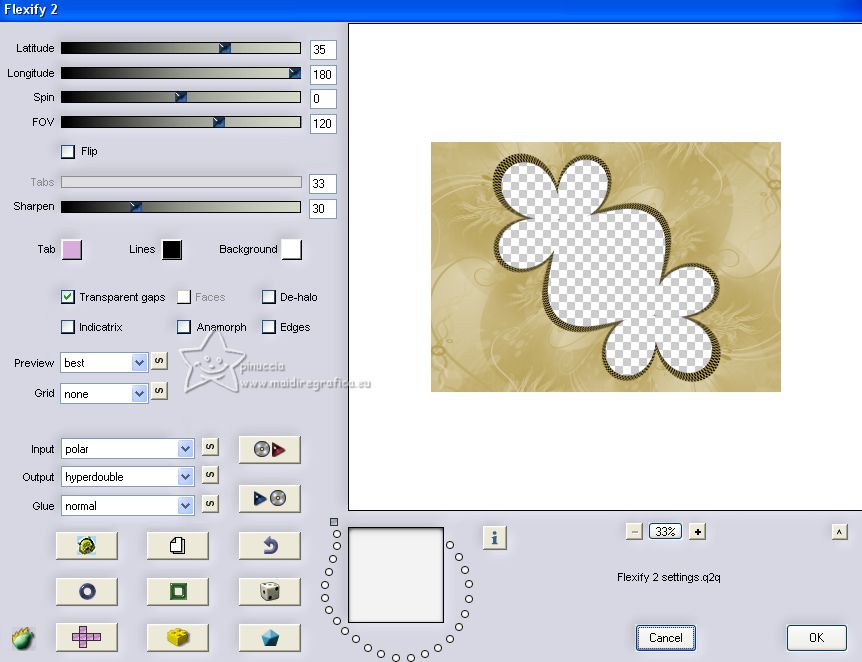
Here below the settings, in case of problems with the preset.
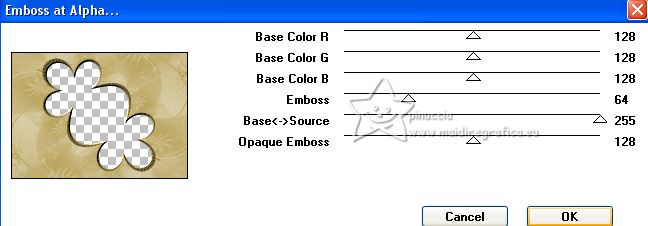
12. Effects>Plugins>Mura's Seamless - Emboss at Alpha, default settings.
13. Activate your bottom layer.
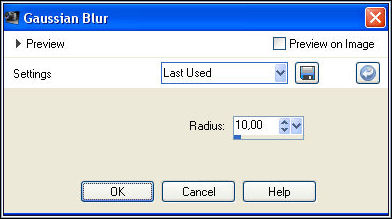
Adjust>Blur>Gaussian Blur, radius 10.
14. Activate your top layer.
Layers>New Raster Layer.
Flood Fill  the layer with your background color. the layer with your background color.
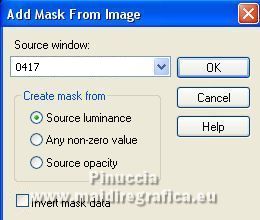
15. Layers>New Mask layer>From image
Open the menu under the source window
and select the mask 0417
Layers>Merge>Merge Group.
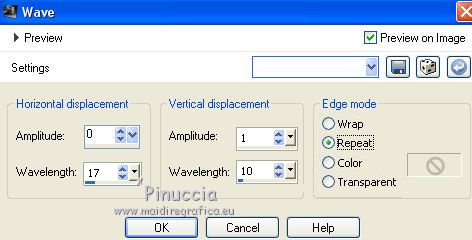
16. Effects>Distortion Effects>Wave.
17. Open deco_01 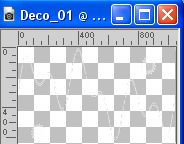
Edit>Copy.
Go back to your work and go to Edit>Paste as new layer.
18. Open the tube K@rine_dreams_Misted_Woman_3305_Fevrier_2016 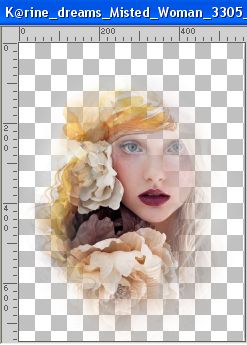
Edit>Copy.
Go back to your work and go to Edit>Paste as new layer.
This is to see what to remove from the deco_01 tube, so that it doesn't cover the face.
When you're done, close the tube layer and continue with the tutorial.
It's not a problem that the tube is gone, you'll have to put it back at the end of the tutorial.
19. Image>Add borders, 1 pixel, symmetric, foreground color.
Edit>Copy
20. Selections>Select All.
Image>Add borders, 40 pixels, symmetric, background color.
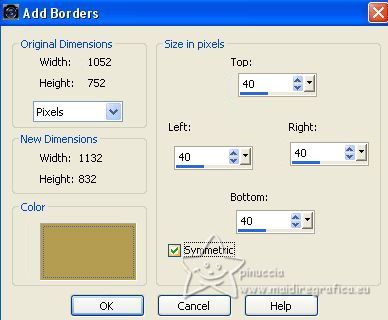
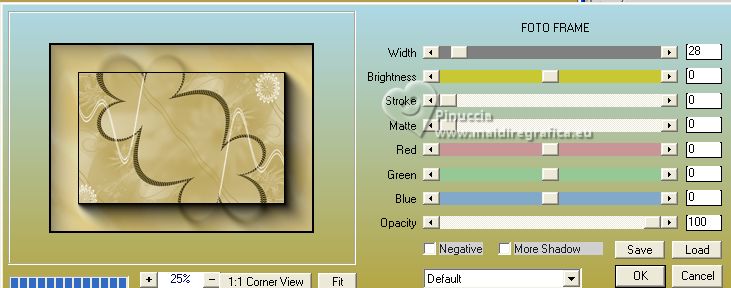
21. Effects>Plugins>AAA Frames - Foto Frame.
22. Selections>Invert.
Edit>Paste into Selection (the image in memory at step 18).
23. Adjust>Blur>Gaussian Blur - radius 10.

Selections>Select None.
24. Selections>Select All.
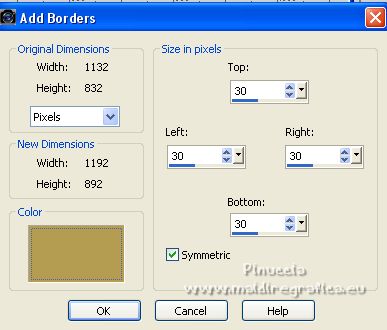
Image>Add borders, 30 pixels, symmetric, foreground color.
25. Selections>Invert.
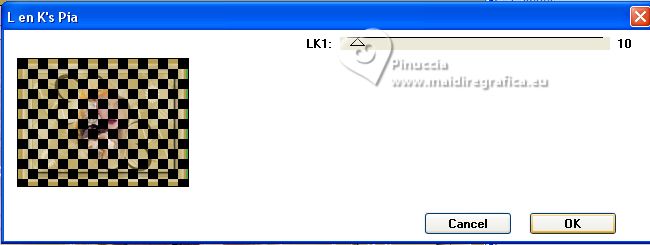
Effects>Plugins>L&K's - L&K's Pia, same settings
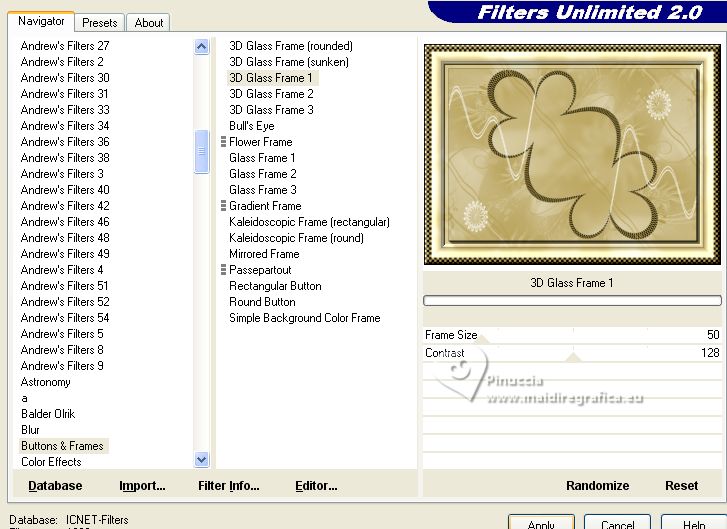
26. Effects>Plugins>Filters Unlimited 2.0 - Buttons & Frames - 3D Glass Frame 1, default settings.
Selections>Select None.
27. Open deco_02 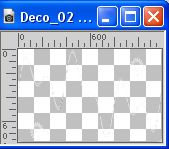
Edit>Copy.
Go back to your work and go to Edit>Paste as new layer.
Change the Blend Mode of this layer to Soft Light.
28. Activate again the tube K@rine_dreams_Misted_Woman_3305_Fevrier_2016 and go to Edit>Copy.
Go back to your work and go to Edit>Paste as new layer.
29. Layers>Merge>Merge All.
30. Layers>Duplicate.
Image>Resize, 2 times to 40%, resize all layers not checked.
K key to activate your Pick Tool 
and set Position X: 839,00 and Position Y: 579,00.

M key to deselect the Tool.
31. Effects>Image Effects>Seamless Tiling.

32. Layers>Merge>Merge All.
33. Layers>Duplicate.
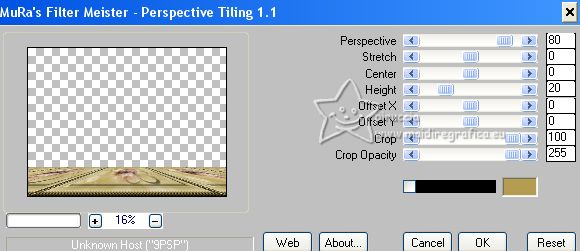
Effects>Plugins>Mura's Meister - Perspective Tiling.
34. Activate your Magic Wand Tool 

Click on the transparent zone to select it.
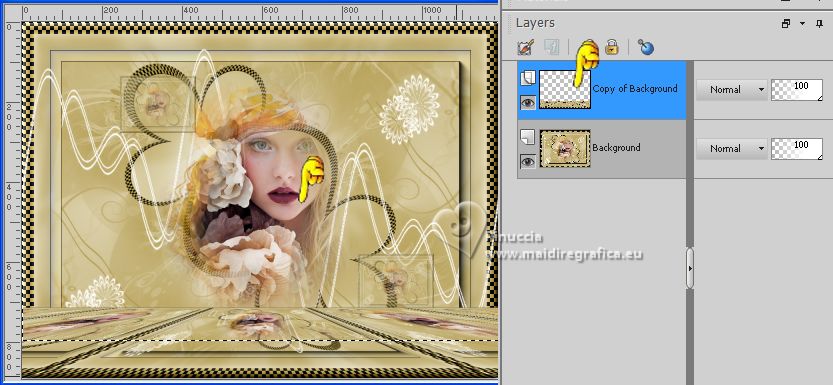
35. Press 5 times CANC on the keyboard 
Selections>Select None.
36. Effects>Reflection Effects>Rotating Mirror, default settings.

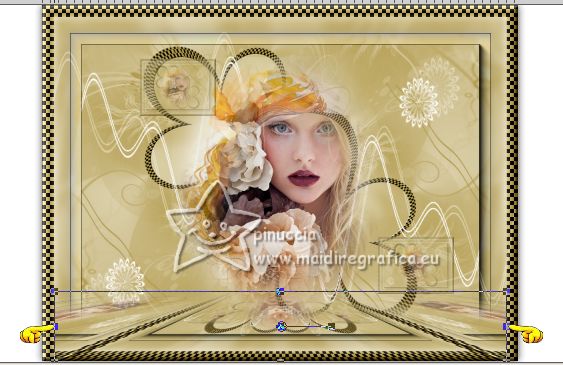
37. K key to activate your Pick Tool 
Mode Scale 
push the left and right central nodes inward, as in the example.
M key to deselect the Tool.
38. Sign your work on a new layer.
Layers>Merge>Merge All.
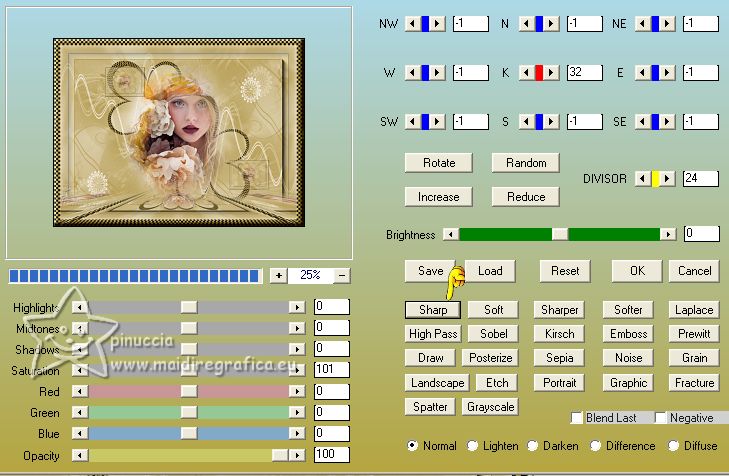
39. Effects>Plugins>AAA Filters - Custom - click on Sharp and ok.
40. Image>Resize, 1000 pixels width, resize all layers not checked.
Save as jpg.
For the tube of this version thanks Luz Cristina

If you have problems or doubts, or you find a not worked link, or only for tell me that you enjoyed this tutorial, write to me.
23 May 2023

|


