|
WINTER STARS

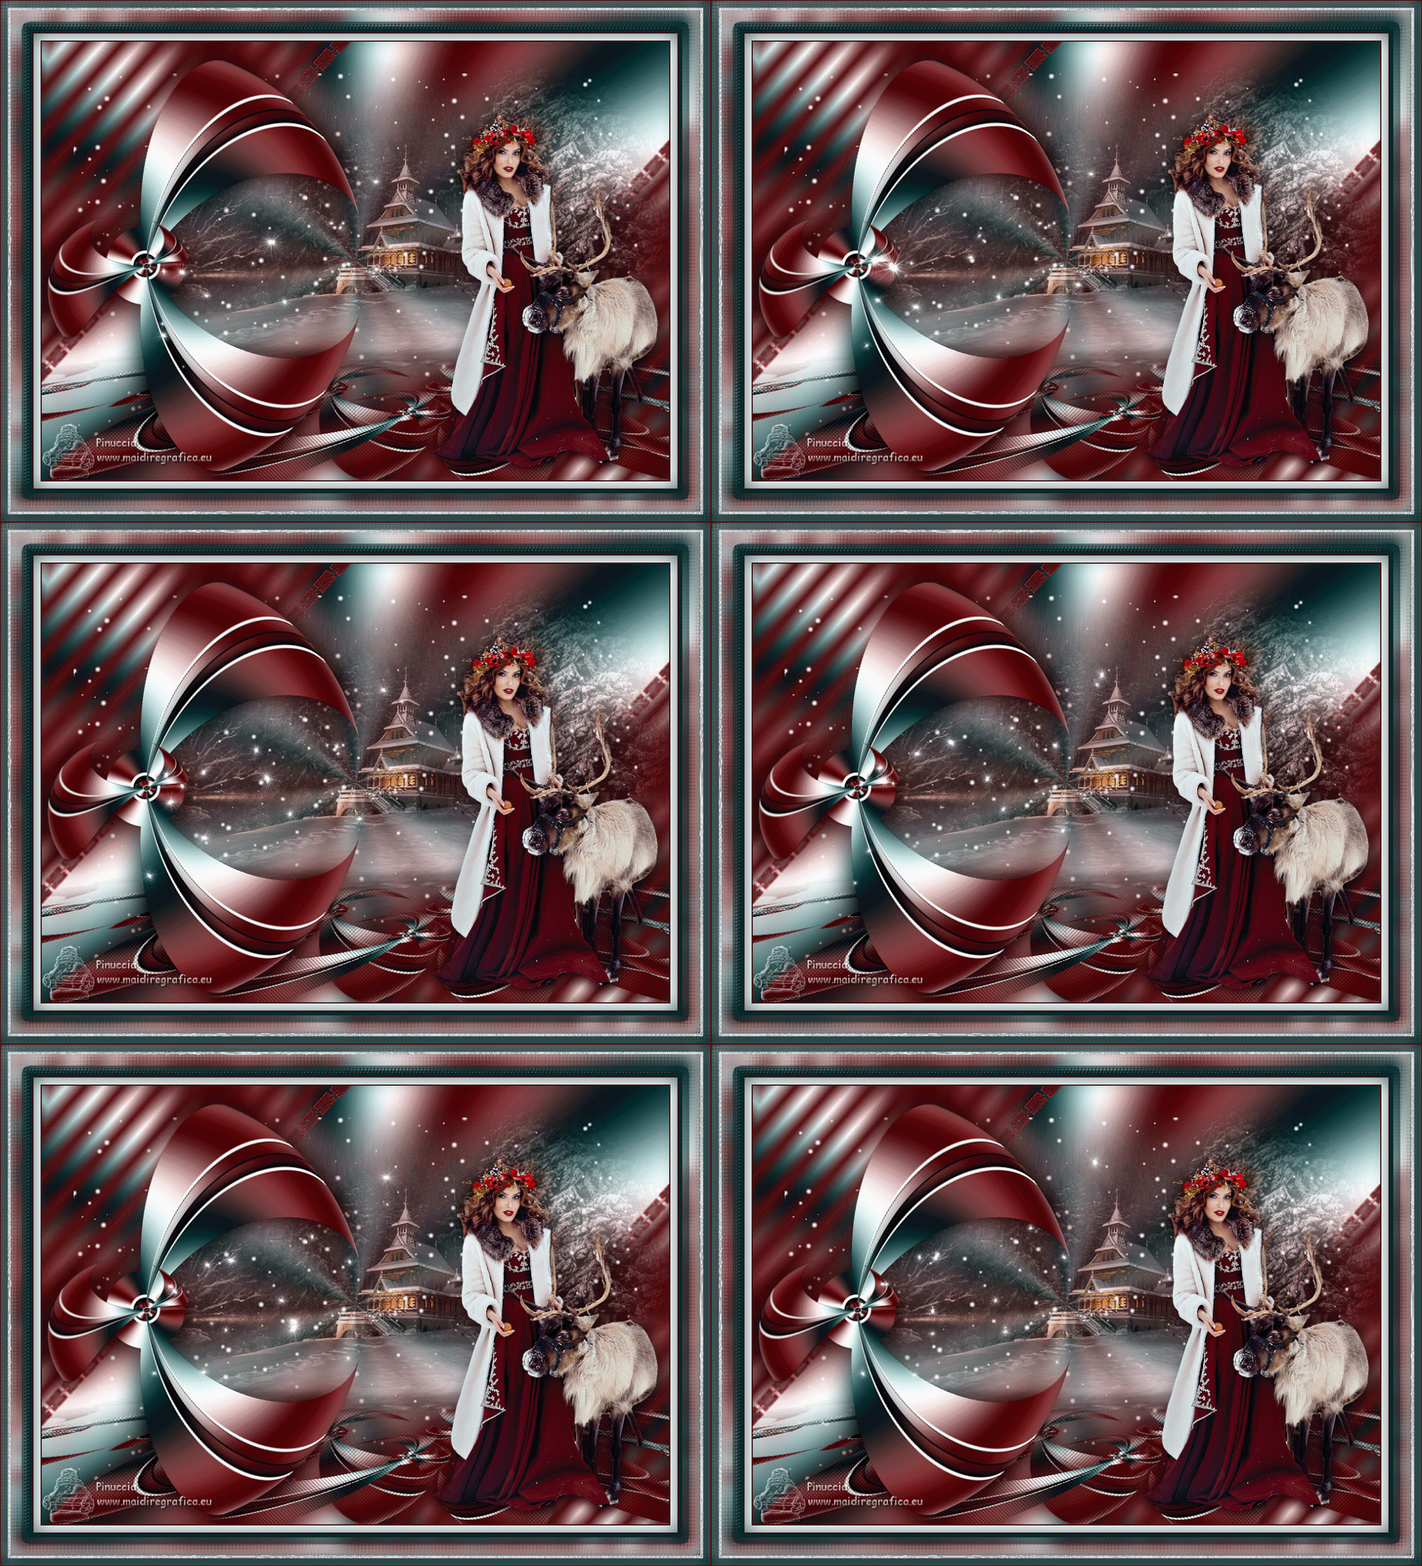
Thanks Gerrie for your invitation to translate your tutorials.

This tutorial was translated with PSP2020 and translated with PSPX9 and PSP2020,
but it can also be made using other versions of PSP.
Since version PSP X4, Image>Mirror was replaced with Image>Flip Horizontal,
and Image>Flip with Image>Flip Vertical, there are some variables.
In versions X5 and X6, the functions have been improved by making available the Objects menu.
In the latest version X7 command Image>Mirror and Image>Flip returned, but with new differences.
See my schedule here
 Italian translation qui Italian translation qui
 French translation here French translation here
 Your versions ici Your versions ici

For this tutorial, you will need:

Thanks for the tube Mentali, for the mask Animabelle and for the animation Simone.
(you find here the links to the material authors' sites)

consult, if necessary, my filter section here
Filters Unlimited 2.0 here
Mehdi - Wavy Lab 1.1. here
Flaming Pear - Flexify 2 here
Sybia - TREMORSC here
Mura's Meister - Perspective Tiling here
AP 01 [Lines] - Lines SilverLining here
AAA Frames - Foto Frame / AAA Filters - Custom here
Filters Sybia can be used alone or imported into Filters Unlimited.
(How do, you see here)
If a plugin supplied appears with this icon  it must necessarily be imported into Unlimited it must necessarily be imported into Unlimited
Animation Shop here

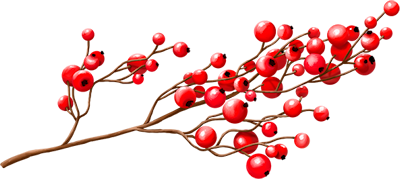
You can change Blend Modes according to your colors.
Place the presets for Flexify in a folder of your choice
(I usually leave them in the material folder)
From this folder you'll import them when you need them.

Open the mask in PSP and minimize it with the rest of the material.
Colors

1. Choose two colors from your tube.
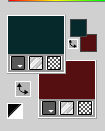
Set your foreground color to color 1 #082a2c
and your background color to color 2 #551013.
2. Open a new transparent image 1000 x 700 pixels.
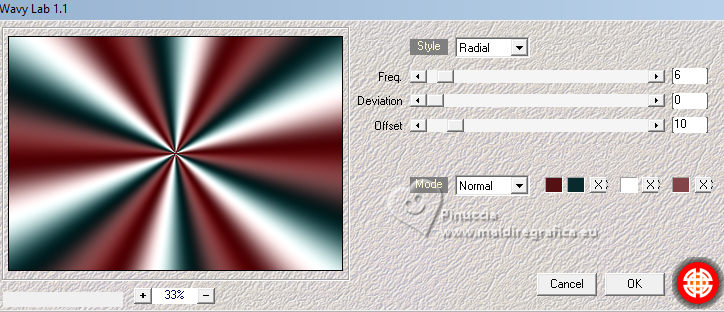
3. Effects>Plugins>Mehdi - Wavy Lab 1.1.
This filter creates gradients with the colors of your Materials palette.
The first is your background color, the second is your foreground color.
Change the last two colors created by the filtre:
the third color with color 3 #ffffff and the fourth color with color 4 #824446.
4. Layers>Duplicate.
Effects>Plugins>AAA Frames - Foto Frame.
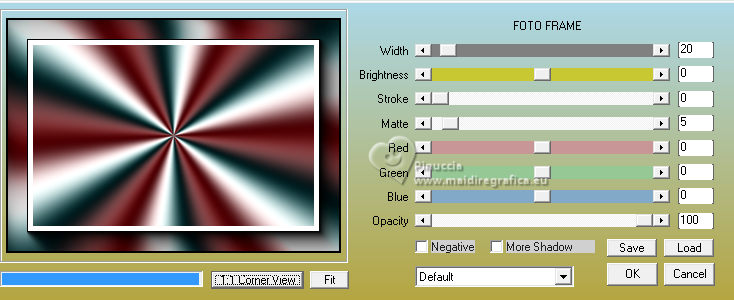
5. Selection Tool 
(no matter the type of selection, because with the custom selection your always get a rectangle)
clic on the Custom Selection 
and set the following settings.
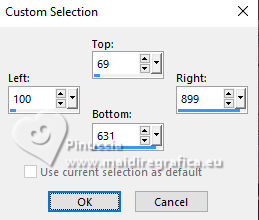
Press CANC on the keyboard 
Selections>Select None.
6. Effects>Geometric Effects>Perspective Vertical.
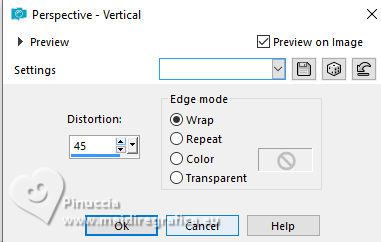
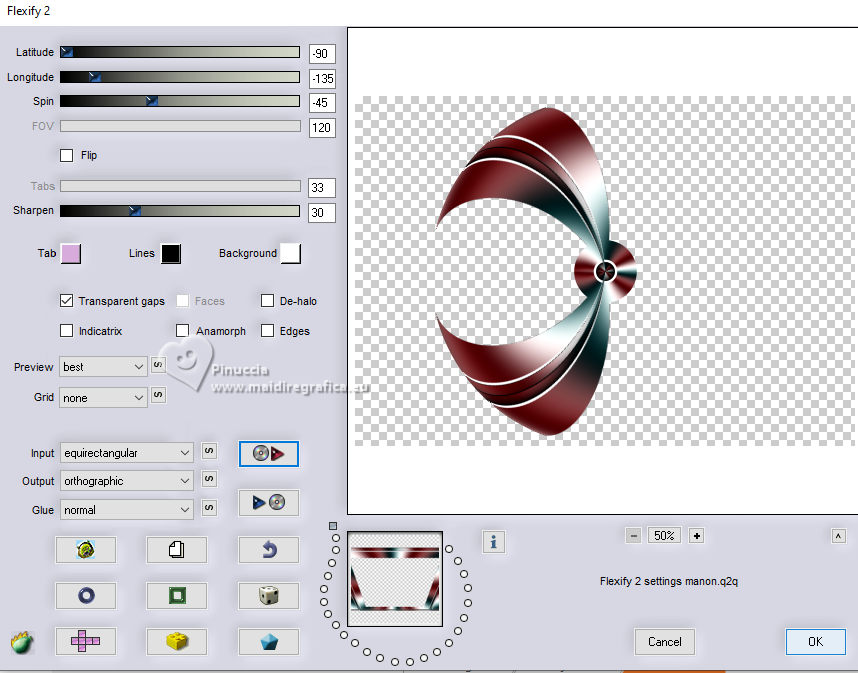
7. Effects>Plugins>Flaming Pear - Flexify 2.
Click on the red button and look for, in the folder where you saved it,
the preset flexify 2 settings manon.qsq
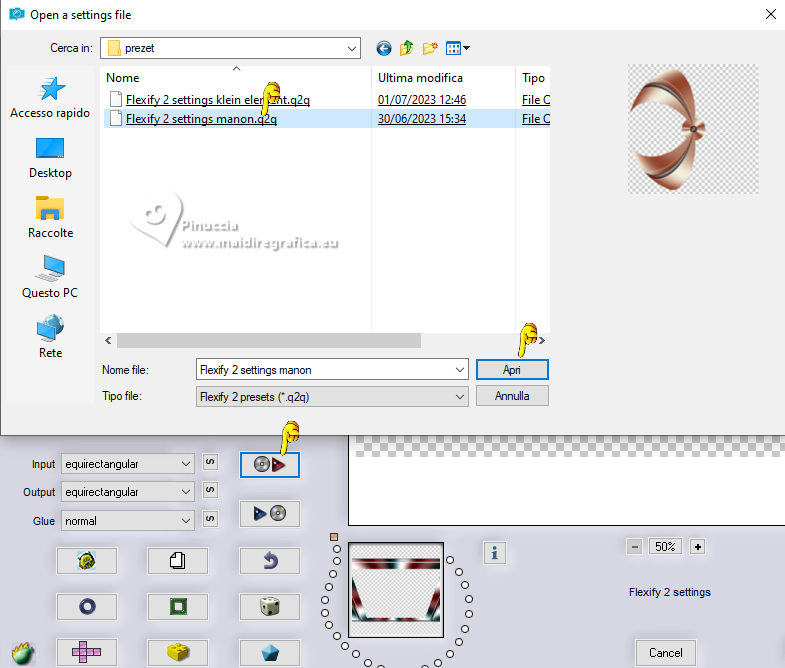
Here below the settings
8. Image>Mirror.
K key to activate your Pick Tool 
and set Position X: 101,00 and Position Y: 28,00.

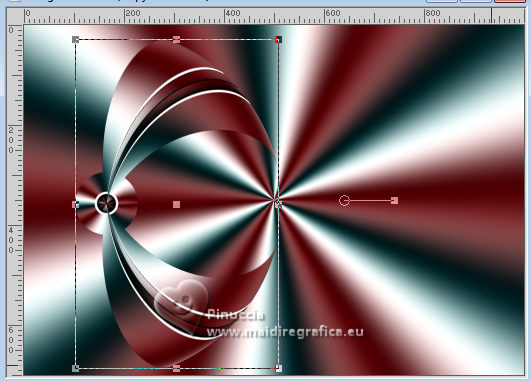
M key to deselect the Tool.
9. Layers>Duplicate.
Image>Resize, 2 times to 80%, resize all layers not checked.
10. Effects>Plugins>Flaming Pear - Flexify 2.
Click on the red button and look for, in the folder where you saved it,
the preset flexify 2 settings klein element.qsq
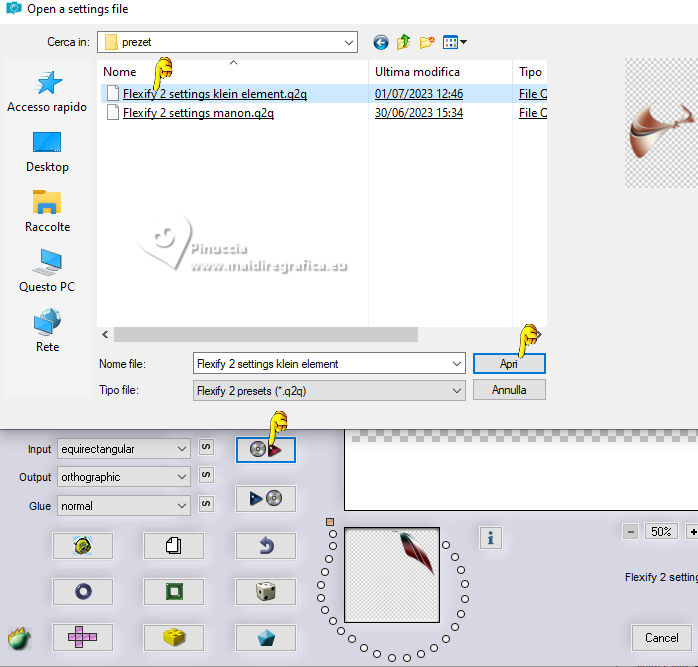
Here below the settings.
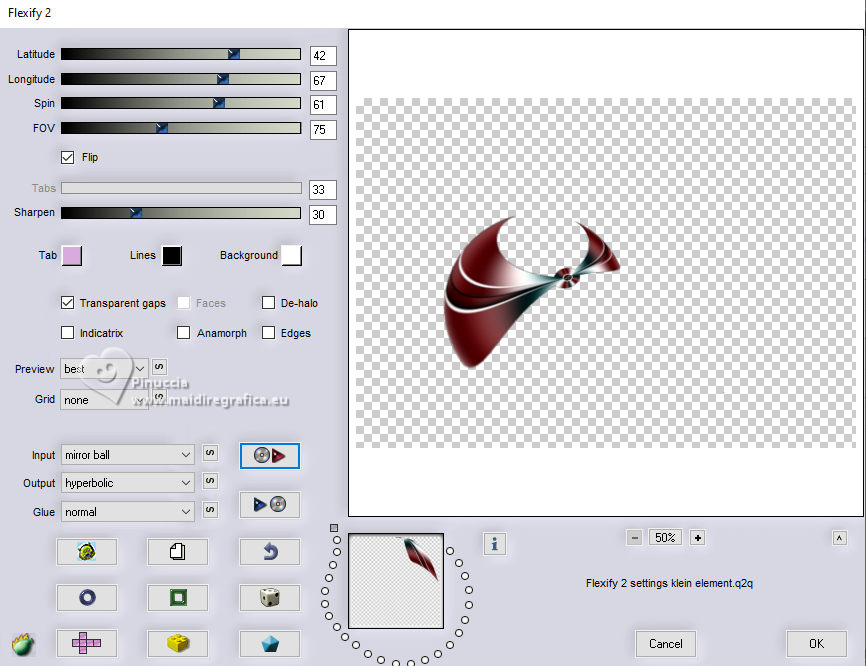
11. Image>Resize, 2 times to 80%, resize all layers not checked.
Place  correctly the image to the left. correctly the image to the left.
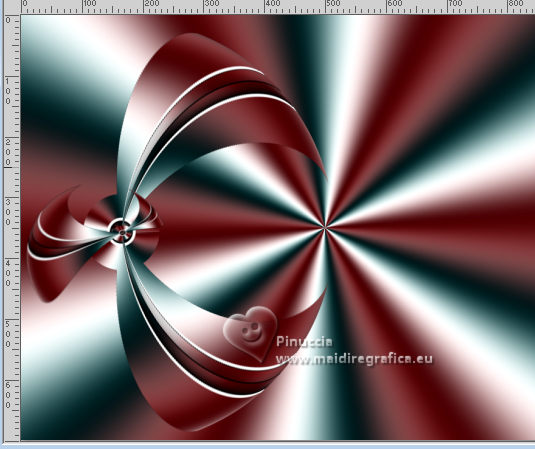
12. Layers>Merge>Merge Down.
13. Layers>Duplicate, and activate the layer below.
Adjust>Blur>Gaussian blur - radius 20.

Change the Blend Mode of this layer to Multiply.
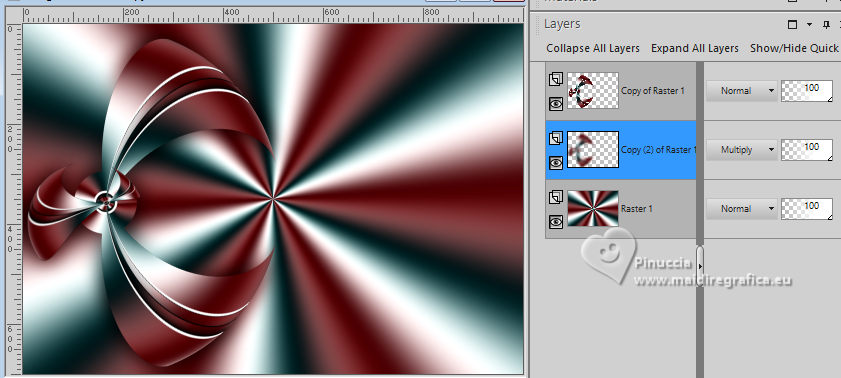
14. Activate your bottom layer, Raster 1.
Layers>New Raster Layer.
Flood Fill  the layer with your background color (or a color at your choice). the layer with your background color (or a color at your choice).
15. Layers>New Mask layer>From image
Open the menu under the source window and you'll see all the files open.
Select the mask 076_animabelle_masques

Layers>Merge>Merge Group.
Effects>Edge Effects>Enhance More.
16. Activate your top layer, copy 2 of Raster 1.
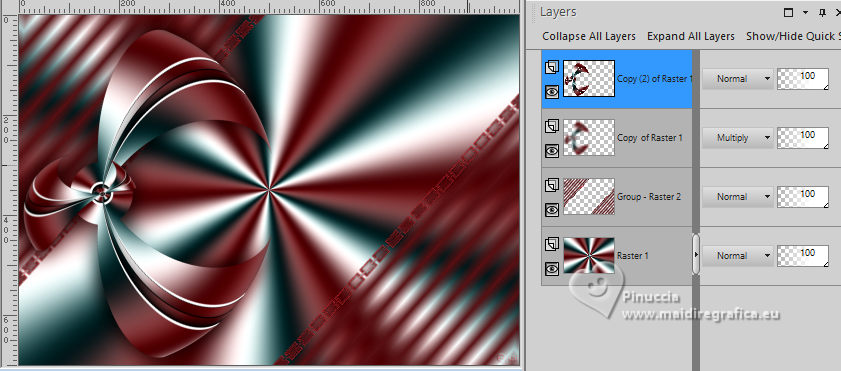
17. Layers>Duplicate.
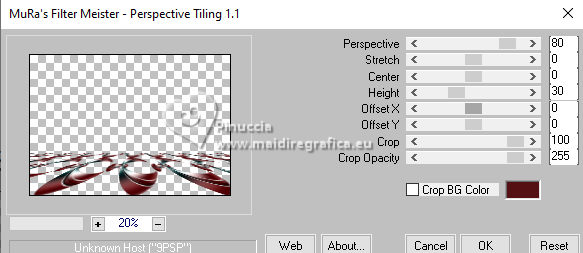
Effects>Plugins>Mura's Meister - Perspective Tiling.
18. Activate your Magic Wand Tool 

19. Click in the transparent part to select it.
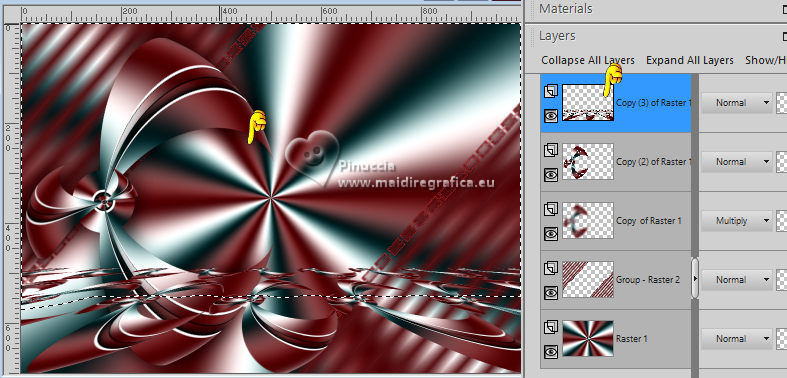
Press 5 times CANC on the keyboard 
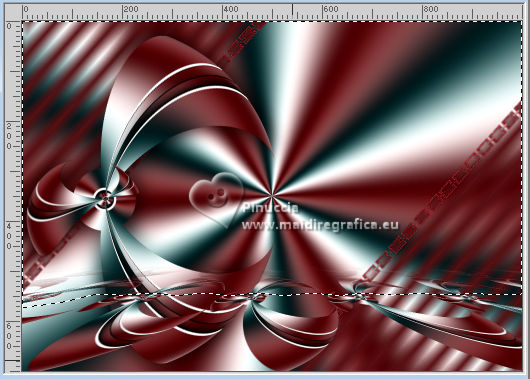
*****
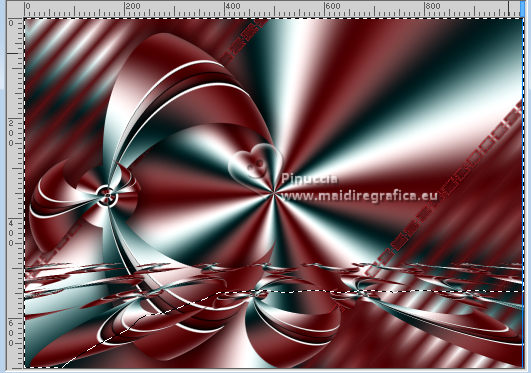
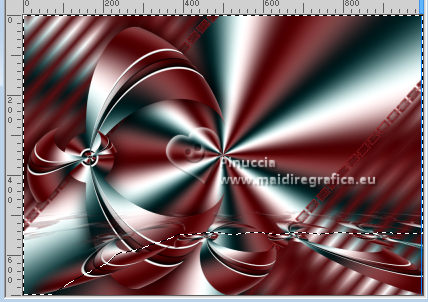
Attention: according to your PSP version, the result of the Wand may be different;
this is the result with PSPX9 par example
(you can eventually decide to lower the feather)
*****
Selections>Select None.
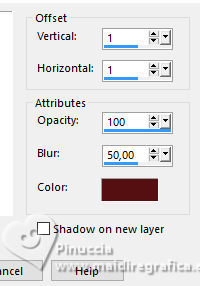
20. Effects>3D Effects>Drop Shadow, background color.
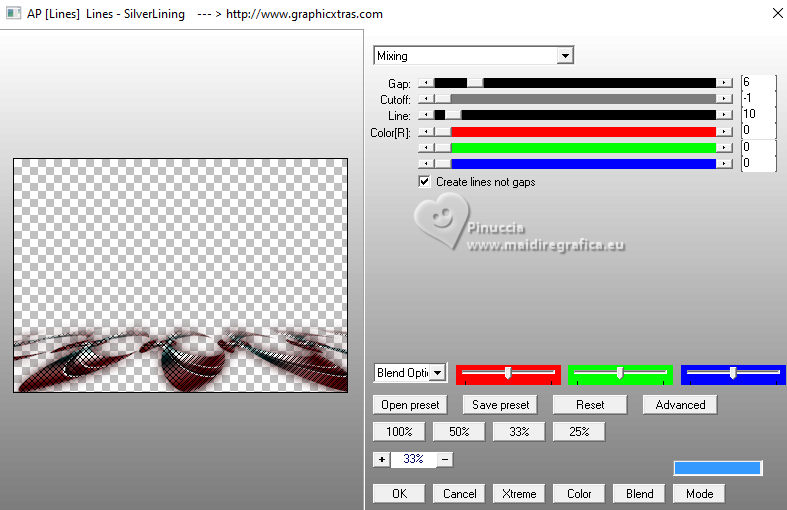
21. Effects>Plugins>AP 01 [Lines] - Lines SilverLining.
Layers>Arrange>Move Down - 2 times.
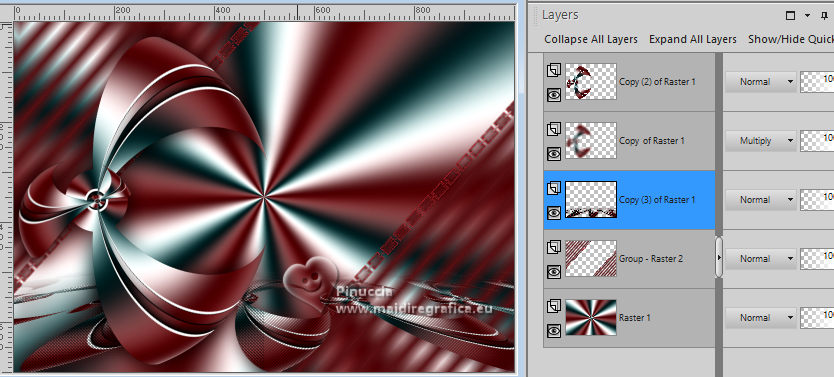
22. Layers>Duplicate.
Image>Mirror.
23. K key to activate your Pick Tool 
and set Position X: 264,00 and Position Y: 515,00.

M key to deselect the Tool.
24. Click again on the transparent part of this layer
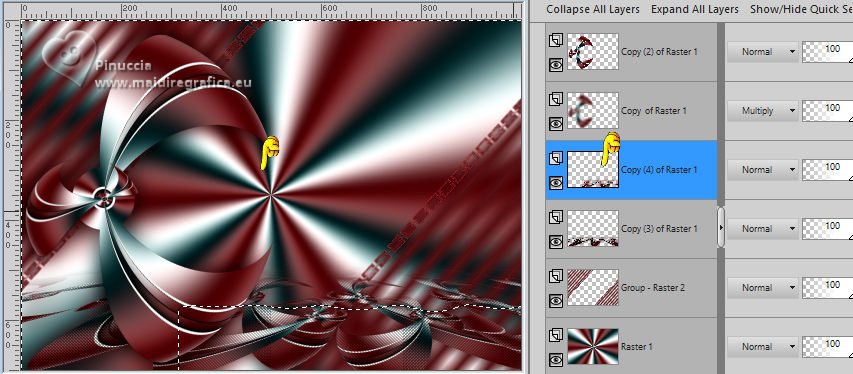
Press 3 times CANC on the keyboard 
Selections>Select None.
Don't forget to set again tolerance and feather to 0
25. Effects>3D Effects>Drop Shadow, same settings.

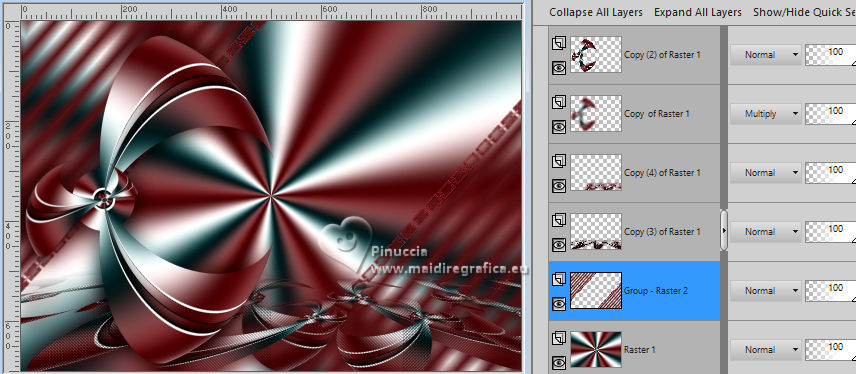
26. Activate the layer Group Raster 2.
27. Open the misted mentali-misted2141 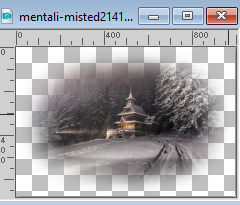
Edit>Copy.
Go back to your work and go to Edit>Paste as new layer.
Modifica>Copia.
Pick Tool 
Set Position X: 58,00 and Position Y: -14,00

M key to deselect the Tool.
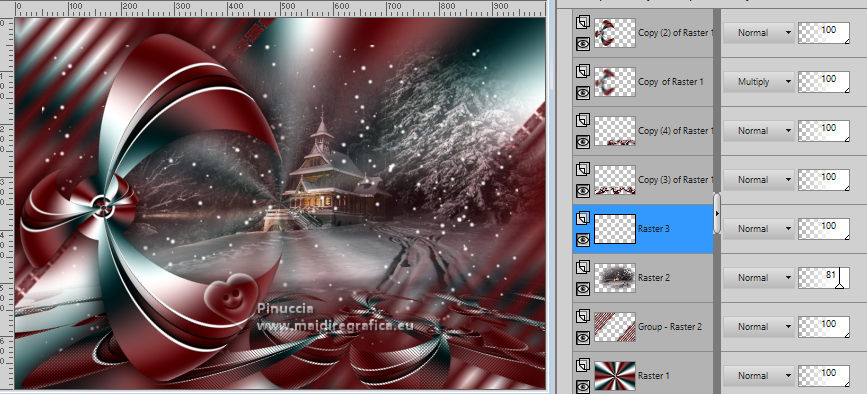
Reduce the opacity of this layer to 81%.
28. Open the tube Sneeuw vlokjes 
Edit>Copy.
Go back to your work and go to Edit>Paste as new layer.
Don't move it. It is at its place.
29. Image>Add borders, 2 pixels, symmetric, background color.
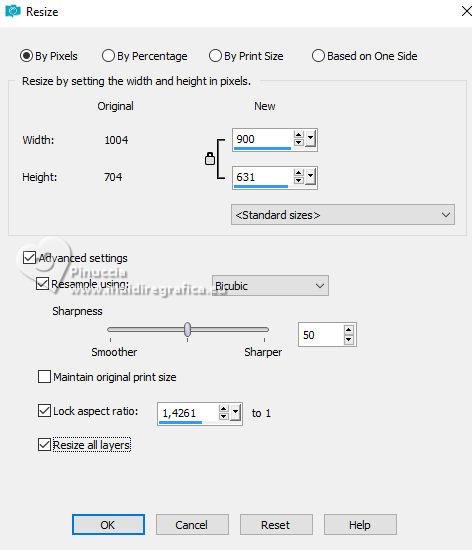
30. Image>Resize, 900 pixels width, resize all layers checked.
31. Image>Add borders, 10 pixels, symmetric, color white.
Image>Add borders, 2 pixels, symmetric, background color.
Image>Add borders, 5 pixels, symmetric, foreground color.
Edit>Copy
32. Selections>Select All.
Image>Add borders, 40 pixels, symmetric, whatever color.
Selections>Invert.
Edit>Paste into Selection .
Adjust>Blur>Gaussian Blur - radius 10.

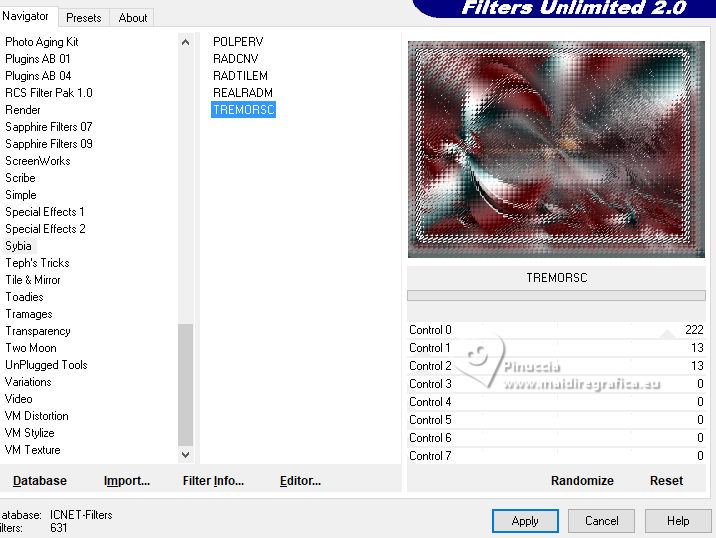
33. Effects>Plugins>Filters Unlimited 2.0 - Sybia - TREMORSC, default settings.
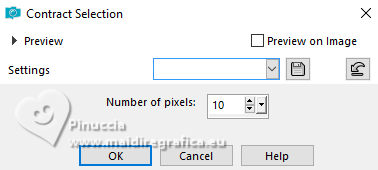
34. Selections>Modify>Contract - 10 pixels.
35. Effects>3D Effects>Drop Shadow, foreground color (or a color at your choice)
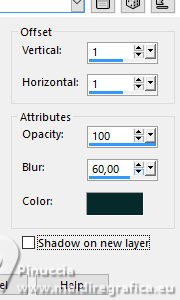
Edit>Repeat Drop Shadow.
36. Open Rand 
Edit>Copy.
Go back to your work and go to Edit>Paste into Selection.
Selections>Select None.
37. Open your main tube PSPMagnifique 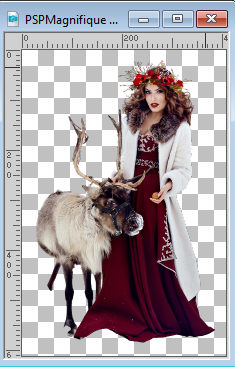
Edit>Copy.
Go back to your work and go to Edit>Paste as new layer.
Place  the tube to your liking. the tube to your liking.
Layers>Duplicate.
Activate the layer below.
Adjust>Blur>Gaussian Blur, same settings.
Change the Blend Mode of this layer to Multiply.
38. Sign your work on a new layer.
39. Image>Add borders, 1 pixel, symmetric, background color.
40. Effects>Plugins>AAA Filters - Custom - click on Sharp and ok.
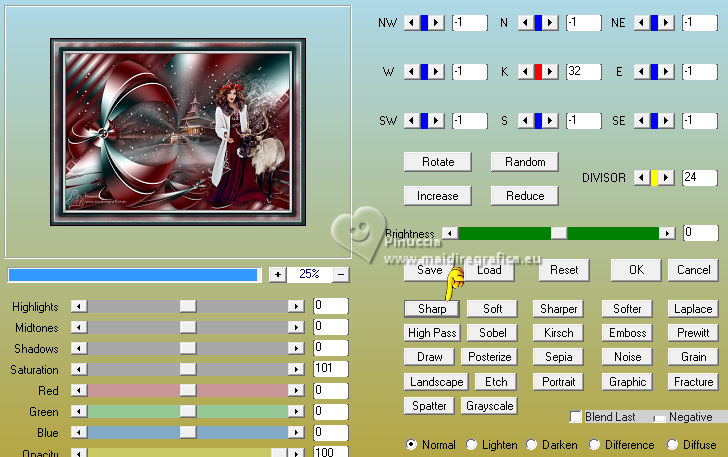
41. Edit>Copy
42. Open Animation Shop and go to Edit>Paste>Paste in the Selected Frame.
Edit>Duplicate, and repeat until you have an animation made up of 18 frames.
42. Click on the first frame to select it and go to Edit>Select All.
43. Open the animation SimoneAni514-MNG also made up of 18 frames.
Edit>Select All.
Edit>Copy.
44. Activate your work and go to Edit>Paste>Paste in the selected frame.
Place the animation to your liking.
35. Animation>Resize animation.
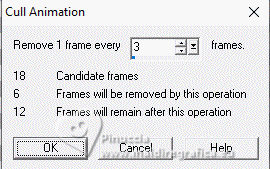
And now your animation consists of 12 frames.
36. Animation>Resize animation - 1000 pixels width.

36. Check the result clicking on View animation 
and save as gif.
For the tubes of this version thanks Lana and Adrienne
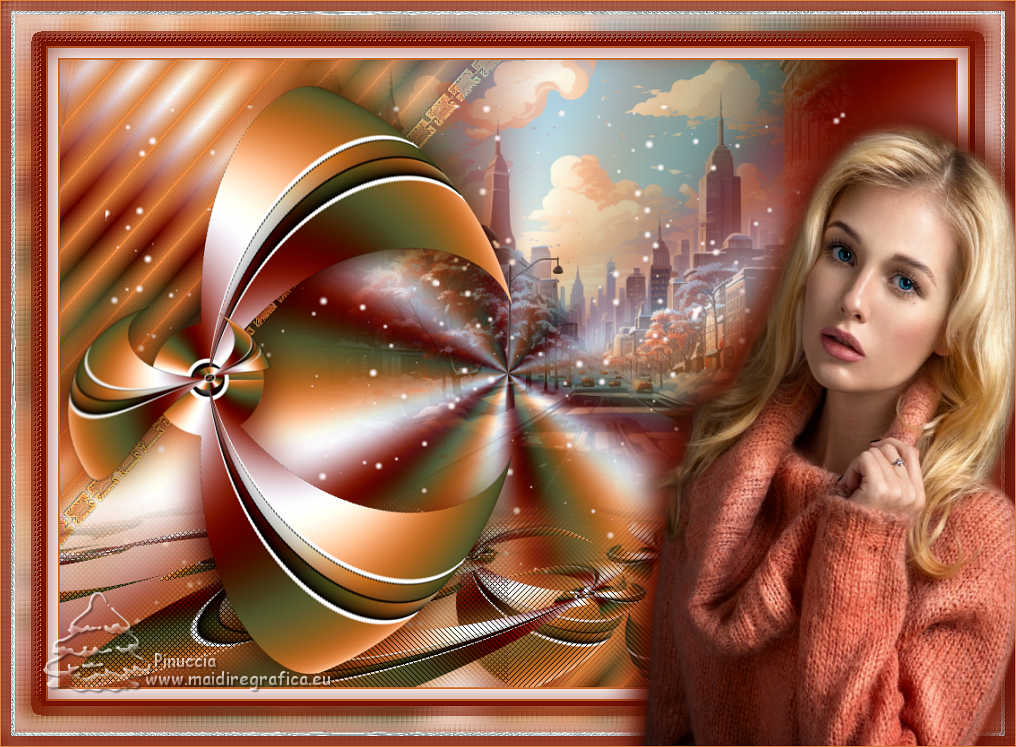

 Your versions here Your versions here
If you have problems or doubts, or you find a not worked link, or only for tell me that you enjoyed this tutorial, write to me.
31 October 2022

|


