|
YELLOW

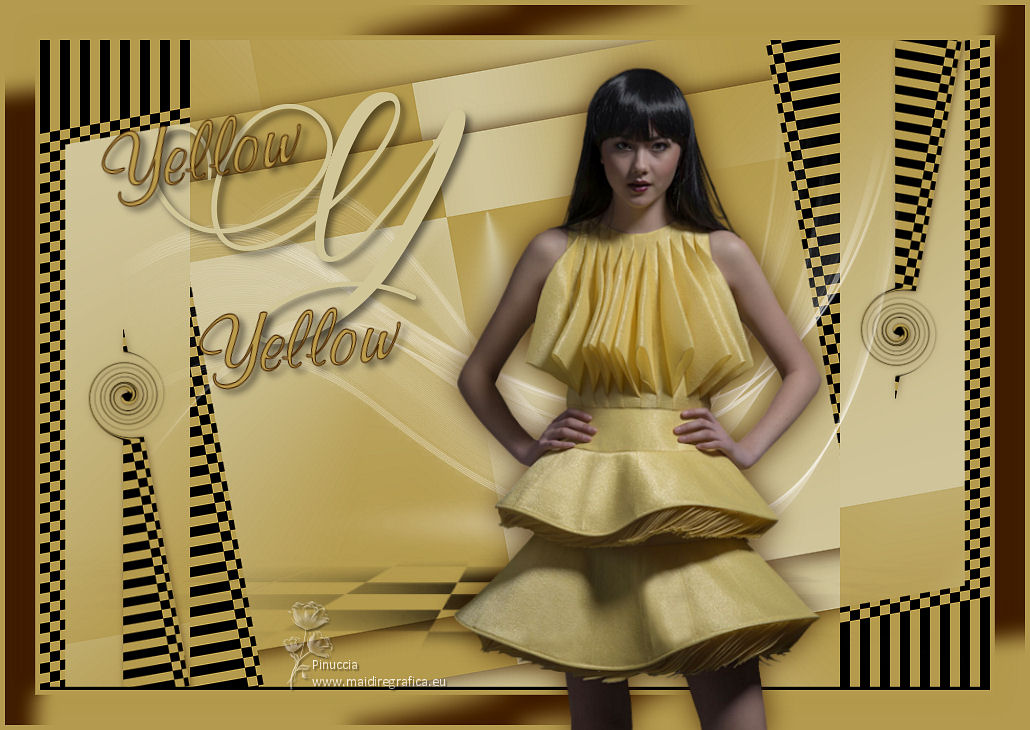
Thanks Gerrie for your invitation to translate your tutorials.

This tutorial was translated with PSP2020 but it can also be made using other versions of PSP.
Since version PSP X4, Image>Mirror was replaced with Image>Flip Horizontal,
and Image>Flip with Image>Flip Vertical, there are some variables.
In versions X5 and X6, the functions have been improved by making available the Objects menu.
In the latest version X7 command Image>Mirror and Image>Flip returned, but with new differences.
See my schedule here
 Italian translation qui Italian translation qui
 French translation here French translation here
 Your versions ici Your versions ici
For this tutorial, you will need:
Material
here
Thanks for the tube Jeanne and for the masks VaZsu and Huzunluyillar.
(you find here the links to the material authors' sites)
Plugins
consult, if necessary, my filter section here
Mehdi - Wavy Lab, Sorting Tiles here
L&K's - L&K's Pia here
AAA Filters - Custom here

You can change Blend Modes according to your colors.

Open the masks in PSP and minimize them with the rest of the materiel.
1. Set your foreground color with a light color of your tube: #cfc79d,
and your background color with a dark color : #b49d50.
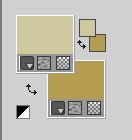
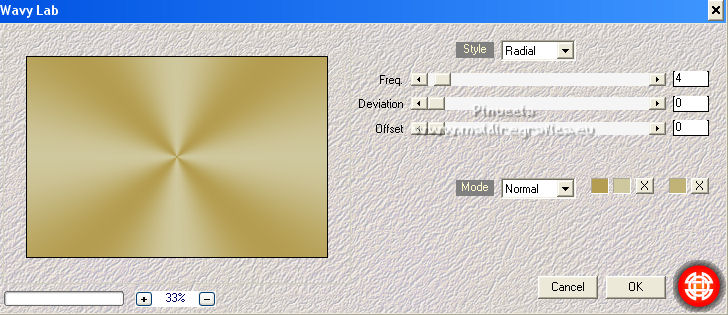
2. Open a new transparent image 900 x 600 pixels.
Effects>Plugins>Mehdi - Wavy Lab
This filters creates gradients with the colors of your Materials palette.
The first is your background color, the second is your foreground color.
Keep the last color created by the filtre (#c1b276)
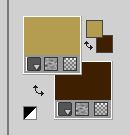
Set your foreground color to #b49d50,
and your background color to #3e2000.
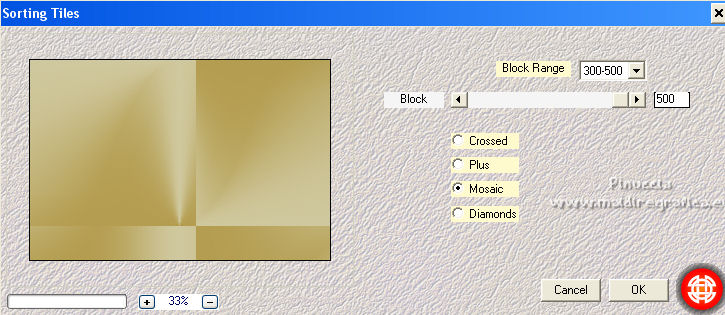
3. Effects>Plugins>Mehdi - Sorting Tiles
4. Layers>Duplicate.
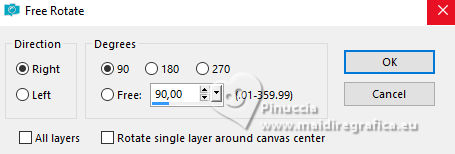
Image>Free Rotate - 90 degrees to right.
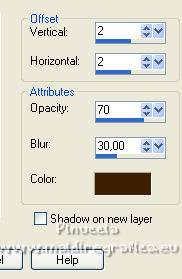
5. Effects>3D Effects>Drop Shadow, background color.
6. Layers>Duplicate.
Image>Resize, to 80%, resize all layers not checked.
Effects>3D Effects>Drop Shadow, same settings.
7. Image>Add borders, 25 pixels, symmetric, whatever color.
8. Activate your Magic Wand Tool 

Click in the border to select it.
Flood Fill  the selections with a color at your choice. the selections with a color at your choice.
I used my foreground color.
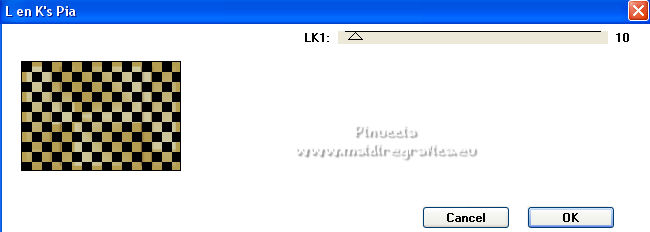
9. Effects>Plugins>L&K's - L&K's Pia
Selections>Select None.
10. Layers>Duplicate.
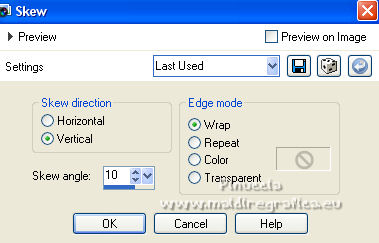
Effects>Geometric Effects>Skew.

11. Layers>Duplicate.
Image>Free Rotate - 90 degrees to right.

12. Effects>Geometric Effects>Skew.
Result
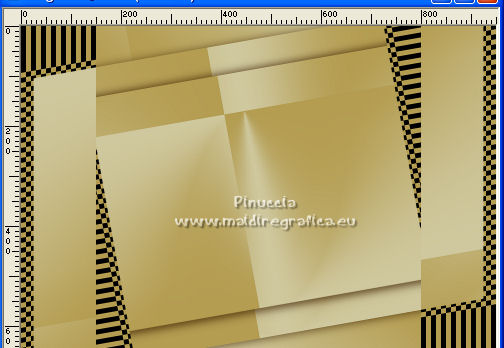
13. Activate your Freehand Selection  , point to point , point to point

Select the left triangle
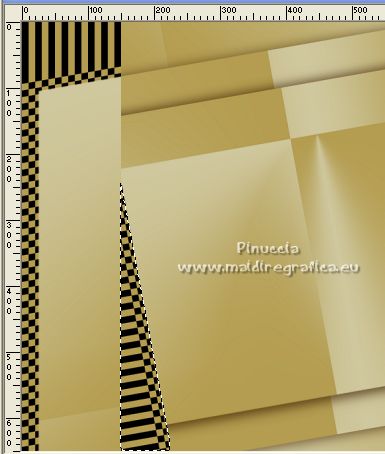
14. Edit>Copy.
Edit>Paste as new layer.
Selections>Select None.
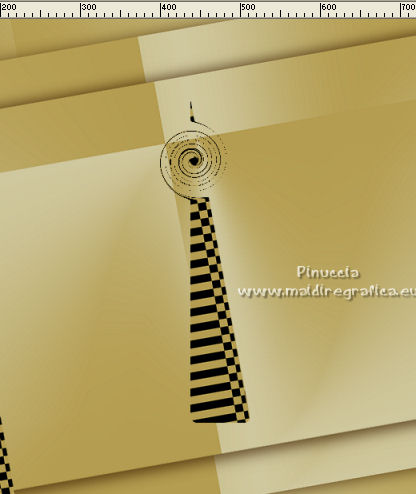
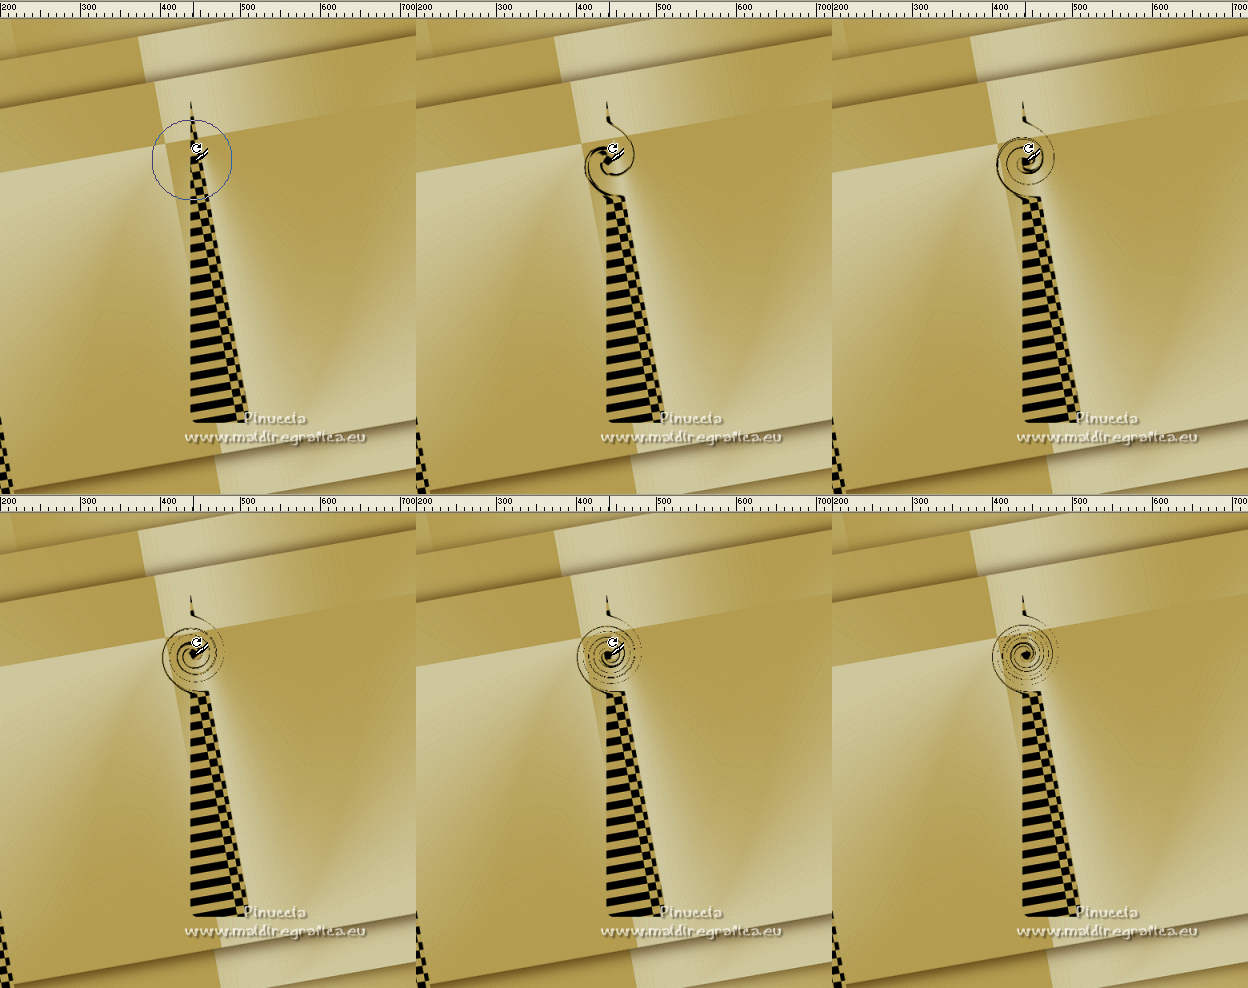
15. Activate your Warp Brush 

Point the mouse as below
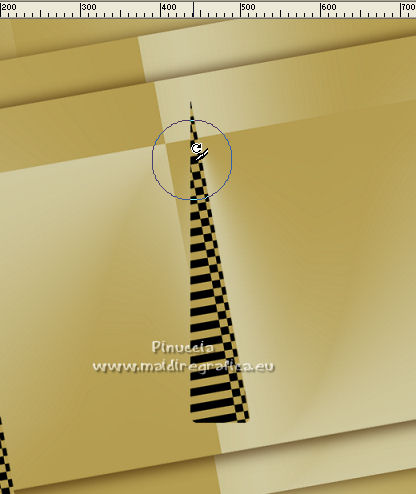
hold down the left mouse button as long as you want,
until you get something like this
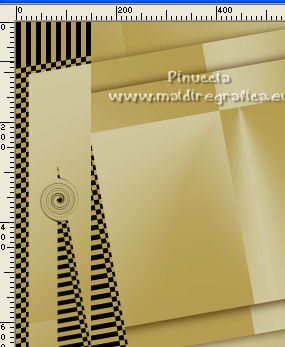
16. Image>Resize, to 90%, resize all layers not checked.
Move  the image to the left. the image to the left.
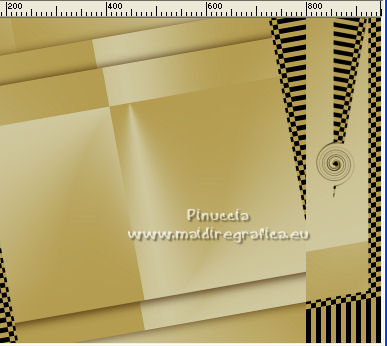
17. Layers>Duplicate.
Image>Flip.
Move  the image at the upper right. the image at the upper right.
Layers>Merge>Merge Down.
Effects>3D Effects>Drop Shadow, background color.
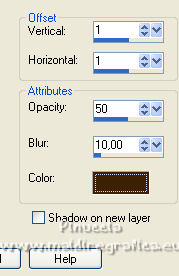
18. Set your foreground to a color at your choice; for me black.
Layers>New Raster Layer.
Flood Fill  the layer with color black. the layer with color black.
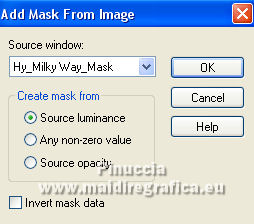
19. Layers>New Mask layer>From image
Open the menu under the source window and you'll see all the files open.
Select the mask Hy_Milky Way_Mask.
Layers>Merge>Merge Group.
20. Set your foreground color to a color at your choice; for me white.
Layers>New Raster Layer.
Flood Fill  the layer with color white. the layer with color white.
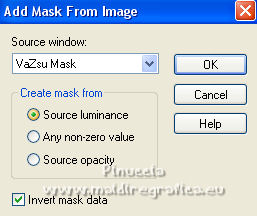
21. Layers>New Mask layer>From image
Open the menu under the source window
and select the mask VaZsu Mask.
Layers>Merge>Merge Group.
Erase  the watermark at the bottom right. the watermark at the bottom right.
22. Set again your foreground color to #b49d50.

Image>Add borders, 5 pixels, symmetric, foreground color.
Image>Add borders, 30 pixels, symmetric, background color.
23. Activate your Magic Wand Tool 

and click in the last border to select it.
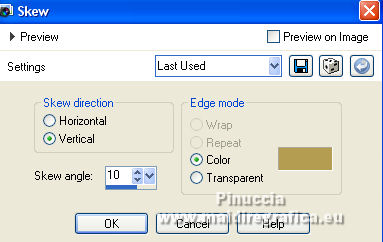
24. Effects>Geometric Effects>Skew, foreground color.
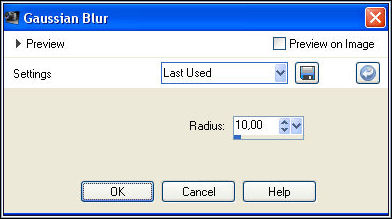
25. Adjust>Blur>Gaussian Blur - radius 10.
Selections>Select None.
26. Image>Add borders, 5 pixels, symmetric, foreground color.
27. Open the woman tube, erase the watermark and go to Edit>Copy.
Go back to your work and go to Edit>Paste as new layer.
Move  the tube to the right side, or to your liking. the tube to the right side, or to your liking.
Effects>3D Effects>Drop Shadow, at your choice.
28. Activate your Text Tool  , ,
font, size and color to your liking and write your text.
My text.
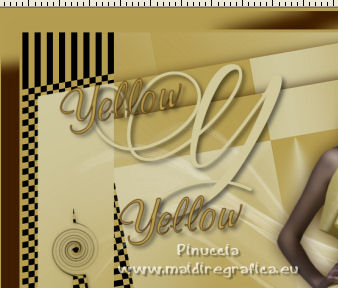
At the request of a friend, I added my text into the material
Effects>3D Effects>Drop Shadow, at your choice.
29. Sign your work on a new layer.
Layers>Merge>Merge All.
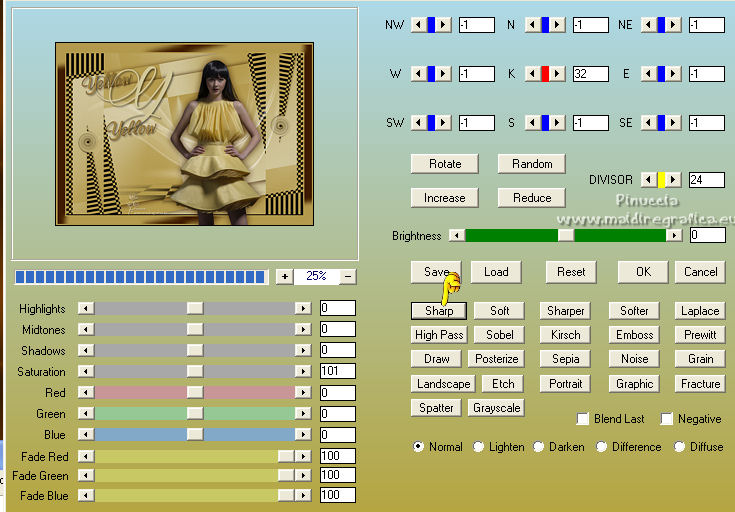
30. Effects>Plugins>AAA Filters - Custom - click on Sharp and ok.
Save as jpg.
For the tubes of these version thanks
Gabry

Luz Cristina
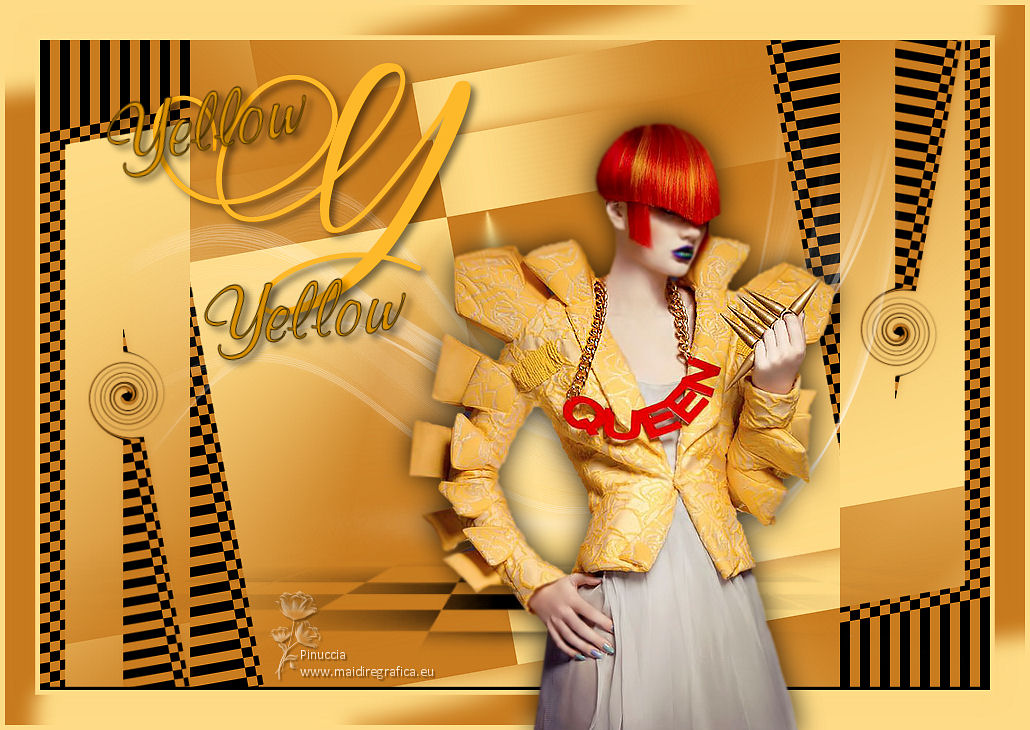
 Your versions here Your versions here

If you have problems or doubts, or you find a not worked link, or only for tell me that you enjoyed this tutorial, write to me.
13 August 2022

|


