|
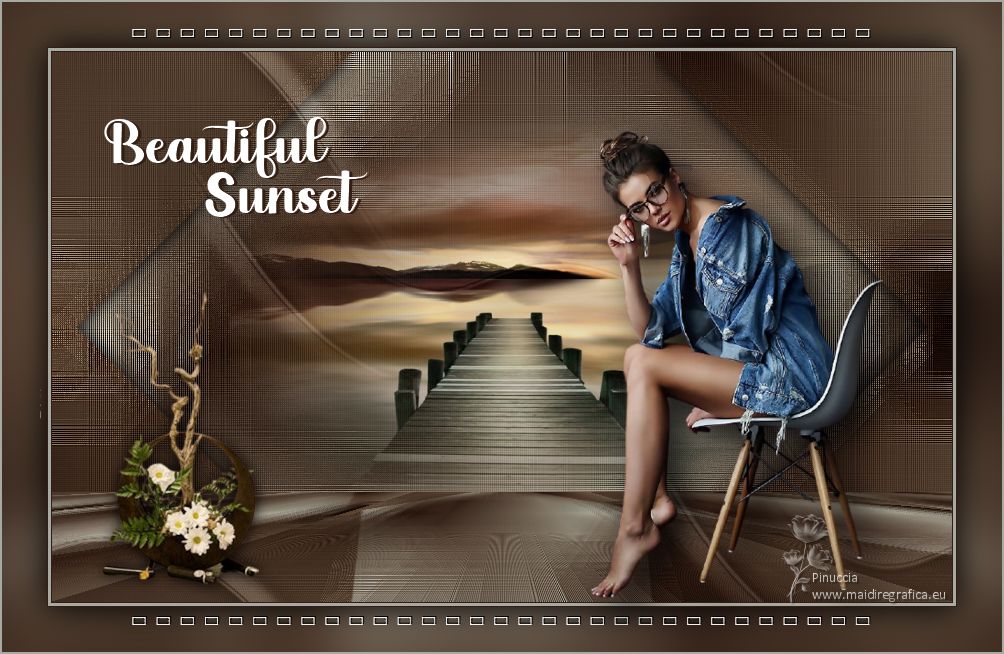
BEAUTIFUL SUNSET


Thanks SIM PSP Group for your invitation to translate your tutorials into english

This tutorial was written with Psp2022 and translated with PspX17, but it can also be made using other versions of PSP.
Since version PSP X4, Image>Mirror was replaced with Image>Flip Horizontal,
and Image>Flip with Image>Flip Vertical, there are some variables.
In versions X5 and X6, the functions have been improved by making available the Objects menu.
In the latest version X7 command Image>Mirror and Image>Flip returned, but with new differences.
See my schedule here
For this tutorial, you will need:

For the tube thanks Yvonne, Clo and Cloclo.
The rest of the material is by Roberta Maver.
(The links of the tubemakers here).

consult, if necessary, my filter section here
Filters Unlimited 2.0 here
Simple - Diamonds here
It@lian Editors Effects - Effetto Fantasma here
Funhouse - Loom here
Mehdi - Weaver here
Mura's Meister - Perspective Tiling here
Filters Simple, It@lian Editors and Funhouse can be used alone or imported into Filters Unlimited.
(How do, you see here)
If a plugin supplied appears with this icon  it must necessarily be imported into Unlimited it must necessarily be imported into Unlimited

You can change Blend Modes according to your colors.
In the newest versions of PSP, you don't find the foreground/background gradient (Corel_06_029).
You can use the gradients of the older versions.
The Gradient of CorelX here

Copy the Selection in the Selections Folder.
1. Choose 2 colors from your material.
Foreground color #a7aaa3
background color #341e13
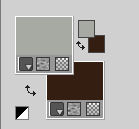
Set your foreground color to a Foreground/Background Gradient, style Linear.
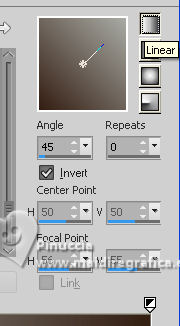
2. Open a new transparent image 900 x 600 pixels.
Flood Fill  the transparent image with your Gradient. the transparent image with your Gradient.
3. Effects>Plugins>Simple - Diamonds.
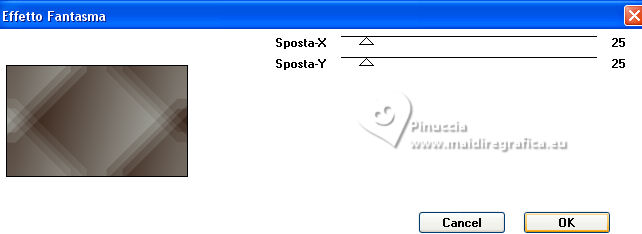
4. Effects>Plugins>It@lian Editors Effects - Effetto Fantasma.
5. Effects>Plugins>Filters Unlimited 2.0 - Funhouse - Loom, default settings.
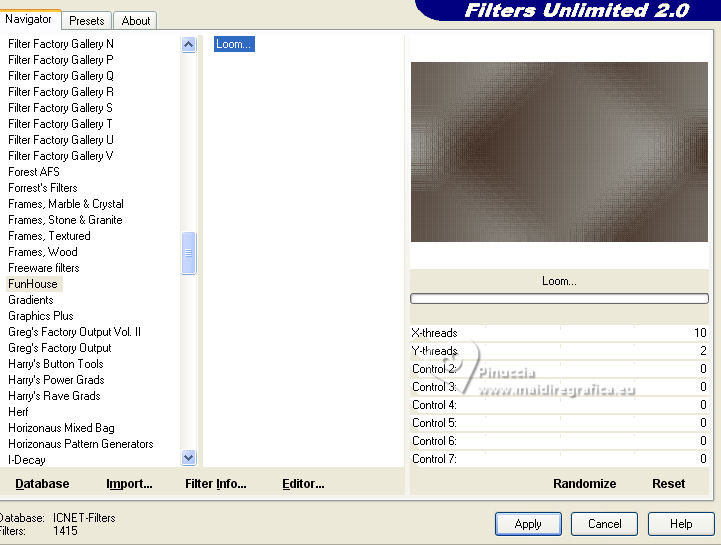
Repeat this Effect another time.
Adjust>Sharpness>Sharpen More.
6. Layers>Duplicate.
Effects>Plugins>Mehdi - Weaver
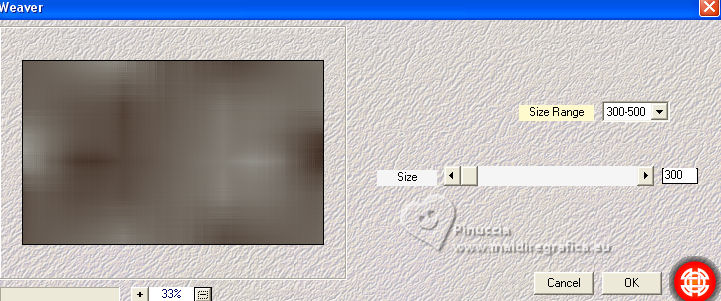
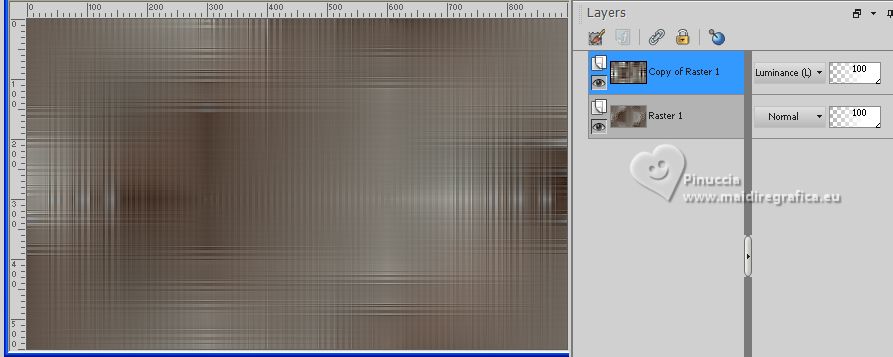
Effects>Edge Effects>Enhance.
Change the Blend Mode of this layer to Luminance (L).
7. Activate the layer Raster 1.
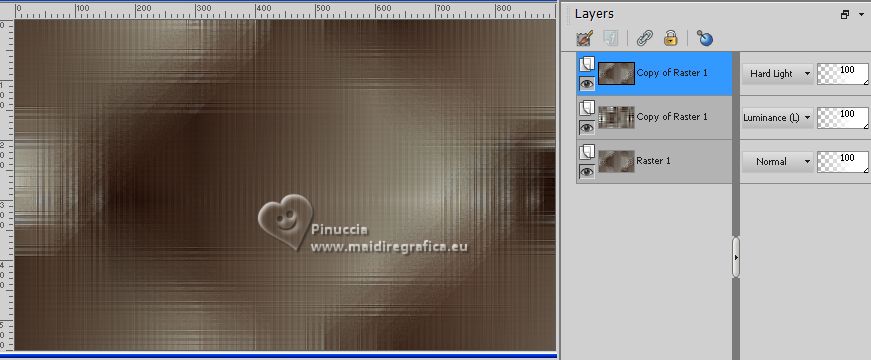
Layers>Duplicate.
Change the Blend Mode of this layer to Hard Light.
Layers>Arrange>Move Up.
8. Activate the layer Raster 1.
Selections>Load/Save Selection>Load Selection from Disk.
Look for and load the selection 54BeautifulSunset_byRoberta

Selections>Promote Selection to Layer.
Selections>Select None.
Layers>Arrange>Bring to Top.
9. Layers>Duplicate.
Image>Mirror.
Layers>Merge>Merge Down.
Layers>Duplicate.
Image>Mirror.
Layers>Merge>Merge Down.
10. Change the Blend Mode of this layer to Hard Light,
or according to your colors (for my second version I did Multiply).
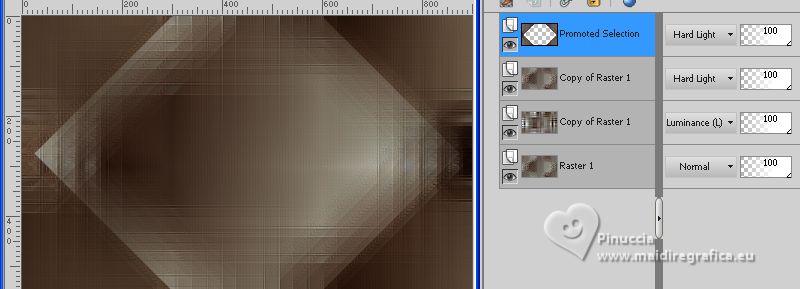
Edit>Copy Special>Copy Merged.
Edit>Paste as new layer.
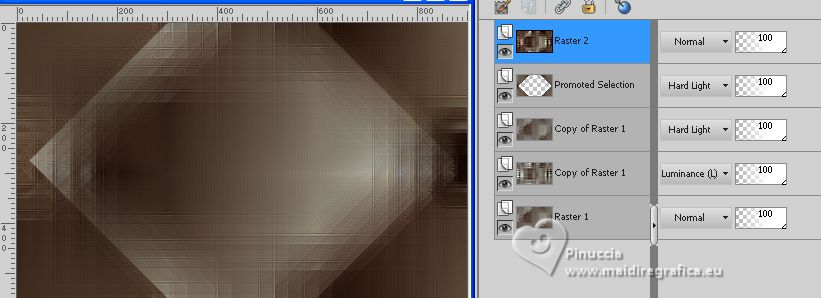
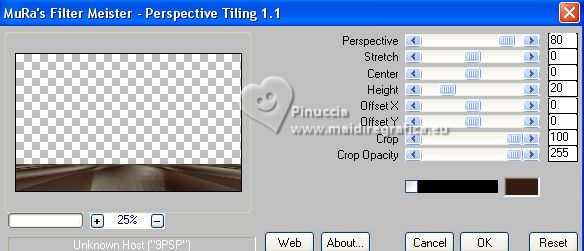
11. Effects>Plugins>Mura's Meister - Perspective Tiling.
12. Activate the layer below, Promoted Selection.
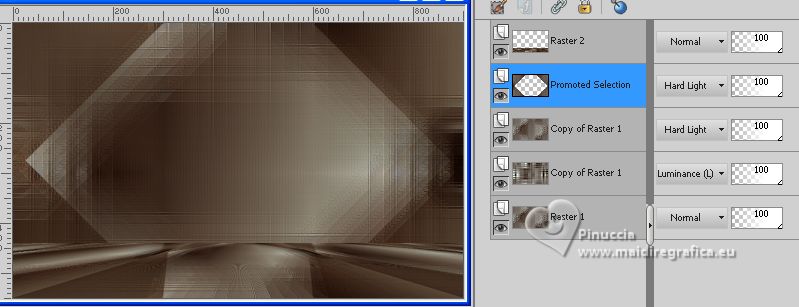
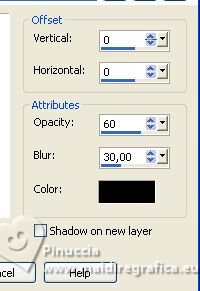
Effects>3D Effects>Drop Shadow, color #000000.
13. Open the misted yp-misted-jetty-setting-sun 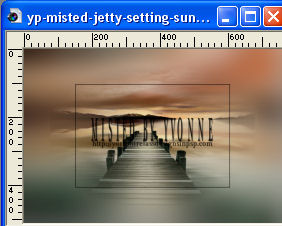
Edit>Copy.
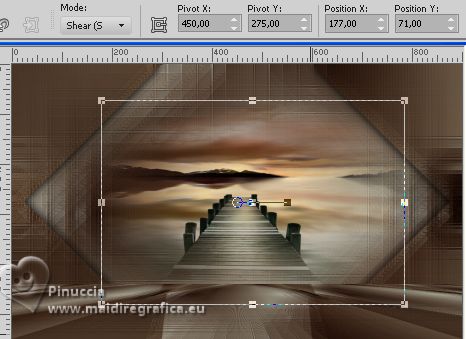
Go back to your work and go to Edit>Paste as new layer.
Image>Resize, if necessary.
Place  the tube in the center; for me the tube in the center; for me
14. Activate your top Layer, Raster 2.
Open Decor01_beautifulsunset_byRobertaMaver 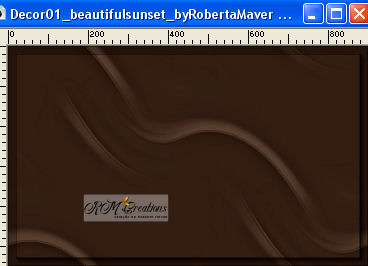
Edit>Copy.
Go back to your work and go to Edit>Paste as new layer.
Keep the Blend Mode to Soft Light.
15. Image>Add borders, 1 pixel, symmetric, background color #341e13.
Image>Add borders, 3 pixels, symmetric, foreground color #a7aaa3.
Image>Add borders, 1 pixel, symmetric, background color #341e13.
16. Edit>Copy.
Selections>Select All.
Image>Add borders, 45 pixels, symmetric, whatever color.
Selections>Invert.
Edit>Paste into Selection.
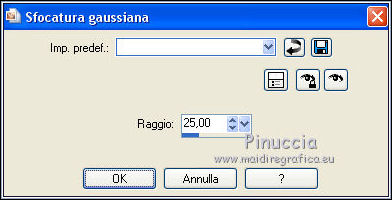
Adjust>Blur>Gaussian Blur - radius 25.
Selections>Invert.
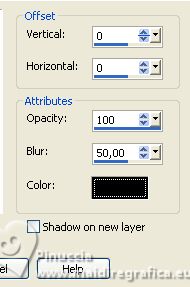
Effects>3D Effects>Drop Shadow, color #000000.
Selections>Select None.
17. Open Decor02_beautifulsunset_byRobertaMaver 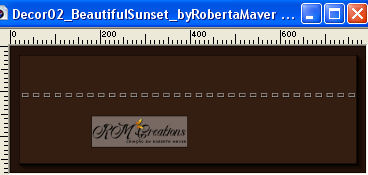
Erase the watermark and go to Edit>Copy.
Go back to your work and go to Edit>Paste as new layer.
K key to activate your Pick Tool 
keep Position X: 130,00 and set Position Y: 27,00.

Layers>Duplicate.
Image>Flip (Image>Mirror>Mirror Vertical)
Layers>Merge>Merge Down.
18. Open your main tube Woman1220_byClo 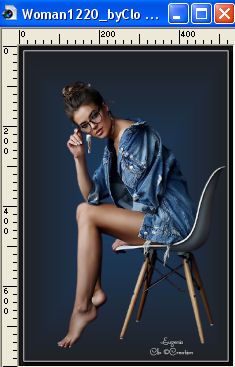
Edit>Copy.
Go back to your work and go to Edit>Paste as new layer.
Image>Resize, if necessary, for this tube 70%, resize all layers not checked.
Move  the tube to the right side. the tube to the right side.
Effects>3D Effects>Drop Shadow, at your choice.
19. Open the deco tube 17 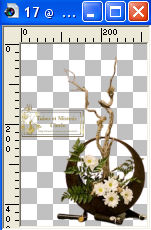
Erase the watermark and go to Edit>Copy.
Go back to your work and go to Edit>Paste as new layer.
Image>Resize, if necessary, for this tube 70%, resize all layers not checked.
Move  the tube to the left side. the tube to the left side.
Effects>3D Effects>Drop Shadow, at your choice.
20. Open Titulo_beautifulsunset_byRobertaMaver 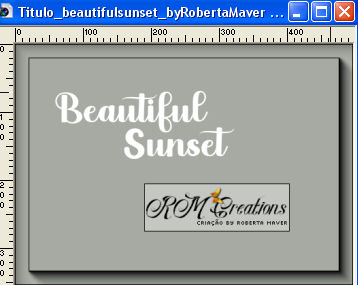
Erase the watermark and go to Edit>Copy.
Go back to your work and go to Edit>Paste as new layer.
Place  the tube to your liking. the tube to your liking.
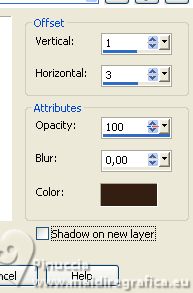
Effects>3D Effects>Drop Shadow, background color #341e13.
21. Image>Add borders, 1 pixel, symmetric, foreground color #a7aaa3.
22. Image>Resize, if you want.
Sign your work and save as jpg.
For the tubes of this version thanks Suizabella and Wieske .
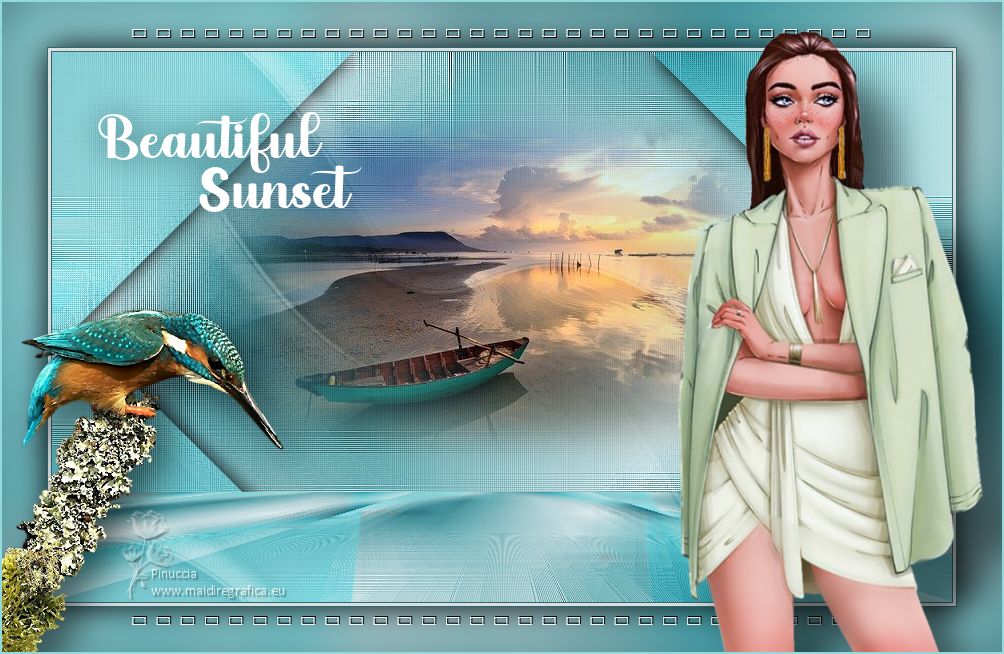


If you have problems or doubts, or you find a not worked link, or only for tell me that you enjoyed this tutorial, write to me.
10 July 2023

|

