|
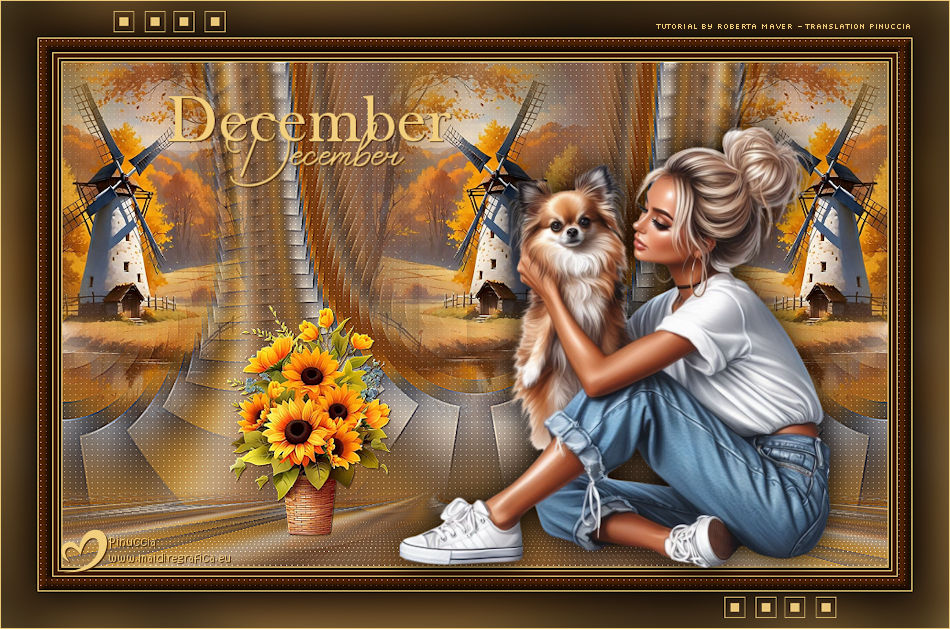
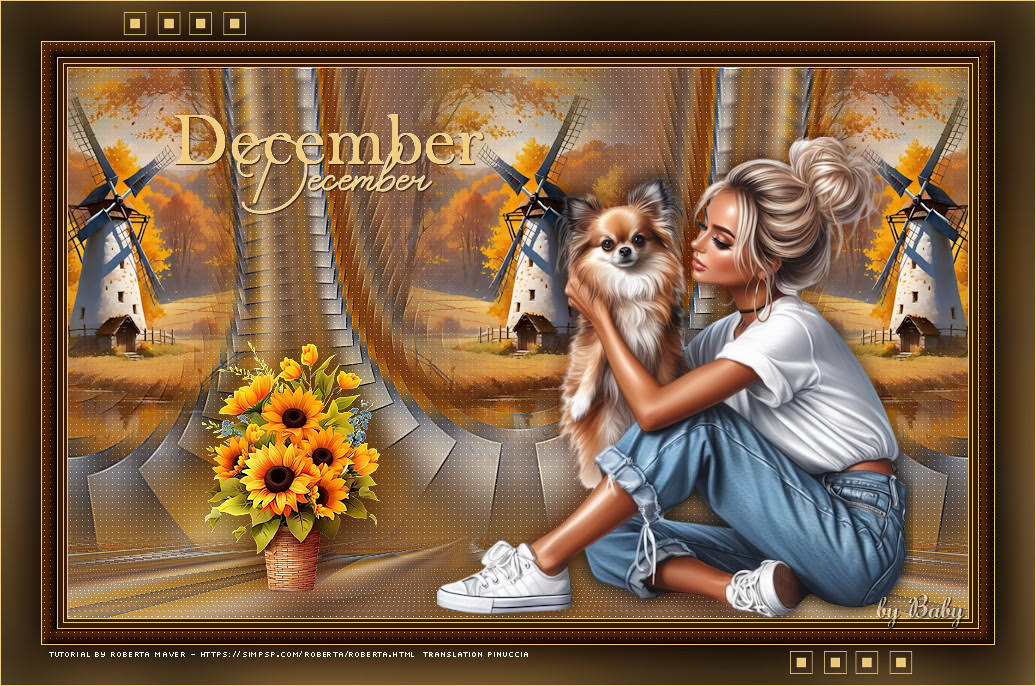
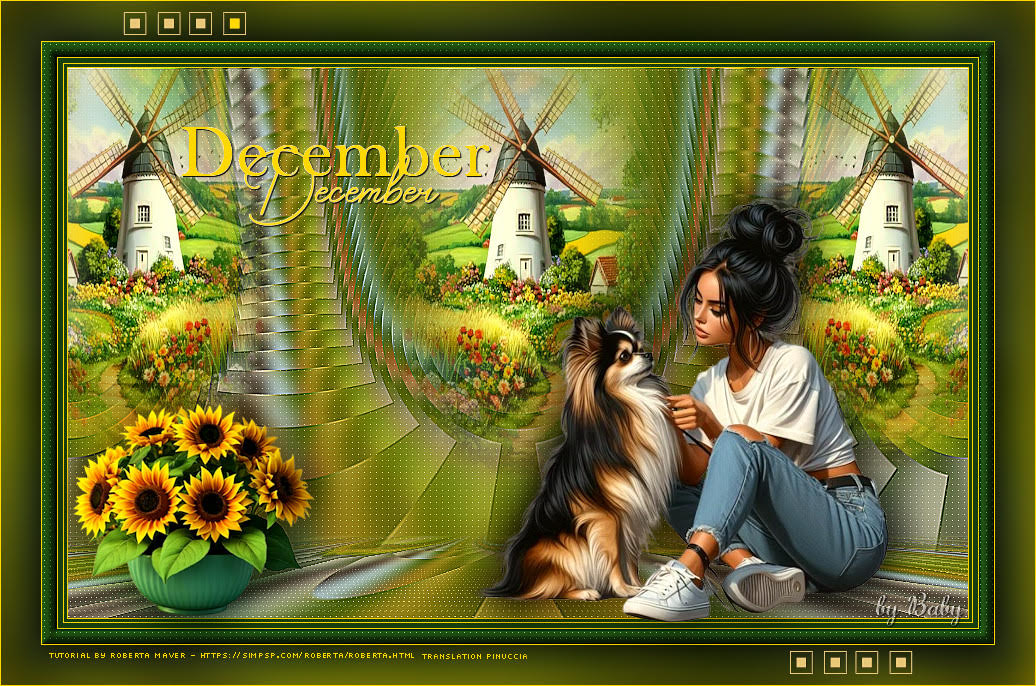
DECEMBER


Thanks SIM PSP Group for your invitation to translate your tutorials into english


|
Special Note
PSP SIM and its Tutorial Authors ask the public:
. Please, we request that we maintain the originality of the tutorial,
refraining from adding or including unsolicited effects;
. The use of other images is permitted and encouraged,
but please don't modify the content of the original tutorial;
. Please acknowledge and attribute the valuable credits to those who write tutorials,
make translation and create materials.
Carefully,
PSP SIM and Roberta Maver
|
This tutorial was written with Psp2022 and translated with Psp2020, but it can also be made using other versions of PSP.
Since version PSP X4, Image>Mirror was replaced with Image>Flip Horizontal,
and Image>Flip with Image>Flip Vertical, there are some variables.
In versions X5 and X6, the functions have been improved by making available the Objects menu.
In the latest version X7 command Image>Mirror and Image>Flip returned, but with new differences.
See my schedule here
For this tutorial, you will need:

Material by Roberta Maver.
(The links of the tubemakers here).
Plugins
consult, if necessary, my filter section here
Filters Unlimited 2.0 here
Flaming Pear - Flexify 2 here
FM Tile Tools - Blend Emboss here
Graphics Plus - Cross Shadow here
Carolaine and Sensibility - CS-LDots here
Mura's Meister - Perspective Tiling here
Filters Graphics Plus can be used alone or imported into Filters Unlimited.
(How do, you see here)
If a plugin supplied appears with this icon  it must necessarily be imported into Unlimited it must necessarily be imported into Unlimited

You can change Blend Modes according to your colors.

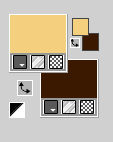
1. Choose 2 colors for your work.
Set your foreground color to #f2cf7e,
and your background color to #3a1a01.
2. Open a new transparent image 900 x 550 pixels.
Selections>Select All.
Open your landscape MistPaisagem_byRobertaMaver 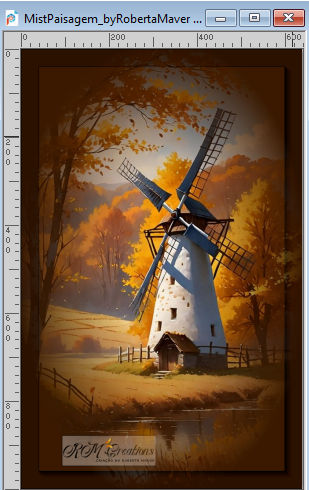
Edit>Copy.
Go back to your work and go to Edit>Paste Into Selection.
Selections>Select None.
3. Effects>Image Effects>Seamless Tiling - default settings.

4. Adjust>Blur>Gaussian Blur - radius 30

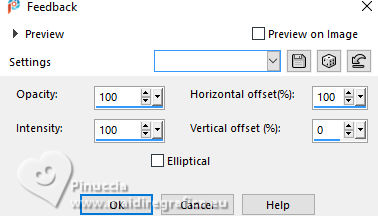
Effects>Reflections Effects>Freedback
5. Effects>Reflection Effects>Rotating Mirror, default settings

6. Effects>Plugin>Flaming Pear - Flexify 2
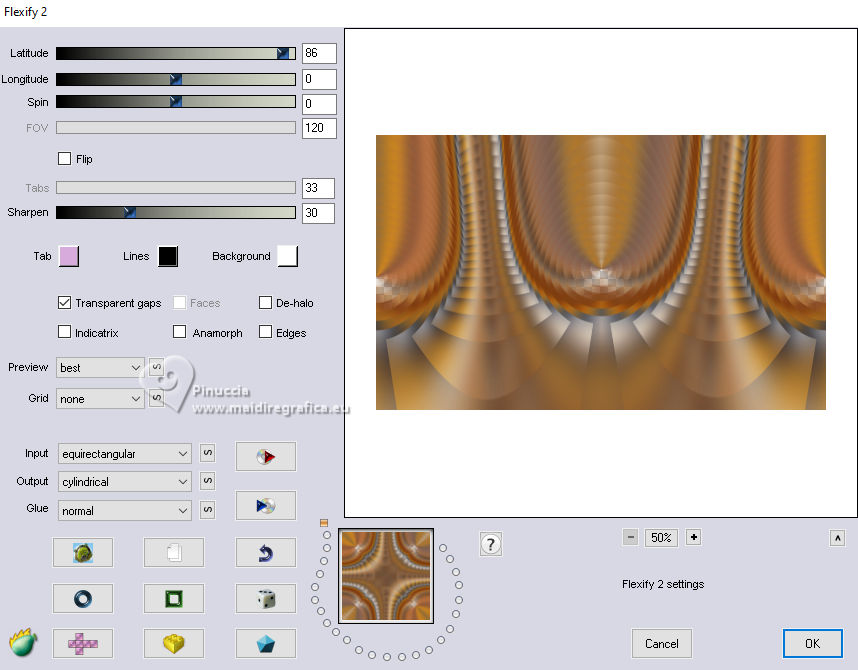
7. Effects>Plugins>FM Tile Tools - Blend Emboss, default settings.

8. Effects>Plugins>Carolaine and Sensibility - CS-LDots
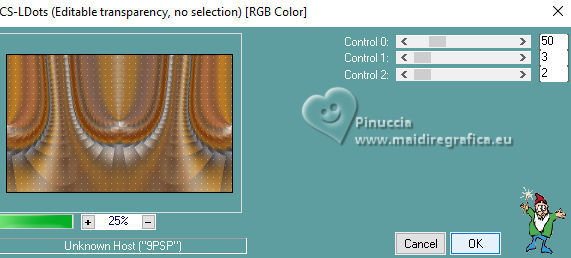
Adjust>Sharpness>Sharpen More.
Layers>Duplicate.
9. Effects>Plugins>Mura's Meister - Perspective Tiling
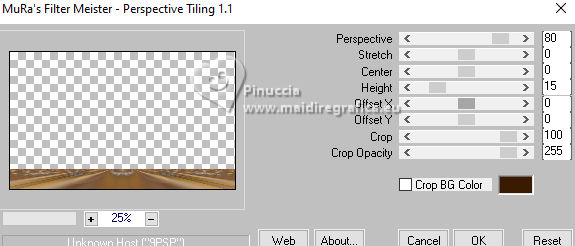
Activate your Magic Wand Tool  , tolerance 0 and feather 30, , tolerance 0 and feather 30,
and click in the transparent part to select it.
Press 3 times CANC on the keyboard 
Selections>Select None.
don't forget to set again the feather of your Magic Wand Tool to 0
Adjust>Sharpness>Sharpen More.
10. Edit>Paste as new layer - your landscape tube is still in memory.
Image>Resize, if necessary - for the provided tube to 43%, resize all layers not checked.
Place  the tube at the upper center. the tube at the upper center.
11. Layers>Duplicate.
Objects>Align>Right.
Move  this tube a little to the right in the effect. this tube a little to the right in the effect.
12. Layers>Duplicate.
Image>Mirror>Mirror Horizontal.
Layers>Merge>Merge Down - 2 times.
Adjust>Sharpness>Sharpen.
Your tag and the layers
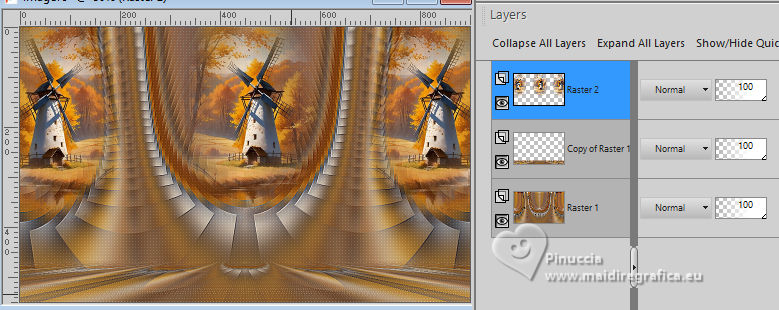
13. Image>Add Borders - 1 pixel, symmetric, foreground color #f2cf7e.
Image>Add Borders, 3 pixels, symmetric, background color #3a1a01.
Image>Add Borders - 1 pixel, symmetric, foreground color #f2cf7e.
Image>Add Borders, 5 pixels, symmetric, background color #3a1a01.
Image>Add Borders - 1 pixel, symmetric, foreground color #f2cf7e.
Selections>Select All.
Image>Add Borders - 15 pixels, symmetric, background color #3a1a01.
Selections>Invert.
14. Effects>Plugins>Carolaine and Sensibility - CS-LDots
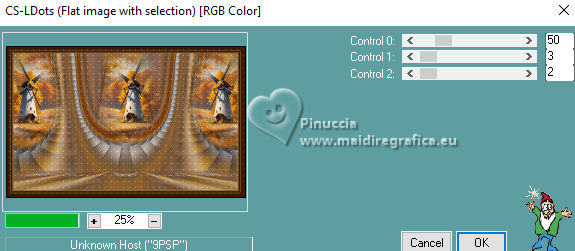
Adjust>Sharpness>Sharpen More.
15. Effects>3D Effects>Inner Bevel.
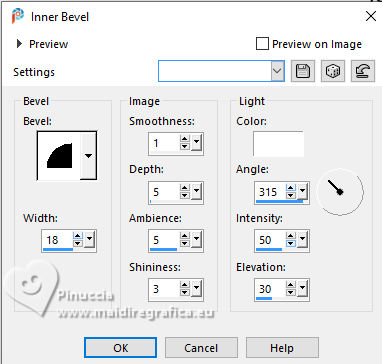
Selections>Select None.
16. Image>Add Borders, 1 pixel, symmetric, foreground #f2cf7e.
Edit>Copy
Selections>Select All.
17. Image>Add Borders - 40 pixels, symmetric, whatever color.
Selections>Invert.
Edit>Paste Into Selection
Adjust>Blur>Gaussian Blur - radius 20.

18. Effects>Plugins>Graphics Plus - Cross Shadow.
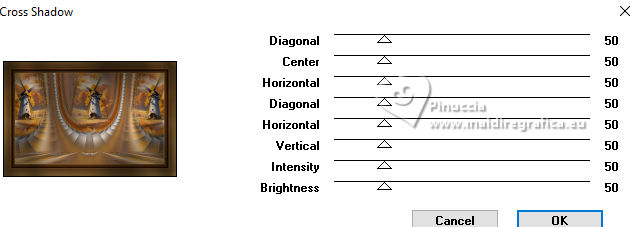
Selections>Invert.
Effects>3D Effects>Drop Shadow, color #000000.

Selections>Select None.
19. Open Decor01_byRobertaMaver 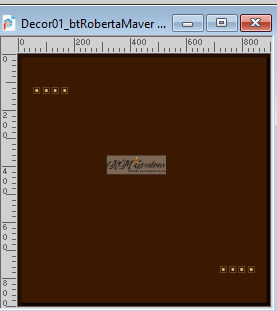
Edit>Copy.
Go back to your work and go to Edit>Paste as New Layer.
Activate your Pick Tool 
Position X: 122,00 - Position Y: 11,00.

20. Open your main tube TubePrincipal_byRobertaMaver 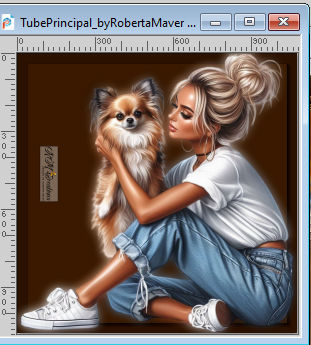
Edit>Copy.
Go back to your work and go to Edit>Paste a new Layer.
Image>REsize, if necessary, for the supplied tube to 45%, resize all layers not checked.
Move  the tube to the right side. the tube to the right side.
Effects>3D Effects>Drop shadow, at your choice.
21. Open the tube DecorFlor_byRobertaMaver 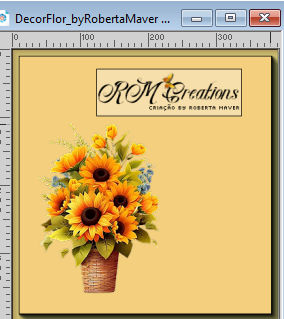
Edit>Copy.
Go back to your work and go to Edit>Paste a new Layer.
Move  the tube to the left side. the tube to the left side.
Effects>3D Effects>Drop shadow, at your choice.
22. Open Titulo_byRobertaMaver 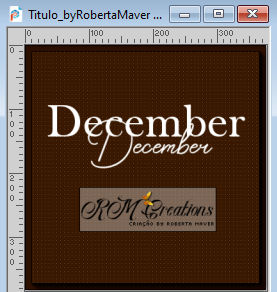
Edit>Copy.
Go back to your work and go to Edit>Paste a New Layer.
Colorize with your foreground color #f2cf7e.
Place  the text to your liking. the text to your liking.
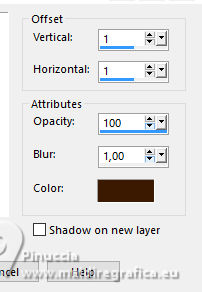
Effects>3D Effects>Drop Shadow - background color #3a1a01
23. Image>Add Borders, 1 pixel, foreground color #f2cf7e.
24. Resize your work, if you want.
Sign your work and save as jpg.
For the tube of this version thanks Luz Cristina
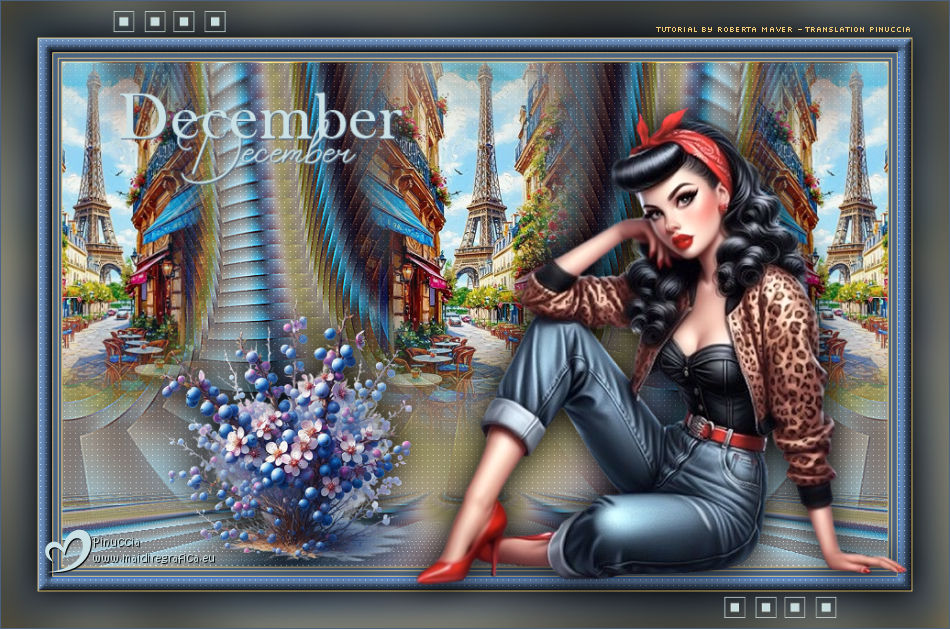

 Your versions. Thanks Your versions. Thanks
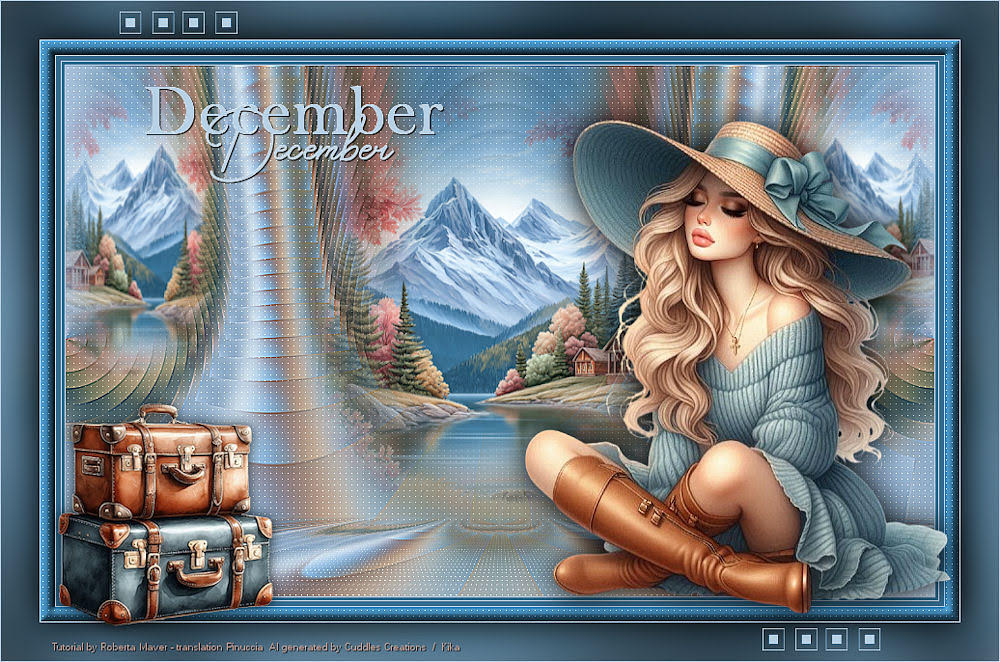
Kika
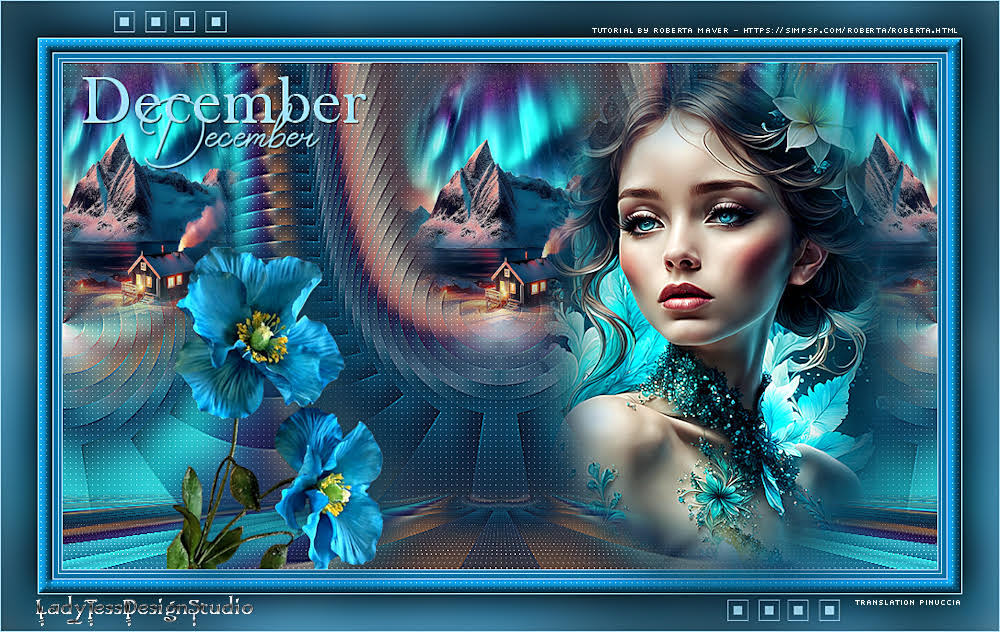
Lady Tess
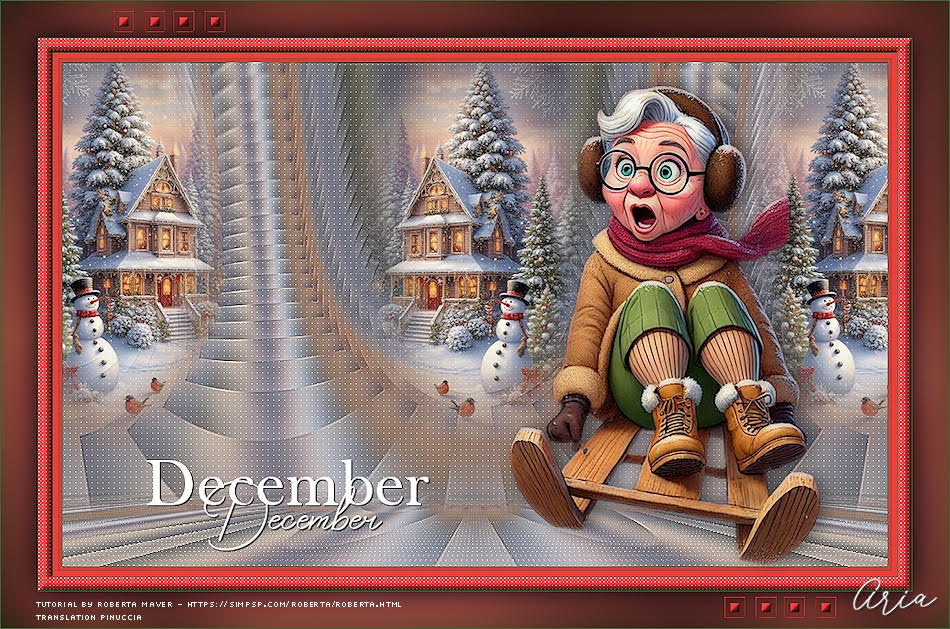
Aria
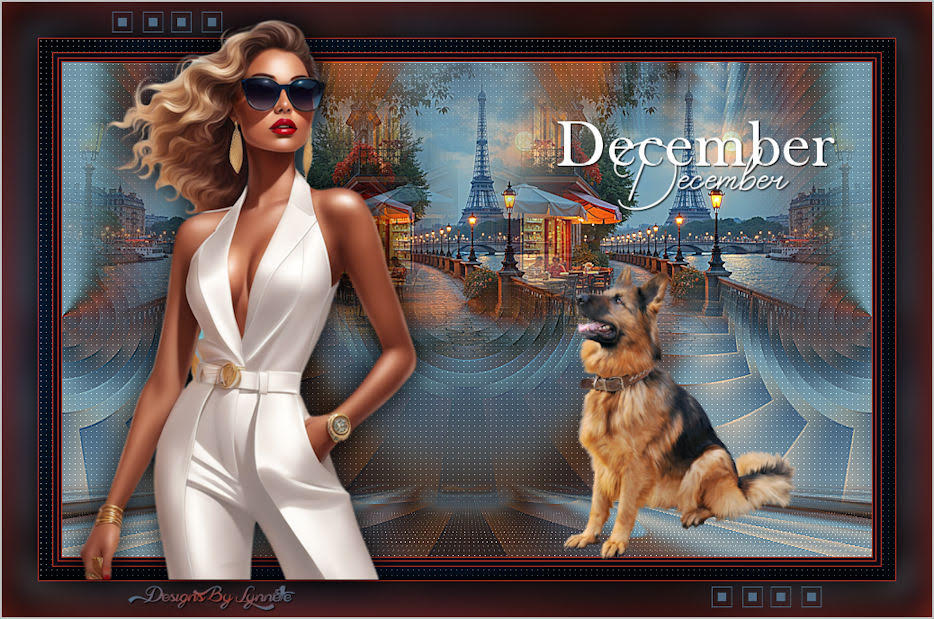
Lynnette
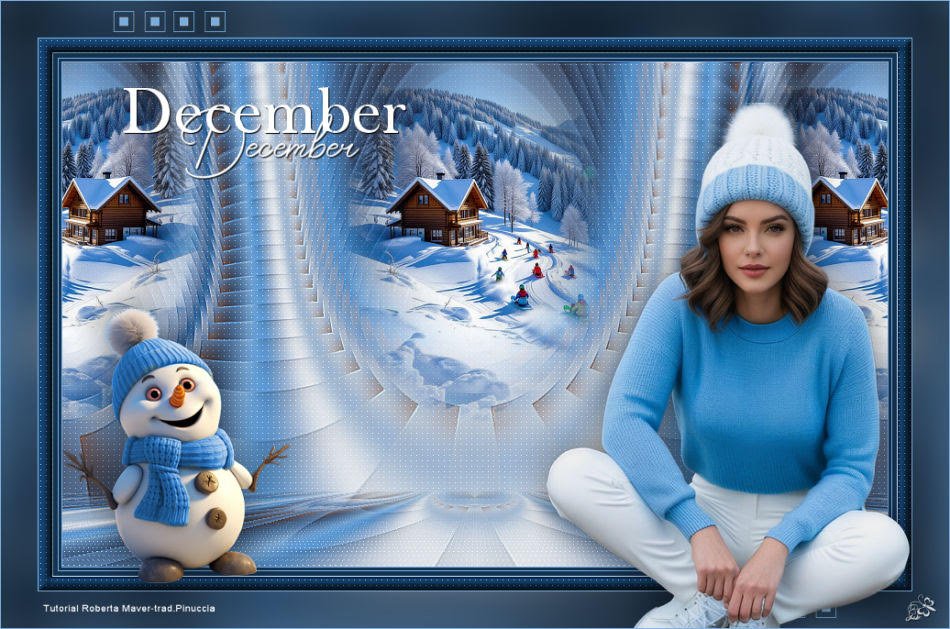
Jolcsi
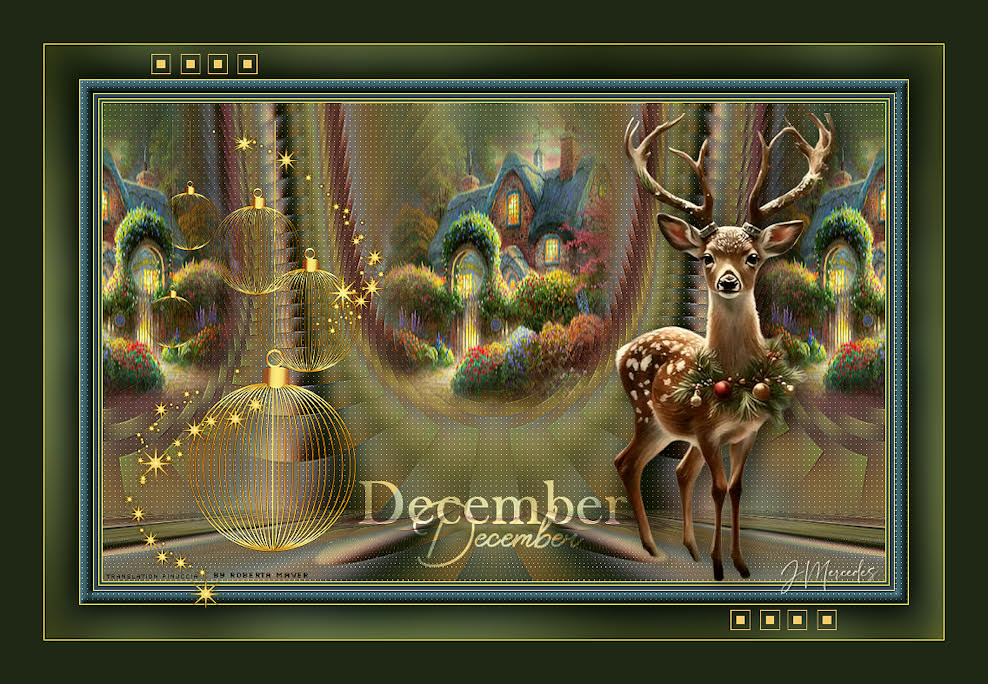
JMercedes
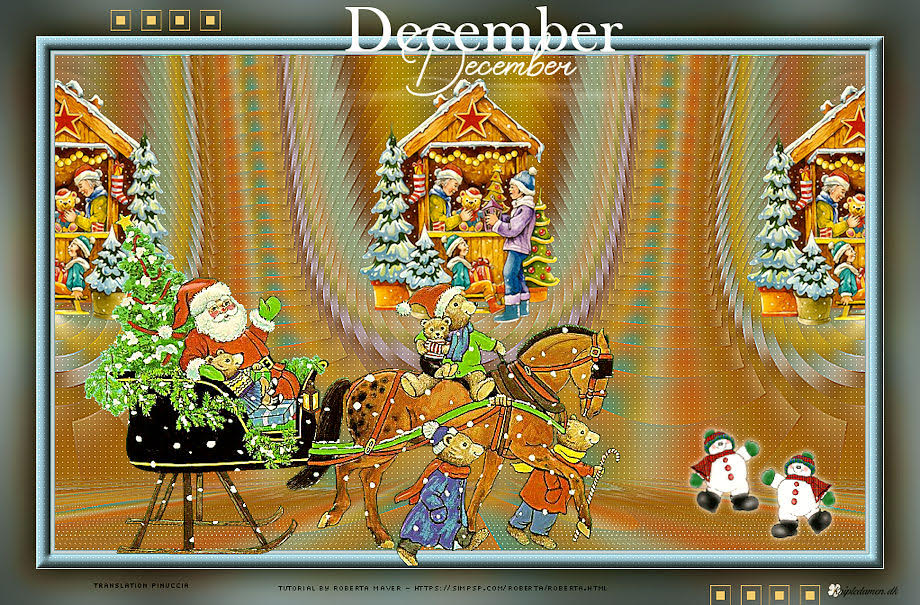
Birte
Baby
Baby


If you have problems or doubts, or you find a not worked link, or only for tell me that you enjoyed this tutorial, write to me.
17 November 2025

|

