|
EASTER BUNNY


Thanks SIM PSP Group for your invitation to translate your tutorials into english


|
Special Note
PSP SIM and its Tutorial Authors ask the public:
. Please, we request that we maintain the originality of the tutorial,
refraining from adding or including unsolicited effects;
. The use of other images is permitted and encouraged,
but please don't modify the content of the original tutorial;
. Please acknowledge and attribute the valuable credits to those who write tutorials,
make translation and create materials.
Carefully,
PSP SIM and Roberta Maver
|
This tutorial was written with Psp2022 and translated with Psp2020, but it can also be made using other versions of PSP.
Since version PSP X4, Image>Mirror was replaced with Image>Flip Horizontal,
and Image>Flip with Image>Flip Vertical, there are some variables.
In versions X5 and X6, the functions have been improved by making available the Objects menu.
In the latest version X7 command Image>Mirror and Image>Flip returned, but with new differences.
See my schedule here
For this tutorial, you will need:

For the tubes thanks Adrienne and AigenbyCaz
(The links of the tubemakers here).
Plugins
consult, if necessary, my filter section here
Mura's Meister - Perspective Tiling here
Carolaine and Sensibility - CS-LDots here

You can change Blend Modes according to your colors.
In the newest versions of PSP, you don't find the foreground/background gradient (Corel_06_029).
You can use the gradients of the older versions.
The Gradient of CorelX here

1. Choose 2 colors for your work.
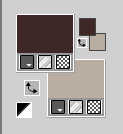
Set your foreground color to #3e2926,
and your background color to #b9aea1.
2. Set your foreground color to a Foreground/Background Gradient, style Linear.
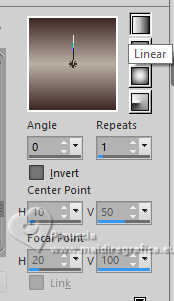
Open a new transparent image 1000 x 650 pixels.
Flood Fill  the transparent image with your Gradient. the transparent image with your Gradient.
3. Selections>Select All.
Open your main tube Easter Bunny Tube(10) 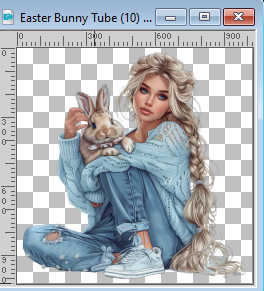
Edit>Copy.
Go back to your work and go to Edit>Paste into Selection.
Selections>Select None.
4. Effects>Image Effects>Seamless Tiling, default settings.

5. Adjust>Blur>Gaussian Blur - radius 15

Effects>Art Media Effects>Brush Strokes.
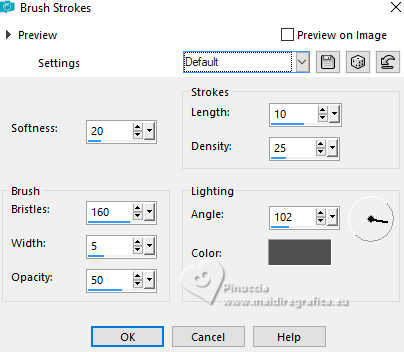
6. Adjust>Add/Remove Noise>Add Noise.
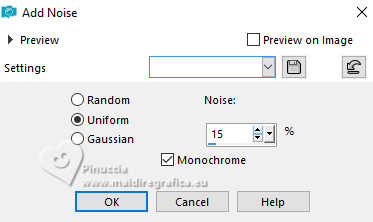
7. Open Decor01_byRobertaMaver 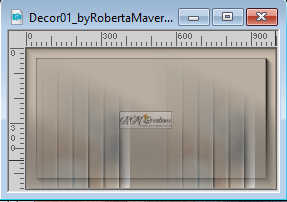
Edit>Copy.
Go back to your work and go to Edit>Paste as New Layer.
Objects>Align>Bottom.
8. Open Decor02_byRobertaMaver 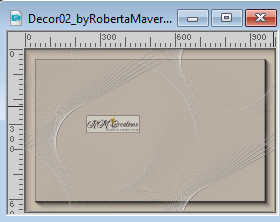
Edit>Copy.
Go back to your work and go to Edit>Paste as New Layer.
9. Open the misted 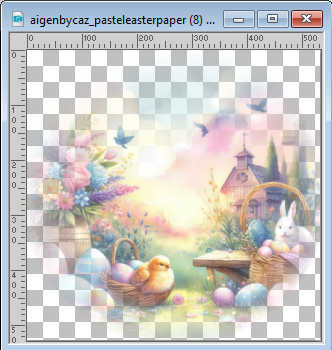
Edit>Copy.
Go back to your work and go to Edit>Paste as New Layer.
Move  the tube to the left. the tube to the left.
Layers>Arrange>Move Down.
Adjust>Sharpness>Sharpen.
10. Close the layer Raster 4 and Raster 3.
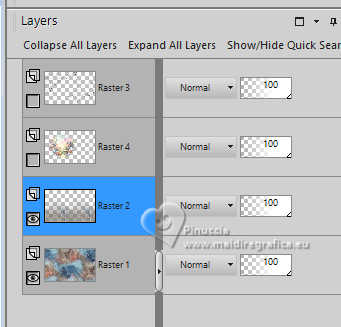
Edit>Copy Special>Copy Merged.
Open the layer Raster 4 and Raster 3.
Activate the layer Raster 3.
Edit>Paste as New Layer.
11. Stay on this layer, Raster 5.
Effects>Plugins>Mura's Meister - Perspective Tiling.
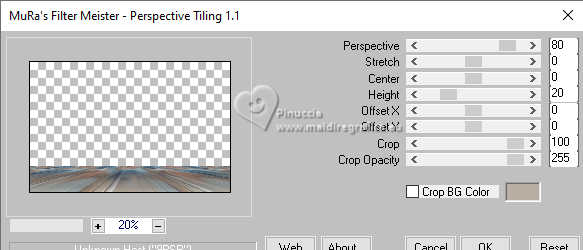
Activate your Magic Wand Tool  , tolerance 0, feather 50, , tolerance 0, feather 50,
and click in the top transparent part to select it.
Press 5 or 6 times CANC on the keyboard 
Selections>Select None.
12. Activate your bottom layer, Raster 1.
Activate your Freehand Selection Tool

Select the round at the upper right, as below
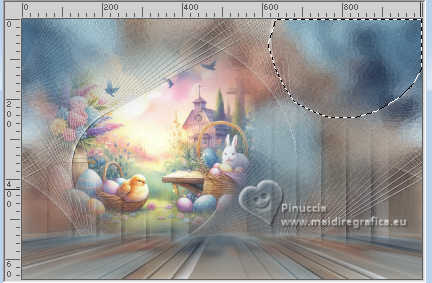
13. Effects>Plugins>Carolaine and Sensibility - CS-LDots
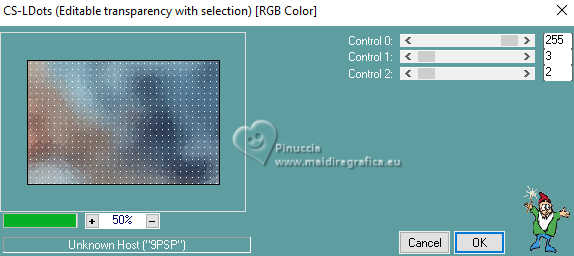
Selections>Select None.
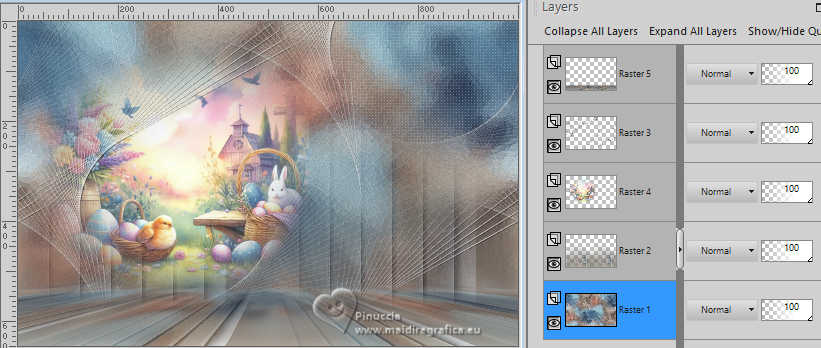
Your tag and the layers
14. Image>Add Borders, 1 pixel, symmetric, foreground color #3e2926.
Image>Add Borders, 5 pixels, symmetric, color white #ffffff.
Image>Add Borders, 1 pixel, symmetric, foreground color #3e2926.
Image>Add Borders, 20 pixels, symmetric, color white #ffffff.
Image>Add Borders, 1 pixel, symmetric, foreground color #3e2926.
Image>Add Borders, 40 pixels, symmetric, color white #ffffff.
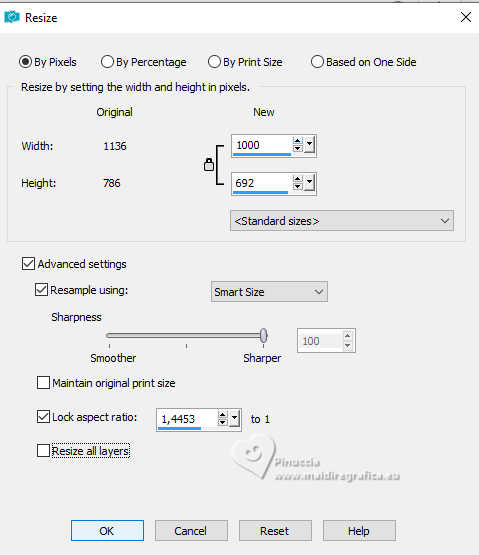
15. Image>Resize - 1000 pixels width.
Adjust>Sharpness>Sharpen.
16. Activate again your main tube Easter Bunny Tube (10) and go to Edit>Copy.
Go back to your work and go to Edit>Paste As New Layer.
Image>Resize, if necessary, for the supplied tube to 55%, resize all layers not checked.
Move  the tube to the right side. the tube to the right side.
Effects>3D Effects>Drop Shadow, at your choice.
17. Open aigenbycaz_pasteleasterelement (27) 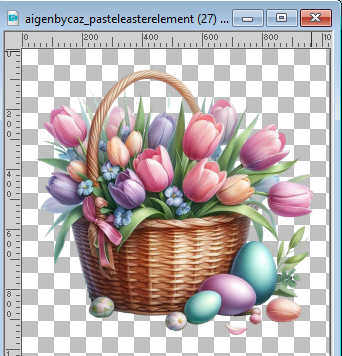
Edit>Copy.
Go back to your work and go to Edit>Paste as New Layer.
Image>Resize, if necessary, for the supplied tube to 25%, resize all layers not checked.
Move  the tube to the left. the tube to the left.
Effects>3D Effects>Drop Shadow, at your choice.
18. Open Titulo_byRobertaMaver 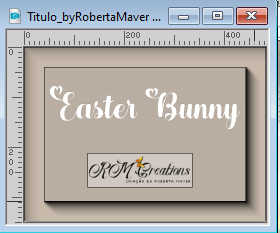
Edit>Copy.
Go back to your work and go to Edit>Paste as New Layer.
Move  the text to your liking. the text to your liking.
19. Effects>3D Effects>Drop Shadow
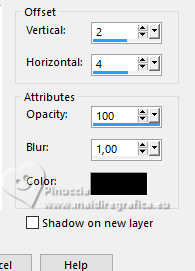
20. Image>Add Borders, 1 pixel, symmetric, foreground color #3e2926.
21. Image>Resize, if you want.
Sign your work and save as jpg.
The tube is by Virginia; the scrap elements by Tammy's Welt. Thanks


 Your versions. Thanks Your versions. Thanks

Mieke

Kika


If you have problems or doubts, or you find a not worked link, or only for tell me that you enjoyed this tutorial, write to me.
26 March 2024

|

