|
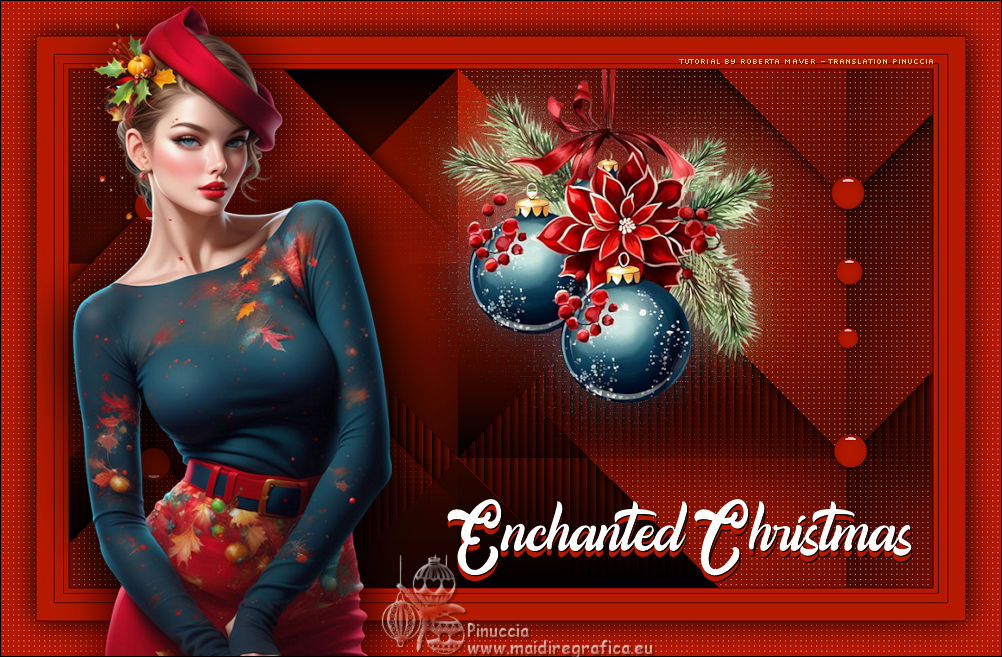
ENCHANTED CHRISTMAS


Thanks SIM PSP Group for your invitation to translate your tutorials into english


|
Special Note
PSP SIM and its Tutorial Authors ask the public:
. Please, we request that we maintain the originality of the tutorial,
refraining from adding or including unsolicited effects;
. The use of other images is permitted and encouraged,
but please don't modify the content of the original tutorial;
. Please acknowledge and attribute the valuable credits to those who write tutorials,
make translation and create materials.
Carefully,
PSP SIM and Roberta Maver
|
This tutorial was written with Psp2022 and translated with Psp2020, but it can also be made using other versions of PSP.
Since version PSP X4, Image>Mirror was replaced with Image>Flip Horizontal,
and Image>Flip with Image>Flip Vertical, there are some variables.
In versions X5 and X6, the functions have been improved by making available the Objects menu.
In the latest version X7 command Image>Mirror and Image>Flip returned, but with new differences.
See my schedule here
For this tutorial, you will need:

Material by Roberta Maver.
(The links of the tubemakers here).
Plugins
consult, if necessary, my filter section here
Mehdi - Sorting Tiles here
Carolaine and Sensibility - CS-LDots here

You can change Blend Modes according to your colors.
In the newest versions of PSP, you don't find the foreground/background gradient (Corel_06_029).
You can use the gradients of the older versions.
The Gradient of CorelX here

Copy the Selections in the Selections Folder.
1. Choose 2 colors for your work.
Set your foreground color to #000000,
and your background color to #b51900.
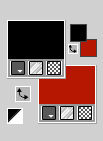
Set your foreground color to a Foreground/Background Gradient, style Linear.
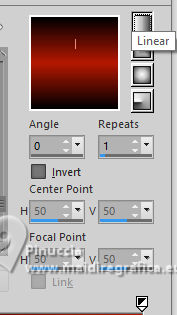
2. Open a new transparent image 1000 x 600 pixels.
Flood Fill  the transparent image with your Gradient. the transparent image with your Gradient.
3. Layers>Duplicate.
Activate the layer Raster 1.
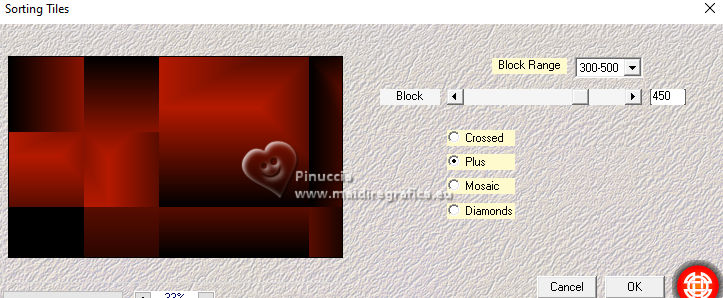
Effects>Plugins>Mehdi - Sorting Tiles
4. Activate the layer Copy of Raster 1.
Effects>Plugins>Mehdi - Sorting Tiles
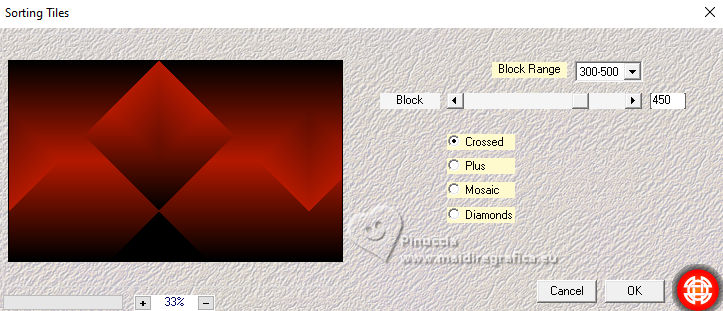
5. Layers>Properties>General>Opacity: 50%
Layers>Merge>Merge Down.
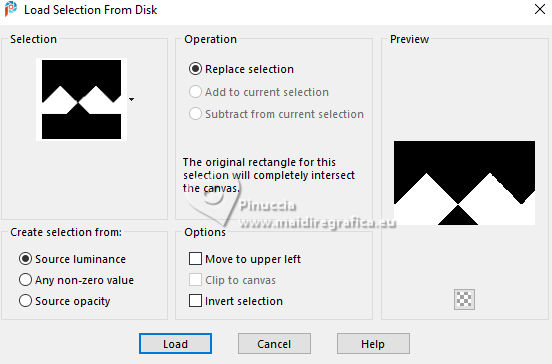
6. Selections>Load/Save Selections>Load Selection From Disk.
Look for and load the selection EnchantedChristmas01
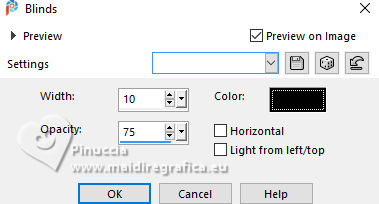
Effects>Texture Effects>Blinds - color #000000
Selections>Select None.
7. Selections>Load/Save Selections>Load Selection From Disk.
Look for and load the selection EnchantedChristmas02
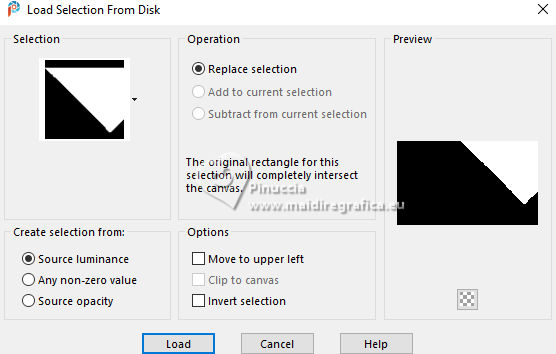
Effects>Plugins>Carolaine and Sensibility - CS-LDots
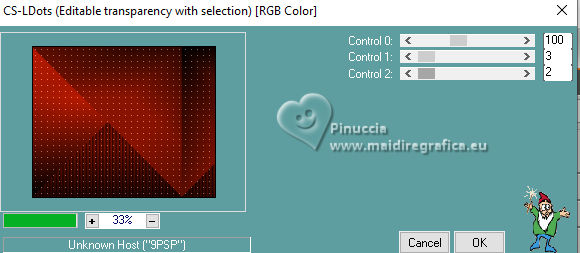
Selections>Promoted Selection to layer.
Effects>3D Effects>Drop Shadow, color #000000.

Selections>Select None.
8. Effects>Image Effects>Seamless Tiling
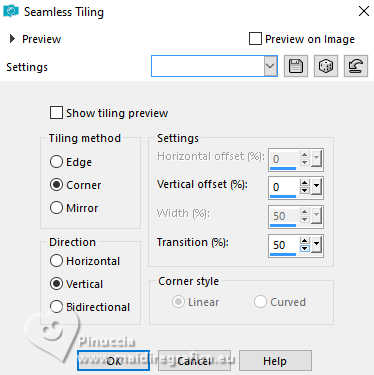
Layers>Duplicate.
Image>Mirror>Mirror Vertical.
Image>Mirror>Mirror Horizontal.
9. Open Decor01_byRobertaMaver 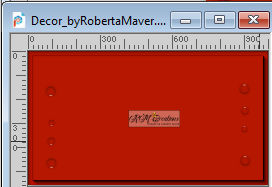
Edit>Copy.
Go back to your work and go to Edit>Paste as New Layer.
Don't move it, it is at its place.
10. Open Tubedecoração_byRobertaMaver 
Edit>Copy.
Go back to your work and go to Edit>Paste as New Layer.
Image>Resize, if necessary, for the provided tube to 40%, resize all layers not checked.
Move  the tube up a little to the right. the tube up a little to the right.
Adjust>Sharpness>Sharpen.
Layers>Duplicate.
11. Activate the layer Raster 3.
Adjust>Blur>Gaussian Blur - radius 25.

Effects>Texture Effects>Mosaic - Antique
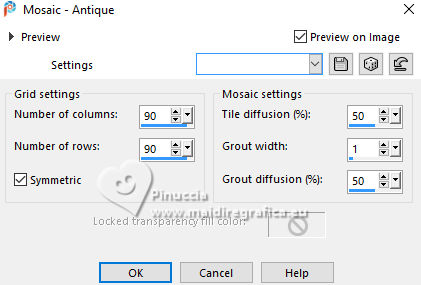
Opcional: Layer>Properties>General>Blend Mode: Multiply
note by Roberta: in my versions I didn't change the Blend
Your tag and the layers
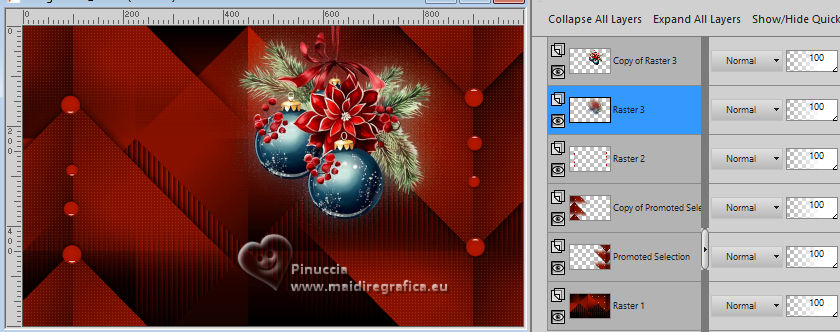
12. Image>Add Borders, 1 pixel, symmetric, foreground color #000000.
Image>Add Borders, 5 pixels, symmetric, background color #b51900.
Image>Add Borders, 1 pixel, symmetric, foreground color #000000.
Image>Add Borders, 10 pixels, symmetric, background color #b51900.
Image>Add Borders, 1 pixel, symmetric, foreground color #000000.
Image>Add Borders, 20 pixels, symmetric, background color #b51900.
Image>Add Borders, 1 pixel, symmetric, foreground color #000000.
13. Selections>Select All.
Image>Add Borders, 40 pixels, symmetric, background color #b51900.
Selections>Invert.
Effects>Plugins>Carolaine and Sensibility - CS-LDots
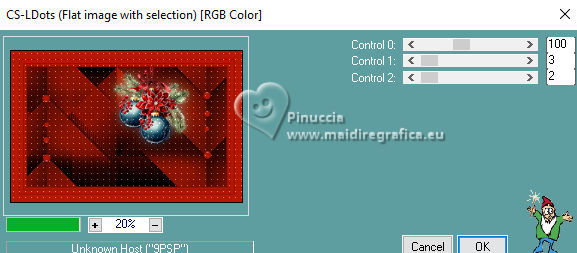
Selections>Invert.
Effects>3D Effects>Drop Shadow, color #000000.

Selections>Select None.
Image>Resize - 1000 pixels width, resize all layers checked.
Adjust>Sharpness>Sharpen.
14. Open your main tube TubeChristmas_byRobertaMaver 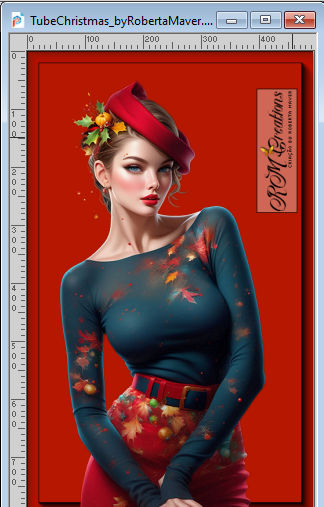
Edit>Copy.
Go back to your work and go to Edit>Paste as new layer.
Image>Resize, if necessary, for the provided tube to 90%, resize all layers not checked.
Move  the tube to the left side. the tube to the left side.
Layers>Duplicate.
Activate the layer below Raster 2.
Adjust>Blur>Gaussian Blur - radius 25

Layer>Properties>General>Blend Mode: Multiply
Activate your top layer, Copy of Raster 2.
15. Open Titulo_byRobertaMaver 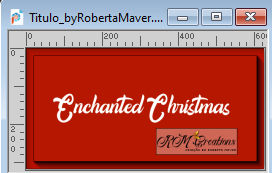
Edit>Copy.
Go back to your work and go to Edit>Paste as new layer.
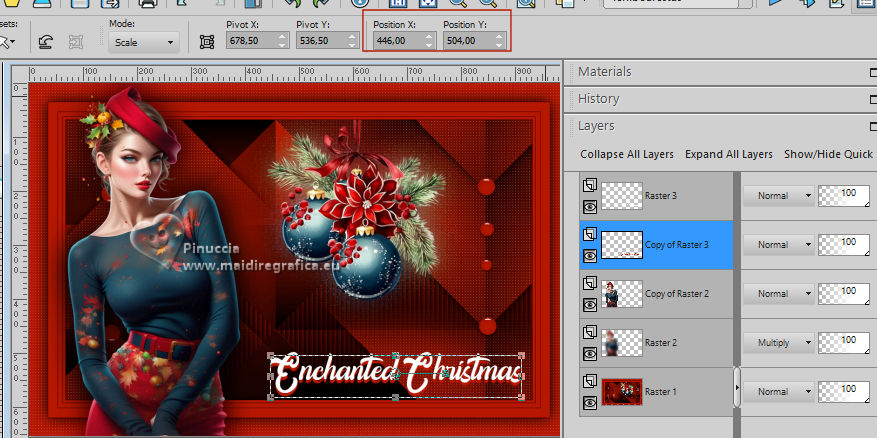
Pick Tool 
Position X: 446,00 - Position Y: 498,00.

Layers>Duplicate.
Activate your Color Changer Tool  , Toleance 0, Edge Softness 20, , Toleance 0, Edge Softness 20,

Flood fill the text with your background color #b51900.
Layers>Arrange>Move Down.
Pick Tool 
Position X: 446,00 - Position Y: 504,00.
Effects>3D Effects>Drop Shadow, color #000000.
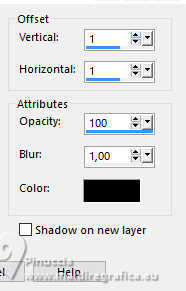
Activate your top layer Raster 3.
Edit>Repeat Drop Shadow.
Your tag and the layers.
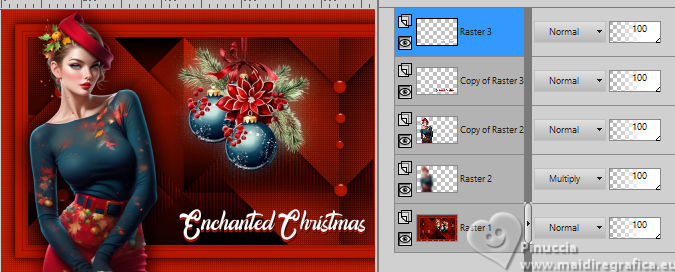
16. Image>Add Borders, 1 pixel, symmetric, foreground color #000000
17. Sign your work and save as jpg.
Version with my tubes from Images du Net
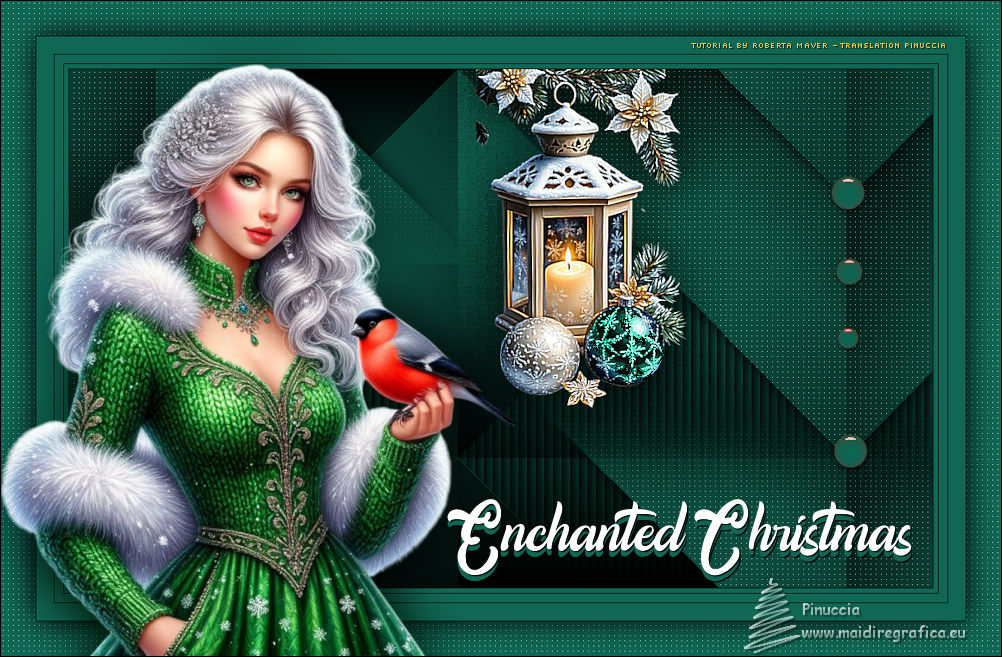

 Your versions. Thanks Your versions. Thanks

Lynnette

Kika


If you have problems or doubts, or you find a not worked link, or only for tell me that you enjoyed this tutorial, write to me.
30 November 2025

|

