|
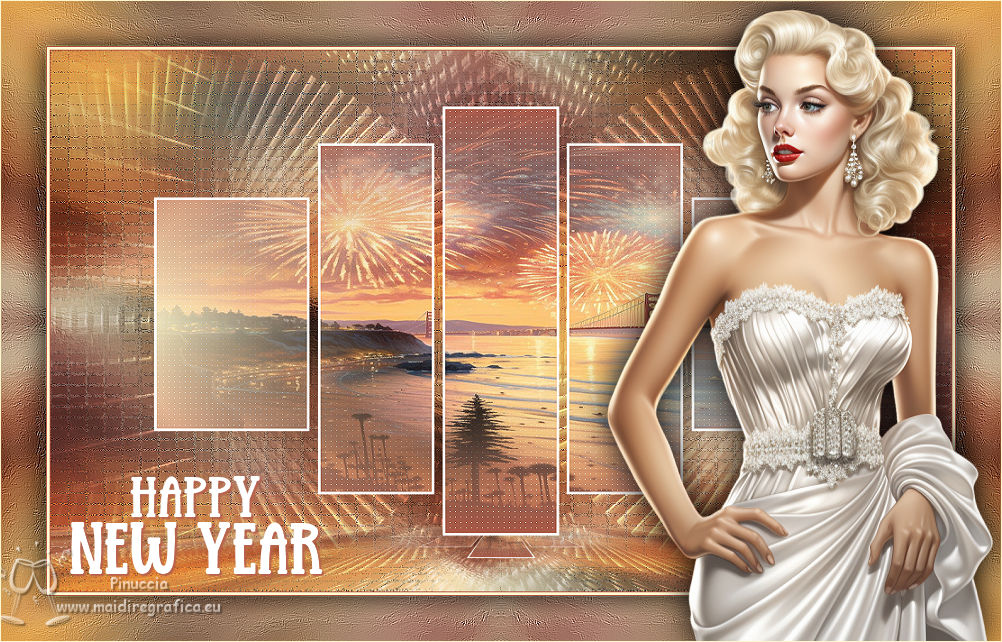
HAPPY NEW YEAR


Thanks SIM PSP Group for your invitation to translate your tutorials into english


|
Special Note
PSP SIM and its Tutorial Authors ask the public:
- Please, we request that we maintain the originality of the tutorial,
refraining from adding or including unsolicited effects;
- The use of other images is permitted and encouraged,
but please don't modify the content of the original tutorial;
- Please acknowledge and attribute the valuable credits to those who write tutorials,
make translation and create materials.
Carefully,
PSP SIM and Roberta Maver
|
This tutorial was written with Psp2022 and translated with Psp2020, but it can also be made using other versions of PSP.
Since version PSP X4, Image>Mirror was replaced with Image>Flip Horizontal,
and Image>Flip with Image>Flip Vertical, there are some variables.
In versions X5 and X6, the functions have been improved by making available the Objects menu.
In the latest version X7 command Image>Mirror and Image>Flip returned, but with new differences.
See my schedule here
For this tutorial, you will need:

(The links of the tubemakers here).
Plugins
consult, if necessary, my filter section here
Filters Unlimited 2.0 here
Carolaine and Sensibility - CS-LDots here
Mura's Meister - Perspective Tiling here
Simple - Top Left Mirror here
Filters VM Extravaganza can be used alone or imported into Filters Unlimited.
(How do, you see here)
If a plugin supplied appears with this icon  it must necessarily be imported into Unlimited it must necessarily be imported into Unlimited

You can change Blend Modes according to your colors.
In the newest versions of PSP, you don't find the foreground/background gradient (Corel_06_029).
You can use the gradients of the older versions.
The Gradient of CorelX here

Copy the selection in the Selections Folder.
1. Choose 2 colors for your work.
Set your foreground color to #b8604c,
and your background color to #fff5cb.
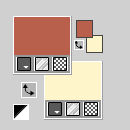
extra color: white #ffffff
2. Set your foreground color to a Foreground/Background Gradient, style Linear.
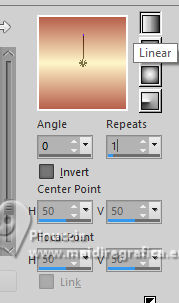
Open a new transparent image 1000 x 600 pixels.
Flood Fill  the transparent image with your Gradient. the transparent image with your Gradient.
3. Selections>Select All.
Open the landscape Paisagem09_byRobertaMaver 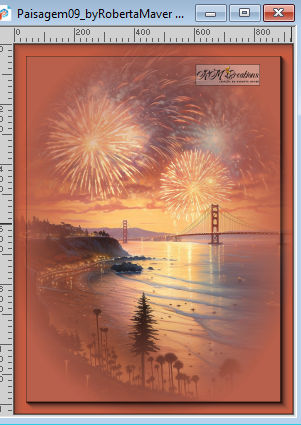
Edit>Copy.
Go back to your work and go to Edit>Paste Into Selection.
Selections>Select None.
4, Effects>Image Effects>Seamless Tiling - default settings.

Adjust>Blur>Motion Blur.
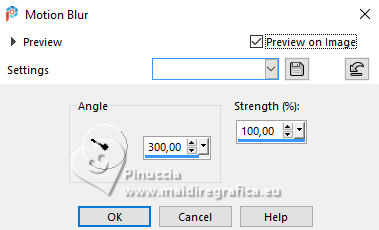
Edit>Repeat Motion Blur.
Effects>Edge Effects>Enhance.
5. Effects>Art Media Effects>Brush Strokes - color #444248

Adjust>Sharpness>Sharpen More.
6. Layers>New Raster Layer.
Selection>Load/Save Selection>Load Selection From Disk.
Look for and load the selection HappyNewYear_byRobertaM
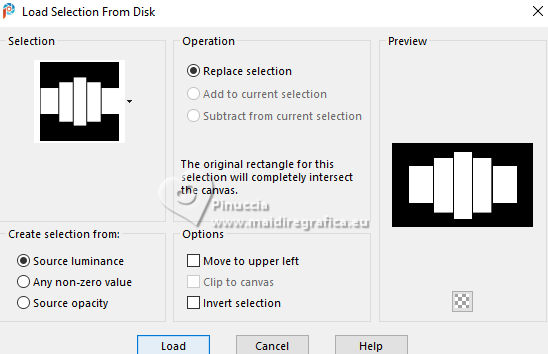
Set your foreground color to the extra color white #ffffff.
Flood Fill  the selection with the color white. the selection with the color white.
7. Selections>Modify>Contract - 3 pixels.
Set avgain your foreground color to the color #b8604c and the Linear Gradient.

Flood Fill  the selection with your Gradient. the selection with your Gradient.
8. Effects>Plugins>CS Carolaine and Sensibility - CS LDots.
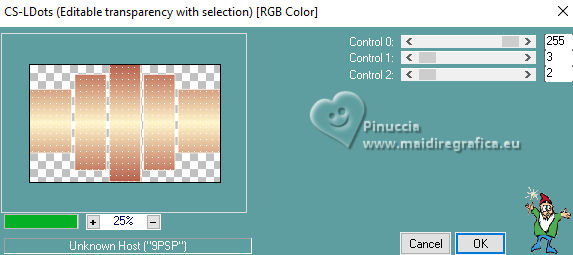
9. The landscape Paisagem09_byRobertaMaver is still in memory:
Edit>Paste Into Selection.
Adjust>Sharpness>Sharpen.
Selections>Select None.
10. Layers>Duplicate.
Layers>Arrange>Move Down.
Adjust>Blur>Gaussian Blur - radius 30.

11. Effects>Texture Effects>Mosaic - Antique.
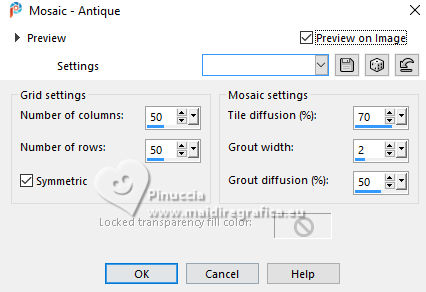
Effects>Image Effects>Seamless Tiling - default settings.

Change the Blend Mode of this layer to Multiply.
Effects>Edge effects>Enhance.
12. Open Decor_byRobertaMaver 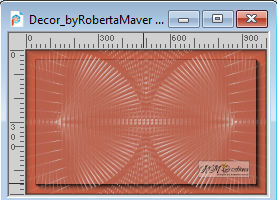
Edit>Copy.
Go back to your work and go to Edit>Paste as New Layer.
Change the Blend Mode of this layer to Overlay.
13. Edit>Copy Special>Copy Merged.
Edit>Paste as new layer.
Effects>Plugins>Mura's Meister>Perspective Tiling
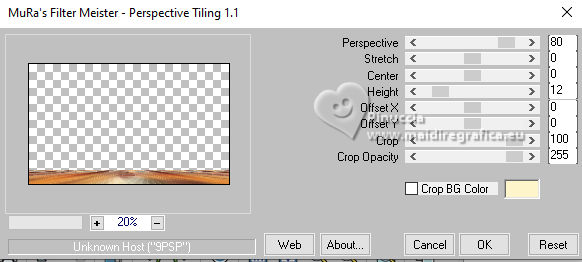
Activate your Magic Wand Tool  , tolerance 0 and feather 50, , tolerance 0 and feather 50,
and click in the transparent part to select it.
Press 3 fois CANC on the keyboard.
Selections>Select None.
Your tag and the layers
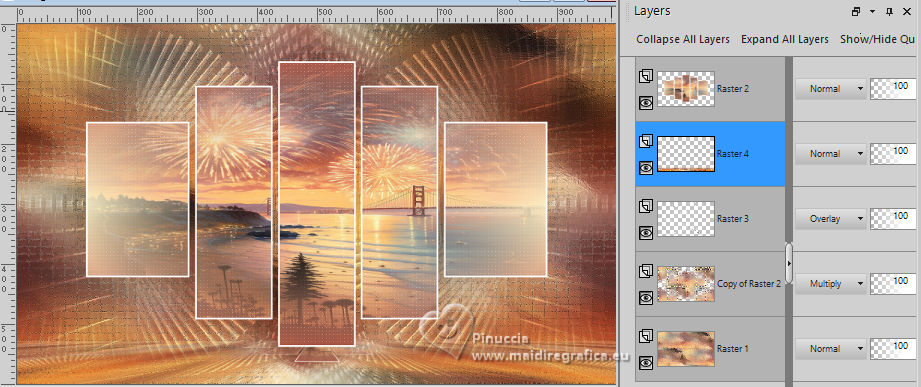
Edit>Copy Special>Copy Merged
14. Image>Add borders, 1 pixel, symmetric, foreground color #b8604c.
Image>Add borders, 3 pixels, symmetric, background color #fff5cb.
Image>Add borders, 1 pixel, symmetric, foreground color #b8604c.
15. Selections>Select All.
Image>Add Borders, 50 pixels, symmetric, whatever color.
Selections>Invert.
Edit>Paste Into Selection
16. Adjust>Blur>Motion Blur.

Edit>Repeat Motion Blur.
17. Effects>Art Media Effects>Brush Strokes.

18. Effects>Plugins>Simple - Top Left Mirror.
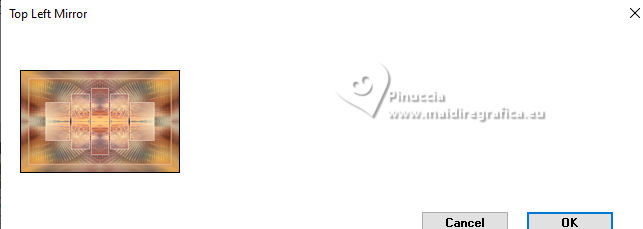
Effects>Edge Effects>Enhance.
Selections>Invert.
Effects>3D Effects>Drop Shadow, color #000000.

Selections>Select None.
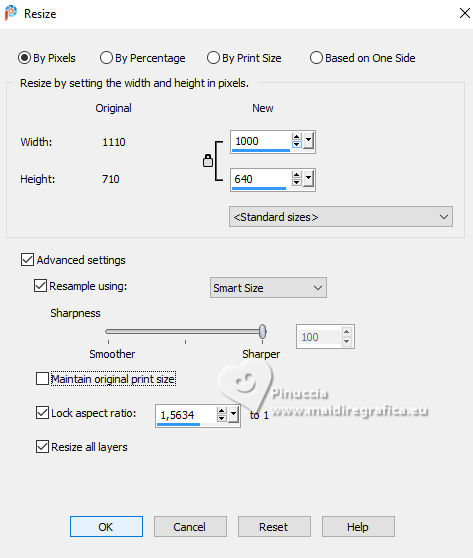
19. Image>Resize - 1000 pixels width, resize all layers checked.
Adjust>Sharpness>Sharpen.
20. Open your main tube New Year's Eve Night Tube (1) 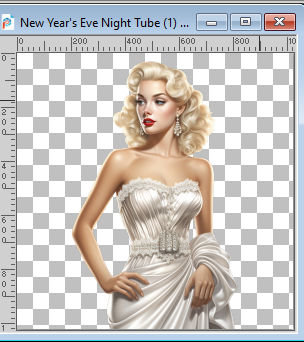
Edit>Copy.
Go back to your work and go to Edit>Paste as New Layer.
Image>Resize, if necessary - for the supplied tube to 63%, resize all layers not checked.
Adjust>Sharpness>Sharpen.
Move  the tube to the right side. the tube to the right side.
Effects>3D Effects>Drop shadow, at your choice.
21. Open Titulo_byRobertaMaver 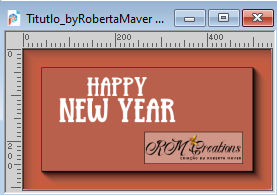
Edit>Copy.
Go back to your work and go to Edit>Paste as New Layer.
Move  the tube at the bottom left, or to your liking. the tube at the bottom left, or to your liking.
22. Image>Add borders, 1 pixel, symmetric, background color #fff5cb.
23. Sign your work and save as jpg.
For the tube of this version thanks Blaque Heart Designz
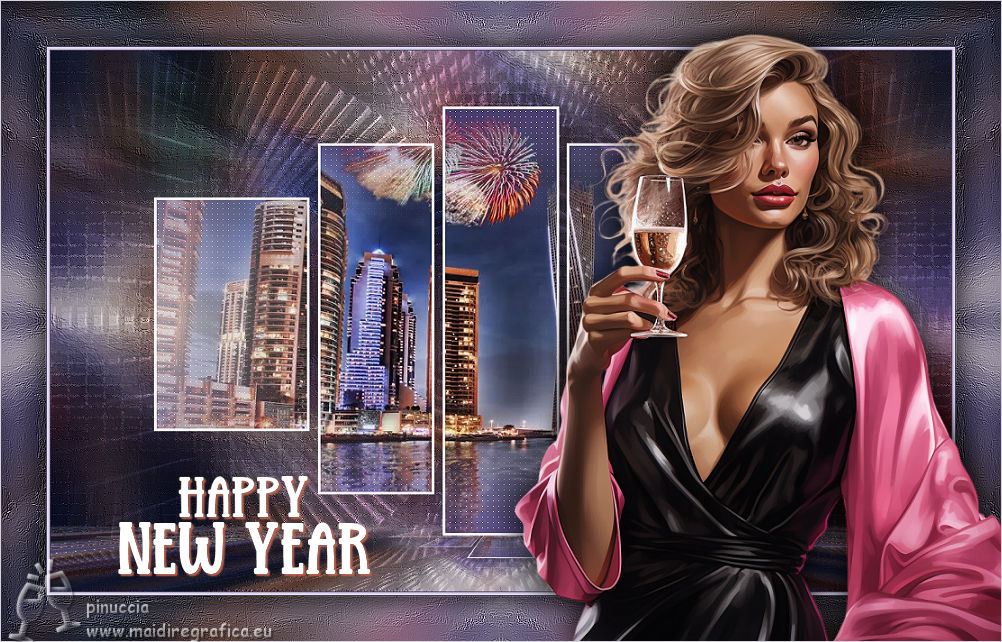

 Your versions. Thanks Your versions. Thanks
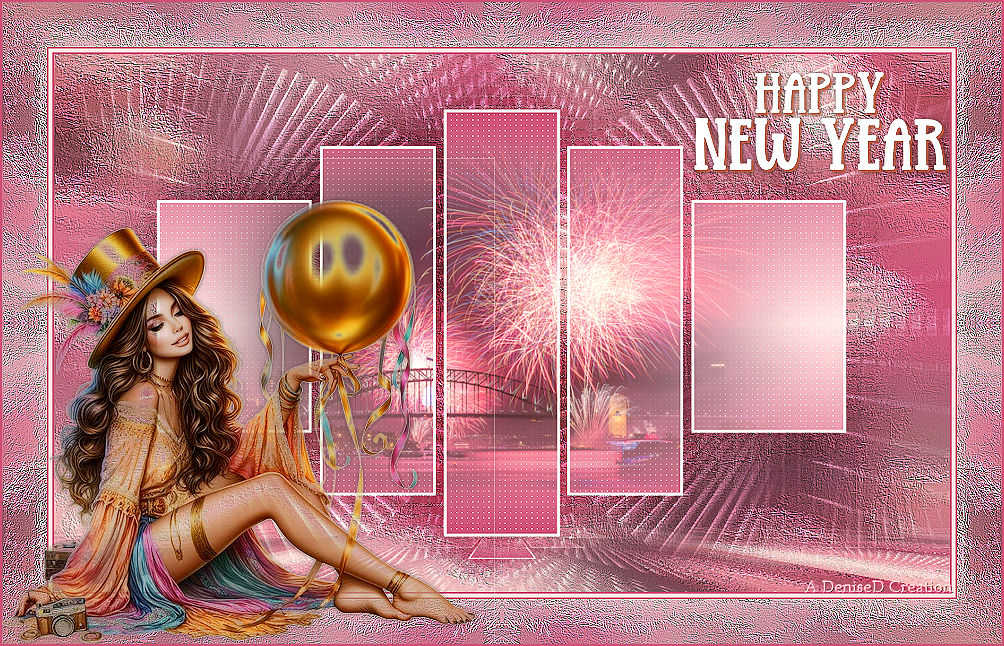
DeniseD
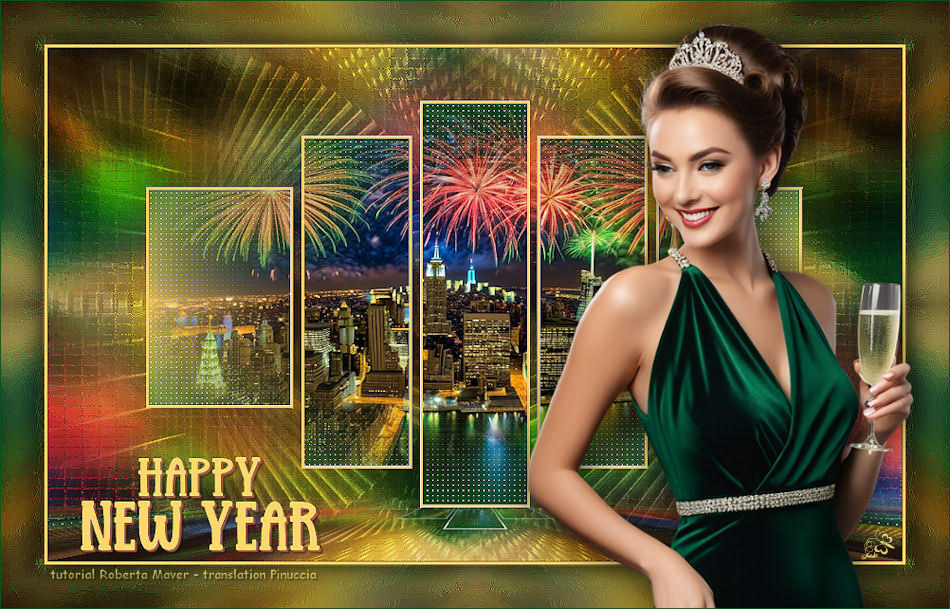
Jolcsi
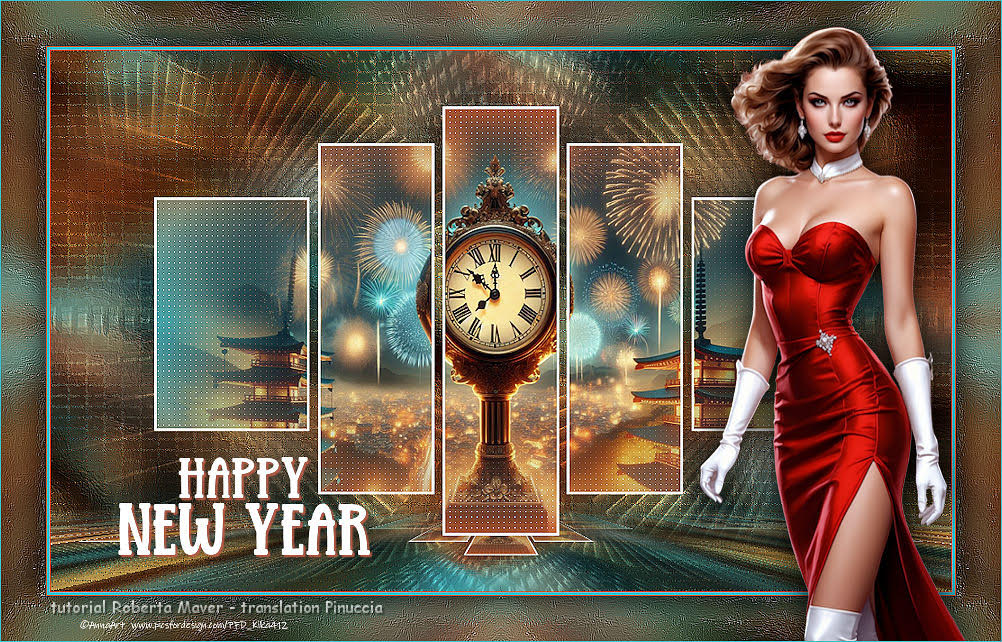
Kika
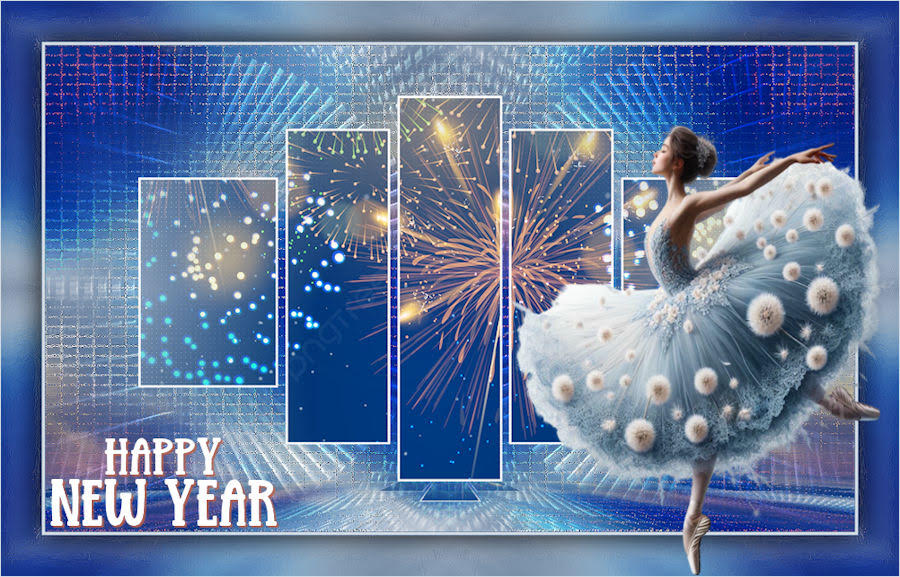
Di@ne


If you have problems or doubts, or you find a not worked link, or only for tell me that you enjoyed this tutorial, write to me.
23 November 2024

|

