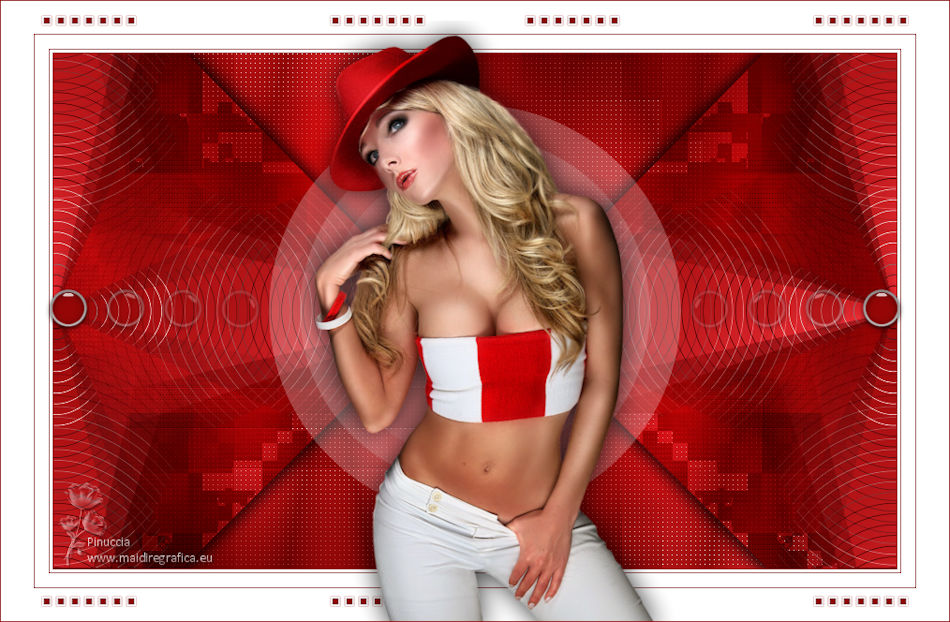
|
JULIA


Thanks SIM PSP Group for your invitation to translate your tutorials into english

This tutorial was written with Psp2020 and translated with Psp019, but it can also be made using other versions of PSP.
Since version PSP X4, Image>Mirror was replaced with Image>Flip Horizontal,
and Image>Flip with Image>Flip Vertical, there are some variables.
In versions X5 and X6, the functions have been improved by making available the Objects menu.
In the latest version X7 command Image>Mirror and Image>Flip returned, but with new differences.
See my schedule here
For this tutorial, you will need:

For the tube thanks Jet.
The rest of the material is by Roberta Maver.
(The links of the tubemakers here).
Plugins
consult, if necessary, my filter section here
Filters Unlimited 2.0 here
&<Bkg Designer sf10II> - PatchWork (to import in Unlimited) here
&<Background Designers IV> - sf10 Diamond Mountian (to import in Unlimited) here
Mehdi - Sorting Tiles here
VanDerLee - Unplugged-X here
AP [Innovations] - Lines SilverLining here
RCS Filters Pak 1.0 - RCS TripleExposure here
L&K's - L&K's Mayra here
L&K's - L&K's Zitah here

You can change Blend Modes according to your colors.
In the newest versions of PSP, you don't find the foreground/background gradient (Corel_06_029).
You can use the gradients of the older versions.
The Gradient of CorelX here

1. Choose 2 colors from your material.
Set your foreground color to #979797
and your background color to #f4323a
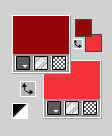
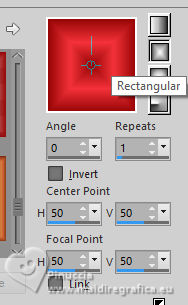
Set your foreground color to a Foreground/Background Gradient, style Rectangular.
2. Open AlphaChannel_Julia_byRobertaMaver.
This image, that will be the basis of your work, is not empty,
but contains the selections saved to alpha channel.
Flood Fill  the transparent image with your Gradient. the transparent image with your Gradient.
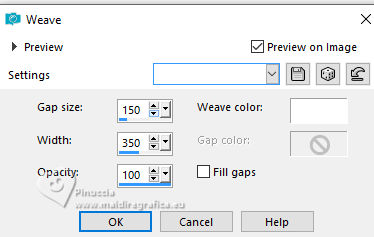
3. Effects>Texture Effects>Weave
weave color #ffffff
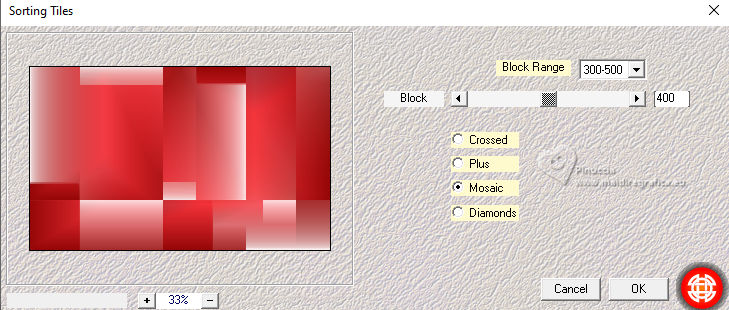
4. Effects>Plugins>Mehdi - Sorting Tiles.
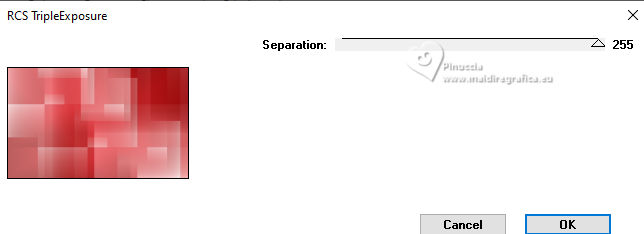
5. Effects>Plugins>RCS Filters PAK 1.0 - RCS TripleExposure, default settings.
Effects>Edge Effects>Enhance.
6. Change the Gradient style to Linear.
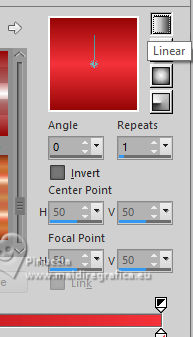
Layers>New Raster Layer.
Flood Fill  the transparent image with the new Gradient. the transparent image with the new Gradient.
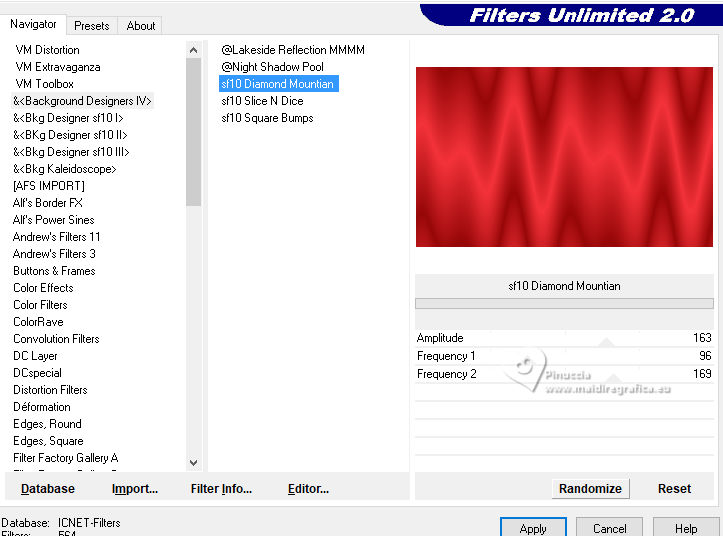
7. Effects>Plugins>Filters Unlimited 2.0 - &<Background Designers IV> - sf10 Diamond Mountian, default settings.
Change the Blend Mode of this layer to Multiply.
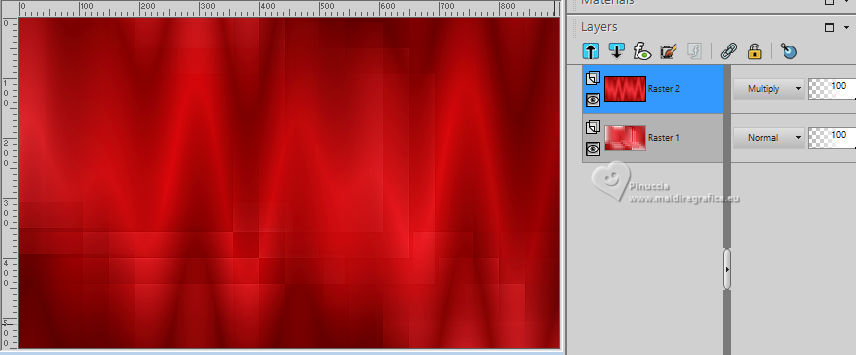
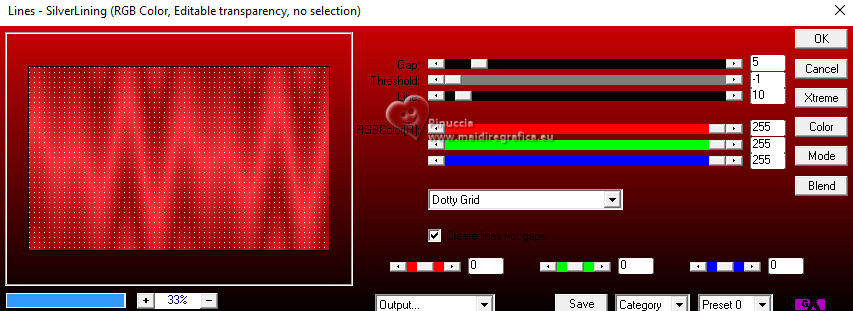
8. Effects>Plugins>AP [Innovations] - Lines SilverLining - Dotty Grid
9. Layers>New Raster Layer.
Selections>Load/Save Selection>Load Selection From Alpha Channel.
The selection Selection #1 is immediately available. You just have to click Load.
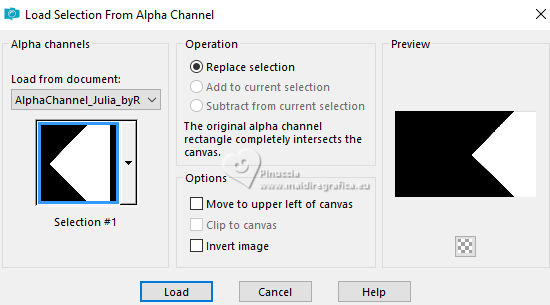
10. Flood Fill  the selection with the last gradient the selection with the last gradient 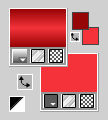
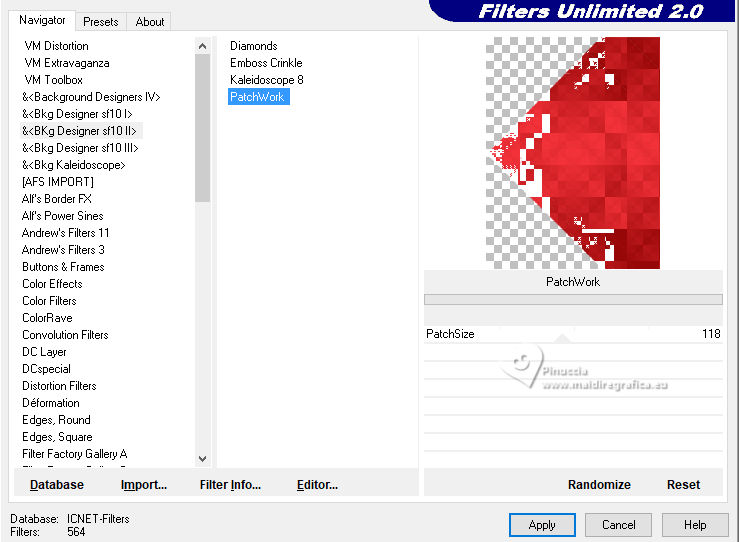
Effects>Plugins>Filters Unlimited 2.0 - &<Bkg Designer sf10II> - PatchWork.
to hide the white parts, I changed the Blend Mode of this layer to Multiply
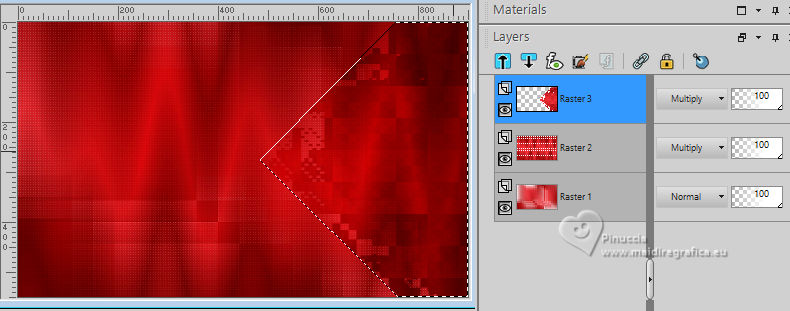
Selections>Select None.
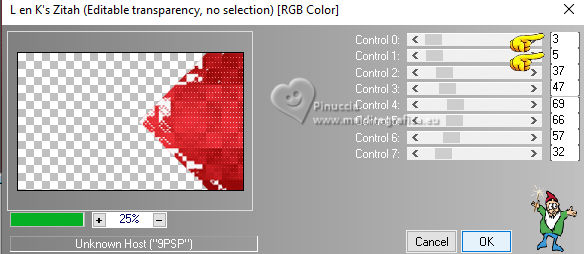
10. Effects>Plugins>L&K landksiteofwonders>L&K's Zitah.
11. Layers>Duplicate.
Image>Mirror>Mirror Horizontal.
Layers>Merge>Merge Down.
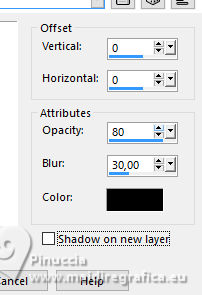
Effects>3D Effects>Drop Shadow, color #000000.
12. Layers>New Raster Layer.
Selections>Load/Save Selection>Load Selection From Alpha Channel.
Open the selections menu and load the selection Selection #2
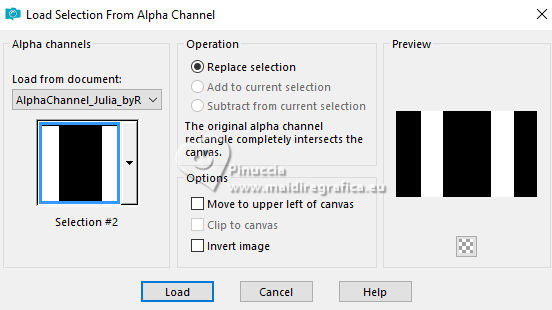
Flood Fill  the selection with the Gradient Linear the selection with the Gradient Linear 
Selections>Select None.
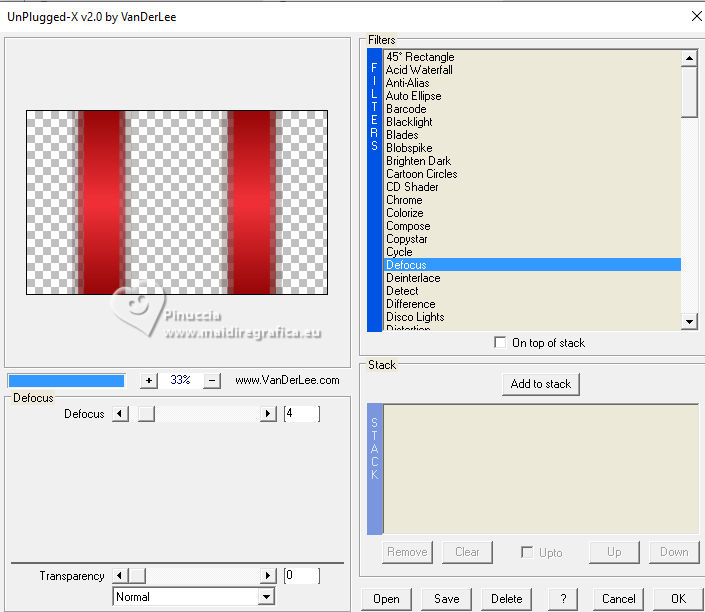
13. Effects>Plugins>VanDerLee - Unplugged-X - Defocus
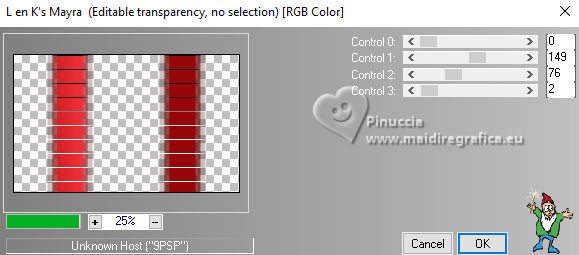
14. Effects>Plugins>L&K landksiteofwonders - L&K's Mayra, default settings.
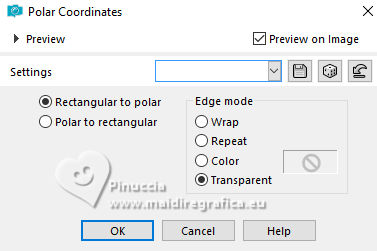
15. Effects>Distortion Effects>Polar Coordinates
16. Effects>Image Effects>Seamless Tiling.

17. Layers>Duplicate.
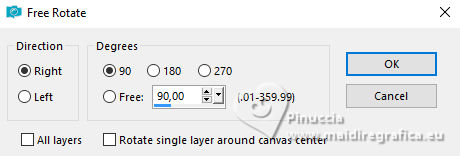
Image>Free Rotate - 90 degrees to right.
Activate your Selection Tool 
and draw a selection as below
you can also made Selections>Select All
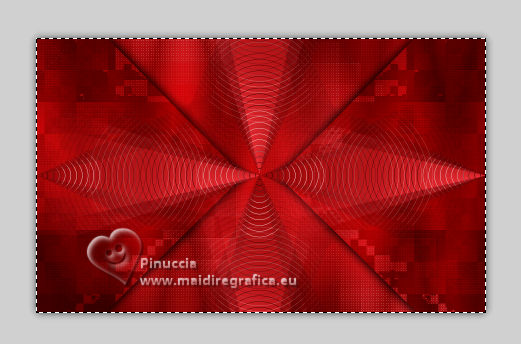
Edit>Cut (this command cuts and holds in memory).
Selections>Select None.
Layers>Delete (to eliminate the layer remained empty).
Edit>Paste as new layer.
K key to activate your Pick Tool 
and set Position X: -160,00 and Position Y: -1,00.

18. Layers>Duplicate.
Image>Mirror>Mirror Horizontal.
Layers>Merge>Merge Down.
19. Layers>New Raster Layer.
Selections>Load/Save Selection>Load Selection From Alpha Channel.
Open the selections menu and load the selection Selection #3
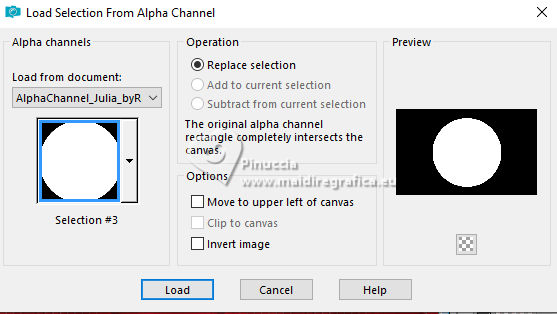
Set your background color to white #ffffff.
Reduce the opacity of your Flood Fill Tool to 50%.
Flood fill  the selection with color white. the selection with color white.
Don't forget to set again the opacity of your Flood Fill Tool to 100.
Selections>Select None.
Layers>Duplicate.
Image>Resize, to 85%, resize all layers not checked.
20. Again Layers>Duplicate.
Image>Resize, to 85%, resize all layers not checked.
Layers>Merge>Merge Down - 2 times.
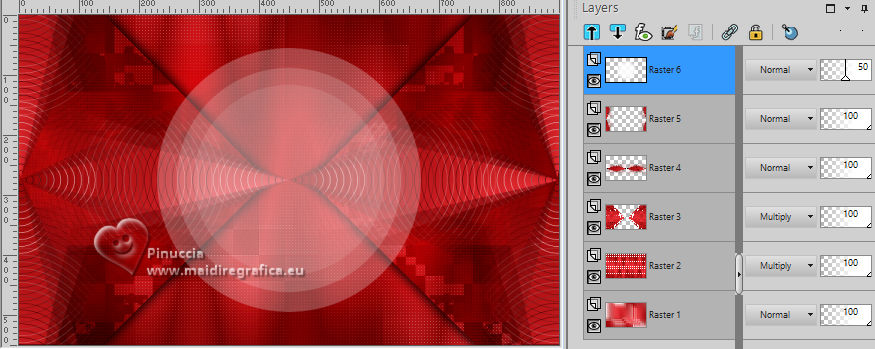
Reduce the opacity of this layer to 50%.
Your tag and the layers.
21. Image>Add borders, 1 pixel, symmetric, foreground color #970707.
Image>Add borders, 3 pixels, symmetric, color white #ffffff.
Image>Add borders, 1 pixel, symmetric, foreground color #970707.
Image>Add borders, 15 pixels, symmetric, color white #ffffff.
Image>Add borders, 1 pixel, symmetric, foreground color #970707.
Image>Add borders, 35 pixels, symmetric, color white #ffffff.
22. Open the tube Decor01_julia_byRobertaMaver 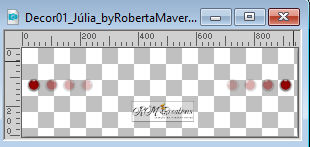
Edit>Copy.
Go back to your work and go to Edit>Paste as new layer.
The tube is in place:
Position X: 31,00 and Position Y: 303,00.

23. Open Decor02_julia_byRobertaMaver 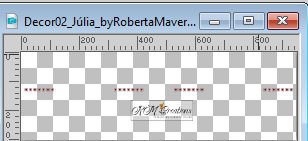
Edit>Copy.
Go back to your work and go to Edit>Paste as new layer.
Pick Tool 
and set Position X: 44,00 and Position Y: 16,00.

Layers>Duplicate.
Image>Mirror>Mirror Vertical.
Layers>Merge>Merge Down.
Effects>3D Effects>Drop Shadow, foreground color #970707.
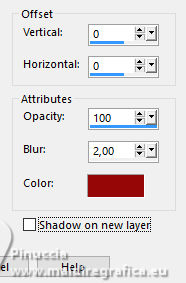
24. Open your main tube jet-woman9-mei-2008 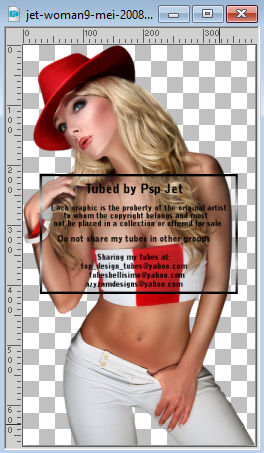
Edit>Copy.
Go back to your work and go to Edit>Paste as new layer.
Image>Resize, if necessary; for the supplied tube to 95%, resize all layers not checked.
Place  the tube down, in the center. the tube down, in the center.
Effects>3D Effects>Drop Shadow, at your choice.
25. Image>Add borders, 1 pixel, symmetric, foreground color #970707.
26. Image>Resize, if you want, resize all layers checked.
Sign your work and save as jpg.
For the tubes of these versions thanks.
Luz Cristina
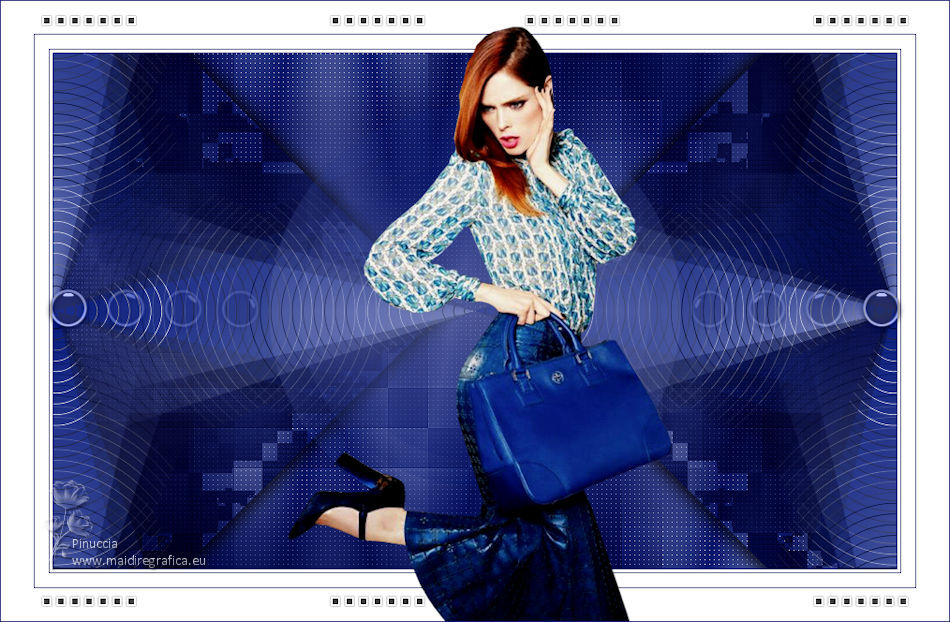
Beatriz
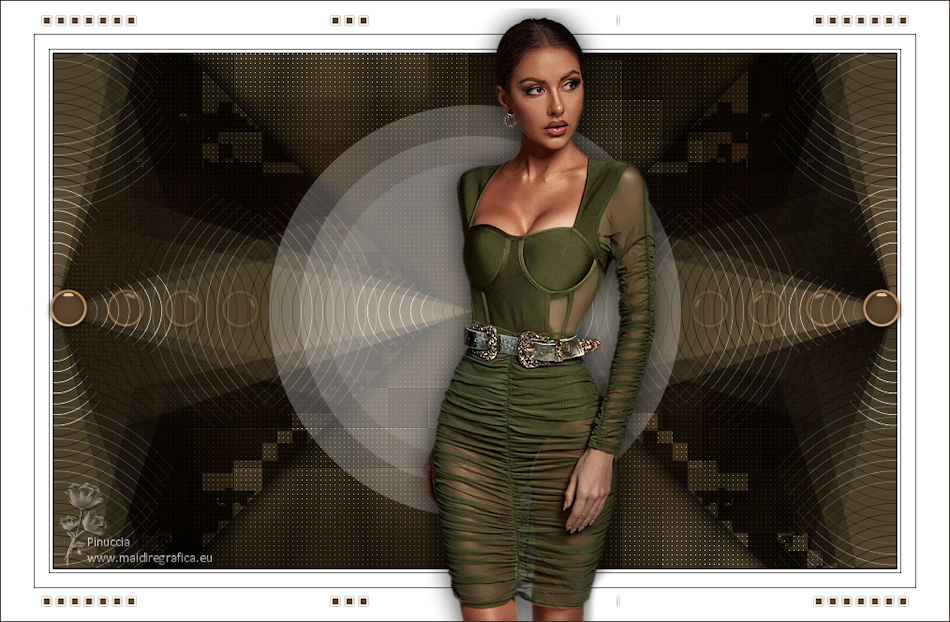

Your versions. Thanks

Jolcsi

Denise


If you have problems or doubts, or you find a not worked link, or only for tell me that you enjoyed this tutorial, write to me.
30 September 2023

|

