|
JULY


Thanks SIM PSP Group for your invitation to translate your tutorials into english


|
Special Note
PSP SIM and its Tutorial Authors ask the public:
. Please, we request that we maintain the originality of the tutorial,
refraining from adding or including unsolicited effects;
. The use of other images is permitted and encouraged,
but please don't modify the content of the original tutorial;
. Please acknowledge and attribute the valuable credits to those who write tutorials,
make translation and create materials.
Carefully,
PSP SIM and Roberta Maver
|
This tutorial was written with Psp2022 and translated with Psp2020, but it can also be made using other versions of PSP.
Since version PSP X4, Image>Mirror was replaced with Image>Flip Horizontal,
and Image>Flip with Image>Flip Vertical, there are some variables.
In versions X5 and X6, the functions have been improved by making available the Objects menu.
In the latest version X7 command Image>Mirror and Image>Flip returned, but with new differences.
See my schedule here
For this tutorial, you will need:

For the mask thanks Tine
The rest of the material is by Roberta Maver.
(The links of the tubemakers here).
Plugins
consult, if necessary, my filter section here
Filters Unlimited 2.0 here
Mehdi - Sorting Tiles here
RCS Filter Pak - RCS TripleExposure here
L&K's - L&K's Palmyre here
Filters RCS Filter Pak can be used alone or imported into Filters Unlimited.
(How do, you see here)
If a plugin supplied appears with this icon  it must necessarily be imported into Unlimited it must necessarily be imported into Unlimited

You can change Blend Modes according to your colors.
In the newest versions of PSP, you don't find the foreground/background gradient (Corel_06_029).
You can use the gradients of the older versions.
The Gradient of CorelX here

Copy the Selection Selection July_byRobertaMaver
Open the mask in PSP and minimize it with the rest of the material.
1. Choose 2 colors for your work.
Set your foreground color to #360836,
and your background color to #ffdeff.
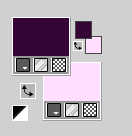
2. Set your foreground color to a Foreground/Background Gradient, style Linear.
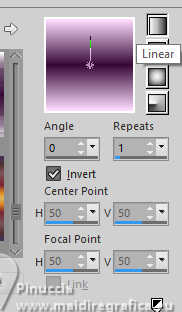
Open a new transparent image 900 x 600 pixels.
Flood Fill  the transparent image with your Gradient. the transparent image with your Gradient.
3. Effects>Plugins>Mehdi - Sorting Tiles
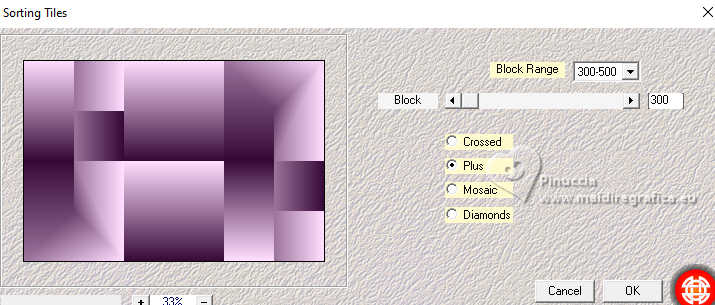
4. Effects>Edge Effects>Enhance.
Effects>Plugins>RCS Filters Pak 1.0 - RCS TripleExposure
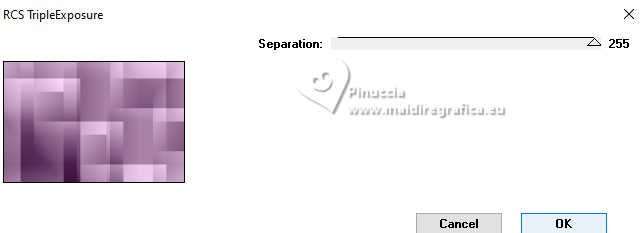
if you use the filter in Unlimited, you can get a different result
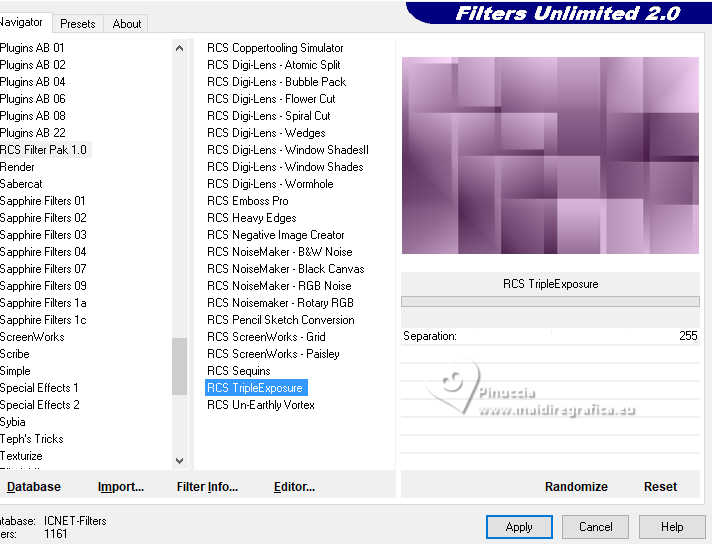
5. Effects>Image Effects>Seamless Tiling, default settings

6. Adjust>Sharpness>Sharpen.
Effects>Art Media Effects>Brush Strokes - color #505050.

7. Layers>Duplicate.
Effects>Plugins>L&K's - L&K's Palmyre
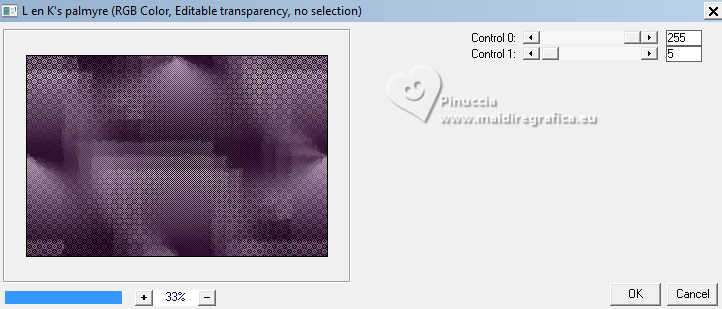
8. Layers>Properties>General>Blend Mode: Hard Hight - Opacity: 100%
Open the misted Image3 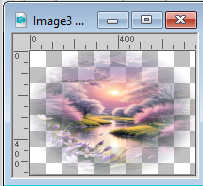
Edit>Copy.
Go back to your work and go to Edit>Paste as New Layer.
9. Effects>Image Effects>Seamless Tiling - Side by side

10. Layers>New Raster Layer.
Flood Fill  the layer with your background color #ffdeff. the layer with your background color #ffdeff.
Layers>New Mask Layer>From Image.
Open the menu under the source window and you'll see all the files open.
Select the mask creation.tine_masque074.
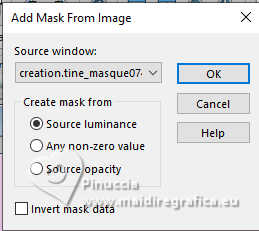
Layers>Merge>Merge Group.
11. Layers>New Raster Layer.
Layers>Arrange>Move Down.
Selections>Load/Save Selections>Load Selection From Disk.
Look for and load the selection Selection_July_byRobertaMaver
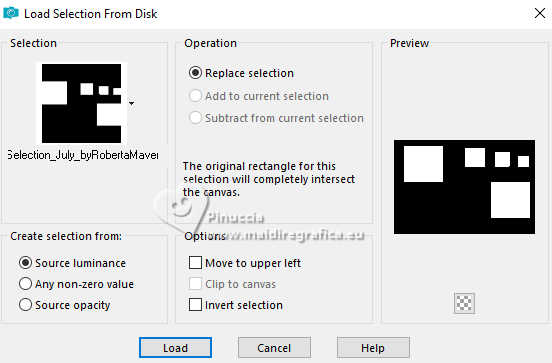
12. Open the landscape Paisagem 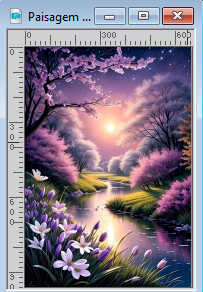
Edit>Copy.
Go back to your work and go to Edit>Paste into Selection.
Adjust>Sharpness>Sharpen.
Selections>Select None.
13. Activate your top layer, Group-Raster 3.
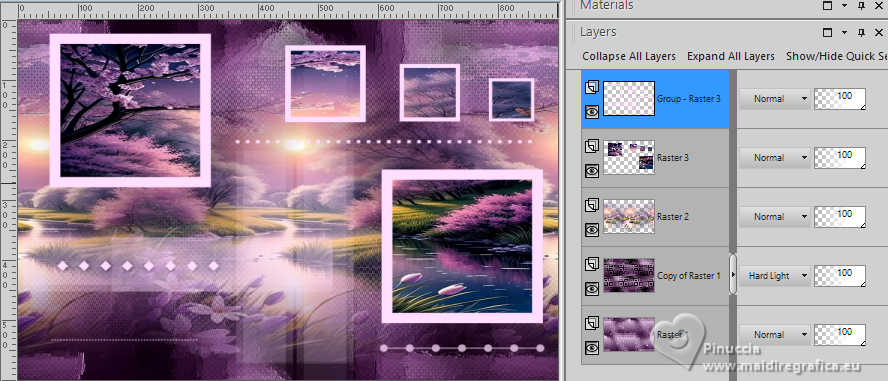
Effects>3D Effects>Drop Shadow, foreground #360836.
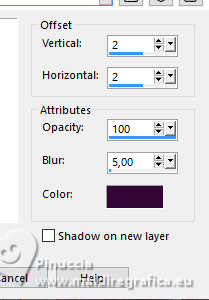
14. Image>Add Borders, 1 pixel, symmetric, background color #ffdeff.
Image>Add Borders, 5 pixels, symmetric, foreground color #360836.
Image>Add Borders, 1 pixel, symmetric, background color #ffdeff.
Selections>Select All.
15. Image>Add Borders, 50 pixels, symmetric, whatever color.
Selections>Invert.
Change the settings of your Gradient.
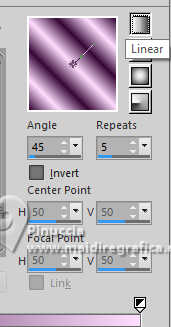
Flood Fill  the selection with your Gradient. the selection with your Gradient.
16. Adjust>Blur>Gaussian Blur - radius 20

Effects>Art Media Effects>Brush Strokes, same settings.

Selections>Invert.
Effects>3D Effects>Drop Shadow - color #000000.

Selections>Select None.
17. Image> Resize - 900 pixels width, resize all layers checked.
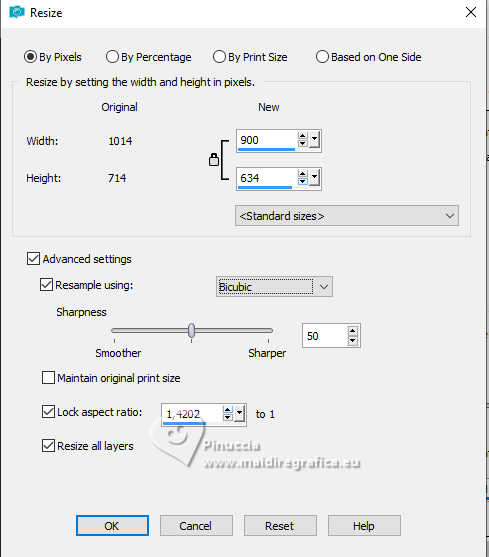
Adjust>Sharpness>Sharpen.
18. Open Decor01_byRobertaMaver 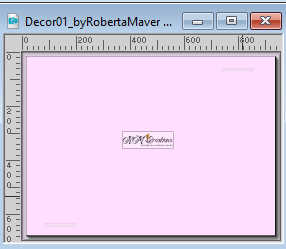
Erase the watermark and go to Edit>Copy.
Go back to your work and go to Edit>Paste as New Layer.
19. Open your main tube Tube79_byRobertaMaver 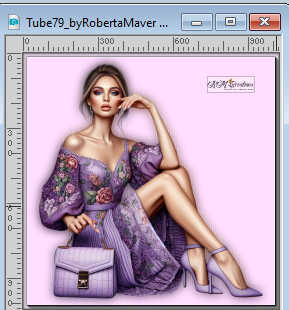
Erase the watermark and go to Edit>Copy.
Go back to your work and go to Edit>Paste as New Layer.
Image>Resize, if necessary, for the supplied tube 55%, resize all layers not checked.
Move  the tube to the right side the tube to the right side
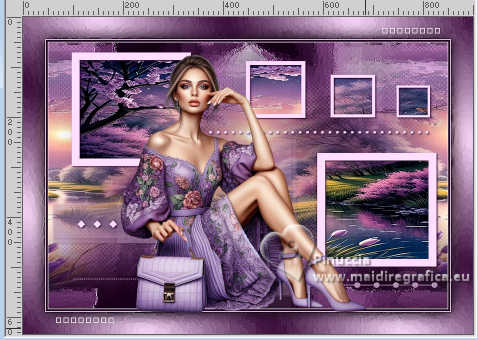
Effects>3D Effects>Drop Shadow, at your choice.
20. Open Titulo_byRobertaMaver 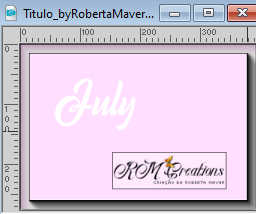
Erase the watermark and go to Edit>Copy.
Go back to your work and go to Edit>Paste a New Layer.
Move  the text to your liking. the text to your liking.
Effects>3D Effects>Drop Shadow - color #000000.
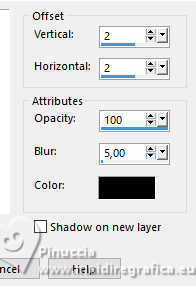
21. Image>Add Borders, 1 pixel, symmetric, foreground color.
22. Image>Resize, if you want.
Sign your work and save as jpg.
For the tube of this version thanks Virginia
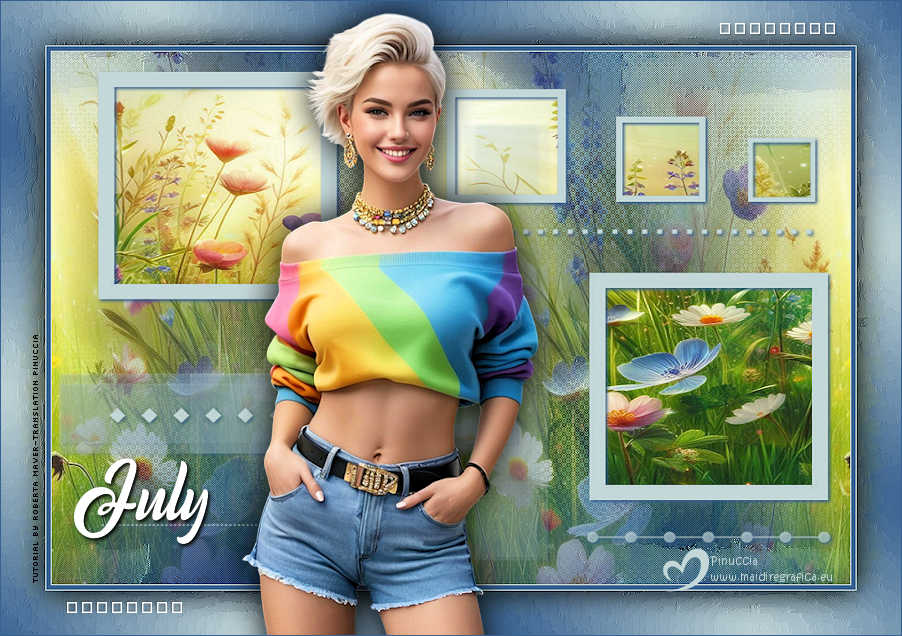

 Your versions. Thanks Your versions. Thanks
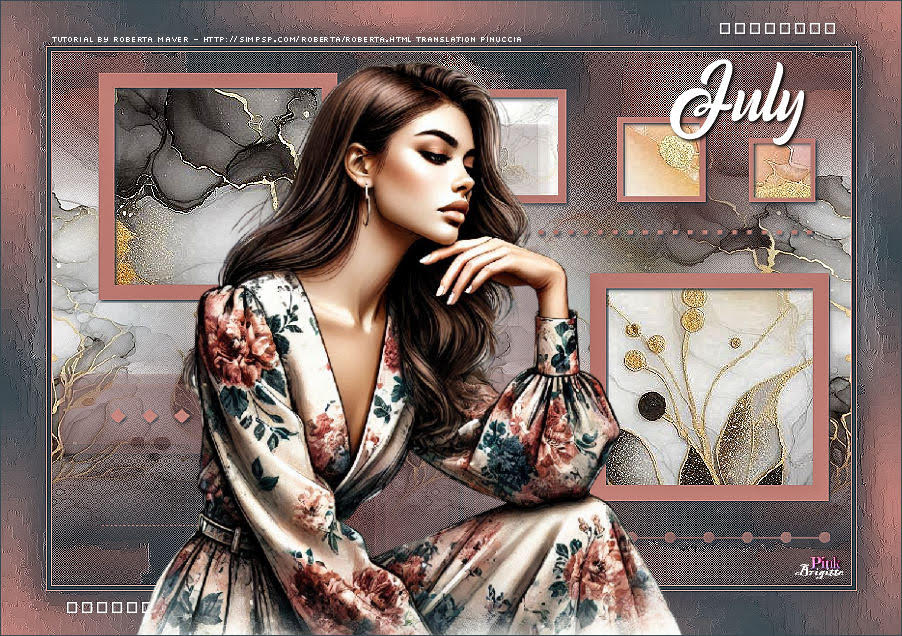
Pink
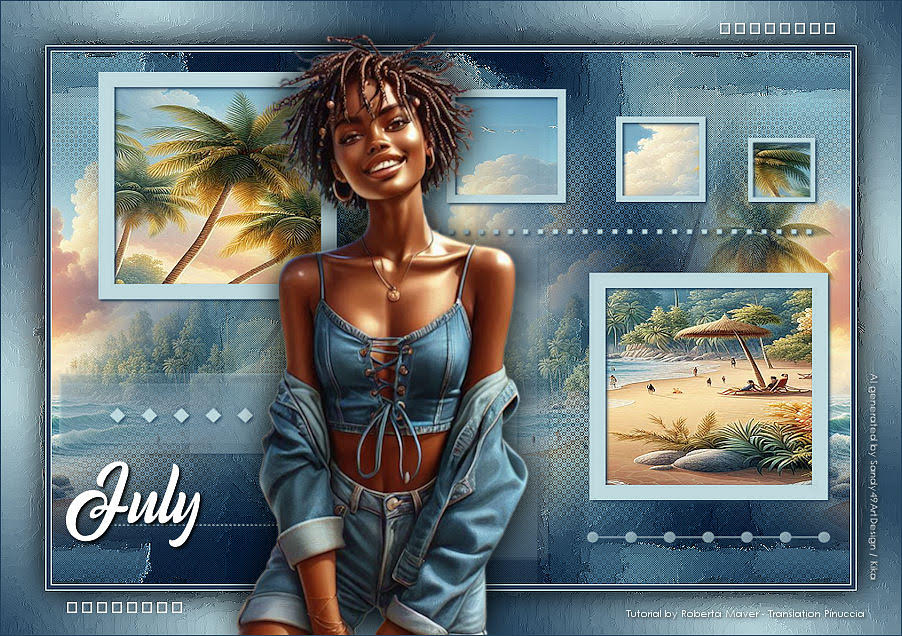
Kika
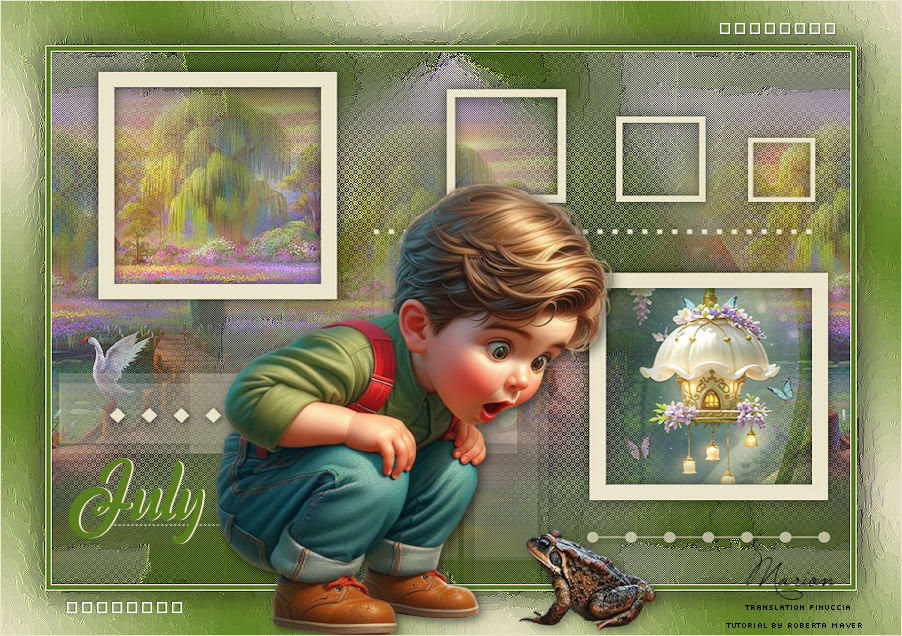
Marion

Baby
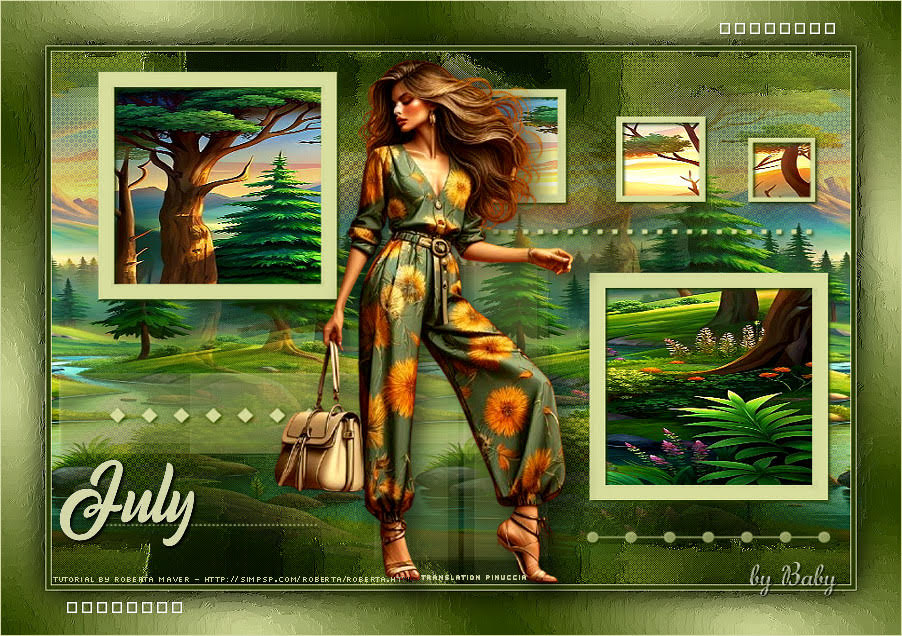
Baby
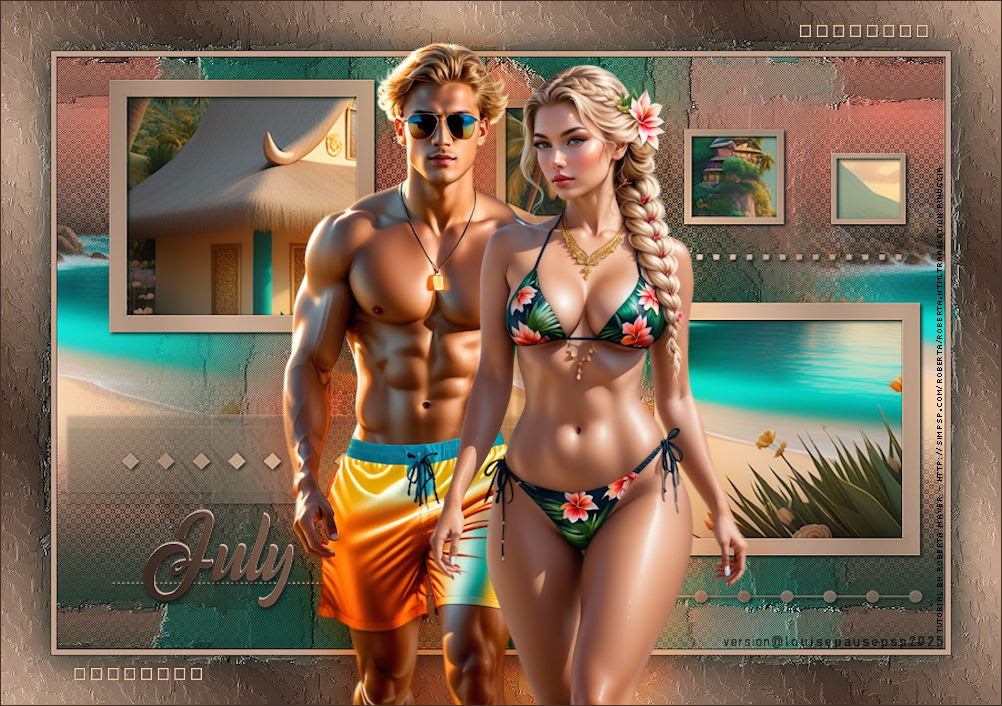
Louise
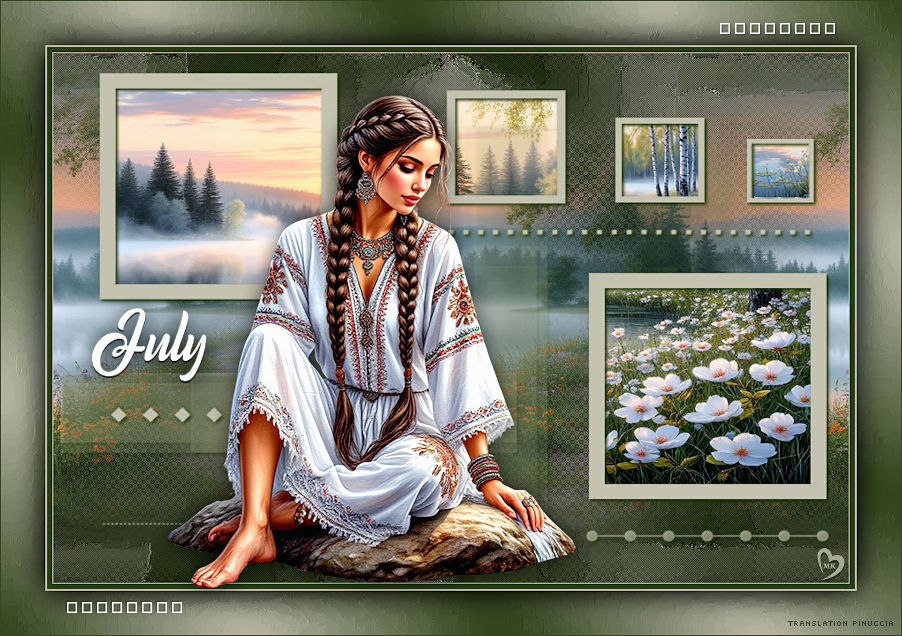
Kamelius
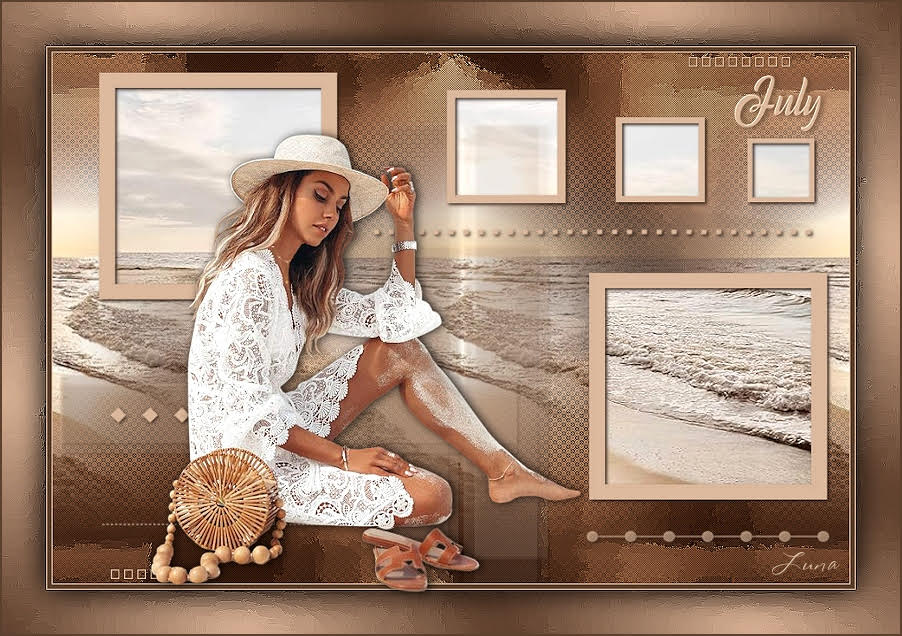
Luna
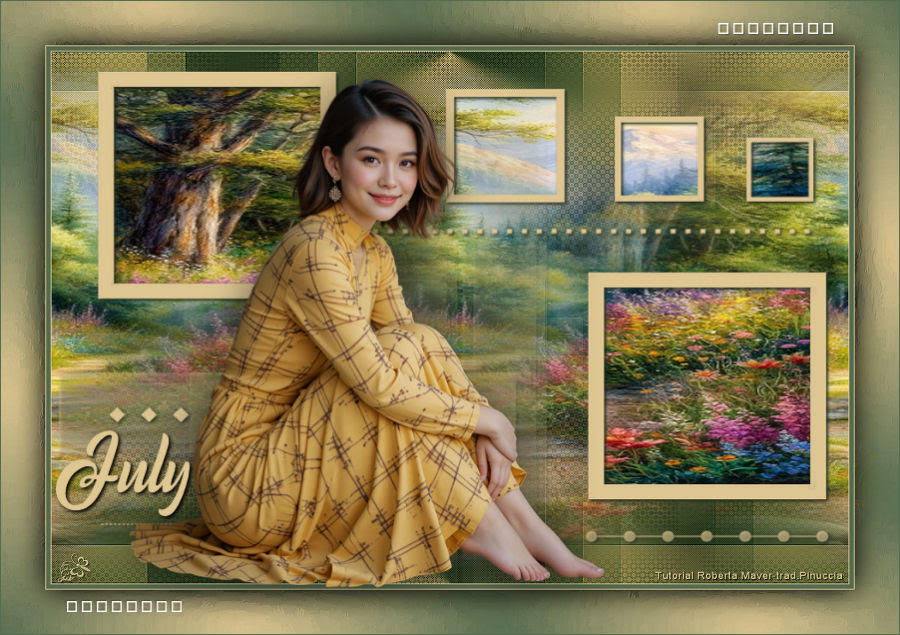
Jolcsi


If you have problems or doubts, or you find a not worked link, or only for tell me that you enjoyed this tutorial, write to me.
17 july 2024

|


