|
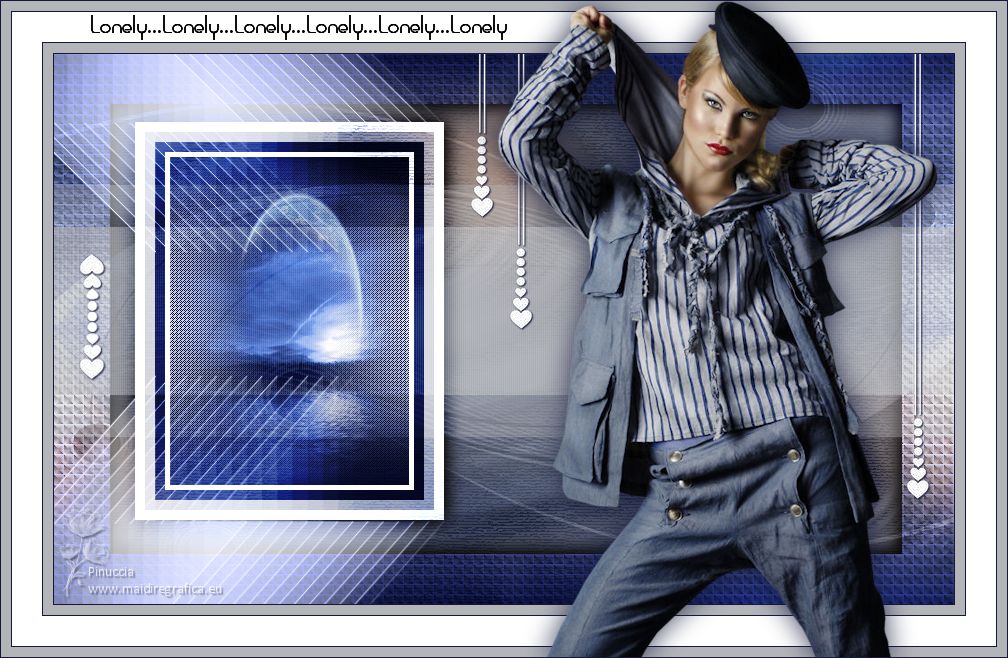
LONELY


Thanks SIM PSP Group for your invitation to translate your tutorials into english

This tutorial was written with Psp2020 and translated with PspX7, but it can also be made using other versions of PSP.
Since version PSP X4, Image>Mirror was replaced with Image>Flip Horizontal,
and Image>Flip with Image>Flip Vertical, there are some variables.
In versions X5 and X6, the functions have been improved by making available the Objects menu.
In the latest version X7 command Image>Mirror and Image>Flip returned, but with new differences.
See my schedule here
For this tutorial, you will need:

For the tubes thanks K@rine and Liza.
The rest of the material is by Roberta Maver.
(The links of the tubemakers here).
Plugins
consult, if necessary, my filter section here
Filters Unlimited 2.0 here
Toadies - What are you here
Artistiques - Pastels here
Filter Factory Gallery A - Holidays in Egypt here
Filters Toadies and Factory Gallery can be used alone or imported into Filters Unlimited.
(How do, you see here)
If a plugin supplied appears with this icon  it must necessarily be imported into Unlimited it must necessarily be imported into Unlimited

You can change Blend Modes according to your colors.
In the newest versions of PSP, you don't find the foreground/background gradient (Corel_06_029).
You can use the gradients of the older versions.
The Gradient of CorelX here

1. Choose 2 colors from your material.
Set your foreground color to #13193b
and your background color to #b4b5b9
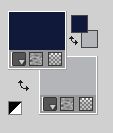
third color: #ffffff
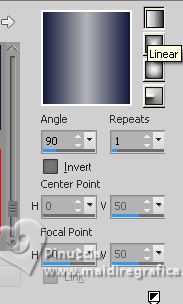
Set your foreground color to a Foreground/Background Gradient, style Linear.
2. Open AlphaChannel_lonely_byRobertaMaver.
This image, that will be the basis of your work, is not empty,
but contains a selection saved to alpha channel.
Flood Fill  the transparent image with your Gradient. the transparent image with your Gradient.
3. Selections>Select All.
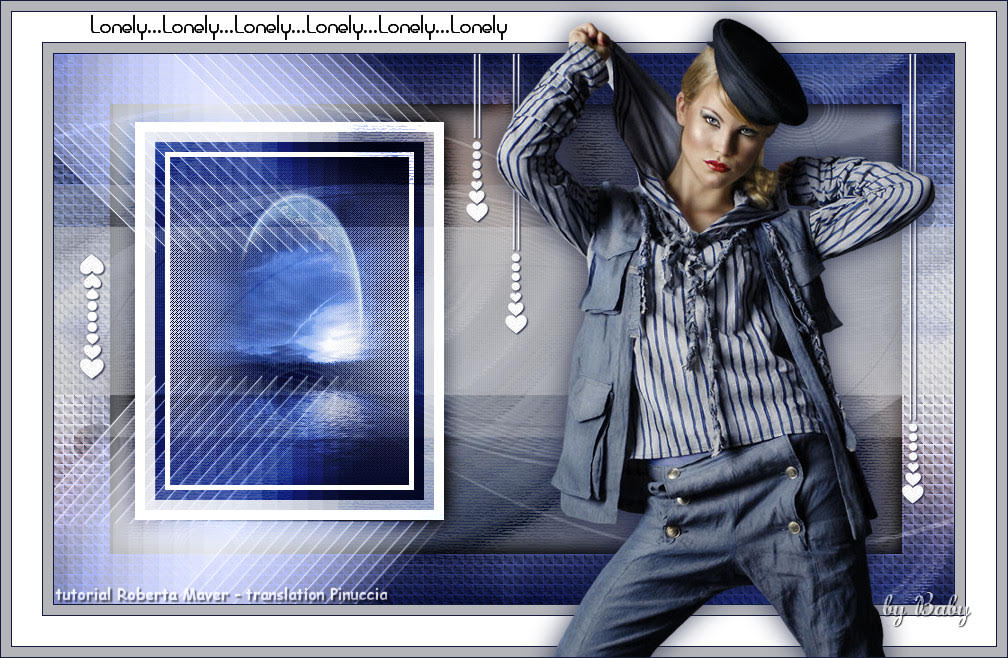
Open your main tube Liza tube 268psp 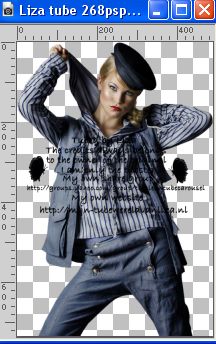
Edit>Copy.
Go back to your work and go to Edit>Paste Into Selection.
Selections>Select None.
Adjust>Sharpness>Sharpen.
4. Adjust>Blur>Radial Blur
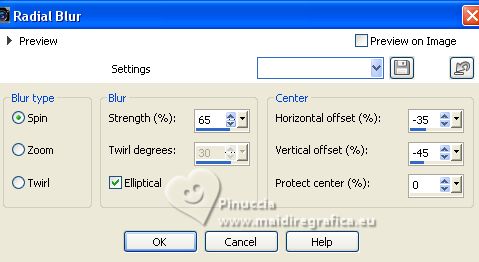
5. Effects>Image Effects>Seamless Tiling

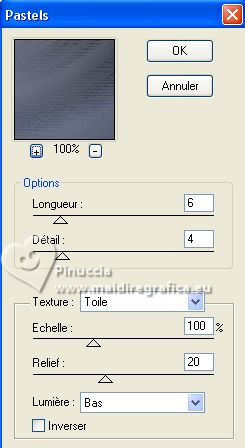
6. Effects>Plugins>Artistiques - Pastels
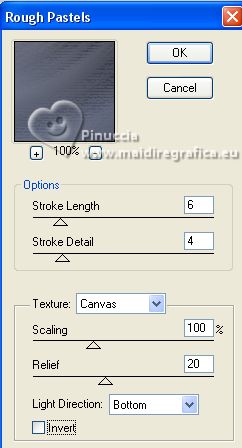
if you want to use the english version of the filter (the result doen't change)
Effects>Plugins>Artistic - Rough Pastel
7. Layers>New Raster Layer.
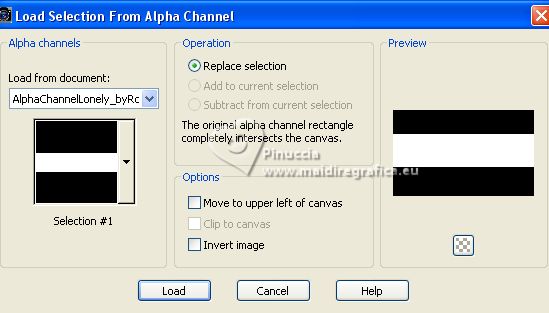
Selections>Load/Save Selection>Load Selection From Alpha Channel.
The selection Selection #1 is immediately available. You just have to click Load.
Flood Fill  the selection with your background color #b4b5b9. the selection with your background color #b4b5b9.
8. Effects>Texture Effects>Blinds
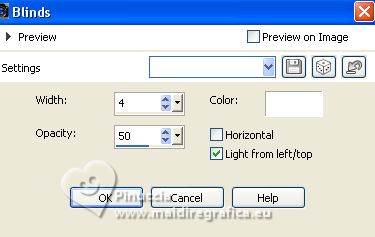
Selections>Select None.
9. Effects>Plugins>Toadies - What Are You?, default settings.
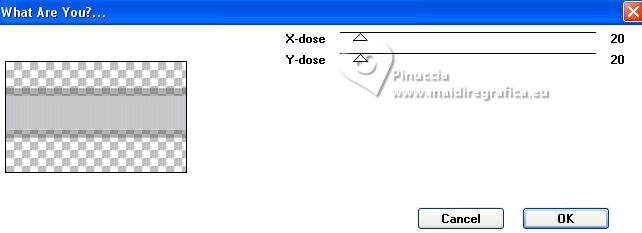
Reduce the opacity of this layer to 70%.
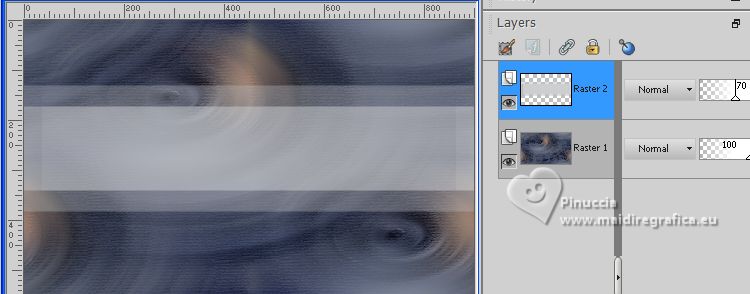
10. Activate the layer Raster 1.
Open Decor01_byRobertaMaver 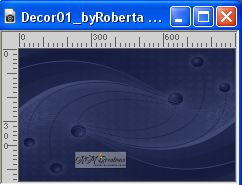
Edit>Copy.
Go back to your work and go to Edit>Paste as New Layer.
Keep the Blend Mode of this layer to Soft Light.
11. Change the settings of the Gradient, angle 0
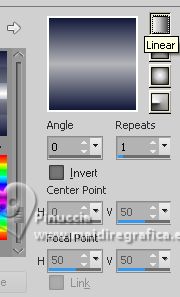
Layers>New Raster Layer.
Selections>Load/Save Selection>Load Selection From Alpha Channel
Open the selections menu and load the selection Selection #2
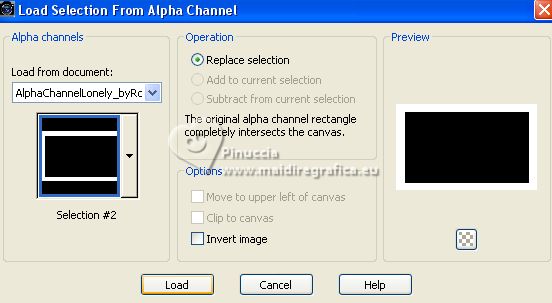
Flood Fill  the selection with your gradient. the selection with your gradient.
12. Effects>Plugins>Filters Unlimited 2.0 - Filters Factory Gallery A - Holidays in Egypt.
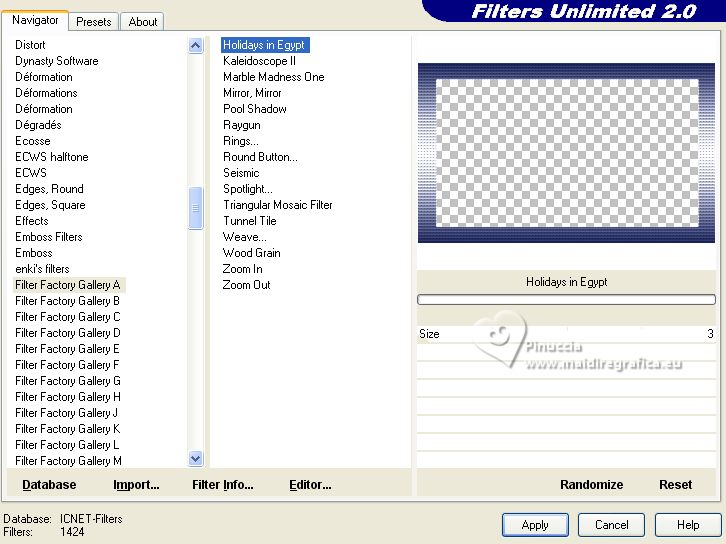
Change the Blend Mode of this layer to Overlay.
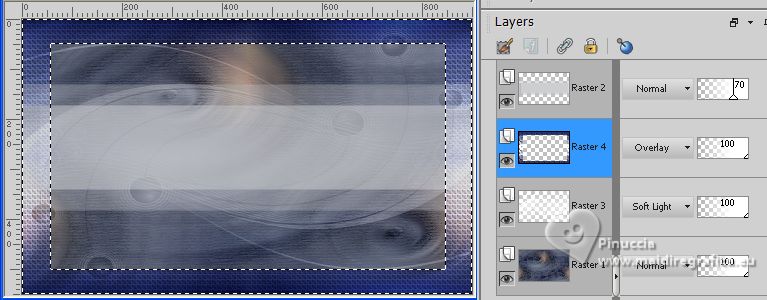
Selections>Select None.
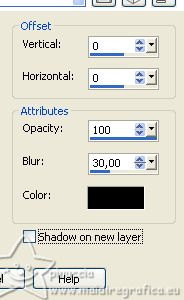
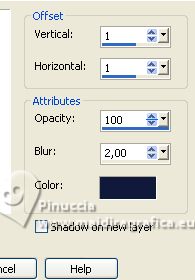
Effects>3D Effects>Drop Shadow, color #000000.
13. Activate your top Layer.
Layers>New Raster Layer.
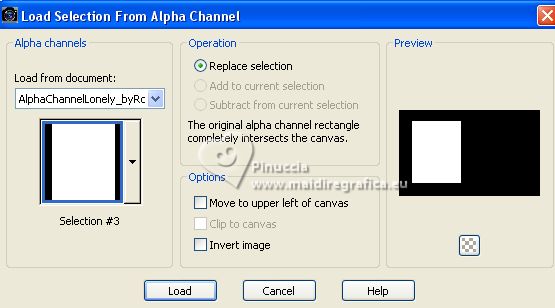
Selections>Load/Save Selection>Load Selection From Alpha Channel.
Open the selections menu and load the selection Selection #3
Set your foreground color with the third color #ffffff.
Flood Fill  the selection with color white #ffffff. the selection with color white #ffffff.
Selections>Modify>Contract - 10 pixels.
Flood Fill  the selection with your background color #b4b5b9. the selection with your background color #b4b5b9.
Selections>Modify>Contract - 10 pixels
Set again your foreground color to #13193b.
Flood Fill  the selection with your foreground color #13193b. the selection with your foreground color #13193b.
Selections>Modify>Contract 10 pixels.
Set the foreground color to white #ffffff.
Flood Fill  the selection with color white #ffffff. the selection with color white #ffffff.
Selections>Modify>Contract - 5 pixels.
Select again your foreground color with the first color #13193b and the last Gradient.

Flood Fill  the selection with your Gradient. the selection with your Gradient.
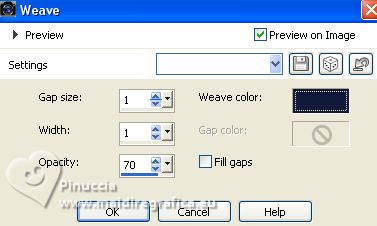
14. Effects>Texture Effects>Weave
weave color: foreground color
15. Open the landscape misted k#64;rine_dreams_Misted_Landscape...
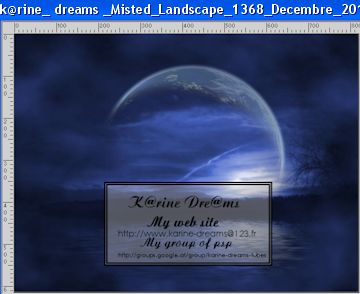
Edit>Copy.
Go back to your work and go to Edit>Paste into Selection.
Adjust>Sharpness>Sharpen.
Selections>Select None.
Change the Blend Mode of this layer to Soft Light
Layers>Duplicate.
Change the Blend Mode of this layer to Overlay
Effects>3D Effects>Drop Shadow, color #000000.

16. Activate the layer Raster 2.
Erase the watermark and go to Open Decor02_byRobertaMaver 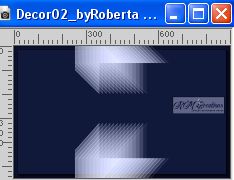
Edit>Copy.
Go back to your work and go to Edit>Paste as new layer.
K key on the keyboard to activate your Pick Tool 
Set Position X: 0,00 and keep Position Y: 0,00.

Keep the Blend Mode of this layer to Luminance (legacy).
17. Activate your top layer.
Open Decor03_byRobertaMaver 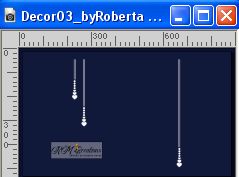
Erase the watermark and go to Edit>Copy.
Go back to your work and go to Edit>Paste as new layer.
Pick Tool 
Set Position X: 411,00 and Position Y: -5,00

Adjust>Sharpness>Sharpen.
Effects>3D Effects>Drop Shadow, foreground color #13193b.
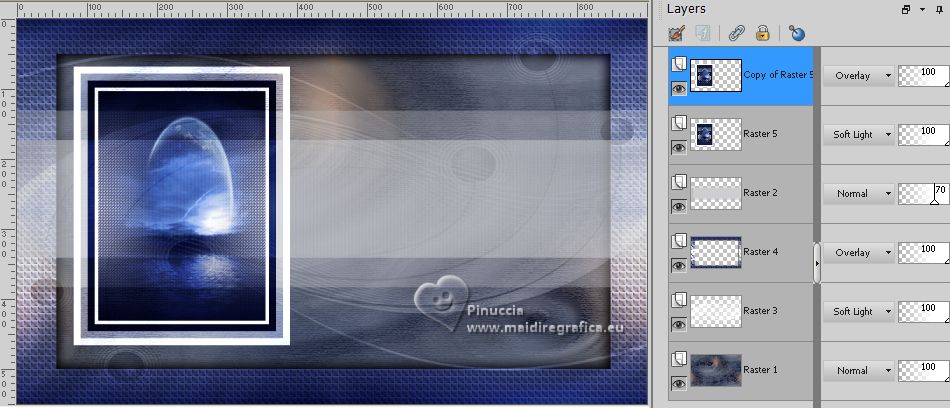
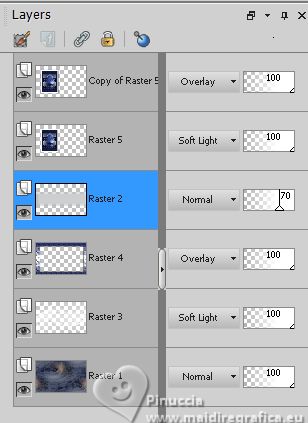
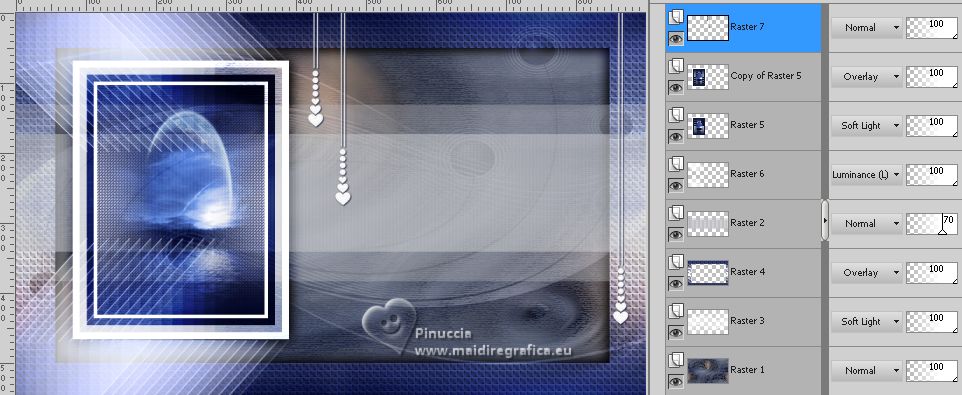
Your tag and the layers
18. Image>Add borders, 1 pixel, symmetric, foreground color #13193b.
Image>Add borders, 10 pixels, symmetric, background color #b4b5b9.
Image>Add borders, 1 pixel, symmetric, foreground color #13193b.
Image>Add borders, 30 pixels, symmetric, color white #ffffff.
Image>Add borders, 1 pixel, symmetric, foreground color #13193b.
Image>Add borders, 10 pixels, symmetric, background color #b4b5b9.
19. Open Decor04_byRobertaMaver 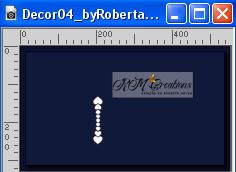
Erase the watermark and go to Edit>Copy.
Go back to your work and go to Edit>Paste as new layer.
Pick Tool 
and set Position X: 70,00 and Position Y: 246,00.

Effects>3D Effects>Drop Shadow, foreground color #13193b

20. Activate again your main tube Liza tube 268psp 
Edit>Copy.
Go back to your work and go to Edit>Paste as new layer.
Image>Resize, if necessary, if you use the supplied tube to 90%, resize all layers not checked.
Move  the tube to the right. the tube to the right.
Effects>3D Effects>Drop Shadow, at your choice.
21. Open TituloLonelybyRoberta 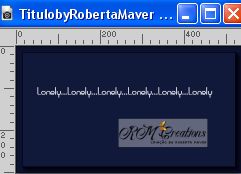
Erase the watermark and go to Edit>Copy.
Go back to your work and go to Edit>Paste as New Layer.
Image>Negative Image.
Pick Tool 
and set Position X: 90,00 and Position Y: 14,00.

22. Image>Add borders, 1 pixel, symmetric, foreground color #13193b.
23. If you want, Image>Resize, resize all layers checked.
Sign your work and save as jpg.
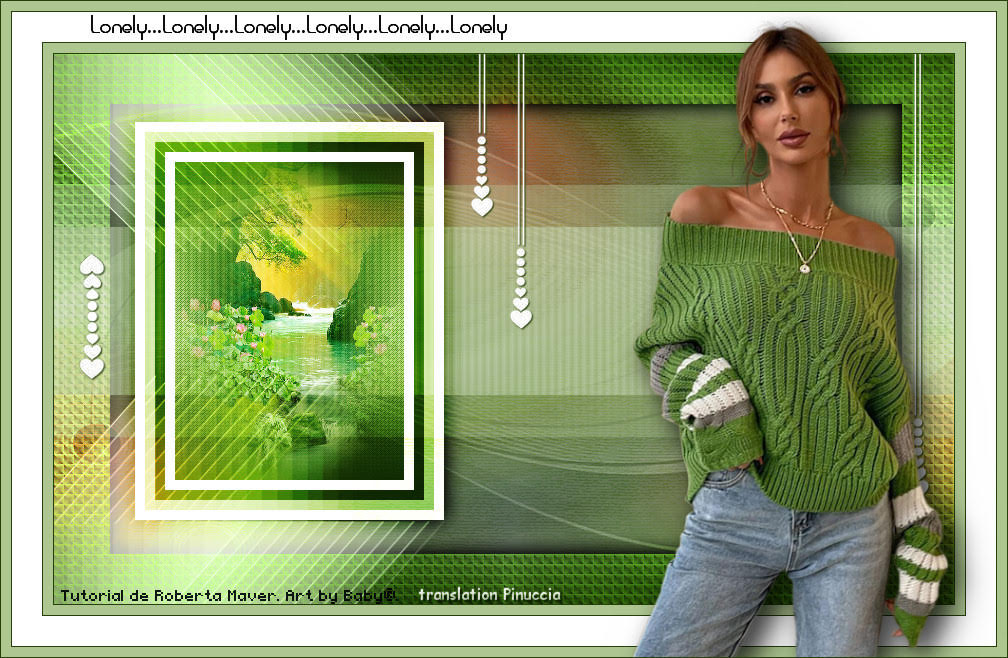
For the tubes of this version thanks Jeanne and Jewel.


Your versions. Thanks
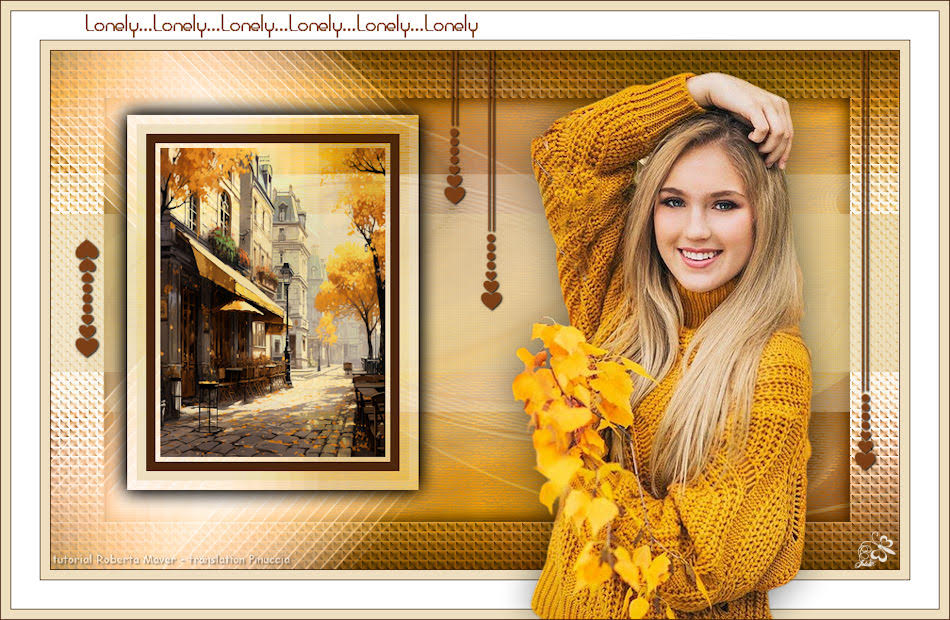
Jolcsi
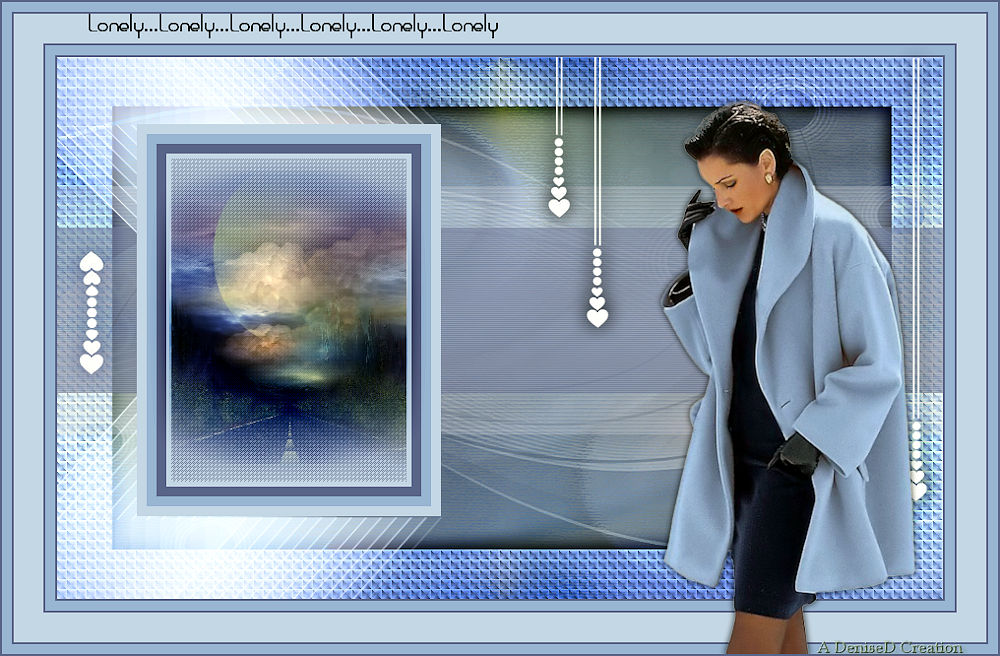
Denise
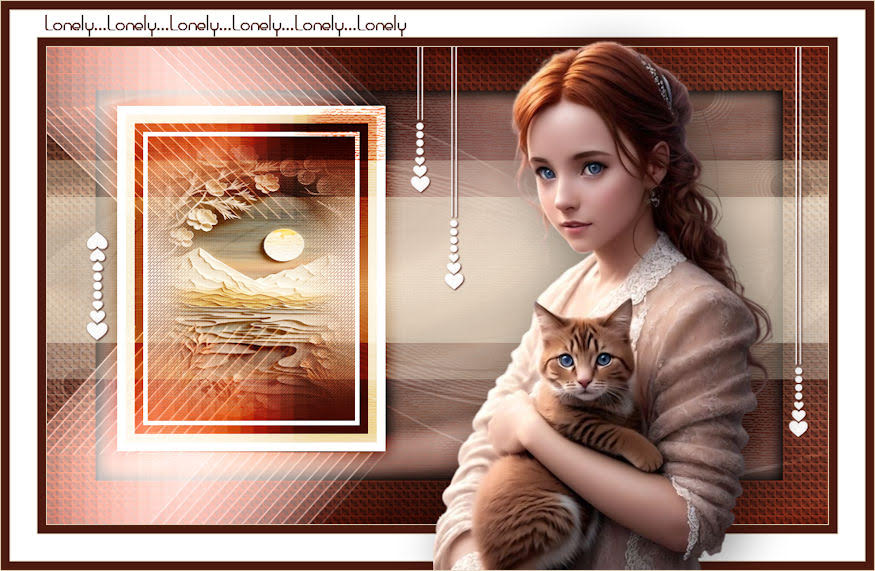
Di@ne
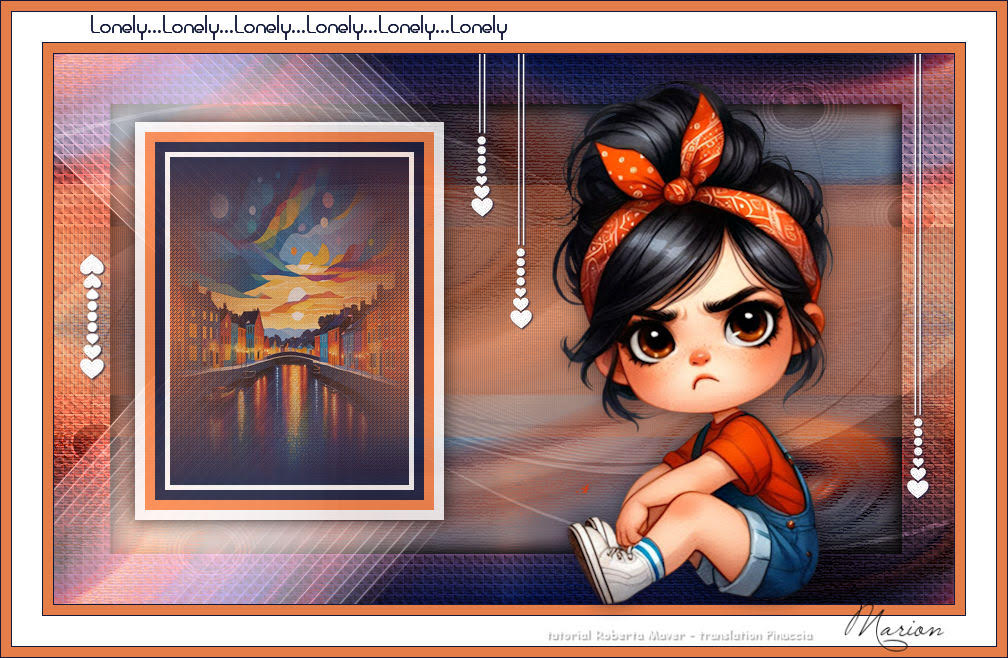
Marion

Di@ne
Baby
Baby


If you have problems or doubts, or you find a not worked link, or only for tell me that you enjoyed this tutorial, write to me.
27 August 2023

|

