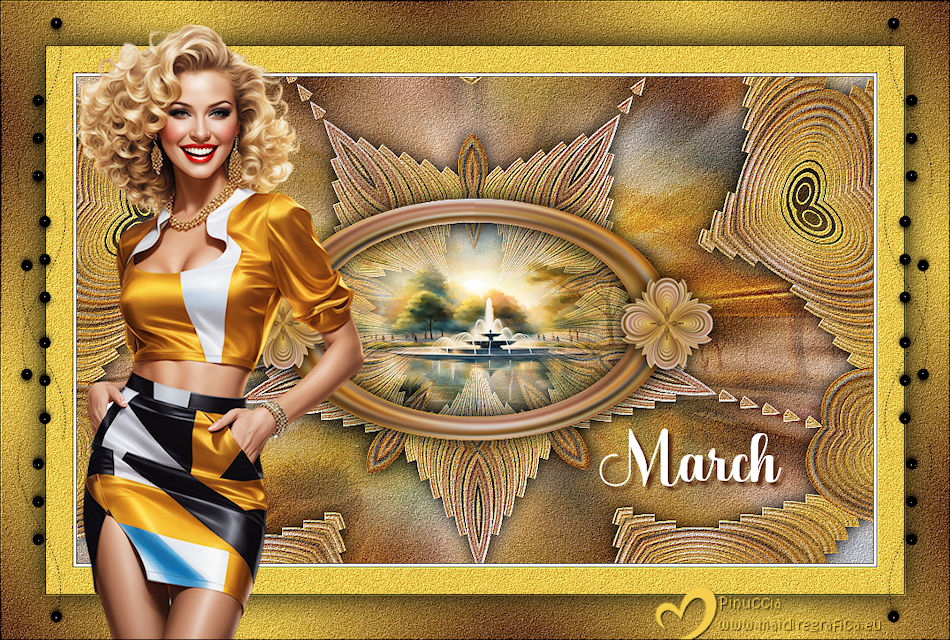
|
MARCH


Thanks SIM PSP Group for your invitation to translate your tutorials into english


|
Special Note
PSP SIM and its Tutorial Authors ask the public:
. Please, we request that we maintain the originality of the tutorial,
refraining from adding or including unsolicited effects;
. The use of other images is permitted and encouraged,
but please don't modify the content of the original tutorial;
. Please acknowledge and attribute the valuable credits to those who write tutorials,
make translation and create materials.
Carefully,
PSP SIM and Roberta Maver
|
This tutorial was written with Psp2022 and translated with Psp2020, but it can also be made using other versions of PSP.
Since version PSP X4, Image>Mirror was replaced with Image>Flip Horizontal,
and Image>Flip with Image>Flip Vertical, there are some variables.
In versions X5 and X6, the functions have been improved by making available the Objects menu.
In the latest version X7 command Image>Mirror and Image>Flip returned, but with new differences.
See my schedule here
For this tutorial, you will need:

(The links of the tubemakers here).
Plugins
consult, if necessary, my filter section here
FM Tile Tools - Blend Emboss here
Mura's Meister - Copies here
Flaming Pear - Flexify 2 here

You can change Blend Modes according to your colors.

Copy the preset Emboss 3 in the Presets Folder.
1. Choose 2 colors for your work.
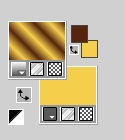
Set your foreground color to #55270f,
and your background color to #f5ce4d.
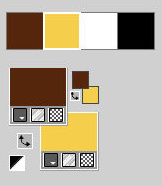
extra colors: #ffffff and #000000.
Set your foreground color to a Foreground/Background Gradient, style Linear.
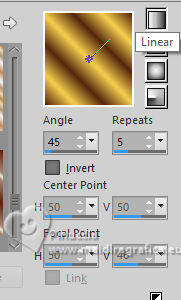
2. Open a new transparent image 900 x 550 pixels.
Flood Fill  the transparent image with your Gradient. the transparent image with your Gradient.
3. Selections>Select All.
Open your main tube Tube70_byRobertaMaver 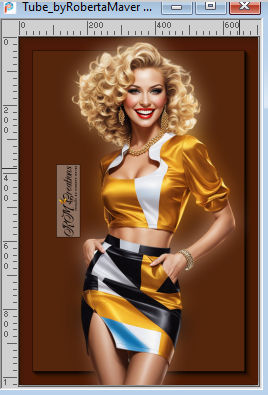
Edit>Copy.
Go back to your work and go to Edit>Paste Into Selection.
Selections>Select None.
4. Effects>Image Effects>Seamless Tiling, default settings.

5. Layers>Duplicate.
Close this layer (Copy of Raster 1),
and activate the layer below of the original, Raster 1.
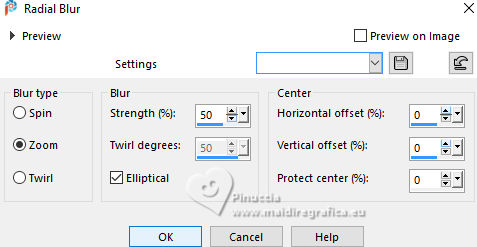
Adjust>Blur>Radial Blur
6. Effects>User Defined Filter - select the preset Emboss 3

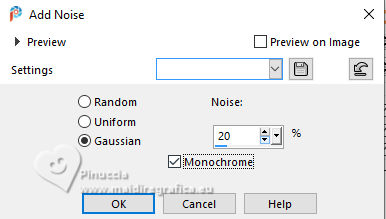
7. Adjust>Add/Remove Noise>Add Noise.
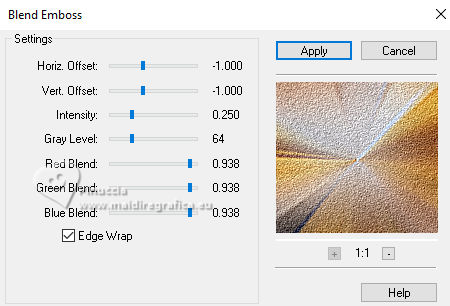
8.Effects>Plugins>FM Tile Tools - Blend Emboss, default settings.
9. Open and activate your top layer, Copy of Raster 1.
Adjust>Blur>Gaussian Blur - radius 30

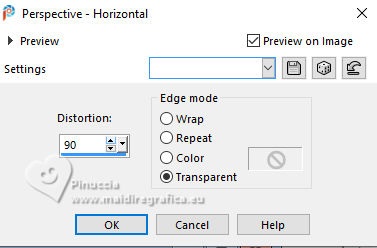
10. Effects>Geometric Effects>Perspective horizontal
Image>Mirror>Mirror Horizontal.
Effects>Geometric Effects>Perspective horizontal.
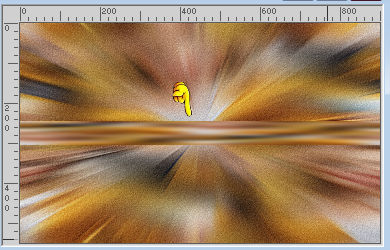
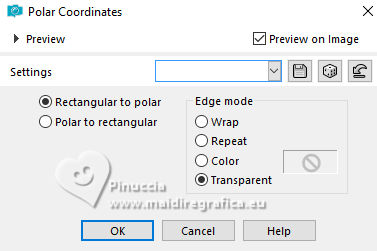
11. Effects>Distortion Effects>Polar Coordinates.
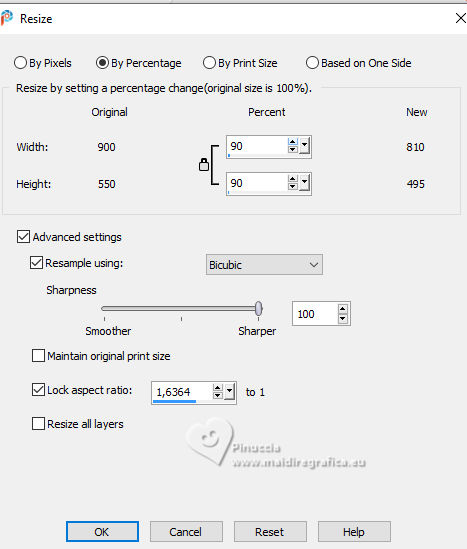
12. Image>Resize, to 90%, resize all layers not checked.
13. Adjust>Sharpness>Sharpen.
Layers>Duplicate.
Close this layer Copy (2) of Raster 1.
14. Activate the layer Copy of Raster 1.
Effects>Plugins>Mura's Meister - Copies.
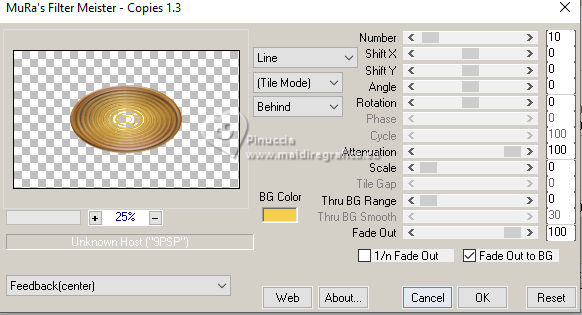
15. Effects>Image Effects>Seamless Tiling, default settings.

16. Effects>Plugins>Mura's Meister - Copies.
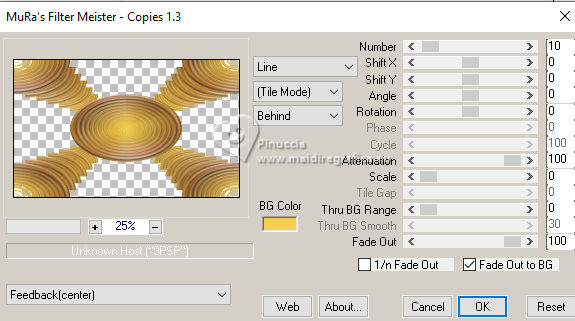
17. Open and activate the layer Copy (2) of Raster 1.
Activate your Magic Wand Tool  , tolerance and feather 0, , tolerance and feather 0,
click in the center of the circle to select it.
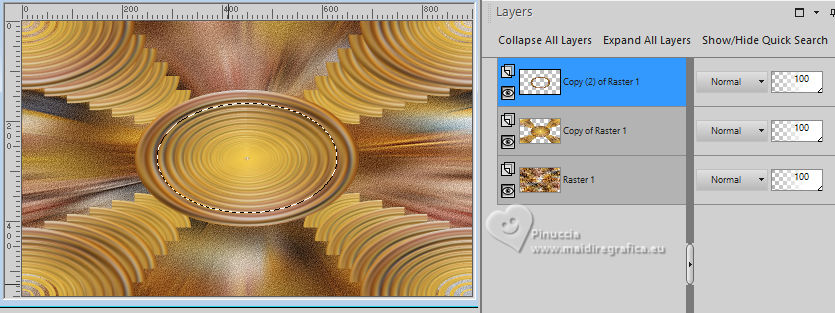
Selections>Modify>Expand - 10 pixels.
Layers>New Raster Layer.
18. Open the misted Paisagem_byRobertaMaver 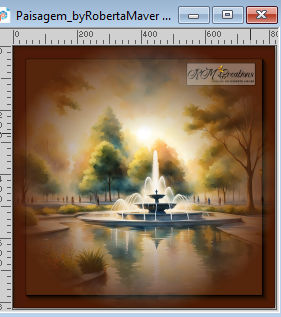
Edit>Copy.
Go back to your work and go to Edit>Paste Into Selection.
Layers>Arrange>Move Down.
Adjust>Sharpness>Sharpen.
Selections>Select None.
19. Activate your top layer Copy (2) of Raster 1.
Effects>3D Effects>Drop Shadow, color #000000.

Layers>Merge>Merge Down.
20. Activate the layer Copy of Raster 1.
Layers>Duplicate.
Layers>Arrange>Bring to Top.
21. Effects>Plugins>Flaming Pear - Flexify 2
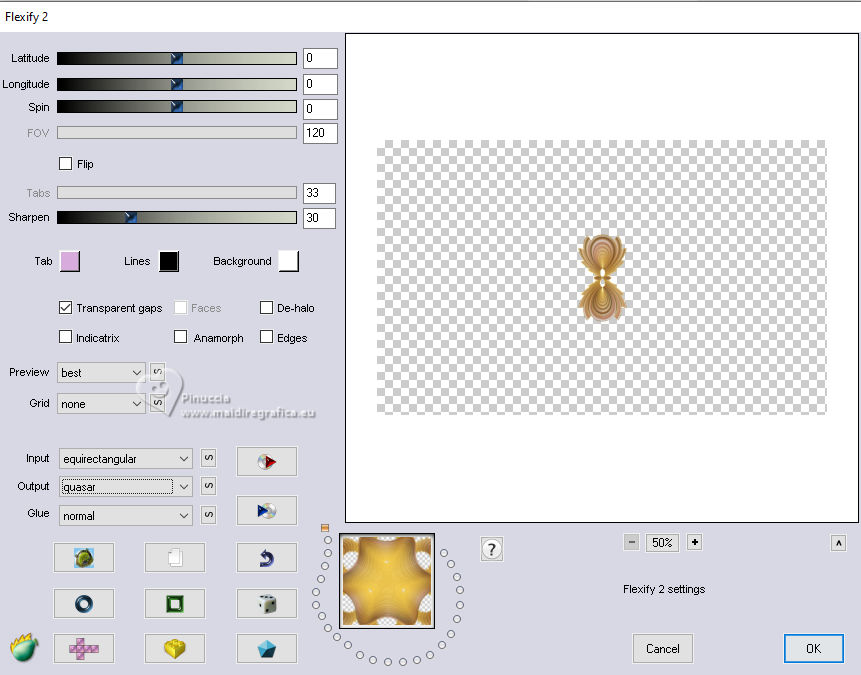
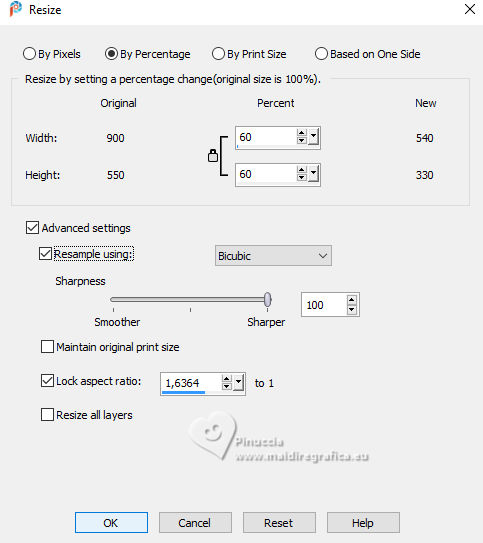
22. Image>Resize, to 60%, resize all layers not checked.
23. Activate your Pick Tool 
Position X: 65,00 - Position Y: 226,00.

Layers>Duplicate.
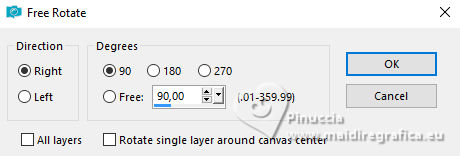
Image>Free Rotate - 90 degrees to right.
Layers>Merge>Merge Down.
Pick Tool 
Position X: 180,00 - Position Y: 226,00.

25. Layers>Duplicate.
Image>Mirror>Mirror Horizontal.
Layers>Merge>Merge Down.
Effects>3D Effects>Drop Shadow, color #000000.

25. Activate the layer Copy of Raster 1.
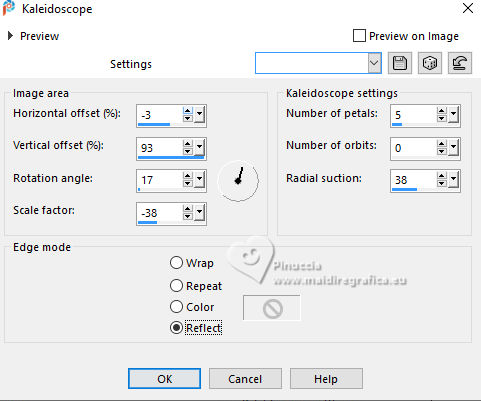
Effects>Reflections Effects>Kaleidoscope.
26. Adjust>Sharpness>Sharpen.
Adjust>Add/Remove Noise>Add Noise

27. Effects>Plugins>FM Tile Tools - Blend Emboss, default settings.

28. Effects>3D Effects>Drop Shadow, color #00000.

Activate the layer Raster 1.
Layers>New Raster Layer.
Selections>Select All.
29. Activate again the misted and go to Edit>Copy.
Go back to your work and go to Edit>Paste Into Selection.
Adjust>Sharpness>Sharpen.
Selections>Select None.
Layers>Properties>General>Blend Mode: Hard Light - Opacity: 45%
30. Image>Add borders, 1 pixel, symmetric, color black #000000.
Image>Add borders, 3 pixels, symmetric, color white #ffffff.
Image>Add borders, 1 pixel, symmetric, color black #000000.
31. Selezione>Select All.
Image>Add borders, 30 pixels, symmetric, background color #f5ce4d.
Selections>Invert.
Adjust>Add/Remove Noise>Add Noise

32. Effects>Plugins>FM Tile Tools - Blend Emboss, default settings.

Selections>Select None.
33. Image>Add Borders, 1 pixel, symmetric, color black #000000.
34. Selections>Select All.
Image>Add Borders, 50 pixels, symmetric, whatever color.
Flood Fill  the selection with your Gradient. the selection with your Gradient.
35. Adjust>Blur>Gaussian Blur - radius 30.

Adjust>Add/Remove Noise>Add Noise

Effects>Plugins>FM Tile Tools - Blend Emboss, default settings.

Selections>Invert.
Effects>3D Effects>Drop Shadow, color #00000.

Selections>Select None.
36. Open Decor01_byRobertaMaver 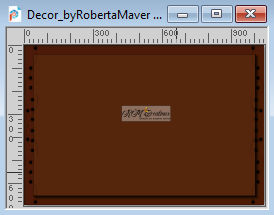
Edit>Copy.
Go back to your work and go to Edit>Paste as New Layer.
37. Activate again your main tube Tube70_byRobertaMaver and go to Edit>Copy.
Go back to your work and go to Edit>Paste as New Layer.
Image>Resize, if necessary - for the supplied tube to 70%, resize all layers not checked.
Move  the tube to the left side. the tube to the left side.
Effects>3D Effects>Drop Shadow, at your choice.
38. Open Titulo_byRobertaMaver 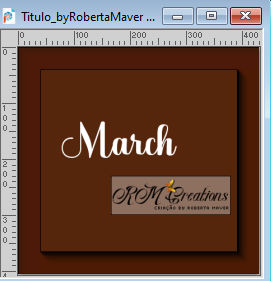
Edit>Copy.
Go back to your work and go to Edit>Paste as New Layer.
Move  the tube to the right side. the tube to the right side.
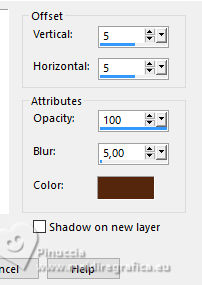
Effects>3D Effects>Drop Shadow, foreground color #55270f.
39. Image>Add Borders, 1 pixel, symmetric, color black #000000.
40. Image>Resize, if you want.
Sign your work and save as jpg.
For the tubes of this version thanks Kamil
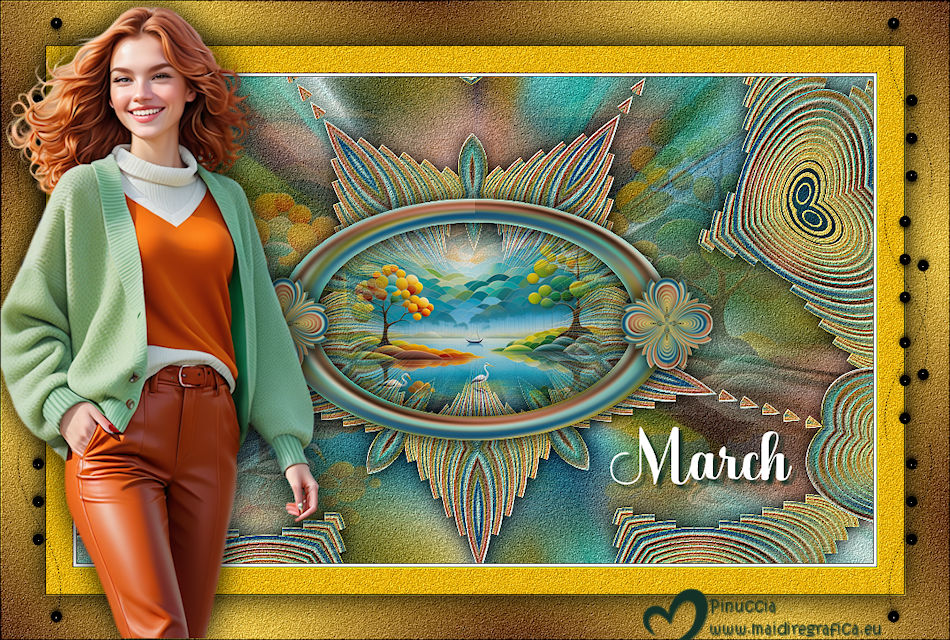

 Your versions. Thanks Your versions. Thanks
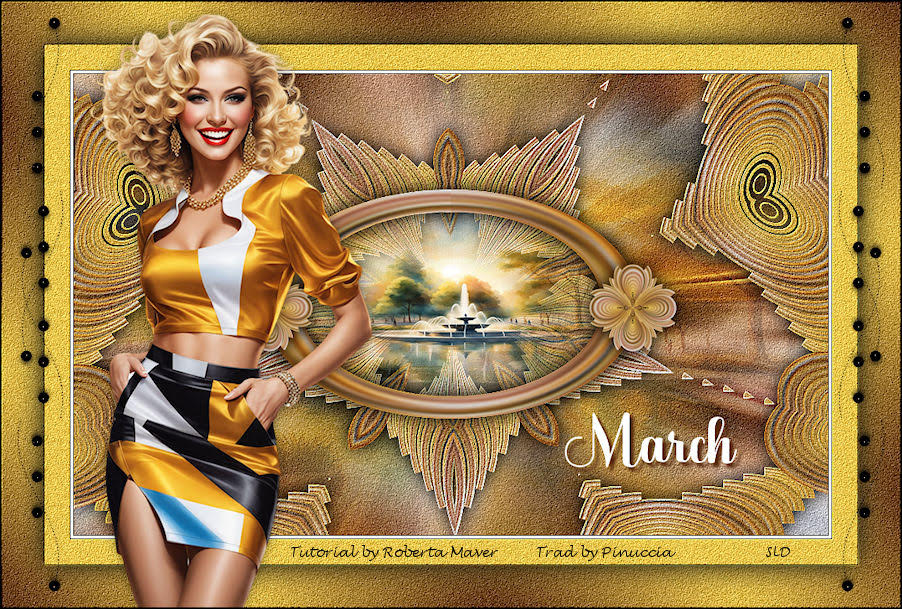
Sue
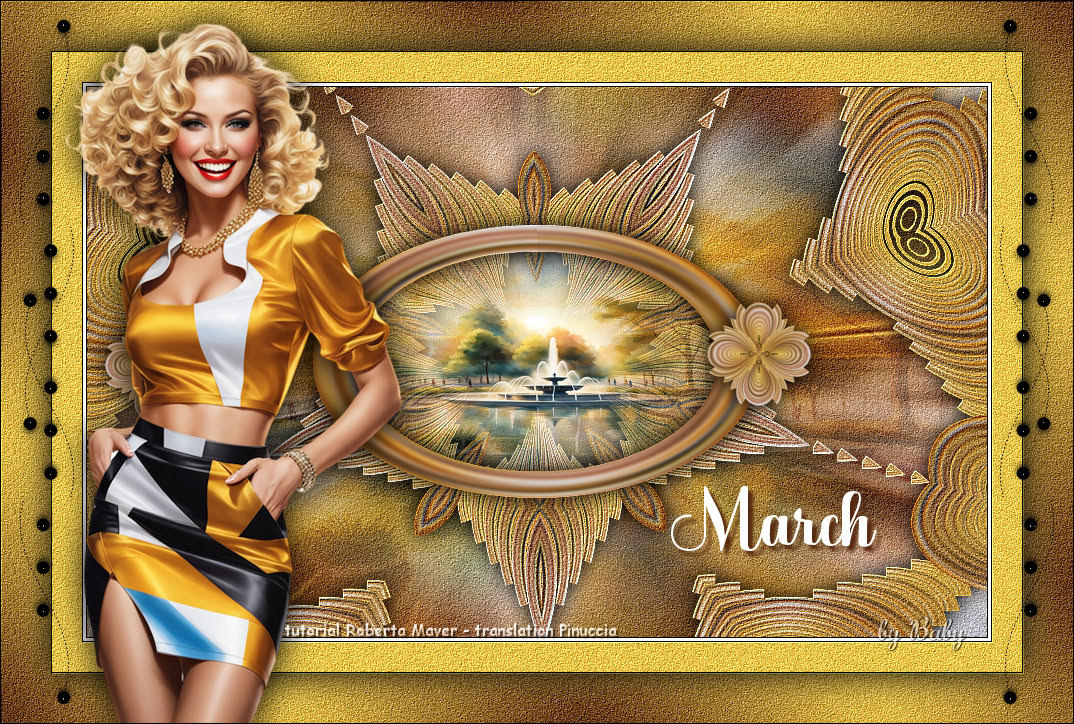
Baby
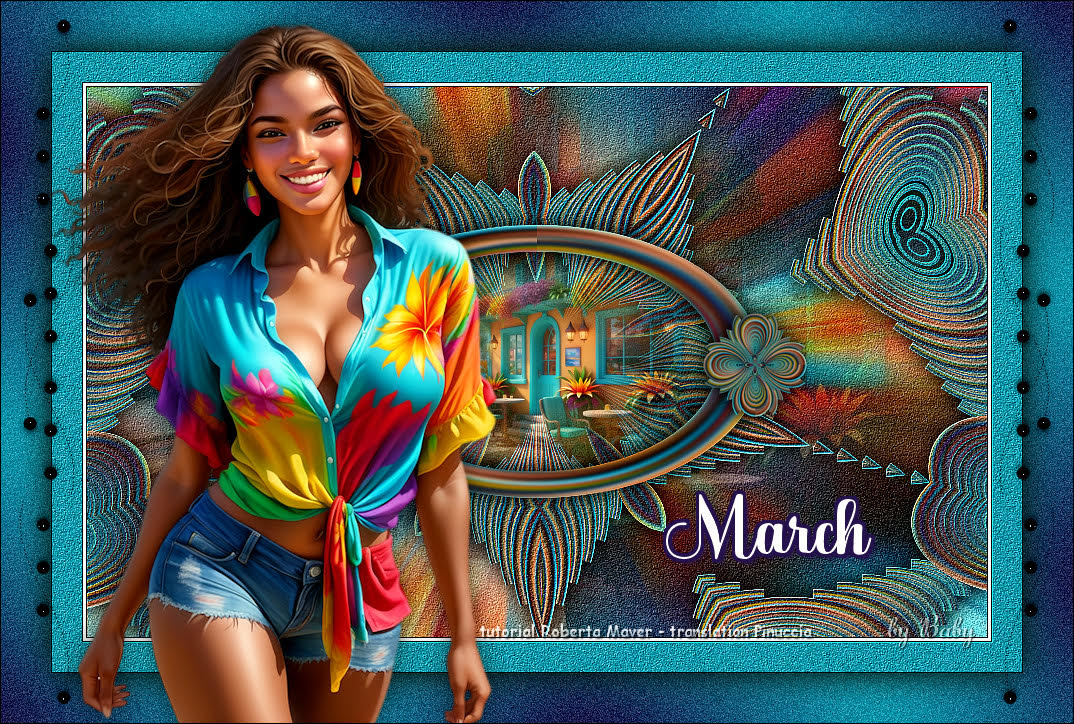
Baby
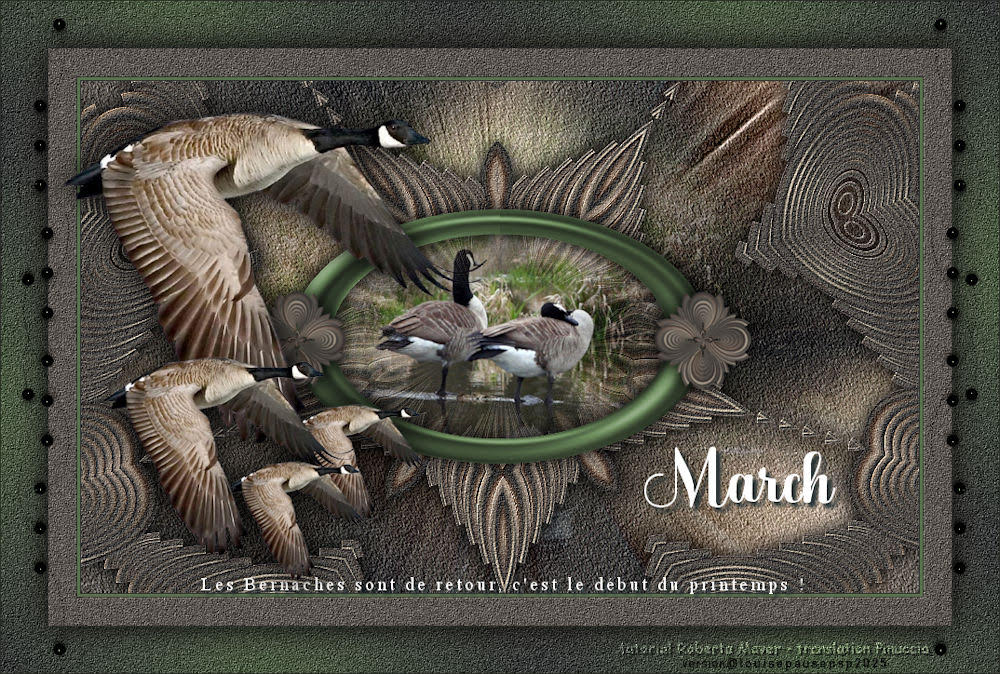
Louise
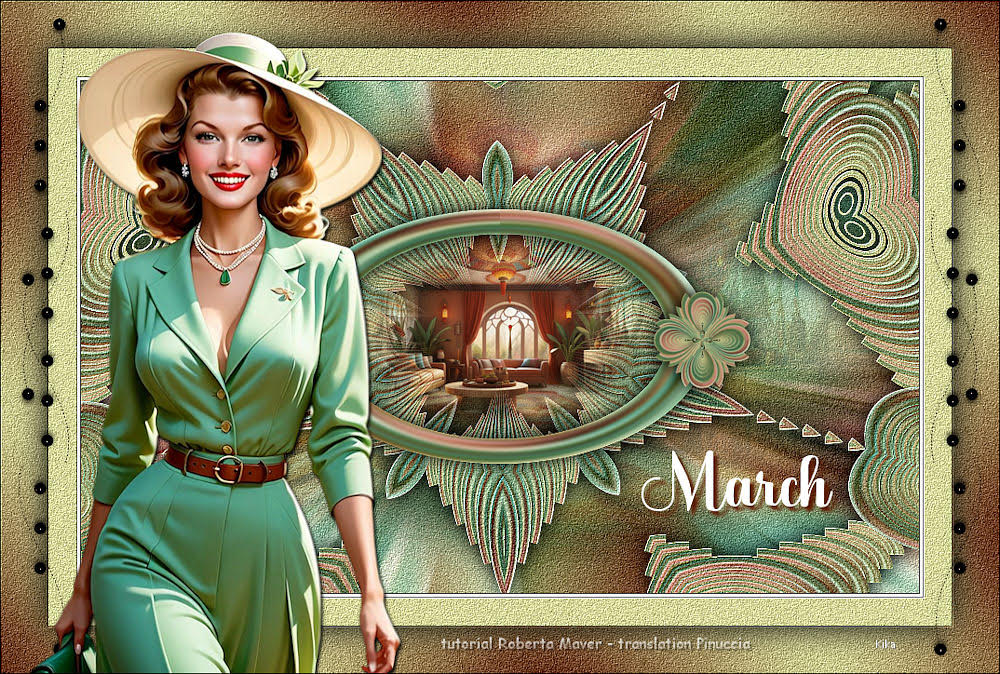
Kika
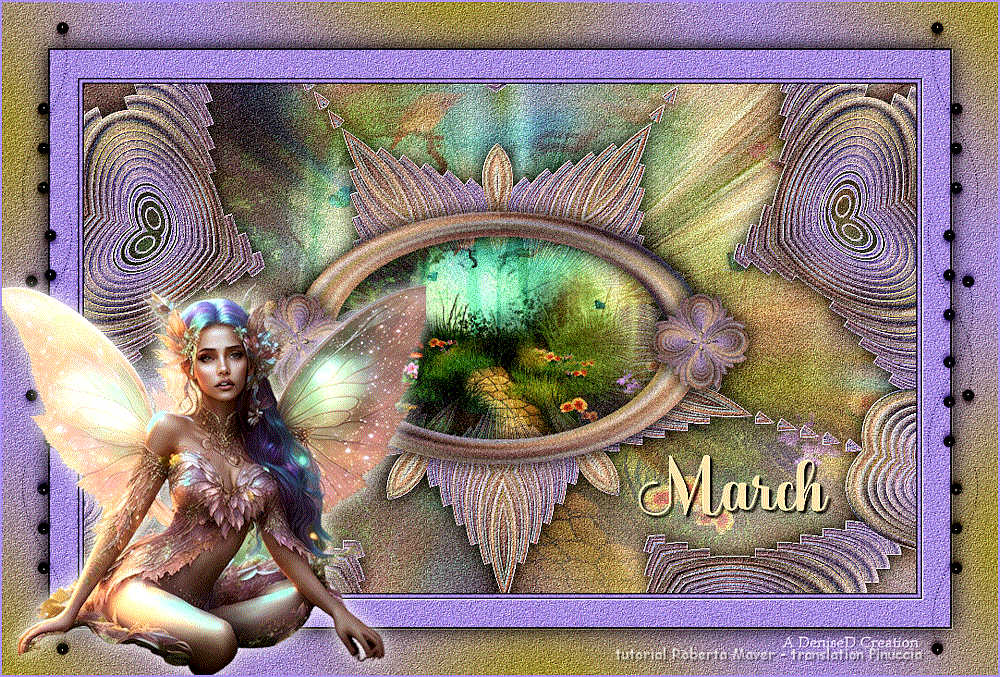
DeniseD

Kamelius


If you have problems or doubts, or you find a not worked link, or only for tell me that you enjoyed this tutorial, write to me.
26 February 2024

|

