|
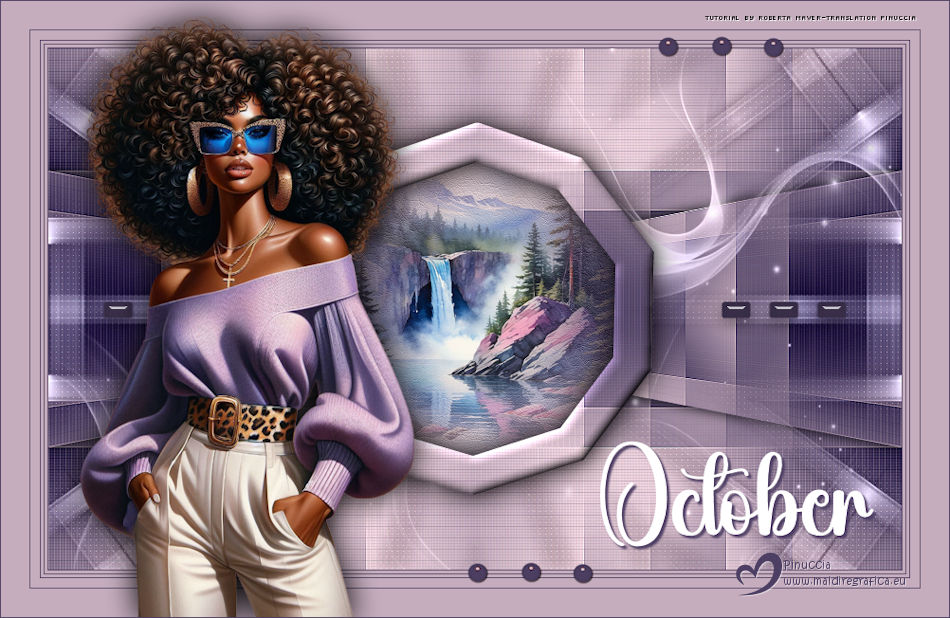
OCTOBER


Thanks SIM PSP Group for your invitation to translate your tutorials into english


|
Special Note
PSP SIM and its Tutorial Authors ask the public:
. Please, we request that we maintain the originality of the tutorial,
refraining from adding or including unsolicited effects;
. The use of other images is permitted and encouraged,
but please don't modify the content of the original tutorial;
. Please acknowledge and attribute the valuable credits to those who write tutorials,
make translation and create materials.
Carefully,
PSP SIM and Roberta Maver
|
This tutorial was written with Psp2022 and translated with Psp2020, but it can also be made using other versions of PSP.
Since version PSP X4, Image>Mirror was replaced with Image>Flip Horizontal,
and Image>Flip with Image>Flip Vertical, there are some variables.
In versions X5 and X6, the functions have been improved by making available the Objects menu.
In the latest version X7 command Image>Mirror and Image>Flip returned, but with new differences.
See my schedule here
For this tutorial, you will need:

Material by Roberta Maver.
(The links of the tubemakers here).
Plugins
consult, if necessary, my filter section here
Filters Unlimited 2.0 here
&<Bkg Designer sf10I> - Cruncher (to import in Unlimited) here
Simple - Top Left Mirror here
Mehdi - Sorting Tiles here
Carolaine and Sensibility - CS_LDots here
Andrew's Filter 51 - Straight Lines 234 here
Filters Simple and Andrew's can be used alone or imported into Filters Unlimited.
(How do, you see here)
If a plugin supplied appears with this icon  it must necessarily be imported into Unlimited it must necessarily be imported into Unlimited

You can change Blend Modes according to your colors.
In the newest versions of PSP, you don't find the foreground/background gradient (Corel_06_029).
You can use the gradients of the older versions.
The Gradient of CorelX here

1. Choose 2 colors for your work.
Set your foreground color to #4d3f63,
and your background color to #c5adbe.
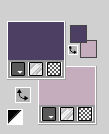
Set your foreground color to a Foreground/Background Gradient, style Linear.
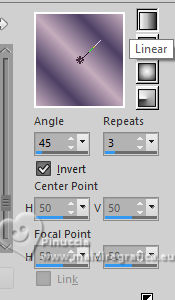
2. Open a new transparent image 900 x 550 pixels.
Flood Fill  the transparent image with your Gradient. the transparent image with your Gradient.
3. Effects>Plugins>Mehdi - Sorting Tiles
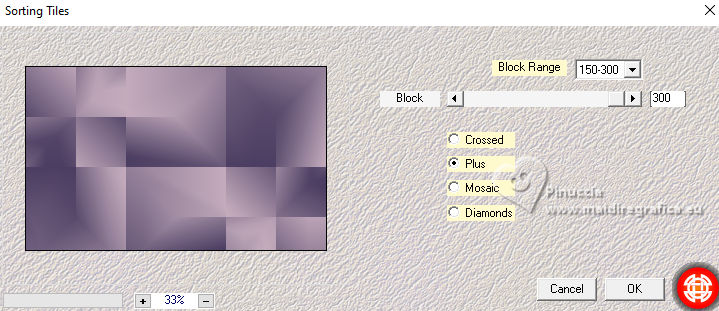
4. Effects>Plugins>Filters Unlimited 2.0 - &<Bkg Designer sf10I> - Cruncher
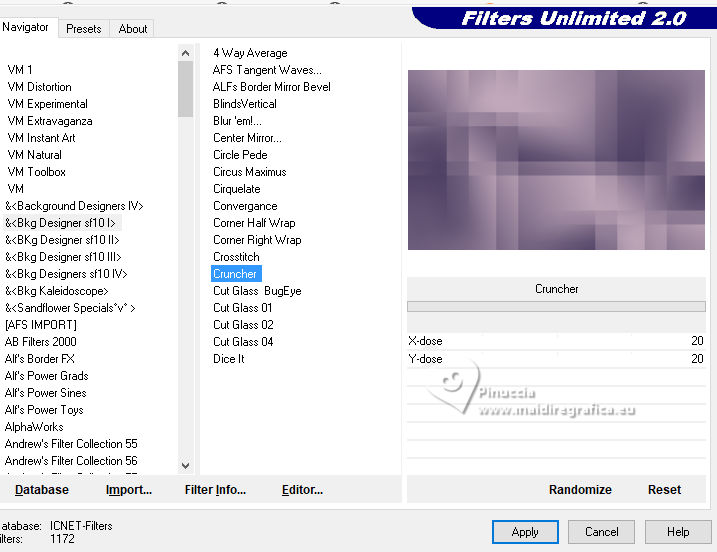
5. Effects>Edge Effects>Enhance.
Effects>Plugin>Simple - Top Left Mirror
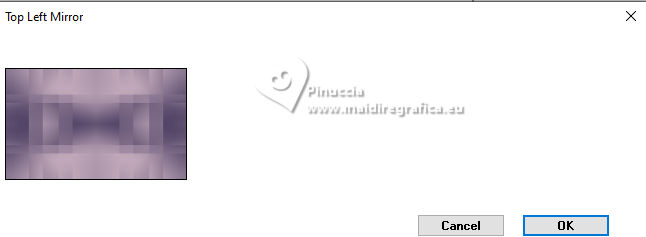
6. Effects>Plugins>Filters Unlimited 2.0 - Andrew's Filters 51 - Straight Lines 234, default settings.
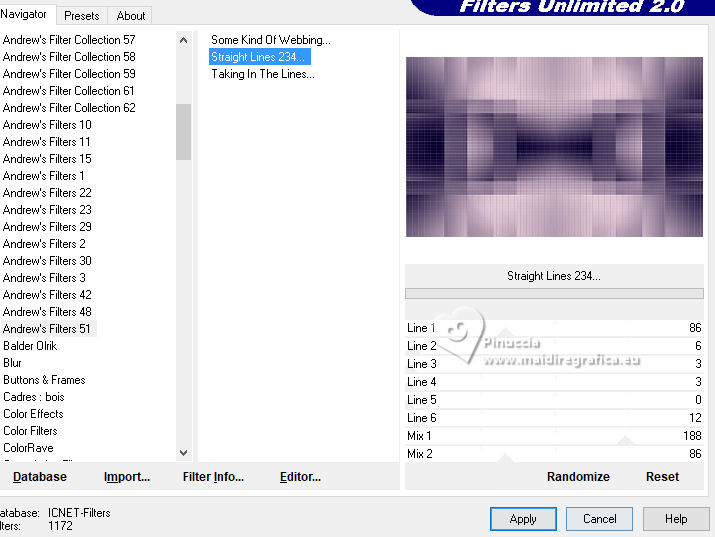
7. Activate your Selection Tool 
(no matter the type of selection, because with the custom selection your always get a rectangle)
clic on the Custom Selection 
and set the following settings.
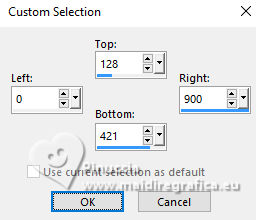
Selections>Promote Selection to layer.
Selections>Select None.
8. Effects>Geometric Effects>Perspective horizontal
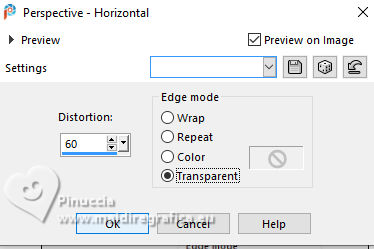
With the Pick Tool activate 
pull from the right to the center, up to a scale of 450 pixels.
Place a vertical guide line as a guide...
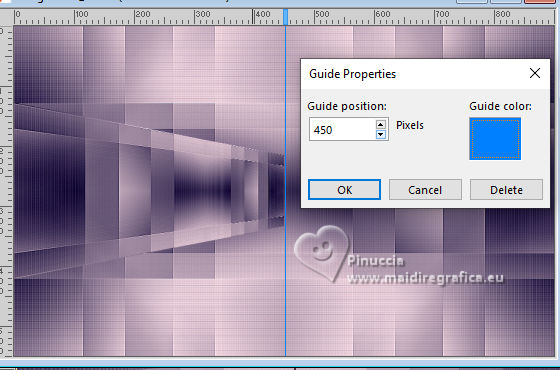
or Activate your Pick Tool 
pull the central right node to the left, until 450 pixels
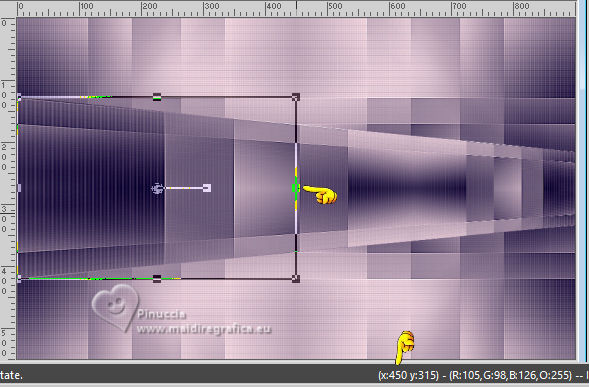
9. Layers>Duplicate.
Image>Mirror>Mirror Horizontal.
Layers>Merge>Merge Down.
Effects>3D Effects>Drop Shadow, color black #000000

10. Activate the layer Raster 1.
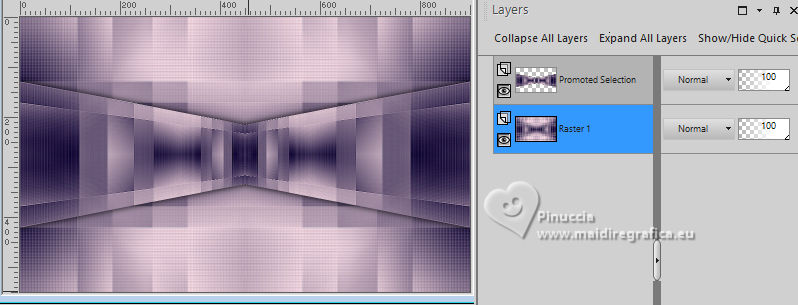
Selections>Load/Save Selections>Load Selection From Disk
Look for and load the selection Octuber_byRoberta
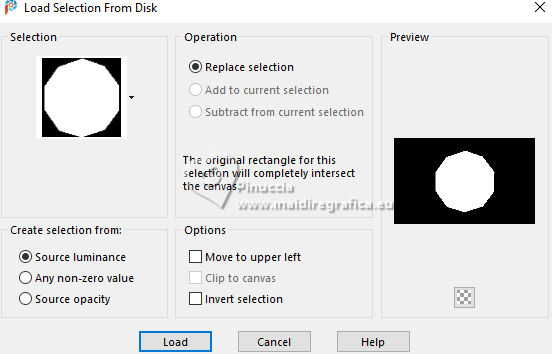
Selections>Promoted Selection to layer.
Layers>Arrange>Bring to Top.
Keep selected.
11. Layers>Duplicate.
Selections>Modify>Contract - 40 pixels.
Press CANC on the keyboard 
Selections>Select None.
12. Effects>3D Effects>Inner Bevel.
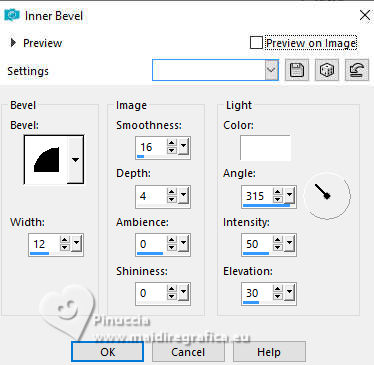
13. Activate the layer Promoted Selection 1
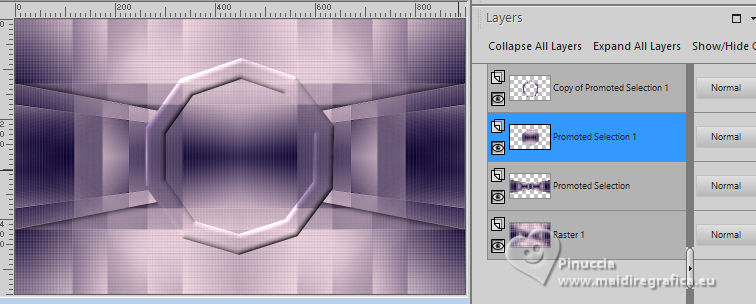
Selections>Select All.
Selections>Float.
Selections>Defloat.
Selections>Modify>Contract - 33 pixels.
14. Adjust>Blur>Gaussian Blur - radius 20.

Effects>Texture Effects>Fine Leather.
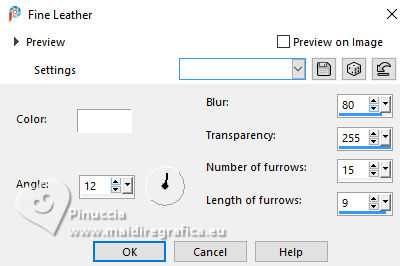
15. Open the misted TubeMist_byRobertaMaver 
Edit>Copy.
Go back to your work and go to Edit>Paste into Selection.
Adjust>Sharpness>Sharpen.
Selections>Select None.
16. Open Decor01_byRobertaMaver 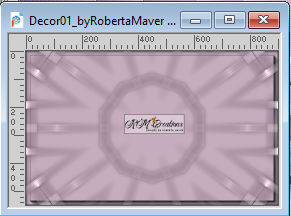
Edit>Copy.
Go back to your work and go to Edit>Paste as new Layer.
Layers>Properties>General>Blend Mode: Luminance (L)
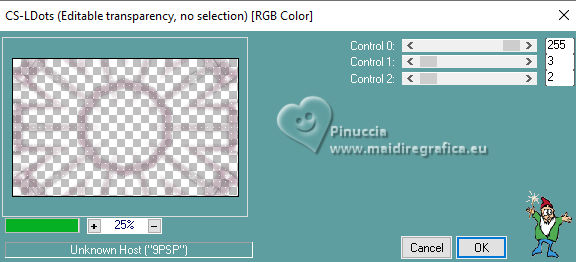
17. Effects>Plugins>Carolaine and Sensibility - CS-LDots
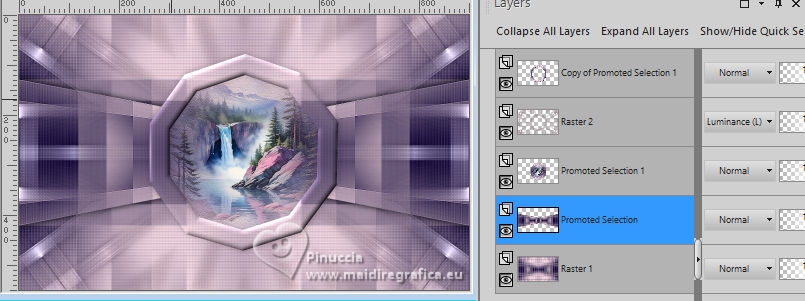
18. Activate the layer Promoted Selection
Open Decor02_byRobertaMaver 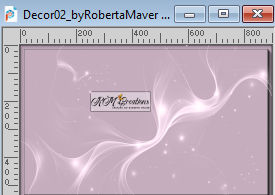
Edit>Copy.
Go back to your work and go to Edit>Paste as new Layer.
Layers>Properties>General>Blend Mode: Luminance (L)
19. Activate your top layer, Copy of Promoted Selection 1.
Effects>3D Effects>Drop Shadow, color black #000000.

20. Image>Add Borders, 1 pixel, symmetric, foreground color #4d3f63.
Image>Add Borders, 3 pixels, symmetric, background color #c5adbe.
Image>Add Borders, 1 pixel, symmetric, foreground color #4d3f63.
Image>Add Borders, 3 pixels, symmetric, background color #c5adbe.
Image>Add Borders, 1 pixel, symmetric, foreground color #4d3f63.
Image>Add Borders, 10 pixels, symmetric, background color #c5adbe.
Image>Add Borders, 1 pixel, symmetric, foreground color #4d3f63.
Image>Add Borders, 30 pixels, symmetric, background color #c5adbe.
21. Open Decor03_byRobertaMaver 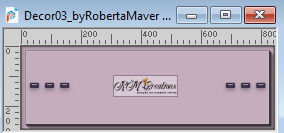
Edit>Copy.
Go back to your work and go to Edit>Paste as new Layer.
Pick Tool 
Position X: 92,00 - Position Y: 307,00.

22. Open Decor04_byRobertaMaver 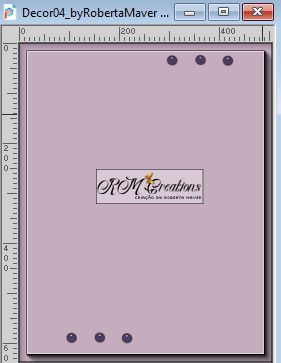
Edit>Copy.
Go back to your work and go to Edit>Paste as new Layer.
Pick Tool 
Position X: 492,00 - Position Y: 37,00.

23. Open your main tube tube principal 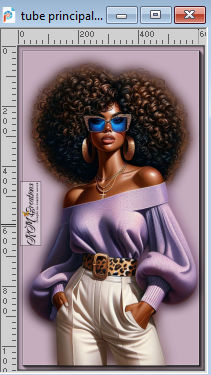
Edit>Copy.
Go back to your work and go to Edit>Paste as new Layer.
Image>Resize, if necessary, for the provided tube 63%, resize all layers not checked.
Move  the tube to the left. the tube to the left.
Effects>3D Effects>Drop shadow, at your choice.
24. Open Titulo_byRobertaMaver Open 
Edit>Copy.
Go back to your work and go to Edit>Paste as new Layer.
Effects>3D Effects>Drop Shadow, foreground color #4d3f63.
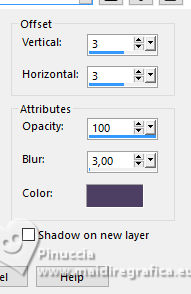
Place  the text to your liking. the text to your liking.
25. Image>Add Borders, 1 pixel, symmetric, foreground color #4d3f63.
26. Image>Resize, if you want.
Sign your work and save as jpg.
For the tubes of this version thanks Ketura
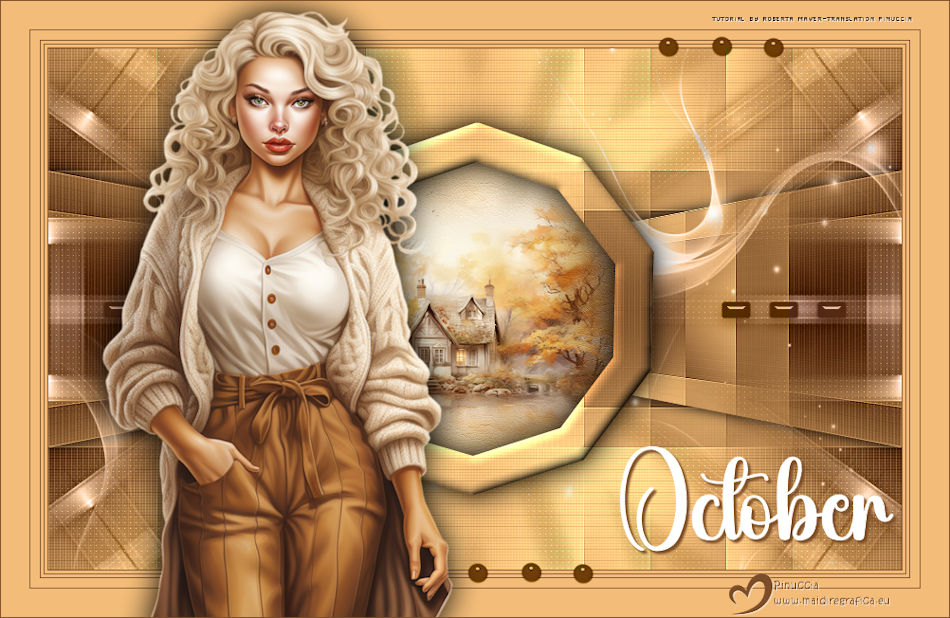

 Your versions. Thanks Your versions. Thanks
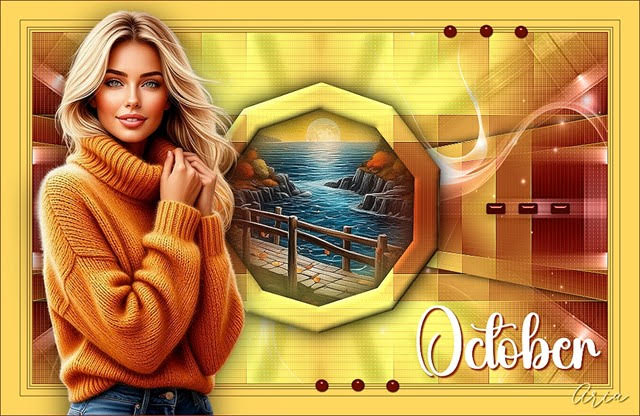
Aria
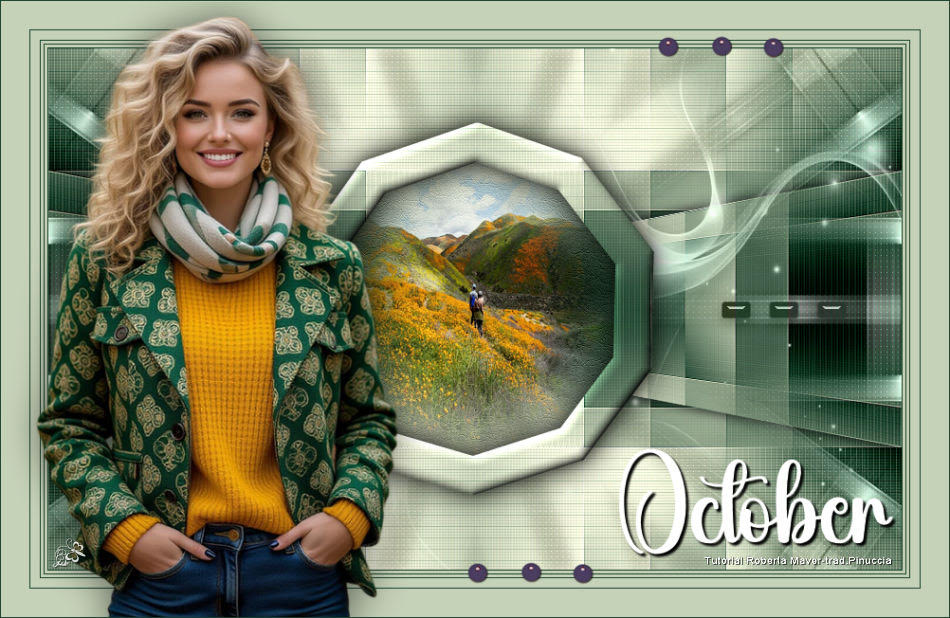
Jolcsi
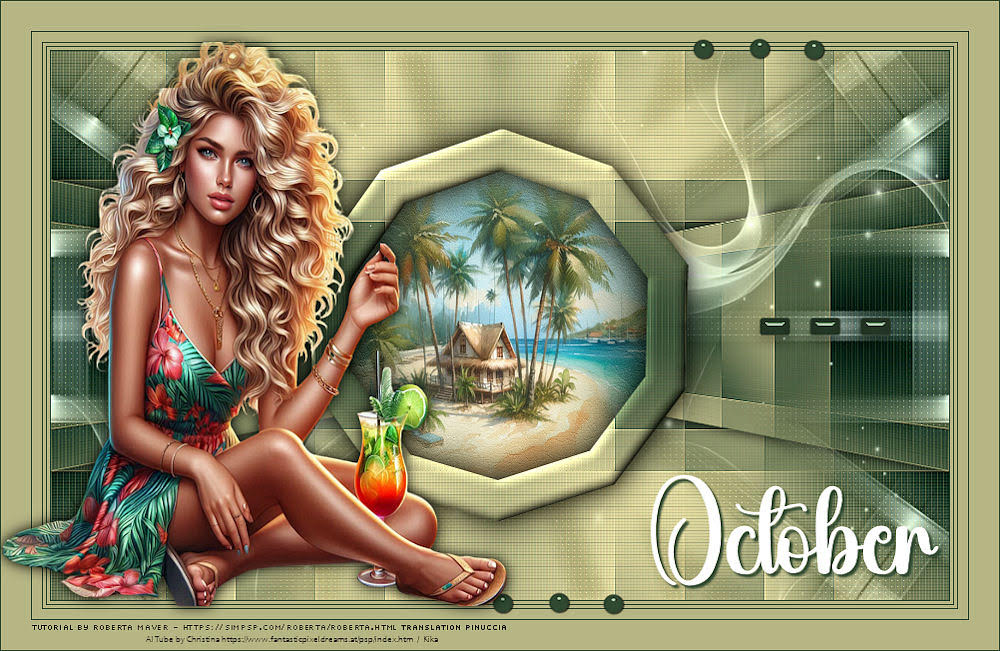
Kika
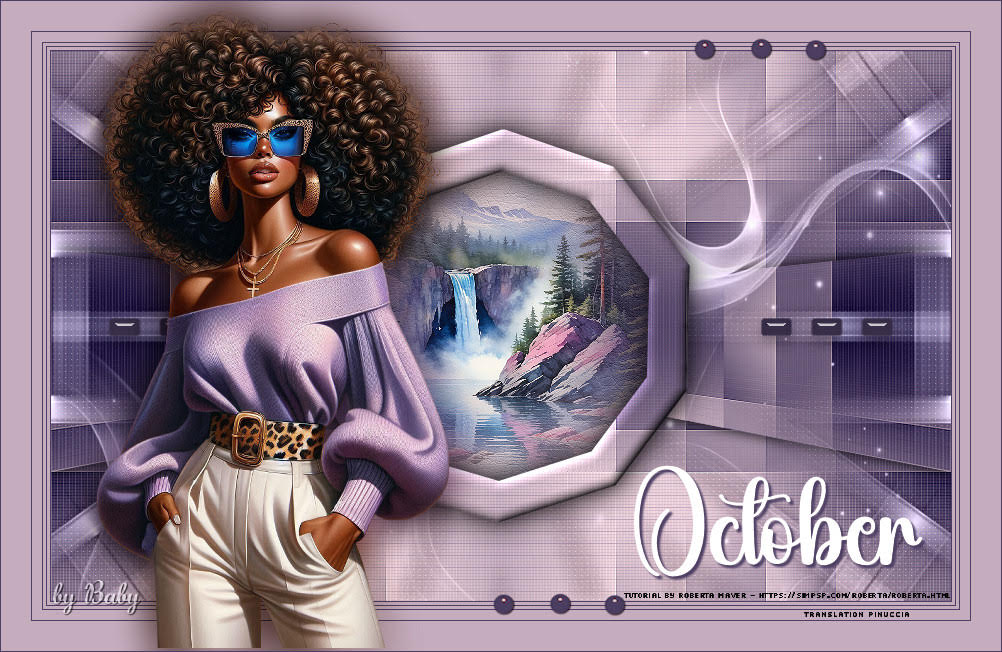
Baby
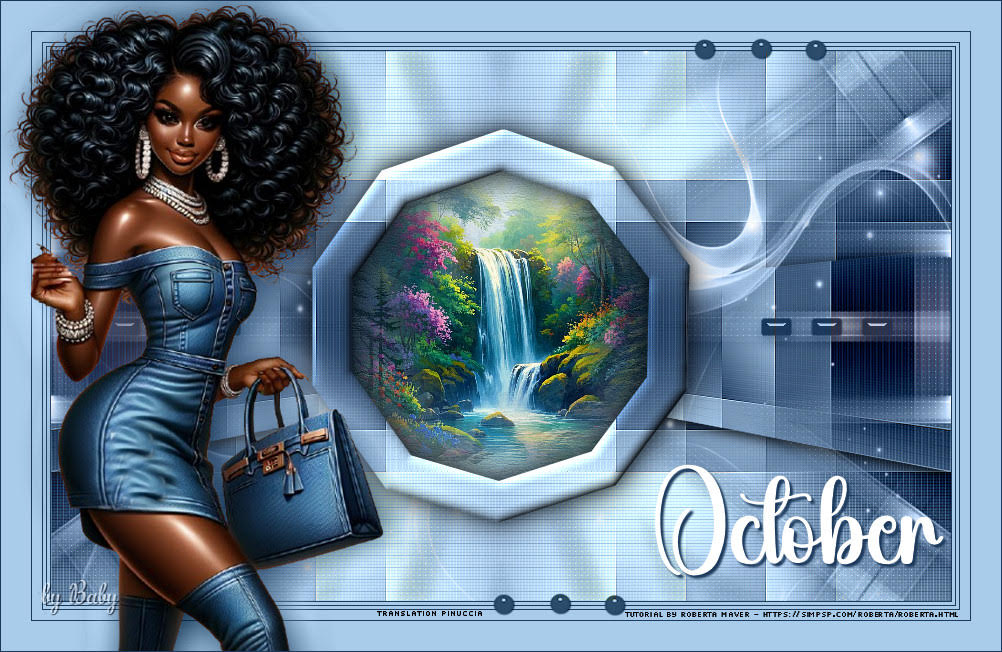
Baby
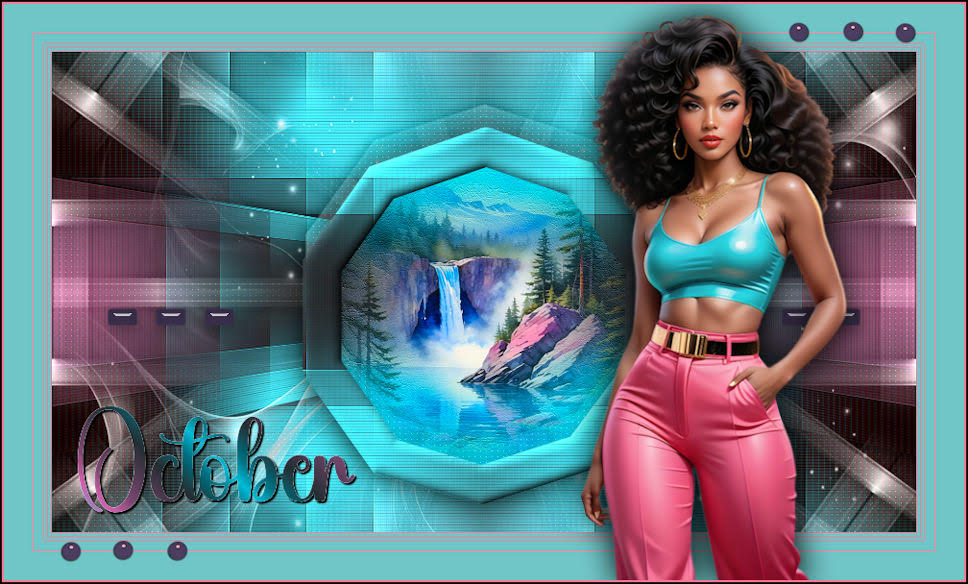
Lynnette


If you have problems or doubts, or you find a not worked link, or only for tell me that you enjoyed this tutorial, write to me.
24 September 2024

|

