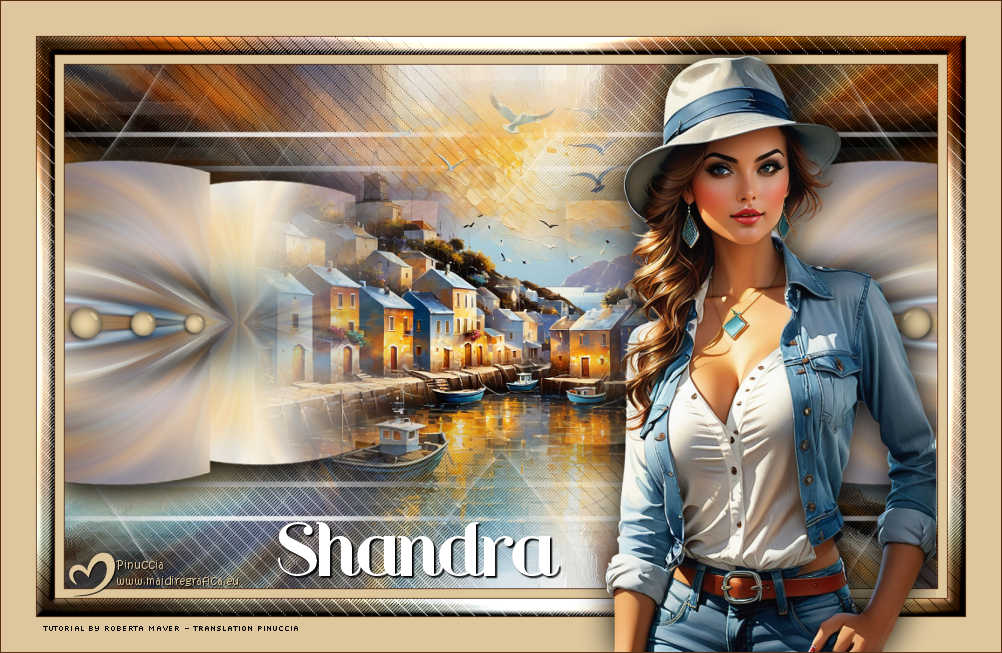
|
SHANDRA


Thanks SIM PSP Group for your invitation to translate your tutorials into english


|
Special Note
PSP SIM and its Tutorial Authors ask the public:
. Please, we request that we maintain the originality of the tutorial,
refraining from adding or including unsolicited effects;
. The use of other images is permitted and encouraged,
but please don't modify the content of the original tutorial;
. Please acknowledge and attribute the valuable credits to those who write tutorials,
make translation and create materials.
Carefully,
PSP SIM and Roberta Maver
|
This tutorial was written with Psp2022 and translated with Psp2020, but it can also be made using other versions of PSP.
Since version PSP X4, Image>Mirror was replaced with Image>Flip Horizontal,
and Image>Flip with Image>Flip Vertical, there are some variables.
In versions X5 and X6, the functions have been improved by making available the Objects menu.
In the latest version X7 command Image>Mirror and Image>Flip returned, but with new differences.
See my schedule here
For this tutorial, you will need:

Material by Roberta Maver.
(The links of the tubemakers here).
Plugins
consult, if necessary, my filter section here
Filters Unlimited 2.0 here
Plugins AB08 - WireMeshing Unlimited (to import in Unlimited) here
Andromeda - Perspective here
L&K's - L&K's Katharina here
Flaming Pear - Flexify 2 here

You can change Blend Modes according to your colors.
In the newest versions of PSP, you don't find the foreground/background gradient (Corel_06_029).
You can use the gradients of the older versions.
The Gradient of CorelX here

Copy the selection in the Selections Folder.
1. Choose 2 colors for your work.
Set your foreground color to #dec79c,
and your background color to #582e15.
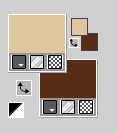
2. Open a new transparent image 1000 x 600 pixels.
Selections>Select All.
3. Open the landscape Paisagem84_ByRobertaMaver 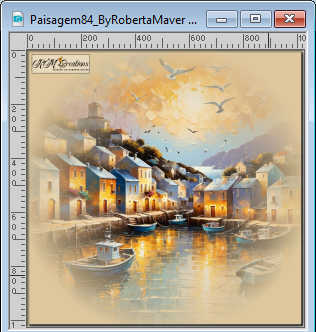
Edit>Copy.
Go back to your work and go to Edit>Paste Into Selection.
Selections>Select None.
4. Effects>Image Effects>Seamless Tiling, default settings.

5. Adjust>Blur>Radial Blur
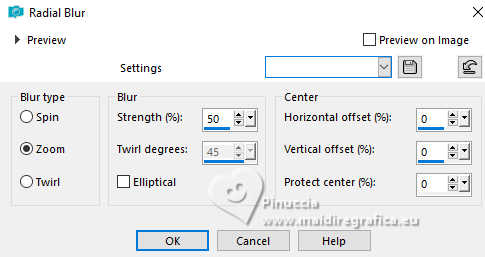
Layers>Merge>Merge All.(Flatten).
Layers>Promote Background layer.
Effects>Edge effects>Enhance.
Layers>Duplicate - 2 times.
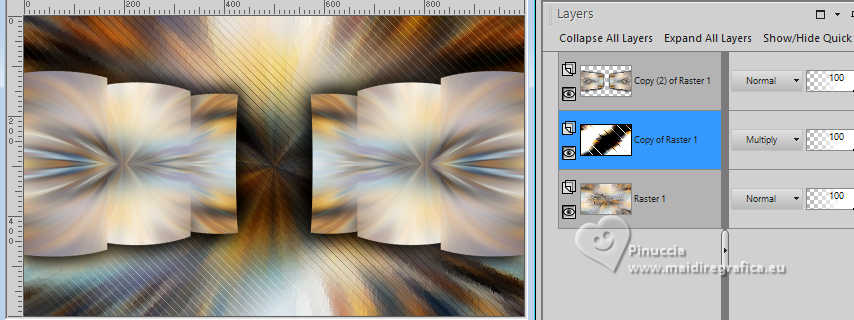
Close the copies' layers Copy of Raster 1 and Copy (2) of Raster 1.
6. Activate the layer Raster 1.
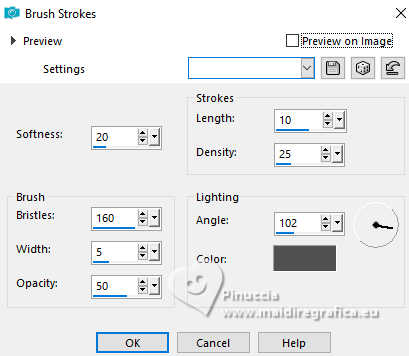
Effects>Art Media Effects>Brush Strokes - color #505050.
7. Open and activate the layer Copy of Raster 1.
Effects>Plugins>Filters Unlimited 2.0 - Plugins AB 08 - WireMeshing Unlimited
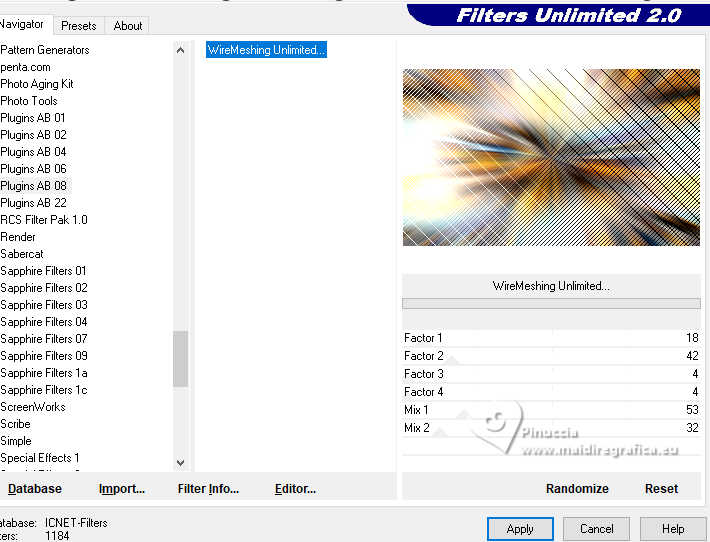
Layer>Properties>General>Blend Mode: Multiply - Opacity: 100%
8. Open and activate the layer Copy (2) of Raster 1.
Effects>Plugins>Andromeda - Perspective
click on Presets
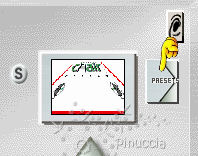
Set Side Walls and lt open and click on the sign at the bottom right to apply
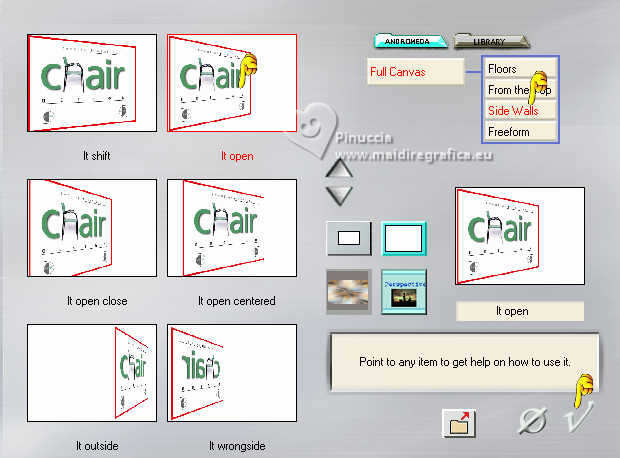
Again click on the sign at the bottom right to close.
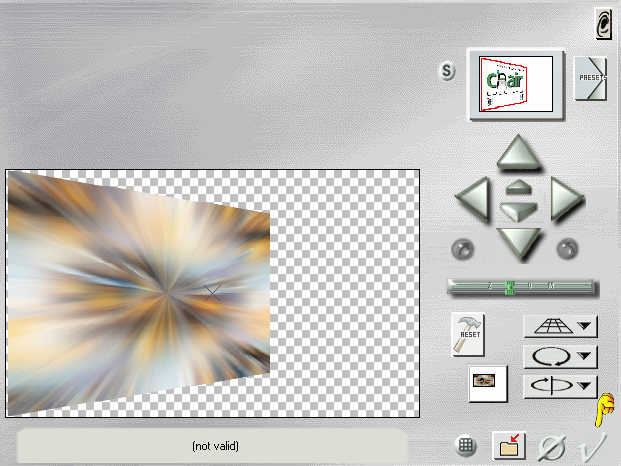
Result
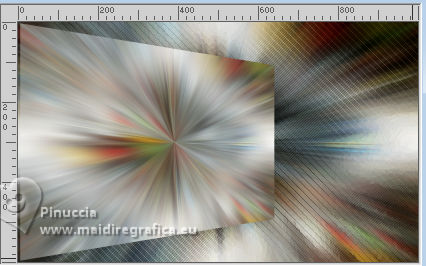
****
if you have problems with the filter,
activate your Pick Tool 
in mode Scale 
pull the right central node to the left until 590 pixels
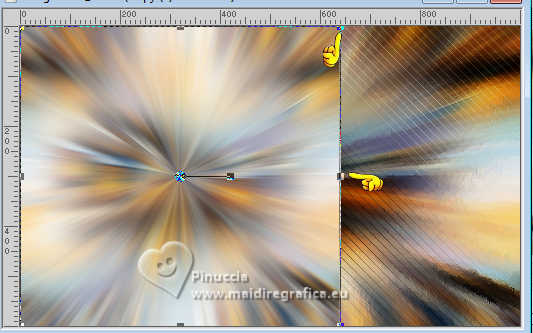
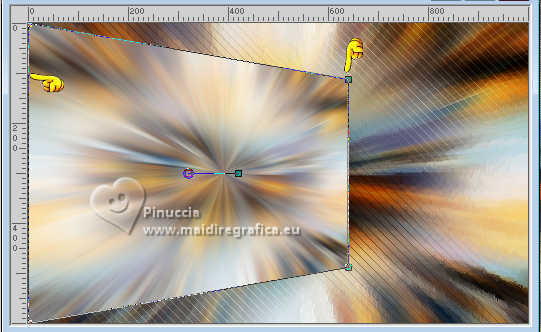
then in mode Perspective 
pull the top right node down until 100 pixels,
the opposite node will deplace symmetrically
****
9. Image>Resize, to 90%, resize all layers not checked.
Objects>Align>Left.
Pick Tool 
Position X: -148,00 - Position Y: 34,00.
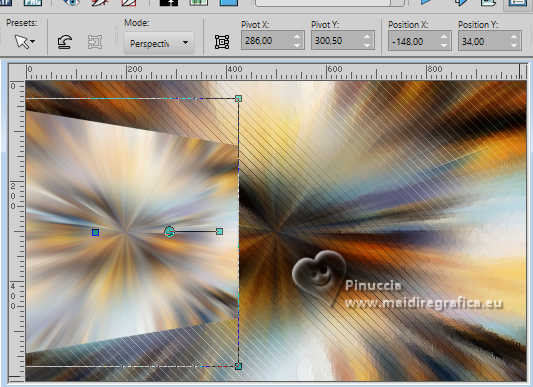
Activate your Selection Tool 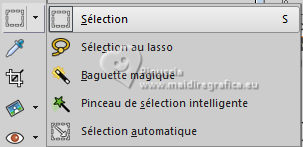
and select the image as below
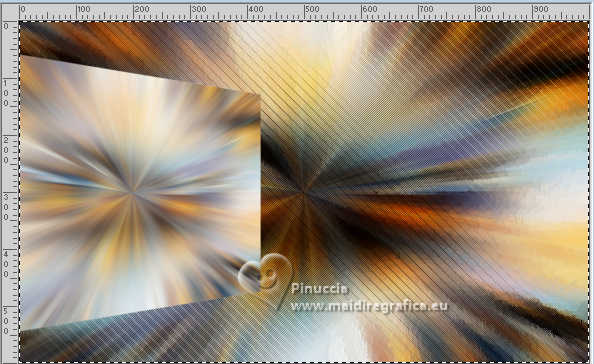
Selections>Invert.
Press CANC on the keyboard 
Selections>Select None.
Effects>Reflection Effects>Rotating Mirror

10. Adjust>Sharpness>Sharpen.
Effects>Plugin>Flaming Pear - Flexify 2
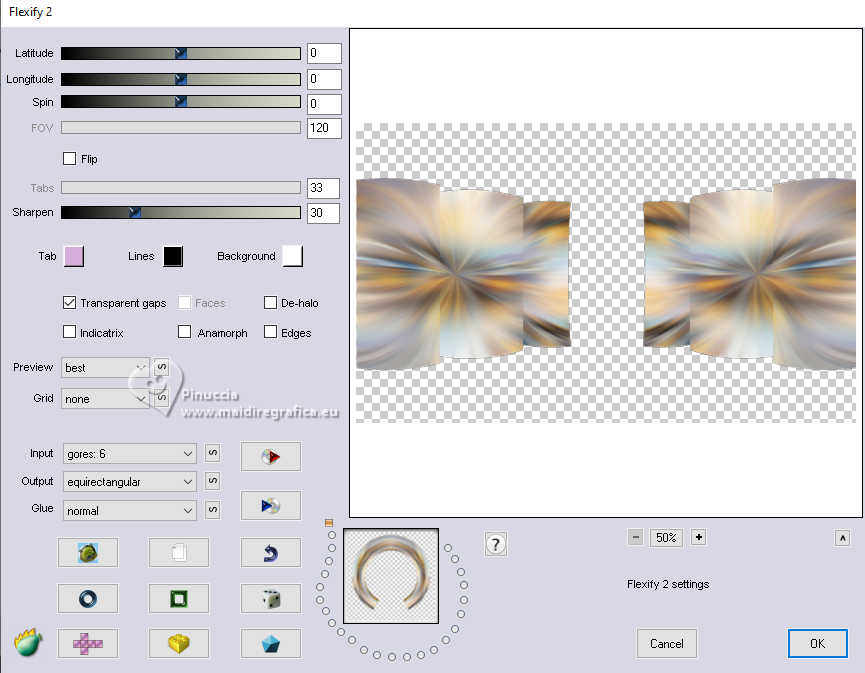
11. Selection>Load/Save Selection>Load Selection From Disk
Look for and load the selection Shandra_byRobertaM
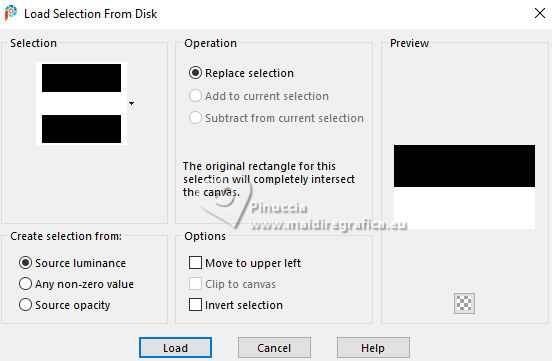
Press CANC on the keyboard.
Selections>Select None.
12. Layers>Duplicate.
Image>Mirror>Mirror Vertical.
Pick Tool 
Position X: 0,00 - Position Y: 295,00.
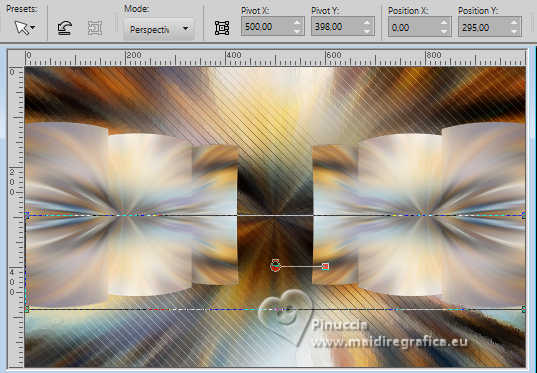
Layers>Merge>Merge Down.
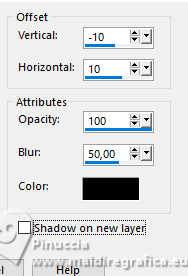
13. Effects>3D Effects>Drop Shadow, color #000000
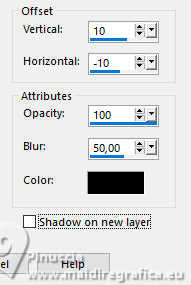
Repeat Drop shadow, vertical -10/horizontal 10
14. Activate the layer Copy of Raster 1.
Open Decor_Shandra_byRobertaMaver 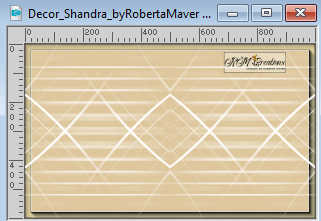
Edit>Copy.
Go back to your work and go to Edit>Paste as New Layer.
Layer>Properties>General>Blend Mode: Hard Light - Opacity: 100%
15. Activate your top layer.
Activate again your landscape Paisagem84_ByRobertaMaver and go to Edit>Copy.
Go back to your work and go to Edit>Paste as New Layer.
Image>Resize if necessary, for the provided misted to 55%, resize all layers not checked.
Adjust>Sharpness>Sharpen.
We have this
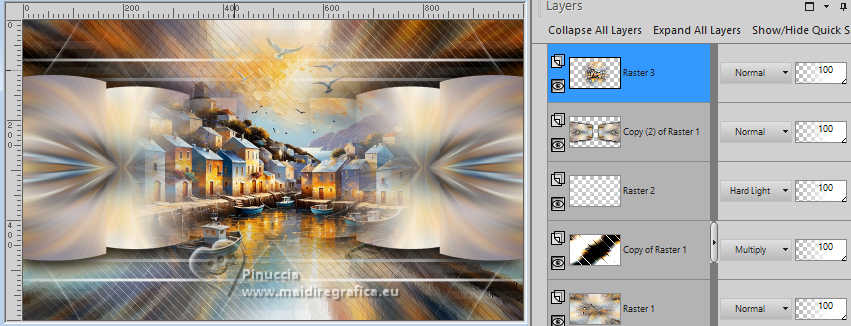
Edit>Copy Special>Copy Merged
16. Image>Add Borders, 1 pixel, symmetric, background color #582e15.
Image>Add Borders, 10 pixels, symmetric, foreground color #dec79c.
Image>Add Borders, 1 pixel, symmetric, background color #582e15.
17. Selections>Select All.
Image>Add Borders, 20 pixels, symmetric, whatever color.
Selections>Invert.
Edit>Paste Into Selection
18. Adjust>Blur>Gaussian Blur - radius 25.

Effects>3D Effects>Inner Bevel.
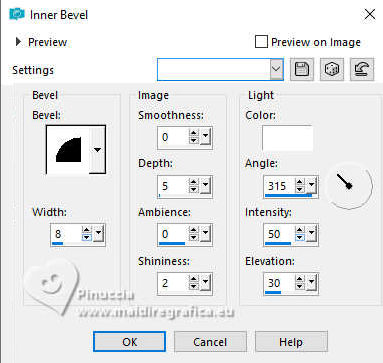
Keep selected.
19. Effects>Plugins>Filters Unlimited 2.0 - Plugins AB 08 - WireMeshing Unlimited
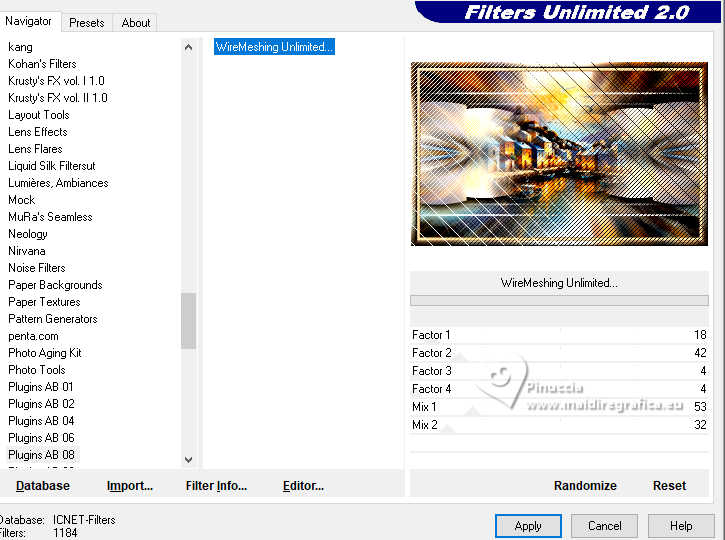
Selections>Select None.
20. Image>Add Borders, 1 pixel, symmetric, background color #582e15.
Image>Add Borders, 40 pixels, symmetric, foreground color #dec79c.
21. Open Decor01_byRobertaMaver 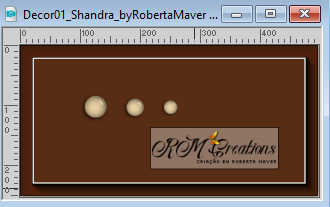
Edit>Copy.
Go back to your work and go to Edit>Paste as New Layer.
Pick Tool 
Position X: 68,00 - Position Y: 344,00.

22. Layers>Duplicate.
Image>Mirror>Mirror Horizontal
Layers>Merge>Merge All.
Image>Resize, 1000 pixels width, resize all layers checked.
23. Open your main tube Tube84_byRobertaMaver 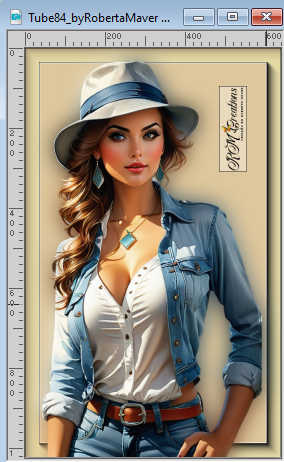
Edit>Copy.
Go back to your work and go to Edit>Paste as New Layer.
Image>Resize if necessary, for the provided tube to 60%, resize all layersn ot checked.
Move  the tube to the right side, or to your liking. the tube to the right side, or to your liking.
Effects>3D Effects>Drop Shadow, at your choice.
24. Open the tube Titulo_byRobertaMaver 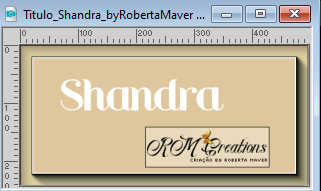
Edit>Copy.
Go back to your work and go to Edit>Paste a New Layer.
Place  the tube to your liking. the tube to your liking.
Effects>3D Effects>Drop Shadow, color #000000.
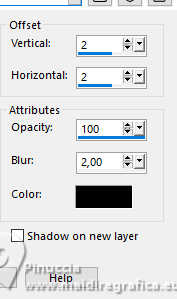
25. Image>Add Borders, 1 pixel, symmetric, background color #582e15.
26. Sign your work and save as jpg.
For the tubes of this version thanks Nara Pamplona (tribute tu her memory)
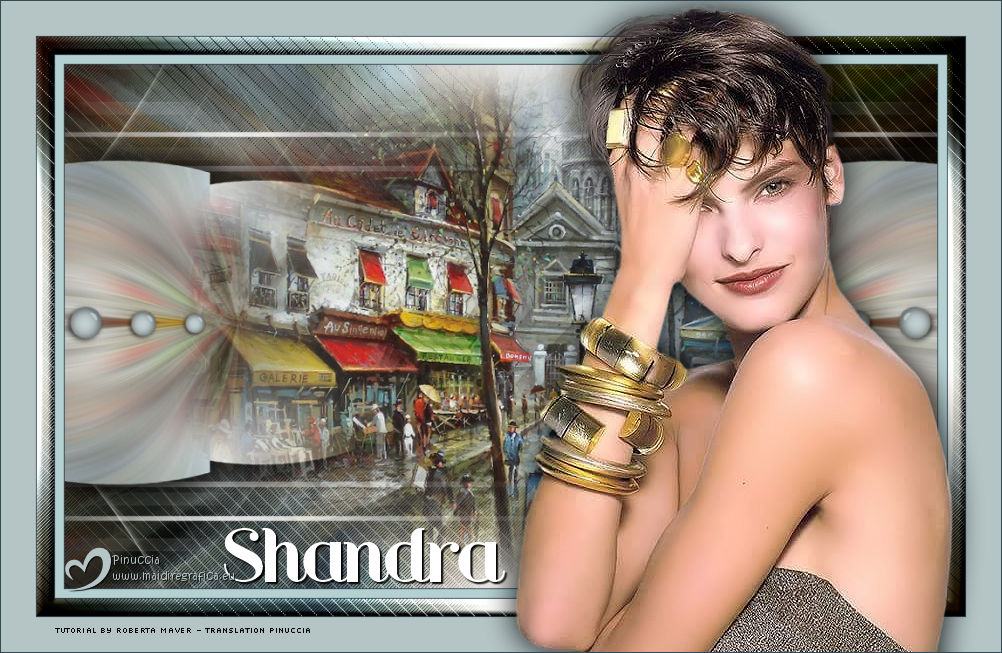

 Your versions. Thanks Your versions. Thanks

Kika
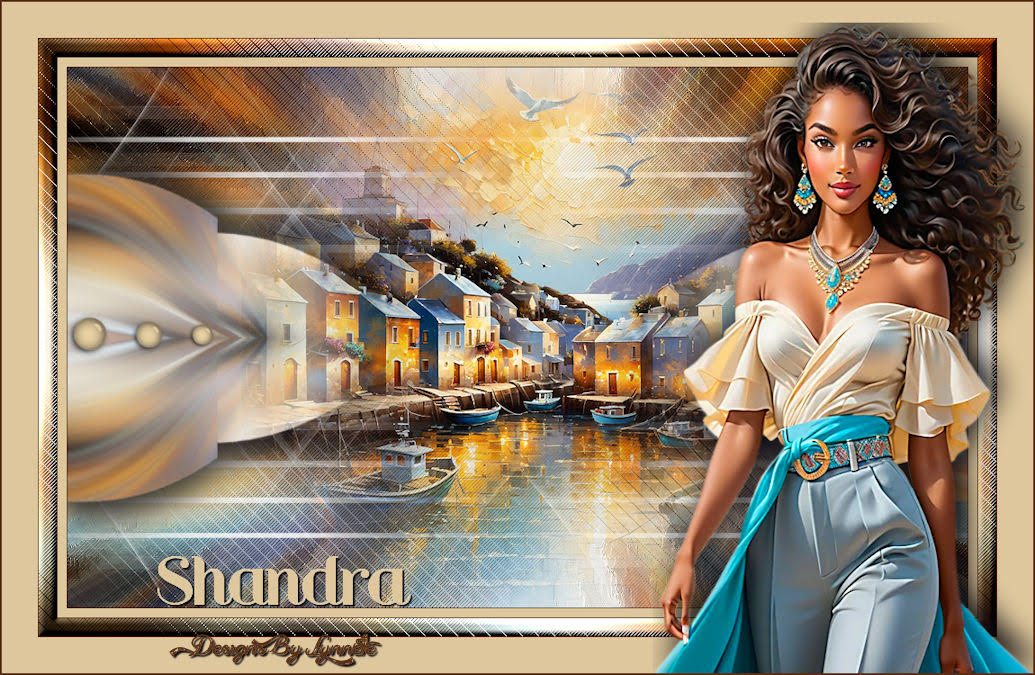
Lynnette


If you have problems or doubts, or you find a not worked link, or only for tell me that you enjoyed this tutorial, write to me.
14 October 2024

|

