|
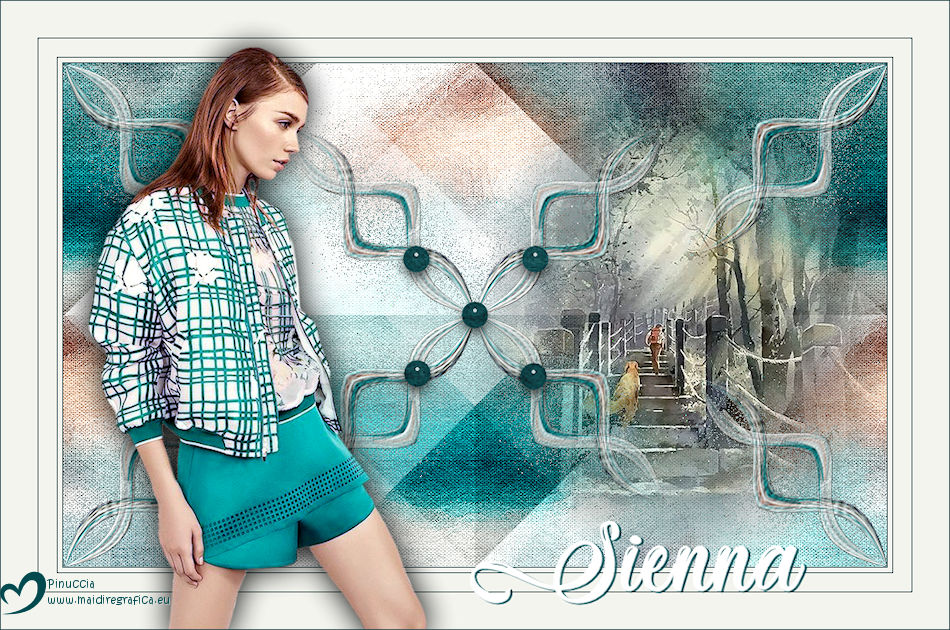
SIENNA


Thanks SIM PSP Group for your invitation to translate your tutorials into english


|
Special Note
PSP SIM and its Tutorial Authors ask the public:
. Please, we request that we maintain the originality of the tutorial,
refraining from adding or including unsolicited effects;
. The use of other images is permitted and encouraged,
but please don't modify the content of the original tutorial;
. Please acknowledge and attribute the valuable credits to those who write tutorials,
make translation and create materials.
Carefully,
PSP SIM and Roberta Maver
|
This tutorial was written with Psp2022 and translated with Psp2020, but it can also be made using other versions of PSP.
Since version PSP X4, Image>Mirror was replaced with Image>Flip Horizontal,
and Image>Flip with Image>Flip Vertical, there are some variables.
In versions X5 and X6, the functions have been improved by making available the Objects menu.
In the latest version X7 command Image>Mirror and Image>Flip returned, but with new differences.
See my schedule here
For this tutorial, you will need:

(The links of the tubemakers here).
Plugins
consult, if necessary, my filter section here
Filters Unlimited 2.0 here
Crescent Moon - CutGlass here
FM Tile Tools - Blend Emboss here
Mura's Meister - Pole Transform here
Flaming Pear - Flexify 2 here
VanDerLee Unplugged-X here
Alien Skin Eye Candy 5 Impact - Glass here
Filters Crescent Moon can be used alone or imported into Filters Unlimited.
(How do, you see here)
If a plugin supplied appears with this icon  it must necessarily be imported into Unlimited it must necessarily be imported into Unlimited

You can change Blend Modes according to your colors.

1. Choose 2 colors for your work.
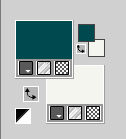
Set your foreground color to #004a4f,
and your background color to #f3f4ee.
2. Open Alpha_SiennabyRobertaMaver
This image, that will be the basis of your work, is not empty,
but contains a selection saved to alpha channel.
Flood Fill  the transparent image with your background color. the transparent image with your background color.
Selections>Select All.
3. Open your main tube Tube03_RobertaMaver 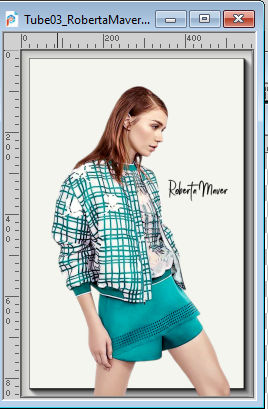
Edit>Copy.
Minimize the tube
Go back to your work and go to Edit>Paste Into Selection.
Selections>Select None.
4. Effects>Image Effects>Seamless Tiling, default settings.

Adjust>Blur>Gaussian Blur - radius 15.

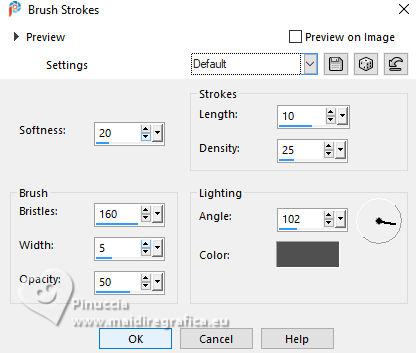
5. Effects>Art Media Effects>Brush Strokes.
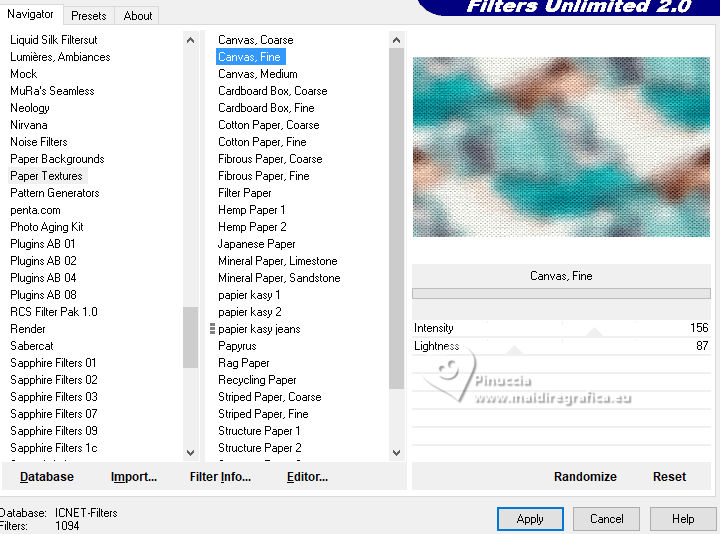
6. Effects>Plugins>Filters Unlimited 2.0 - Paper Textures - Canvas,Fine, default settings
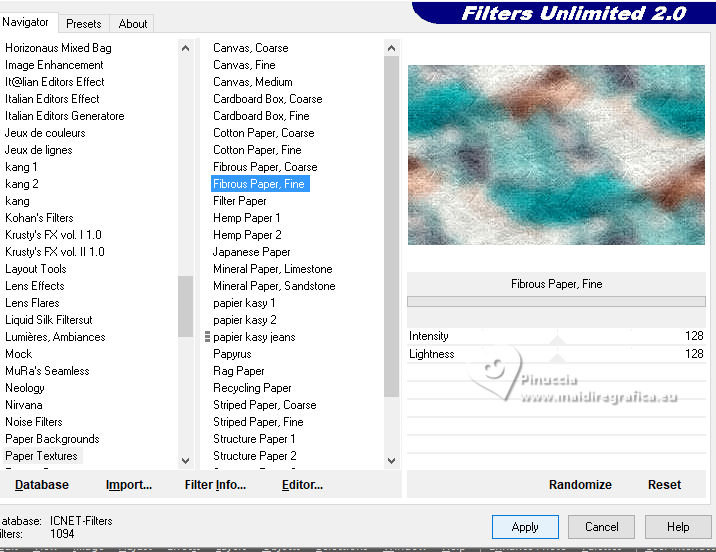
7. Effects>Plugins>Filters Unlimited 2.0 - Paper Textures - Fibrous Paper,Fine, default settings
8. Adjust>Sharpness>Sharpen.
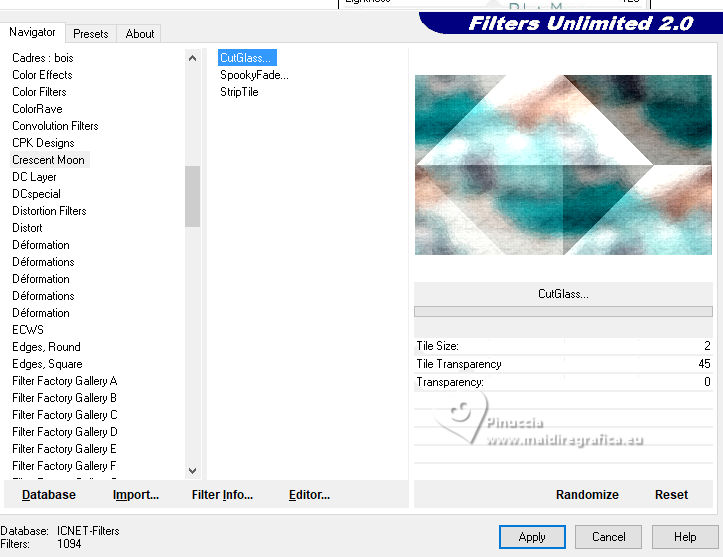
Effects>Plugins>Crescent Moon - CutGlass.
9. Effects>Plugins>VanDerLee - Unplugged-X - 45° Rectangle.
Color: white - Transparency 50

10. Layers>Duplicate.
Image>Mirror>Mirror Horizontal.
Layer>Properties>General>Blend Mode: Soft Light - Opacity: 100%

Layers>Merge>Merge Down.
11. Layers>Duplicate.
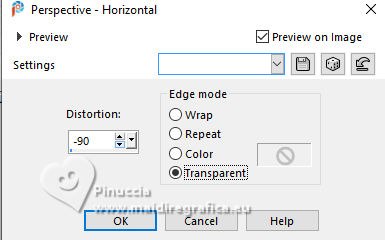
Effects>Geometric Effects>Perspective horizontal
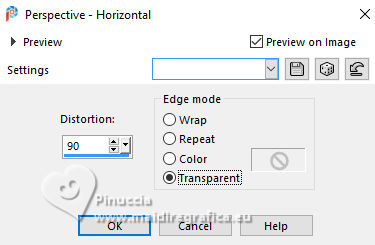
Effects>Geometric Effects>Perspective horizontal
Result
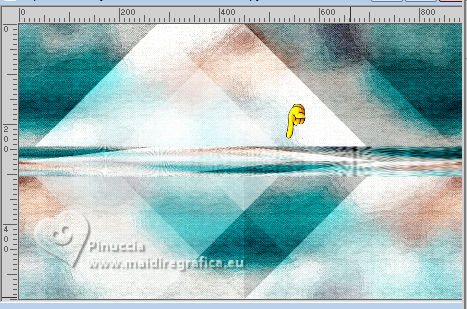
Effects>Distortion Effects>Pinch - 50
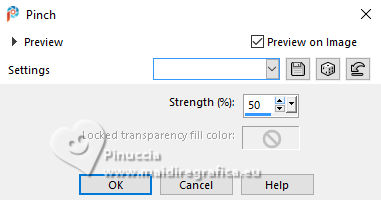
Adjust>Sharpness>Sharpen.
12. Effects>Plugins>Flaming Pear - Flexify 2.
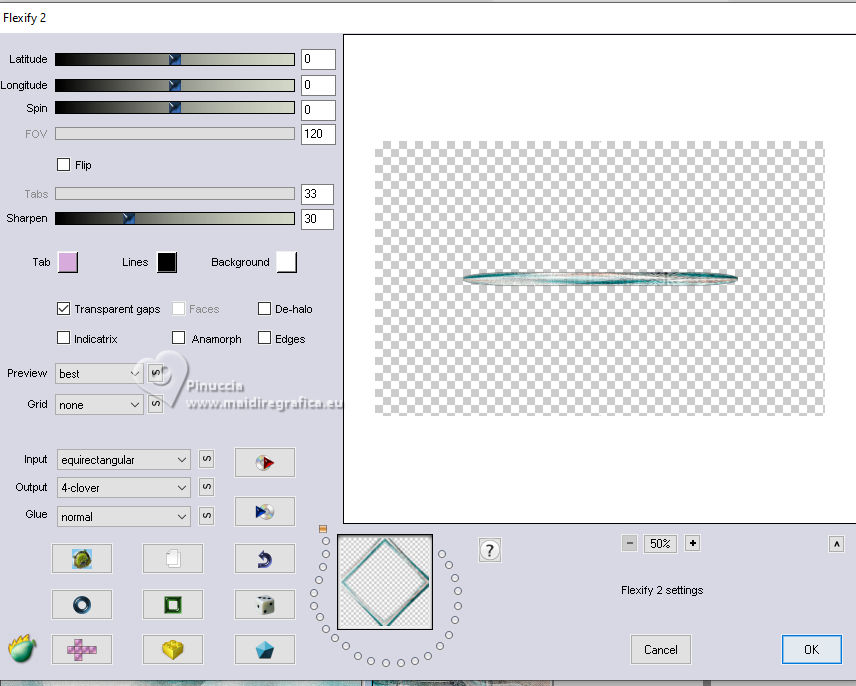
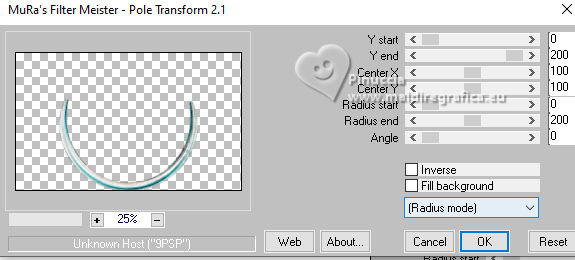
13. Effects>Plugins>Mura's Meister - Pole Transform.
14. Effects>Image Effects>Seamless Tiling.

15. Effects>Plugins>Flaming Pear - Flexify 2.

16. Layers>Duplicate.
Image>Mirror>Mirror Vertical (Image>Flip)
Layers>Merge>Merge Down.
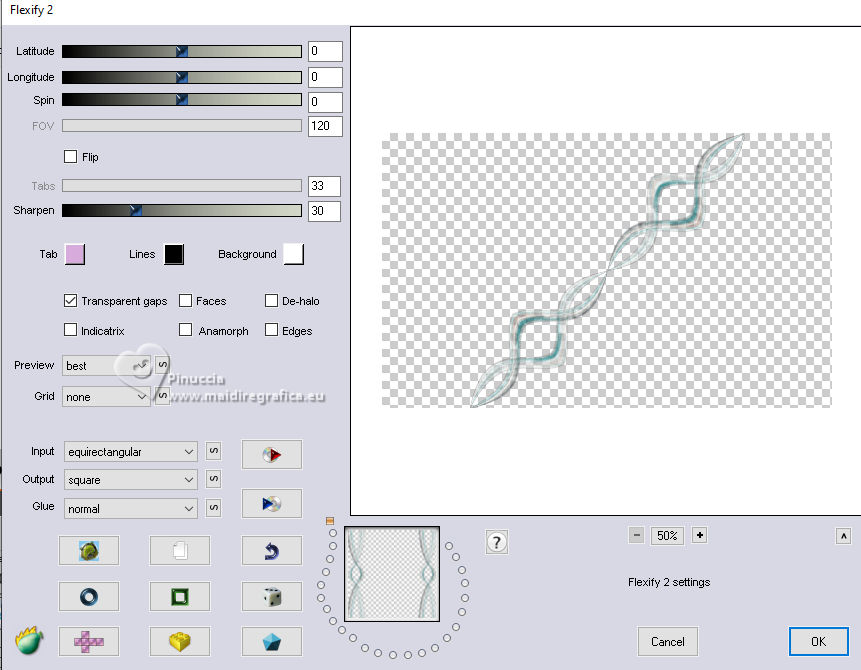
17. Effects>Plugins>Flaming Pear - Flexify 2.
18. Layers>Duplicate.
Image>Mirror>Mirror Horizontal.
Layers>Merge>Merge Down.
Image>Resize, to 75%, resize all layers not checked.
19. Effects>Image Effects>Seamless Tiling, default settings.

Layers>Duplicate.
Adjust>Blur>Gaussian Blur - radius 20.

Layer>Properties>General>Blend Mode: Dissolve - Opacity: 100%
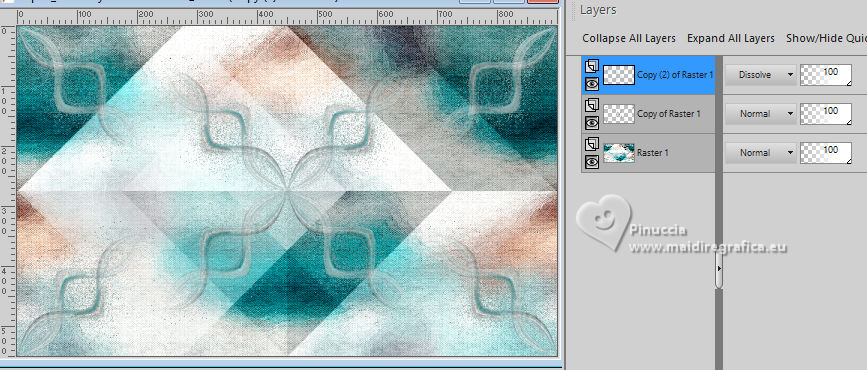
Layers>Arrange>Move Down.
20. Activate your top Layer.
Layers>Duplicate.
Layers>Merge>Merge Down.
Effects>Plugins>FM Tile Tools - Bend Emboss, default settings.

21. Activate the layer Raster 1.
Open the misted Paisagem02_RobertaMaver 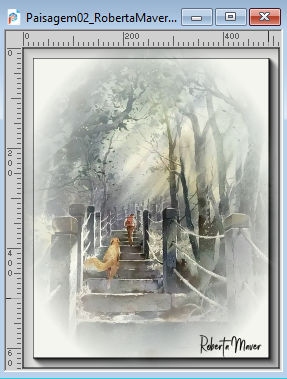
Edit>Copy.
Go back to your work and go to Edit>Paste as New Layer.
Image>Resize, to 85%, resize all layers not checked.
Objects> Align> Right.
Adjust>Sharpness>Sharpen.
22. Activate your top layer.
Layers>New Raster Layer.
Selections>Load/Save Selection>Load Selection From Alpha Channel.
The selection Selection #1 is immediately available.
You just have to click Load.
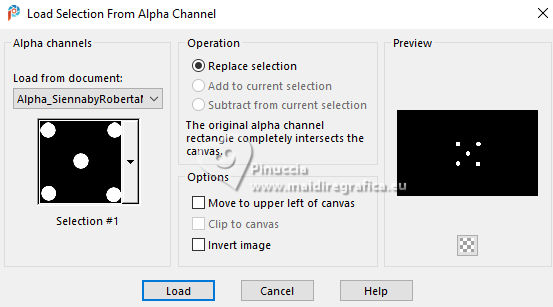
Flood Fill  the selection with your foreground color #004a4f. the selection with your foreground color #004a4f.
Selections>Select None.
23. Effects>Plugins>Filters Unlimited 2.0 - Fibrous Paper,Fine, default settings
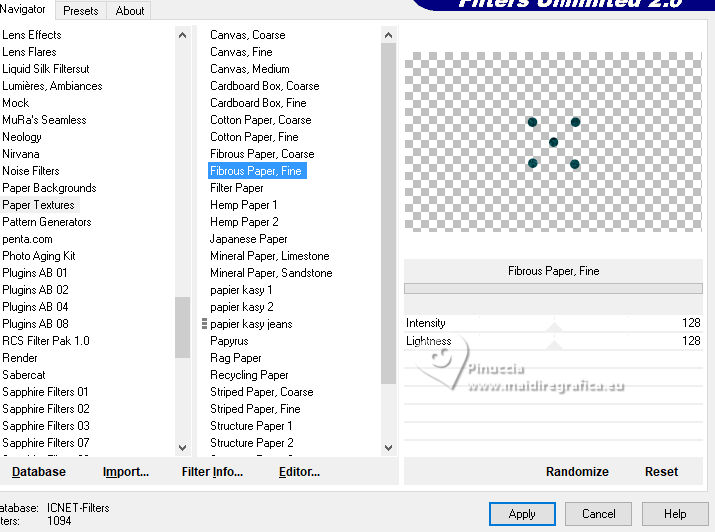
24. Effects>Plugins>Alien Skin Eye Candy 5 Impact - Glass
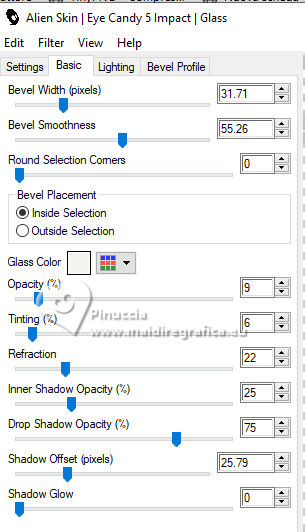
Selections>Select None.
25. Image>Add borders, 1 pixel, symmetric, foreground color #004a4f.
Image>Add borders, 5 pixels, symmetric, background color #f3f4ee.
Image>Add borders, 1 pixel, symmetric, foreground color #004a4f.
Image>Add borders, 20 pixels, symmetric, background color #f3f4ee.
Image>Add borders, 1 pixel, symmetric, foreground color #004a4f.
Image>Add borders, 40 pixels, symmetric, background color #f3f4ee.
26. Activate again your main tube Tube03_RobertaMaver and go to Edit>Copy.
Go back to your work and go to Edit>Paste as New Layer.
Image>Resize, if necessary - for the supplied tube to 85%, resize all layers not checked.
Move  the tube to the left side. the tube to the left side.
Effects>3D Effects>Drop Shadow, at your choice.
27. Open the text Titulo_SiennabyRobertaMaver 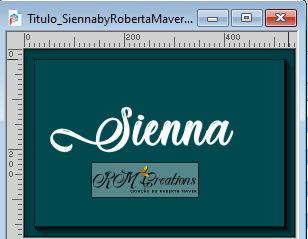
Edit>Copy.
Go back to your work and go to Edit>Paste as New Layer.
Move  the text to your liking. the text to your liking.
Effects>3D Effects>Drop Shadow, foreground color #004a4f.
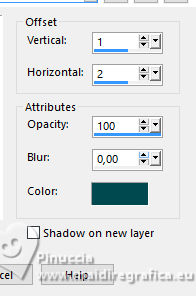
28. Image>Add borders, 1 pixel, symmetric, foreground color #004a4f.
29. Image>Resize, if you want.
Sign your work and save as jpg.
For the tubes of this version thanks Luz Cristina and Ema


 Your versions. Thanks Your versions. Thanks
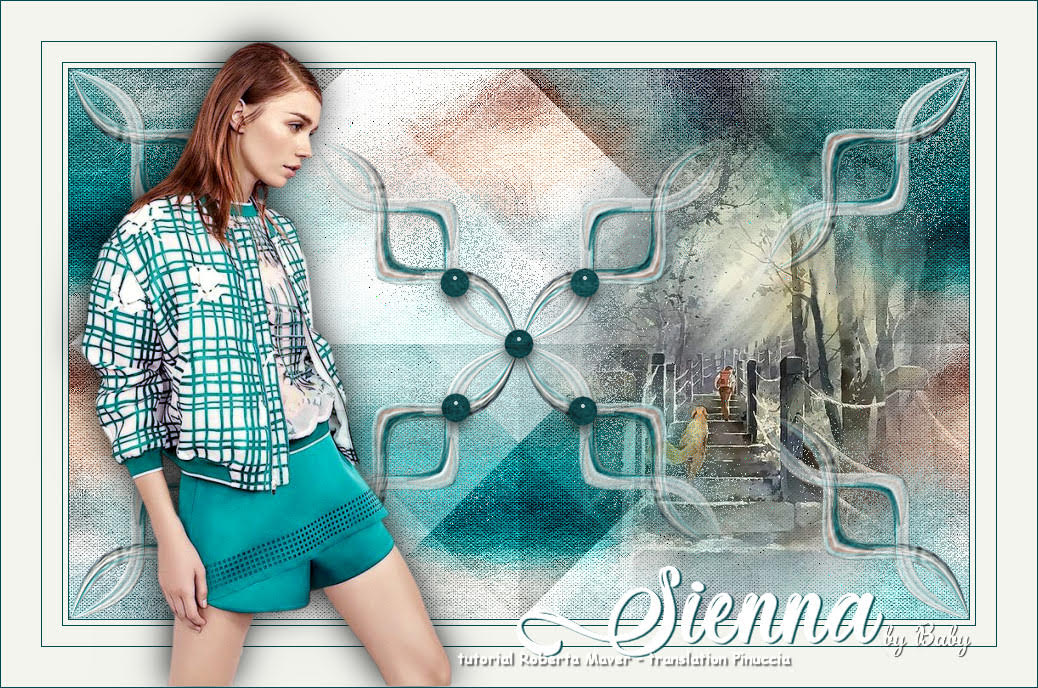
Baby
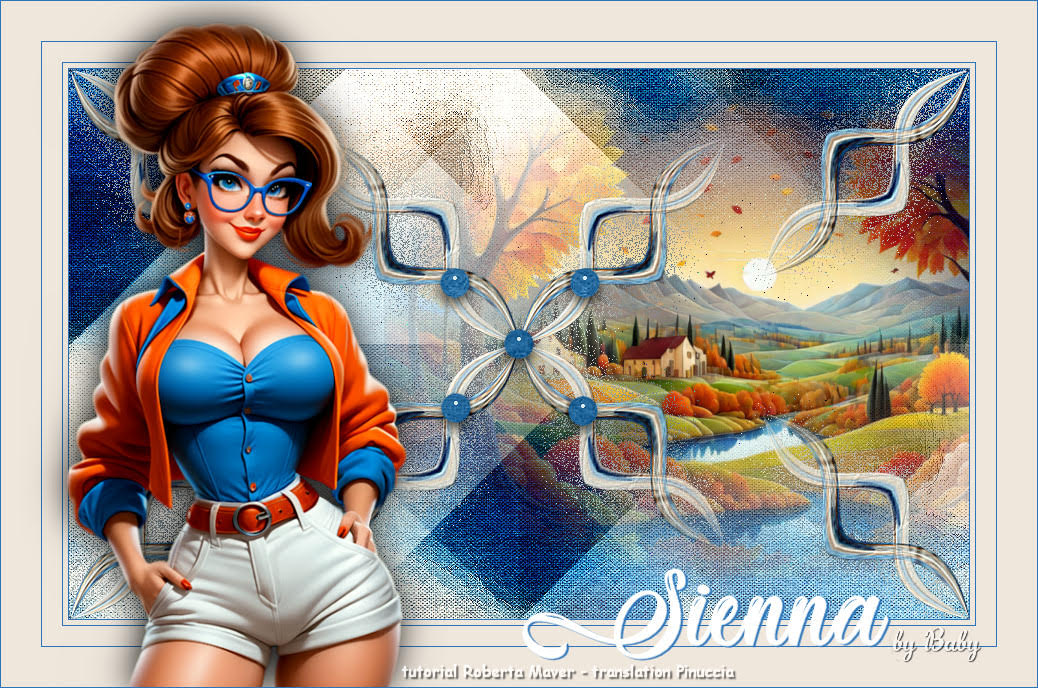
Baby
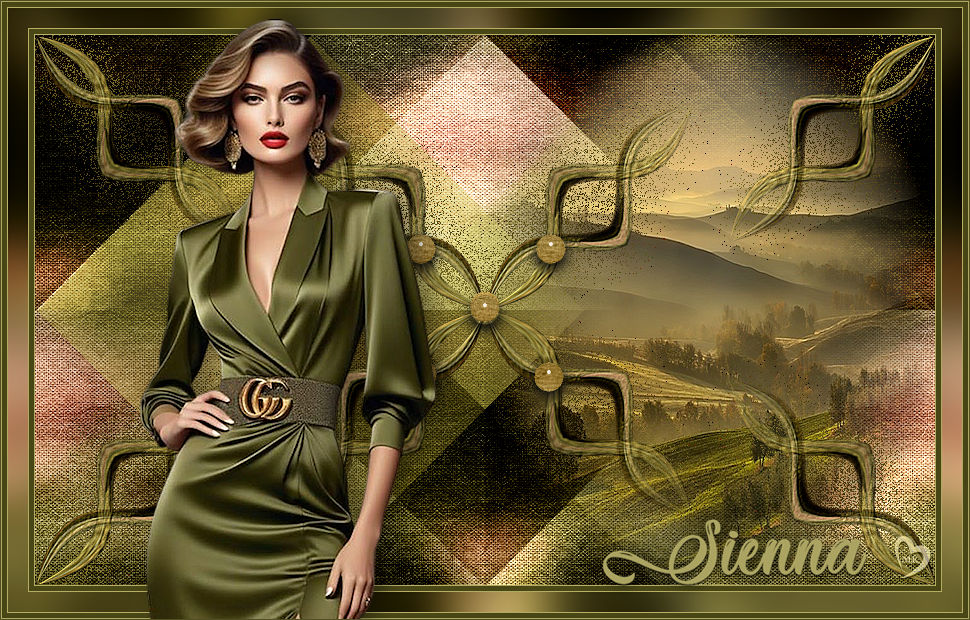
Kamelius
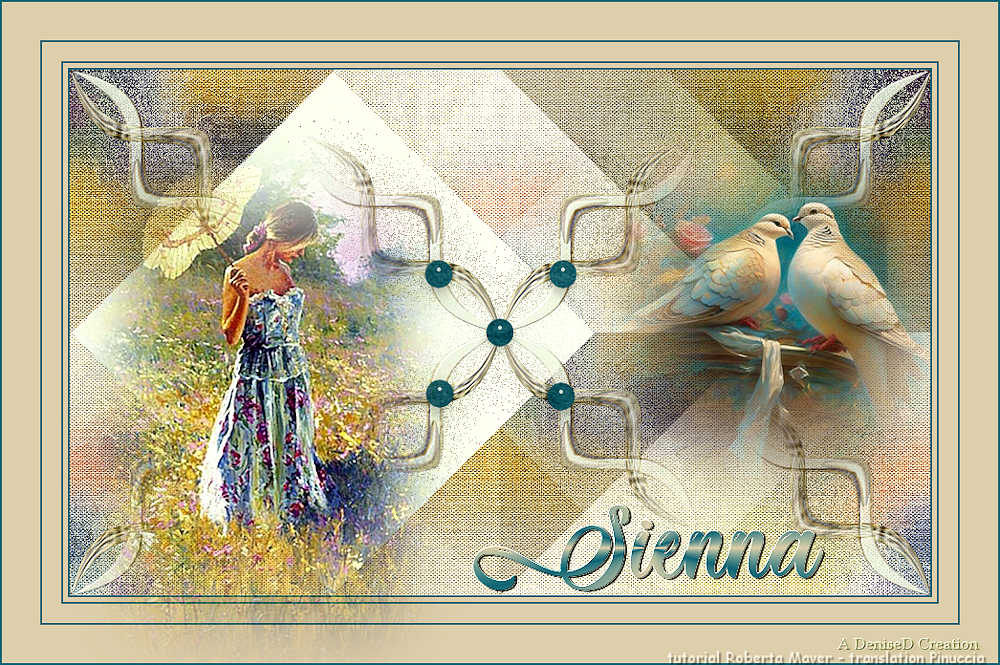
DeniseD
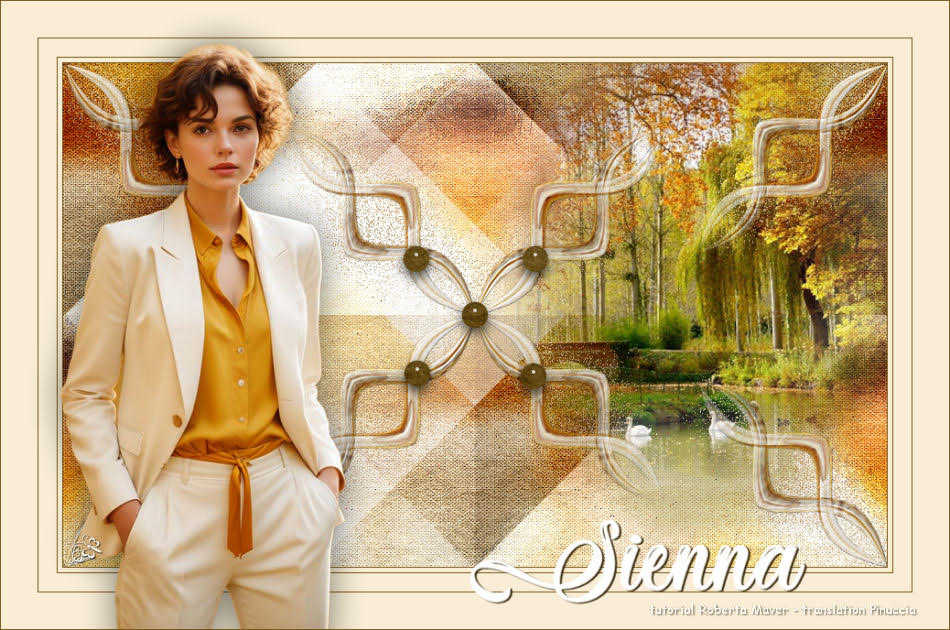
Jolcsi
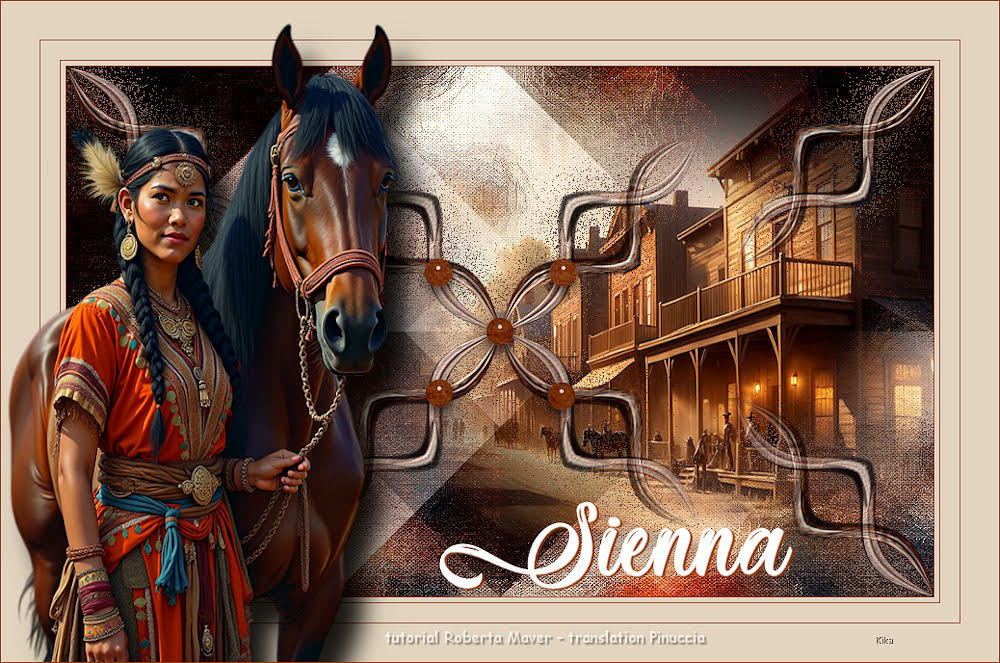
Kika
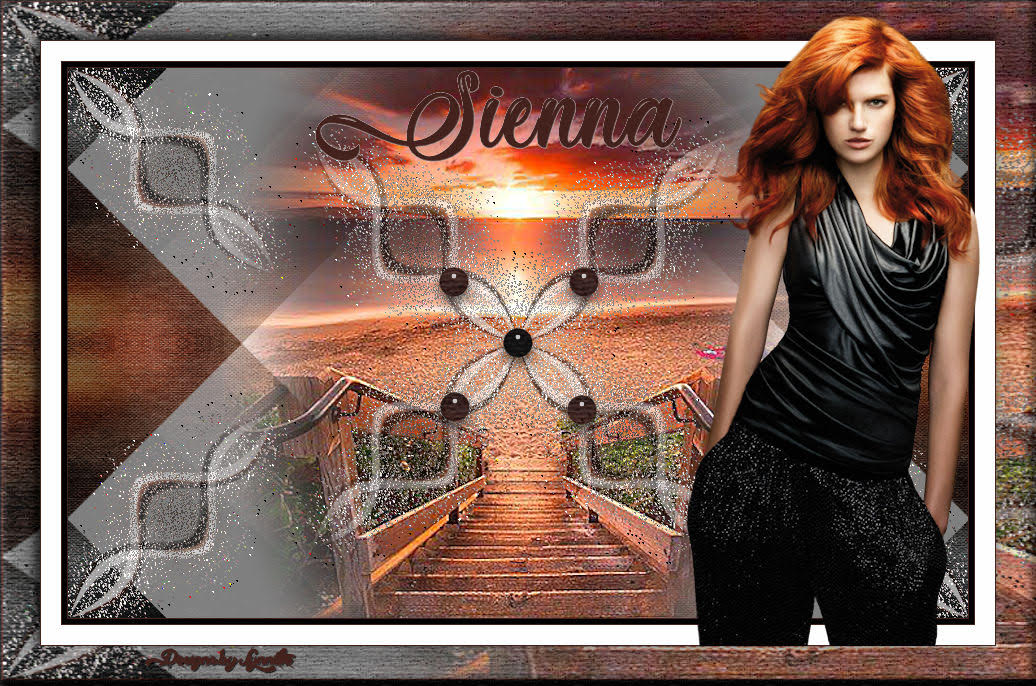
Lynnette
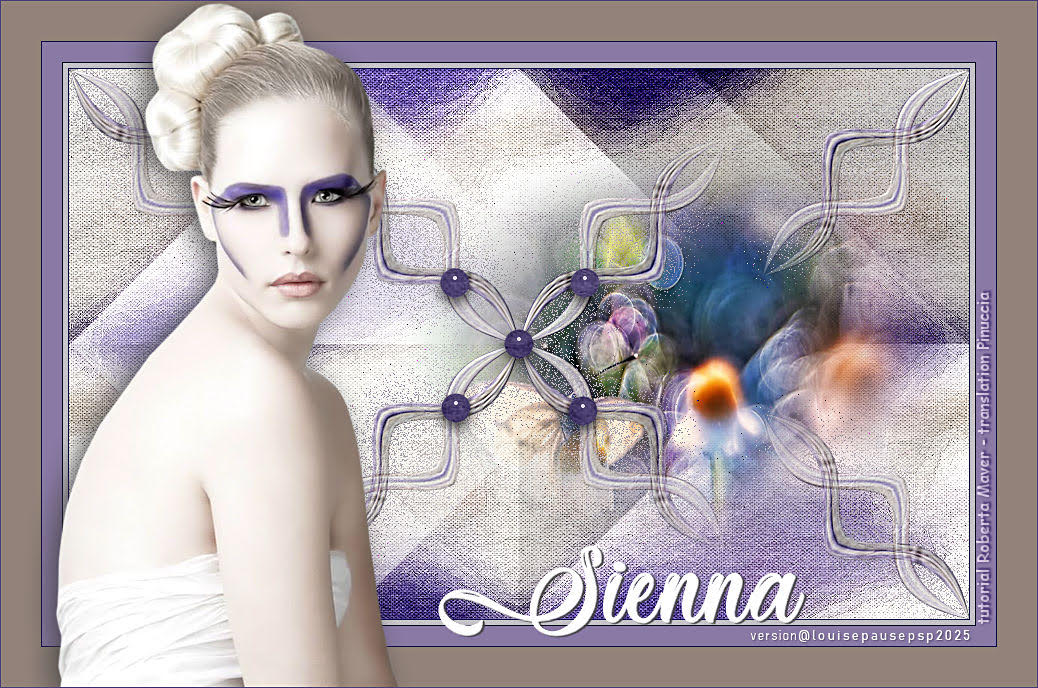
Louise

Marion


If you have problems or doubts, or you find a not worked link, or only for tell me that you enjoyed this tutorial, write to me.
21 March 2024

|

