|
AVRIL
english version
Thank you Rocky for your permission to translate your tutorials.
The site is closed

This tutorial is a personal creation of Rocktambule and it is prohibited to copy or distribute it on the net (forums, groupes.. etc), or to use it on commercials sites.
This tutorial was created and translated with Corel12, but can also be made using other versions of PSP.
Since version PSP X4, Image>Mirror was replaced with Image>Flip Horizontal,
and Image>Flip with Image>Flip Vertical, there are some variables.
In versions X5 and X6, the functions have been improved by making available the Objects menu.
In the latest version X7 command Image>Mirror and Image>Flip returned, but with new differences.
See my schedule here
For this tutorial, you will need:
Material here
The tube is by Beatriz.
Plugins
consult, if necessary, my filter section here
Filters Unlimited 2.0 here
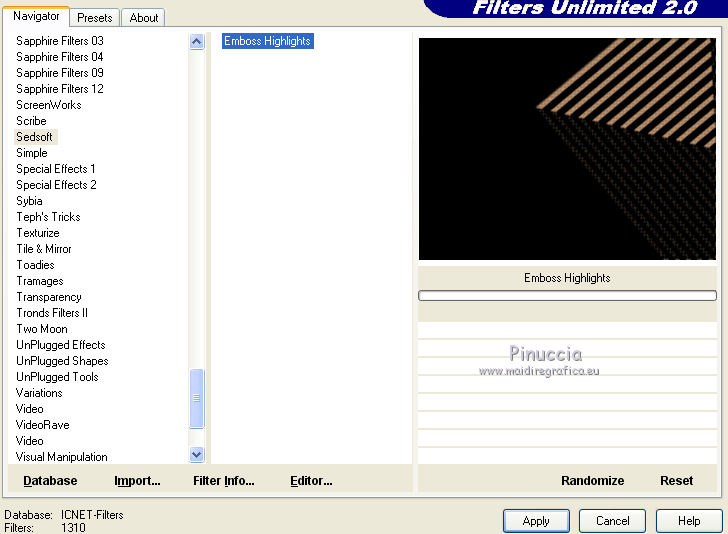
Sedsoft - Emboss Hightlights, to import in (in the zip).

You can change Blend Modes according your colors.
1. Set your foreground color with the light color #f2bdb3,
and your background color with the dark color #7d6270.
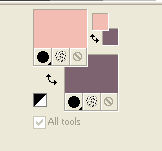
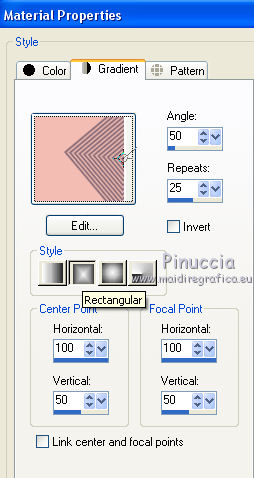
Set your foreground color to a Foreground/background gradient, style Rectangular.
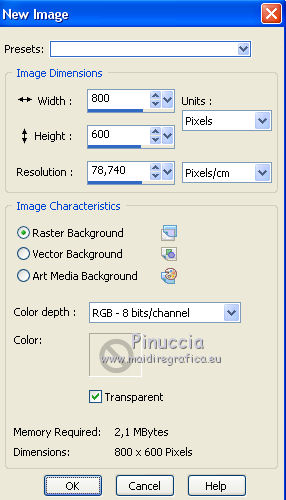
2. Open a new transparent image 800 x 600 pixels.
Flood Fill  with the gradient. with the gradient.
3. Effects>Plugins>Filters Unlimited 2.0 - Sedsoft - Emboss Hightlights
(don't worry for the colors).

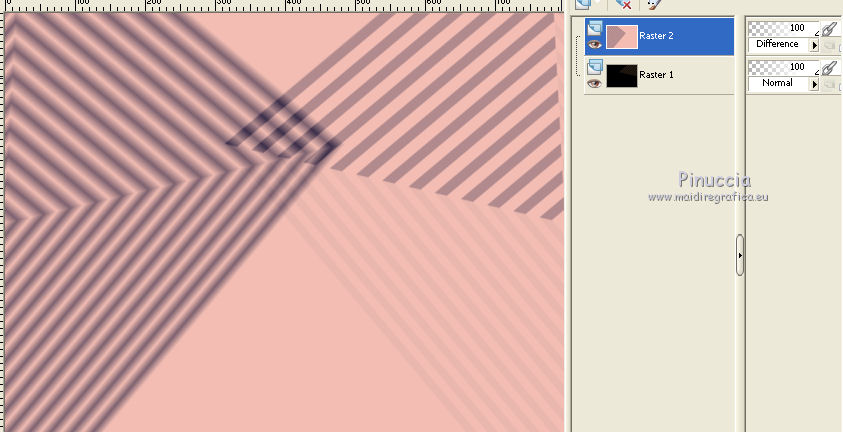
4. Layers>New raster layer.
Flood Fill  again with the gradient. again with the gradient.
Image>Mirror.
Change the Blend mode of this layer to Difference.

5. Layers>Merge>Merge All.
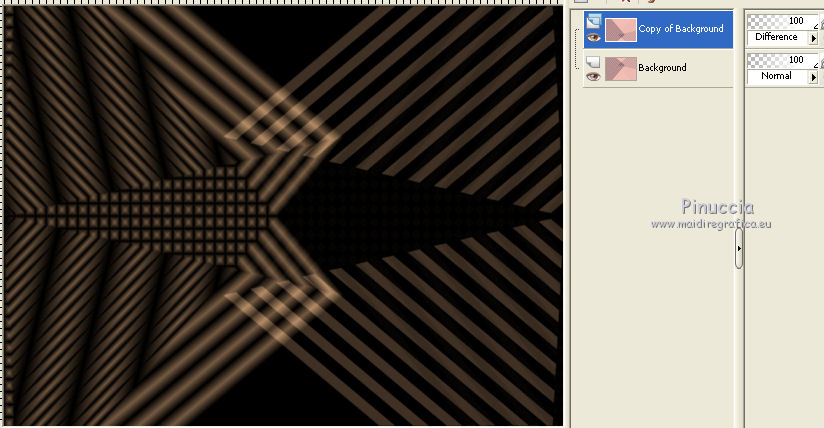
6. Layers>Duplicate.
Image>Flip.
Change the Blend mode of this layer to Difference (don't worry for the colors).

7. Layers>Merge>Merge visible.
8. Layers>New Raster Layer.
Flood Fill  with your background color. with your background color.
Layers>Arrange>Move down.
Activate the top layer.
Change the Blend mode of this layer to Luminance (Legacy).

9. Layers>Merge>Merge All.
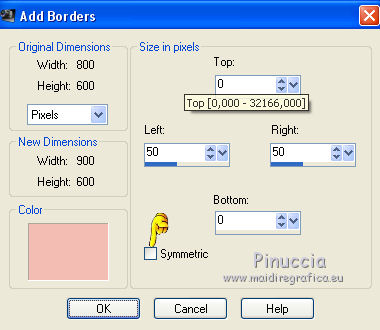
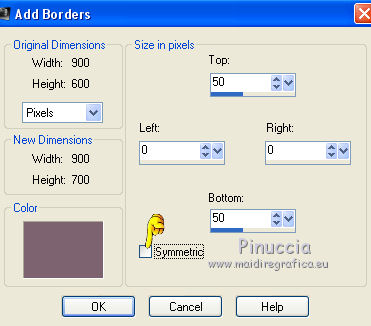
10. Image>Add borders - symmetric not checked, your foreground color.

Image>Add borders - symmetric not checked, same settings but with your background color.

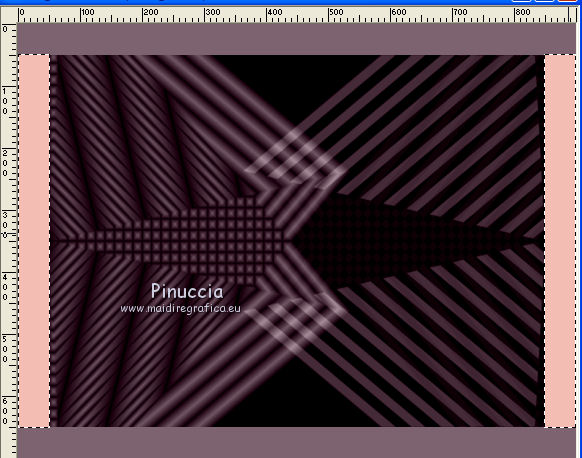
11. Activate the Magic Wand tools 
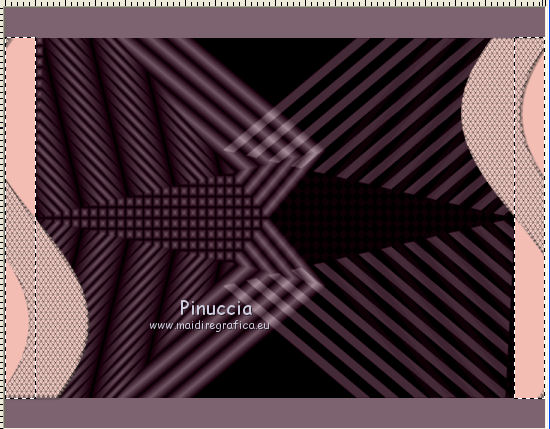
select the right and left bords

Selections>Promote selection to layer.
Selections>Select none.
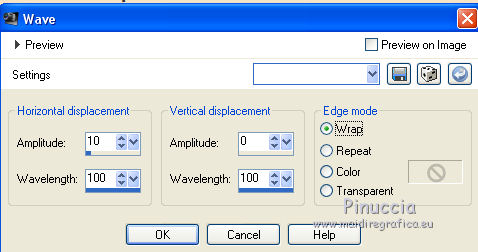
12. Effects>Distortion Effects>Wave.

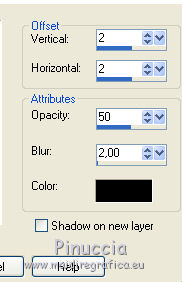
13. Effects>3D Effects>Drop Shadow.

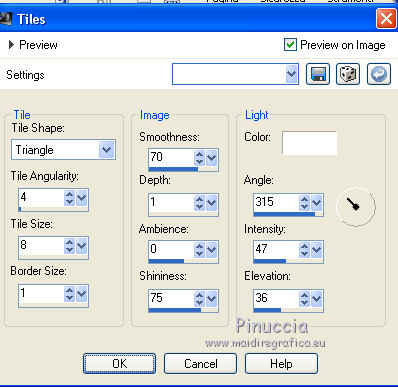
14. Effects>Texture Effects>Tiles.

15. Again activate the bottom layer.
Select again the left and right bords with your Magic wand tool 

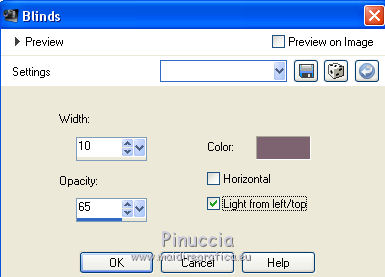
16. Effects>Texture Effects>Blinds - with your background color.

Selections>Select None.
17. Layers>Merge>Merge All.
18. Select the top and bottom bords with your Magic wand tool 

Selection>Promote selection to layer.
Selections>Select None.
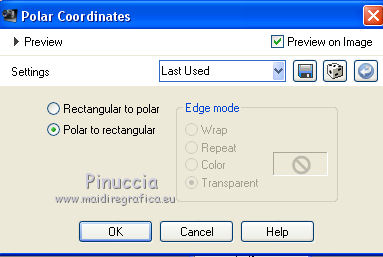
19. Effets>Distortion Effects>Polar Coordinates.

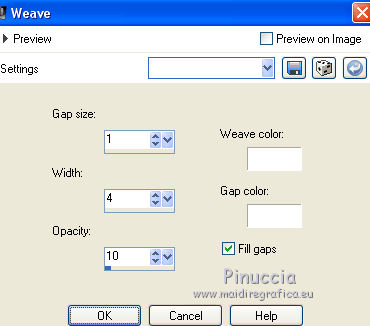
20. Effects>Textures Effects>Weave - both colors white.

21. Layers>Duplicate.
Image>Flip.
Layers>Merge>Merge down.
22. Effects>3D Effects>Drop Shadow, same settings, still in memory.
23. Activate the bottom layer.
Again select the top and bottom bords with your Magic wand tool 
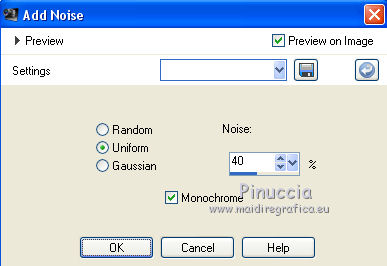
24. Adjust>Add/Remove Noise>Add Noise.

Selections>Select none.
25. Layers>Merge>Merge down.
26. Open the tube deco1, Edit>Copy.
Go back to your work and go to Edit>Paste as new layer.
Change the Blend mode of this layer to Luminance (Legacy).
To move the tube:
K key to activate the Pick Tool 
with PSP 9 D key to activate Deformation Tool 
set Position X to 155,00 and Position Y to 126,00.

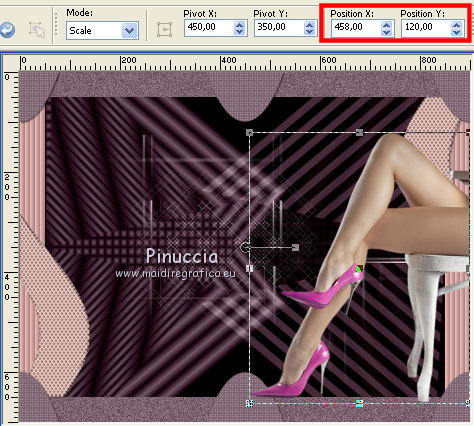
27. Open the tube Legs by LB, Edit>Copy.
Go back to your work and go to Edit>Paste as new layer.
To move it:
K/D keys to activate the Pick/Deformation Tool  / /
set Position X: 458,00 and Position Y: 120,00.

Adjust>Sharpness>Sharpen.
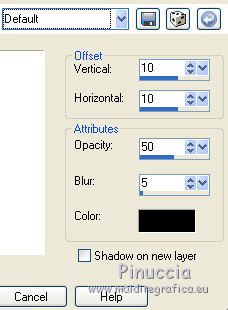
Effects>3D Effects>Drop Shadow, default settings.

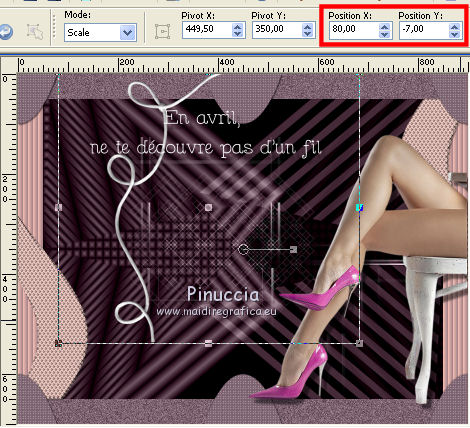
28. Open "titre", Edit>Copy.
Go back to your work and go to Edit>Paste as new layer.
K/D keys to activate the Pick/Deformation Tool  / /
set Position X: 80,00 and Position Y: -7,00.

29. Image>Add borders, 2 pixels, symmetric, color white.
Image>Add borders, 25 pixels, symmetric, background color.
Image>Add borders, 2 pixels, symmetric, color white.
Image>Add borders, 25 pixels, symmetric, background color.
30. Select the last bord with your Magic wand tool 
Adjust>Add/Remove Noise>Add Noise, same settings still in memory.

Selections>Select None.
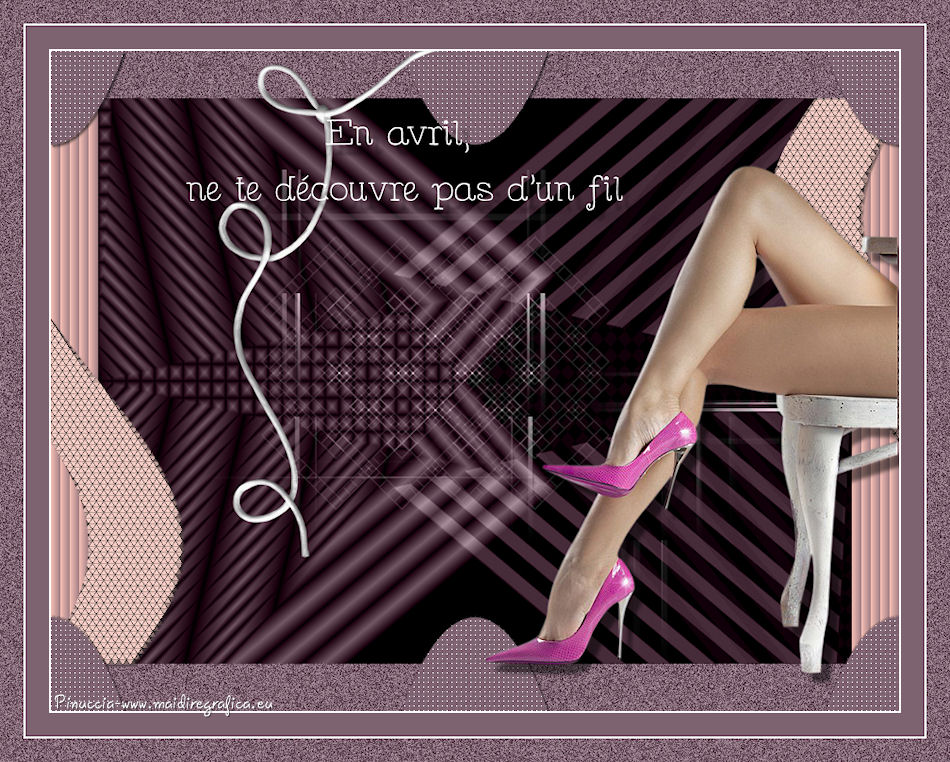
31. Sign your work and save as jpg.
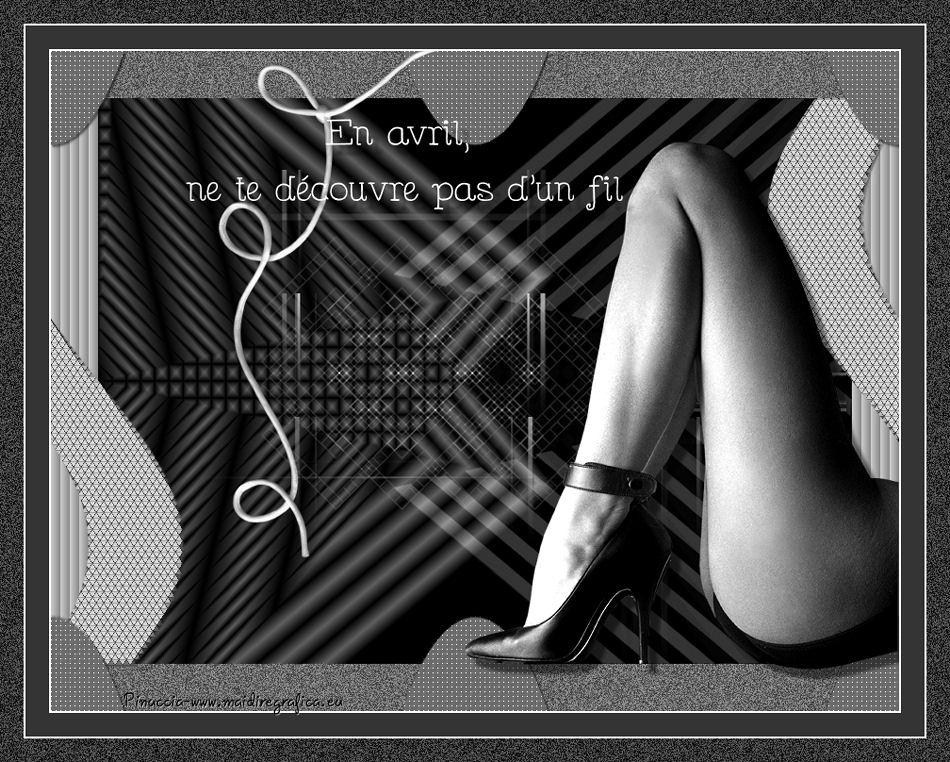
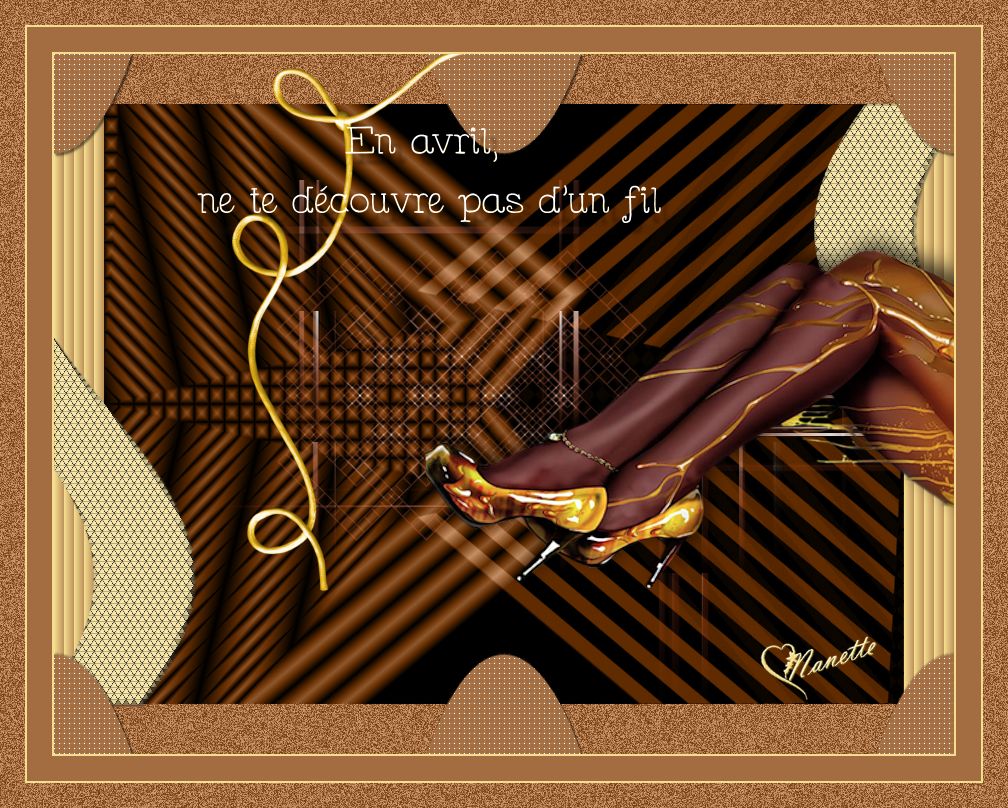
The tube of this version is by MMDesigns.


Your versions. Thanks

Nanette

If you have problems or doubts, or you find a not worked link, or only for tell me that you enjoyed this tutorial, write to me.
22 May 2014
|


 with the gradient.