|
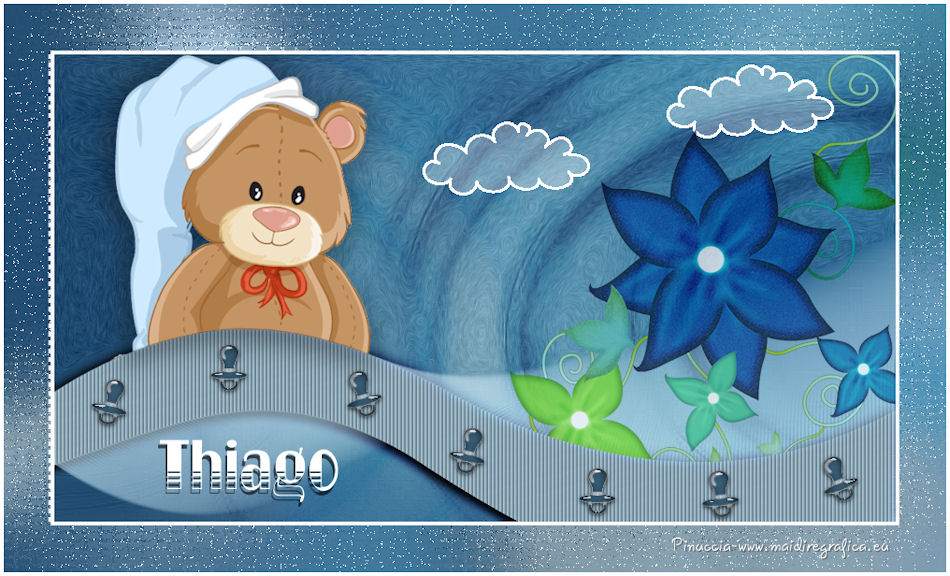
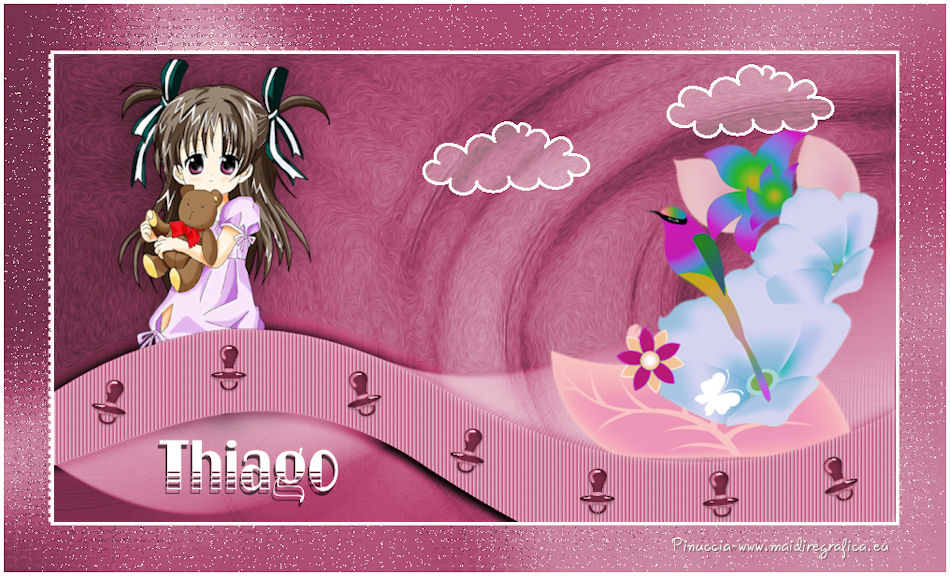
THIAGO
english version
Thank you Sabine for inviting to translate your tutorials into english.

This tutorial is a personal creation of Sabine and it is prohibited to copy or distribute it on the net (forums, groupes.. etc), or to use it on commercials sites.
This tutorial was created with Corel16 and translate with CorelX3, but can also be made using other versions of PSP.
Since version PSP X4, Image>Mirror was replaced with Image>Flip Horizontal,
and Image>Flip with Image>Flip Vertical, there are some variables.
In versions X5 and X6, the functions have been improved by making available the Objects menu.
In the latest version X7 command Image>Mirror and Image>Flip returned, but with new differences.
See my schedule here
For this tutorial, you will need:
Material here
Plugins
consult, if necessary, my filter section here
Alien Skin Eye Candy 5 Impact - Glass, Perspective Shadow here
Eye Candy 4000 - Motion Trail here
Alien Skin Eye Candy 5 Texture - Swirl here

You can change Blend Modes according your colors.
Open the font and minimize. You'll find it in the list of fonts available when you need it.
With the most recent o.s., this is no longer possible.
To use a font, you must copy it into the Fonts folder in Windows.
Copy the preset  in the folders of the plugins Alien Skin Eye Candy 5 Impact>Settings>Shadow in the folders of the plugins Alien Skin Eye Candy 5 Impact>Settings>Shadow
and Alien Skin Eye Candy 5 Texture>Settings>Swirl.
One or two clic on the file (it depends by your settings), automatically the preset will be copied in the right folder.
why one or two clic see here
Copy the selections in the Selections Folder.
Open the mask in PSP and minimize it with the rest of the material.
If you use an old version of PSP, when you open a tube you can have this message.
Don't worry, clic ok and go on.

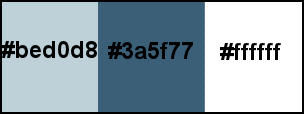
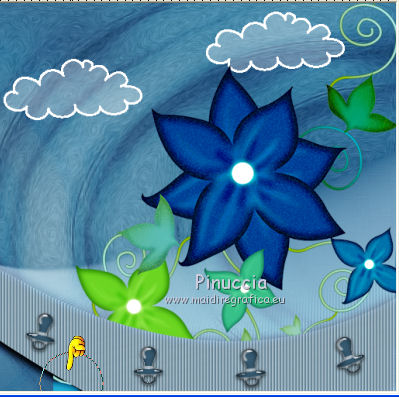
The colors that we shall use
The background.
1. Open a new transparent image 900 x 500 pixels.
Set your foreground color to #bed0d8,
and your background color to #3a5f77.

Flood Fill  the image with your foreground color. the image with your foreground color.
2. Layers>New Raster Layer (raster 2).
Flood fill the layer with your dark background color.
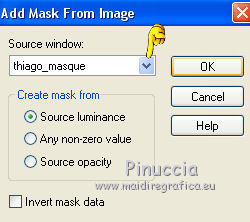
3. Layers>New Mask layer>From image
Open the menu under the source window and you'll see all the files open.
Select the mask thiago_masque
Effects>Edge Effects>Enhance More.
Layers>Duplicate.
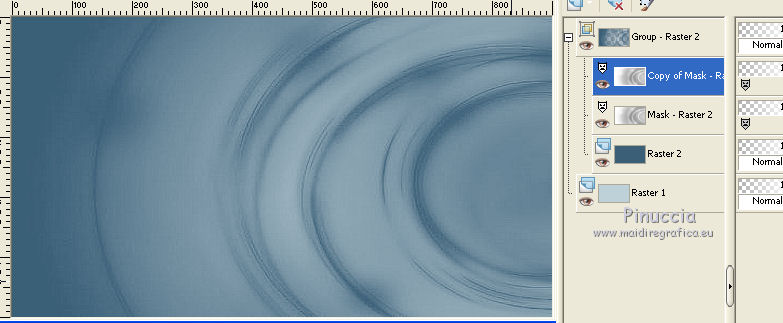
Layers>Merge>Merge group.
4. Layers>Duplicate.
Image>Mirror.
Change the Blend mode of this layer to Overlay, opacity 100.

Layers>Merge>Merge visible.
Decorations.
1. Layers>New Raster Layer 1.
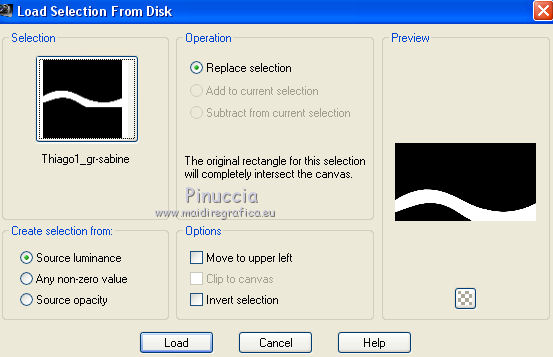
Selections>Load/Save Selection>Load Selection from Disk.
Look for and load the selection Tiago1_gr-sabine.
Flood Fill with your light foreground color.
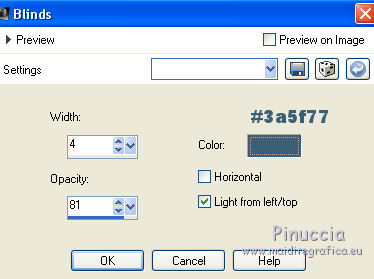
Effects>Texture Effects>Blinds - your dark color.
Selections>Select None.
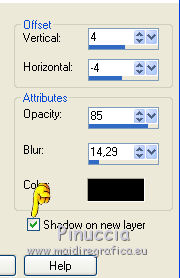
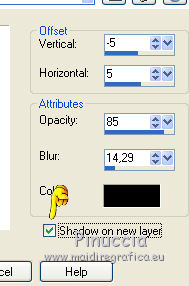
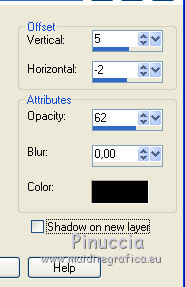
2. Effects>3D Effects>Drop shadow, color black
Shadow on the new layer checked
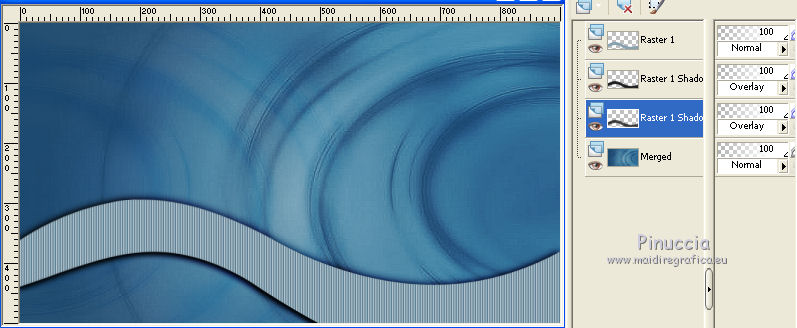
Change the Blend mode of this layer to Overlay, opacity 100.
Effects>3D Effects>Drop Shadow, color black,
Change the Blend mode of this layer to Overlay, opacity 100.
3. Activate the top layer (Raster 1).
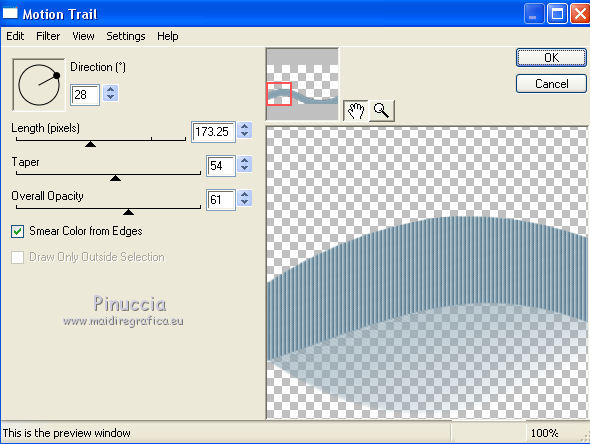
Effects>Plugins>Eye Candy 4000 - Motion Trail.
Change the Blend Mode of this layer to Screen, opacity 100.
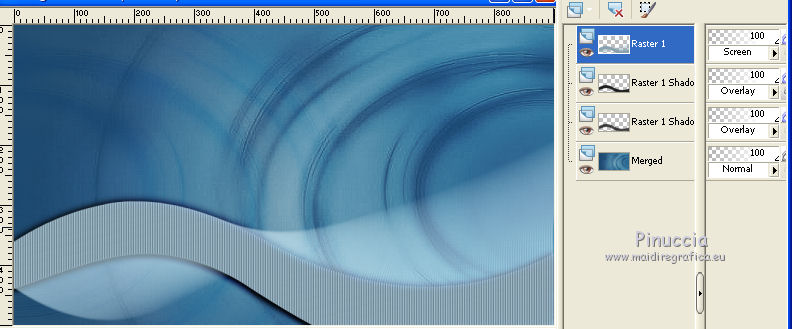
Layers>Merge>Merge visible.
Open the tube Thiago Deco Gr-Sabine - Edit>Copy.
Go back to your work and go to Edit>Paste as new layer (raster 1).
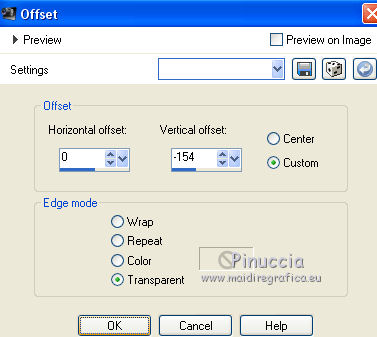
Effects>Image Effects>Offset.
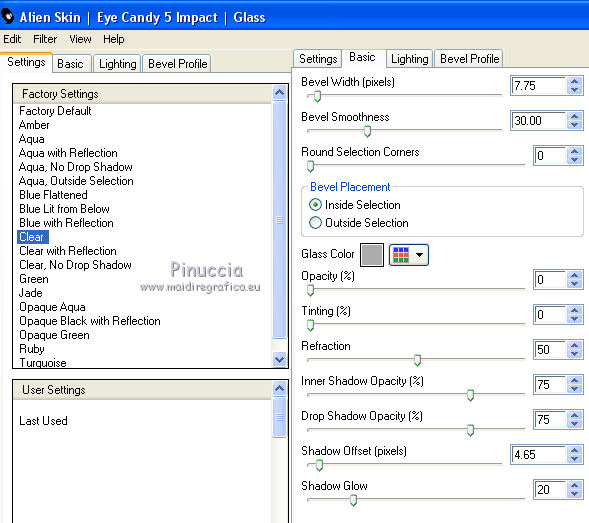
Effects>Plugins>Alien Skin Eye Candy 5 Impact - Glass.
Select the preset Clear and ok.
5. Activate the bottom layer (merged).
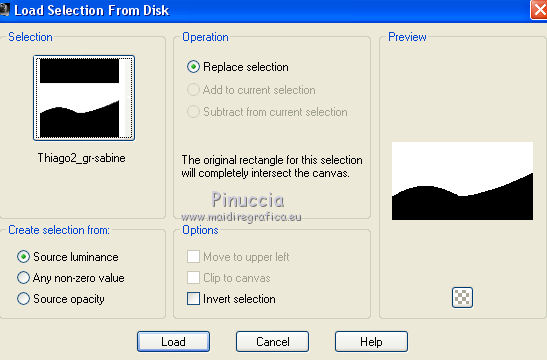
Selections>Load/Save Selection>Load Selection from Disk.
Look for and load the selection Thiago2_gr-sabine.
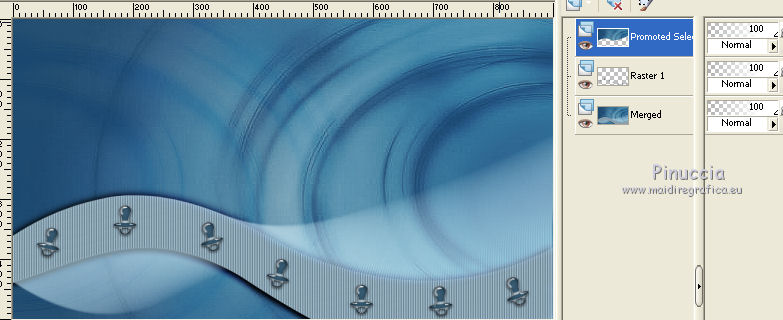
Selections>Promote Selection to Layer.
Selections>Select None.
Layers>Arrange>Bring to Top.
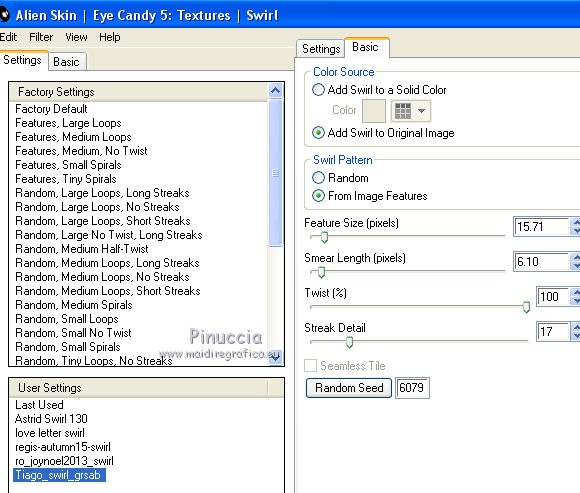
6. Effects>Plugins>Alien Skin Eye Candy 5 Texture - Swirl.
Select the preset Tiago_swirl_grsab and ok.
Below the settings, if you have problems with the preset.
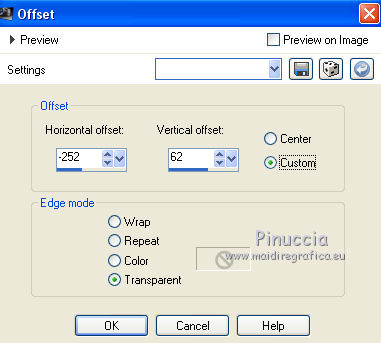
7. Open the tube Thiago Gr-Sabine - Edit>Copy.
Go back to your work and go to Edit>Paste as new layer (raster 2).
Effects>Image Effects>Offset.
Selections>Load/Save Selection>Load Selection from Disk.
Load again the selection Thiago1_gr-sabine.
Press CANC on the keyboard 
Selections>Select None.
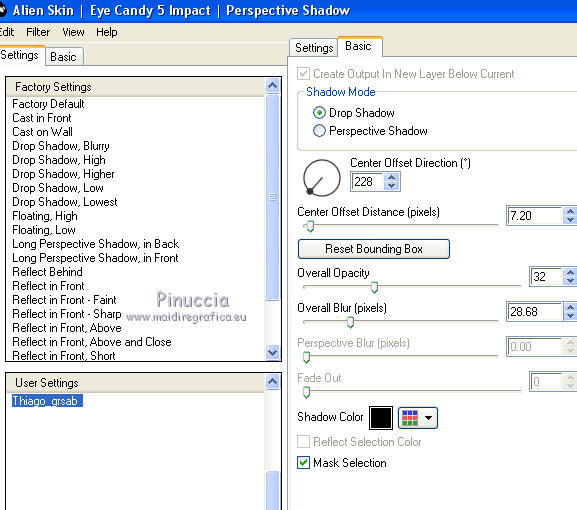
8. Effects>Plugins>Alien Skin Eye Candy 5 Impact - Perspective Shadow.
Select the preset thiago_grsab and ok.
Below the settings, if you have problems with the preset.
9. Layers>New Raster Layer (Raster 3).
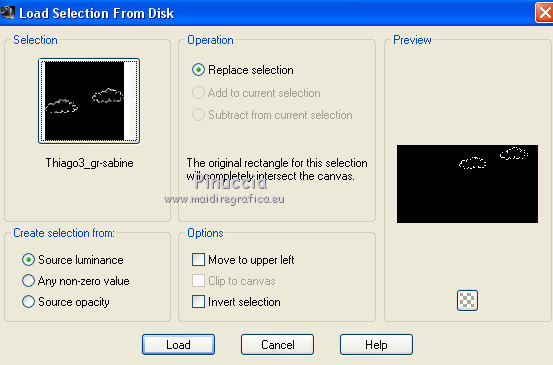
Selections>Load/Save Selection>Load Selection from Disk.
Look for and load the selection Tiago3_gr-sabine.
Set your foreground color to white.
Flood Fill the selection with color white.
Zoom  to see better the selection. to see better the selection.

Selections>Select None.
Activate the Magic Wand Tool 

Clic in the middle of the clouds to select them.
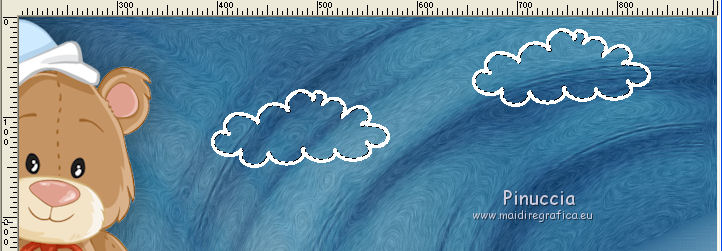
Change the opacity of the Flood Fill Tool to 30%
and flood fill the clouds nuvole with color white.
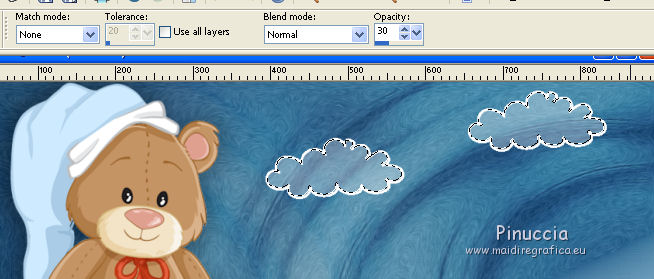
Set again the opacity to 100.
Selections>Select None.
10. Open the tube Thiago Fleurs Gr-Sabine - &Edit>Copy.
Go back to your work and go to Edit>Paste as new layer (raster 4).
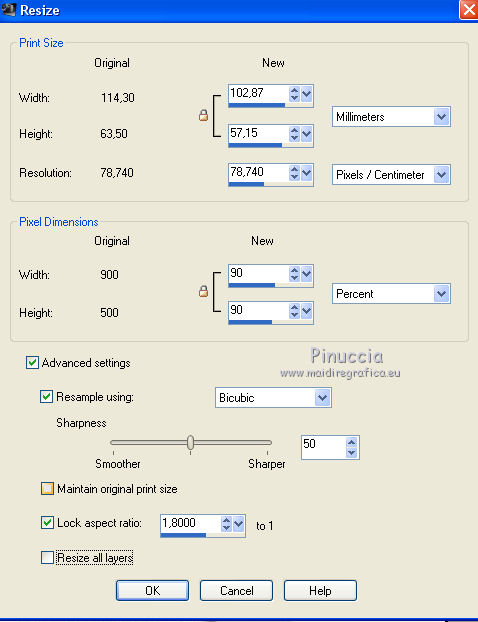
Image>Resize, to 90%, resize all layers not checked.
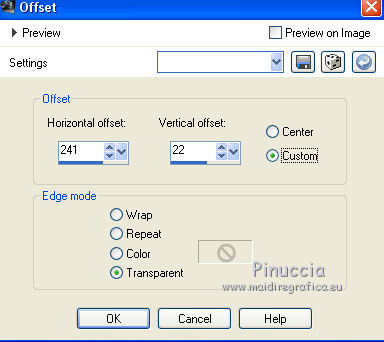
Effects>Image Effects>Offset.
Selections>Load/Save Selection>Load Selection from Disk.
Load again the selection Tiago1_gr-sabine.
Press CANC on the keyboard
Selections>Select None.
Activate the Eraser Tool 
and erase the little point en bas.
Change the opacity of this layer to 71%.
11. Close the foreground color and set your background color to white.
Activate the Text tool 
font BDMiamiSkyline.ttf

Write the name Thiago and place it where you like.
Layers>Convert to Raster Layer (Raster 5).
Effects>3D Effects>Drop Shadow, as you like. For me
12. Layers>Merge>Merge All.
Edit>Copy.
Image>Add borders, 4 pixels, symmetric, color #ffffff.
Image>Add borders, 50 pixels, symmetric, color #3a5f77.
Select this border with your magic wand tool
Edit>Paste into Selection.
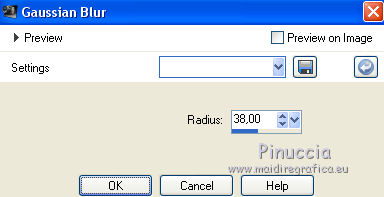
Adjust>Blur>Gaussian blur - radius 38.
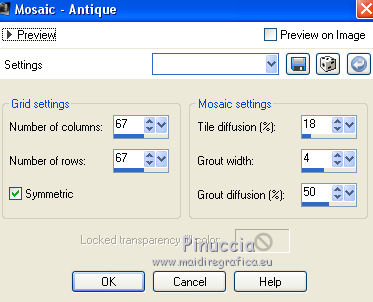
Effects>Texture Effects>Mosaic antique.
Selections>Select None.
Sign your work on a new layer.
Image>Add borders, 4 pixels, symmetric, color #ffffff.
Image>Resize, 950 pixels width, resize all layers checked.
Save as jpg.
The tubes of this version are by Willeke et GraphSabine
Your versions. Thanks
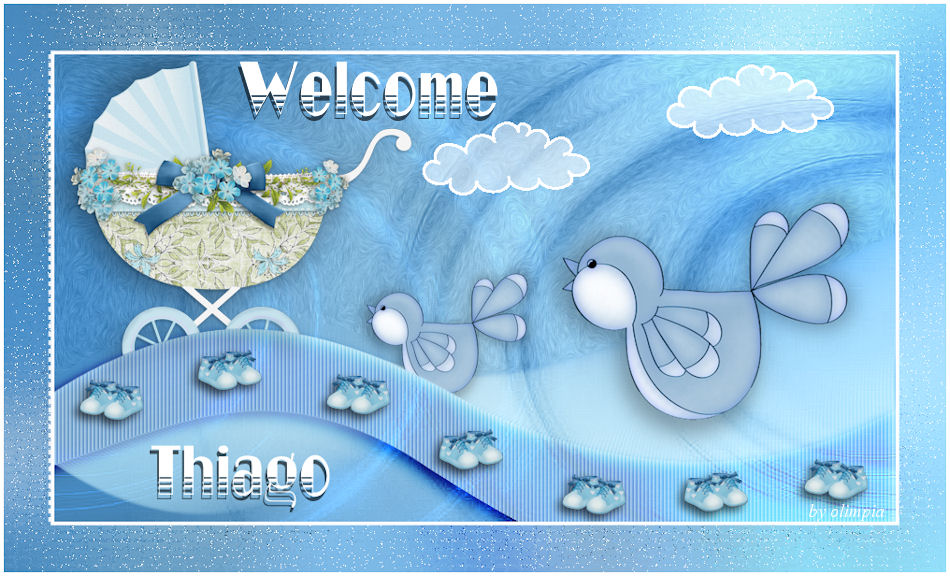
Olimpia

Marie K
If you have problems or doubts, or you find a not worked link, or only for tell me that you enjoyed this tutorial, write to me.
6 September 2016
|