|
ANGELSTAR  

This tutorial was written with Psp2022 and translated with PspX2020, but it can also be made using other versions of PSP.
For this tutorial, you will need:  For the tube thanks PqnaAlice. (The links of the tubemakers here).   consult, if necessary, my filter section here Filters Unlimited 2.0 here Simple - Top Left Mirror here AAA Filters - Foto Frame here Graphics Plus - Cross Shadow here Textures - Craquelure, Patchwork here Mura's Seamless - Emboss at Alpha here Filters Mura's Seamless, Graphics Plus and Simple can be used alone or imported into Filters Unlimited. (How do, you see here) If a plugin supplied appears with this icon You can change Blend Modes according to your colors.  1. Choose 3 colors to work. Set your foreground color to #49565f, and your background color to #ddeae3. color 3: #000000 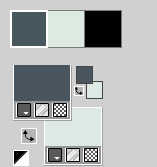 Color 3: #000000. 2. Open Alpha_AngelStar Window>Duplicate or, on the keyboard, shift+D to make a copy. Close the original. The copy, that will be the basis of your work, is not empty, but contains the selections saved to alpha channel. Flood Fill  the transparent image with your foreground color. the transparent image with your foreground color.Selections>Select All. Open the misted 1043MulherByPqnaAlice 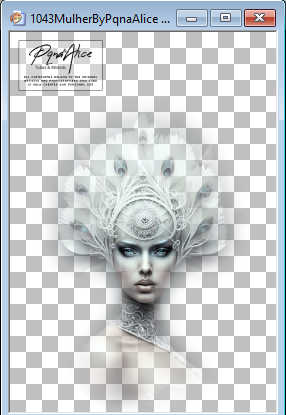 Edit>Copy. Go back to your work and go to Edit>Paste Into Selection. Selections>Select None. 3. Effects>Image Effects>Seamless Tiling, default settings.  Adjust>Blur>Radial Blur. 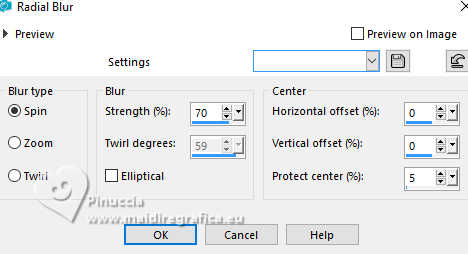 4. Effects>Effects>Plugins>Simple - Top Left Mirror. 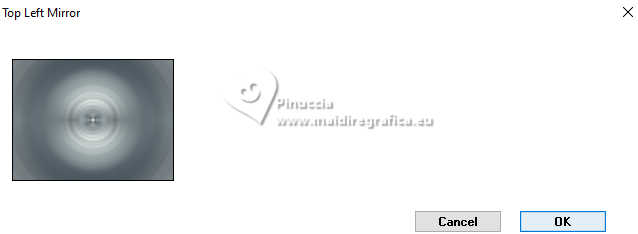 Effects>Plugins>Textures>Craquelure. 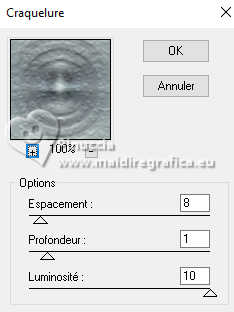 5. Selections>Load/Save Selections>Load Selection From Alpha Channel The selection selection #1 is immediately available. You just have to click Load. 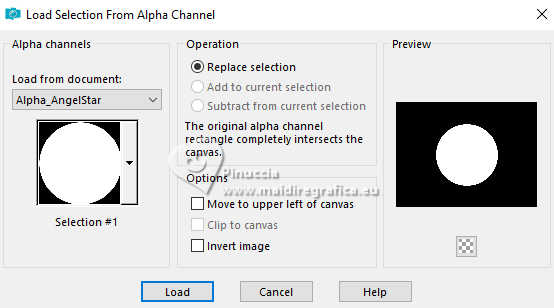 Selections>Promote Selection to Layer. Selections>Select None. 6. Effects>Image Effects>Seamless Tiling. 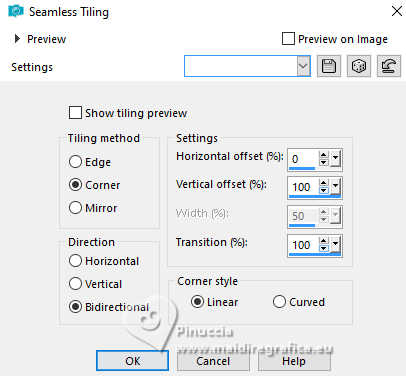 Change the Blend Mode of this layer to Overlay. 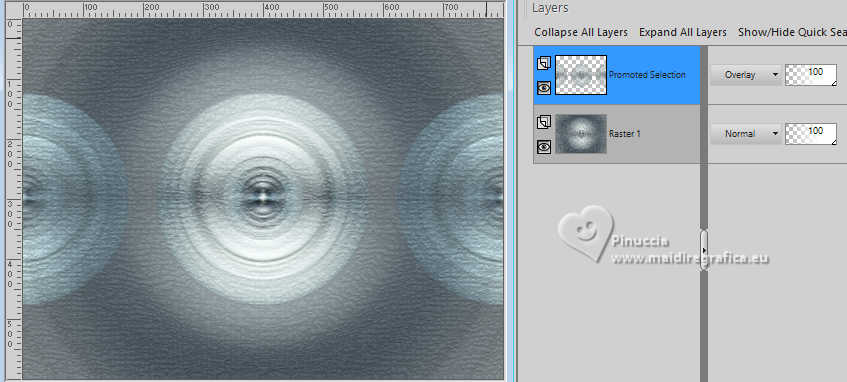 7. Activate the layer Raster 1. Selections>Load/Save Selections>Load Selection From Alpha Channel. Open the selections menu and load the selection Selection #2 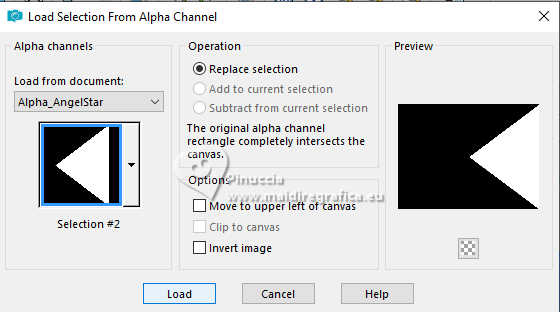 Layers>New Raster Layer. Reduce the opacity of your Flood Fill Tool to 20%. Flood Fill  the selection with your background color. the selection with your background color.Selections>Select None. don't forget to set again the opacity of your Flood Fill Tool to 100 8. Selections>Load/Save Selections>Load Selection From Alpha Channel. Open the selections menu and load the selection Selection #3 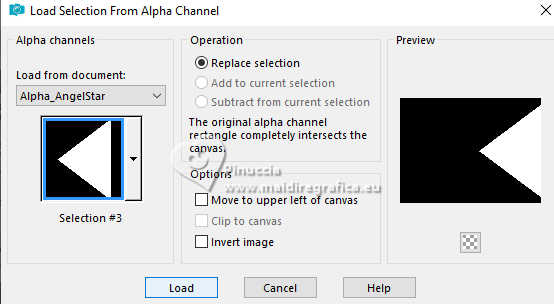 Press CANC on the keyboard  Selections>Select None. Effects>Distortion Effects>Wave 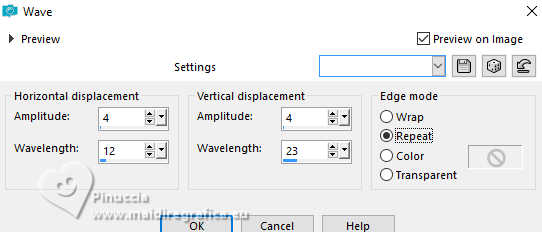 9. Effects>Image Effects>Seamless Tiling, Side by Side.  10. Effects>Plugins>Mura's Seamless - Emboss at Alpha, default settings. 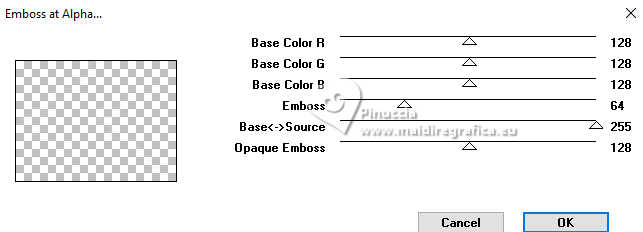 Edit>Repeat Emboss at Alpha. Change the Blend Mode of this layer to Dodge. 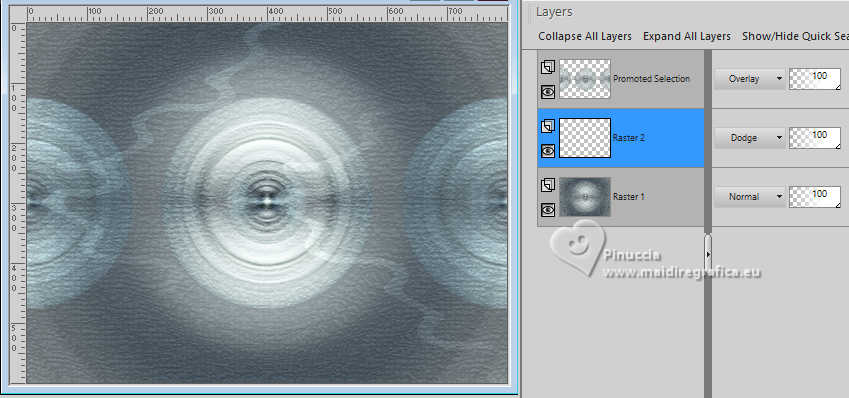 11. Layers>Duplicate. Pick Tool  Position X: -284,00 - Position Y: 160,00.  Activate your Crop Tool, set Freeform  click on Merged Opaque and Apply  to close to close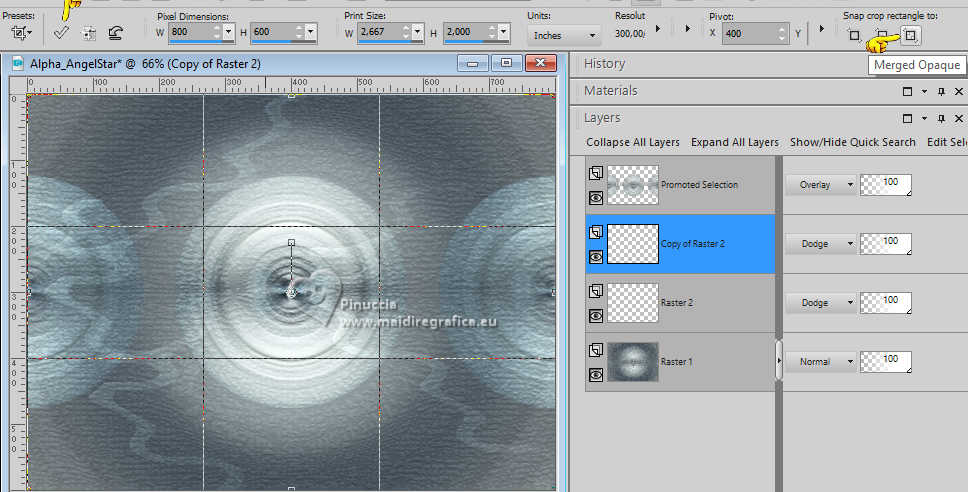 12. Layers>Duplicate. Image>Mirror>Mirror Horizontal. Image>Mirror>Mirror Vertical. 13. Activate your top layer. Open DecorAS_BySoxikibem 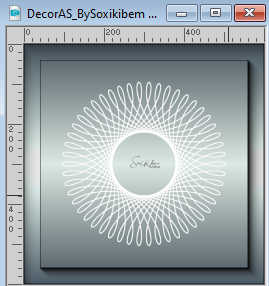 Edit>Copy. To back to your work and go to Edit>Paste as new layer. Effects>Plugins>Mura's Seamless - Emboss at Alpha, default settings. 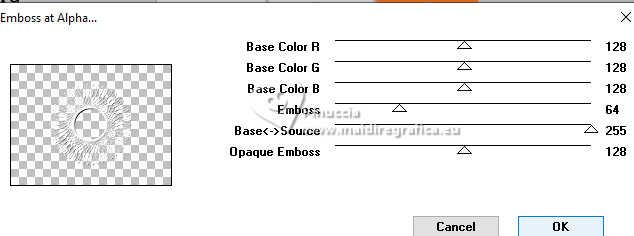 14. Effects>Image Effects>Seamless Tiling, same settings.  15. Selections>Load/Save Selections>Load Selection From Alpha Channel. Open the selections menu and load the selection Selection #4 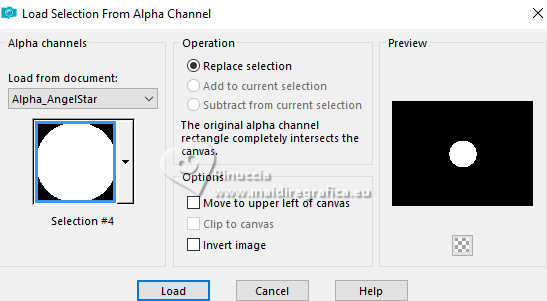 Layers New Raster Layer. Activate again the misted 1043MulherByPqnaAlice and go to Edit>Copy. Go back to your work and go to Edit>Paste Into Selection. Adjust>Sharpness>Sharpen. Selections>Select None. 16. Layers>Duplicate. Effects>Image Effects>Seamless Tiling, same settings.  17. Effects>Plugins>Textures - Patchwork. 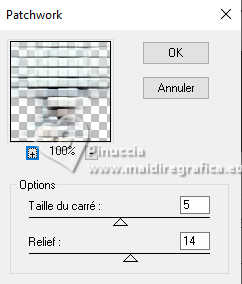 Layers>Arrange>Move Down. Reduce the opacity of this layer to 70%. Effects>Edge Effects>Enhance. 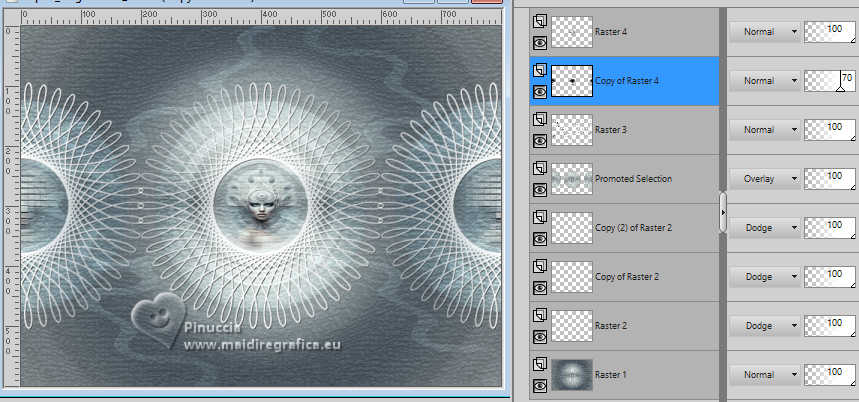 18. Activate your top layer. Open DecorAS_BySoxikibem2 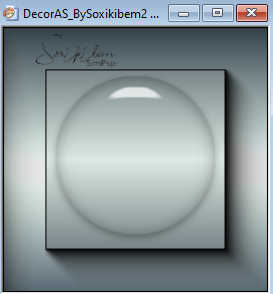 Edit>Copy. Go back to your work and go to Edit>Paste a New Layer. 19. Activate the layer Raster 1. Open DecorAS_BySoxikibem3 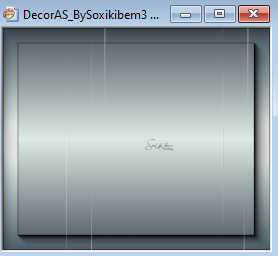 Edit>Copy. Go back to your work and go to Edit>Paste a New Layer. Pick Tool  Position X: 36,00 - Position Y: 0,00.  20. Open DecorAS_BySoxikibem4 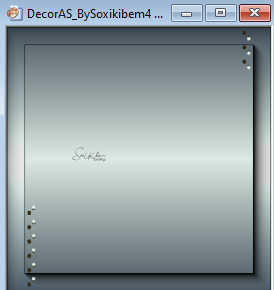 Edit>Copy. Go back to your work and go to Edit>Paste a New Layer. Pick Tool  Position X: 181,00 - Position Y: 9,00.  21. Layers>Merge>Merge visible. Layers>Duplicate. Image>Resize, to 90%, resize all layers not checked. 22. Activate the layer Merged. Effects>Plugins>AAA Filters - Foto Frame. 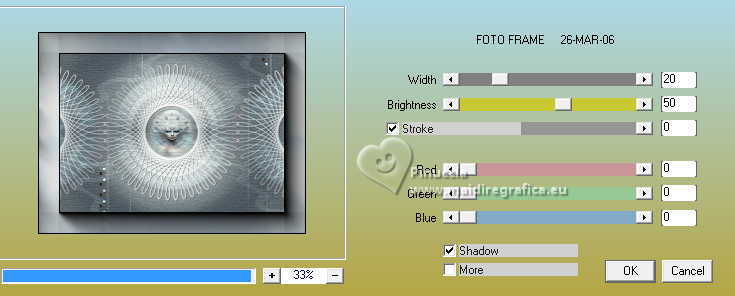 attention, please, this is the version with Foto Frame in AAA Filters I put the link before the translation here 23. Edit>Copy Special>Copy Merged. Image>Canvas Size - 900 x 700 pixels. 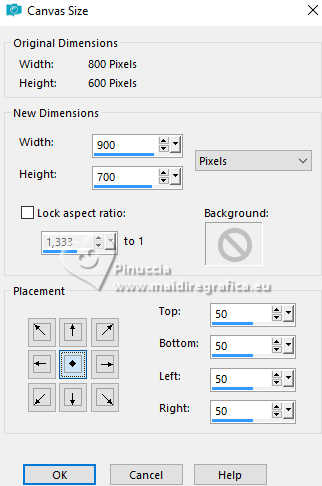 24. Activate your Magic Wand Tool  click in the transparent part to select it. Edit>Paste Into Selection. Effects>Plugins> Graphics Plus - Cross Shadow. 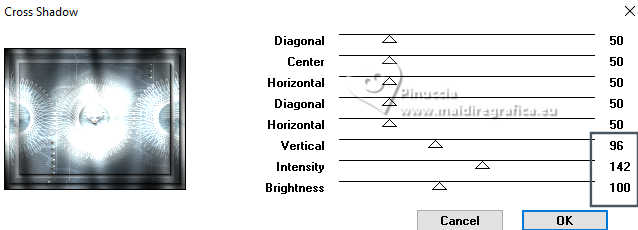 Selections>Select None. 25. Activate your top layer. Activate again your main tube 1043MulherByPqnaAlice and go to Edit>Copy. Go back to your work and go to Edit>Paste as new layer. For the supplied tube: Pick Tool  Position X: -29,00 - Position Y: -163,00.  26. Open Titulo_AS_ByXiki 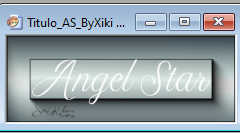 Edit>Copy. Go back to your work and go to Edit>Paste as new layer. Pick Tool  Position X: 455,00 - Position Y: 538,00.  Effects>3D Effects>Drop Shadow, colore black #000000. 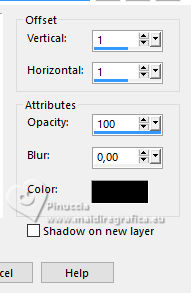 Effects>3D Effects>Drop Shadow, color black #000000. 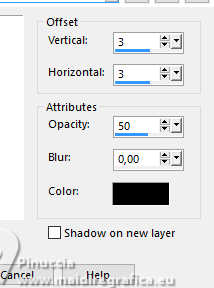 Change the Blend Mode of this layer to Overlay. 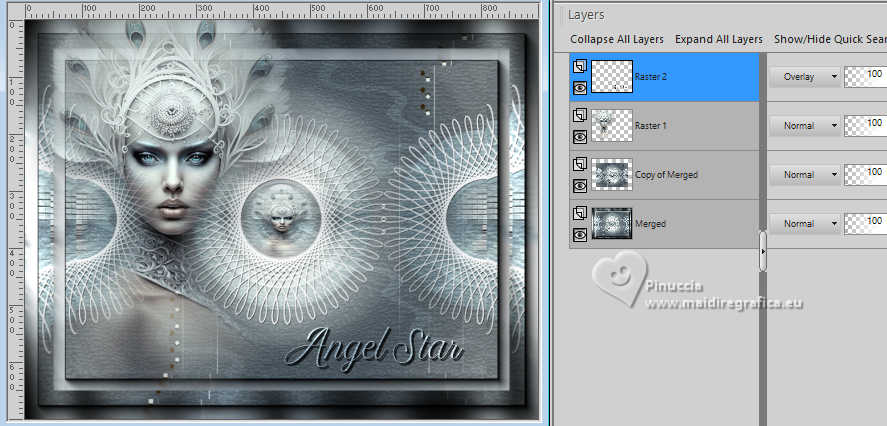 27. Image>Add Borders, 1 pixel, symmetric, color black #000000. 28. Image>Resize, if you want. Sign your work and save as jpg. For the tube of this version thanks Béa   Your versions. Thanks 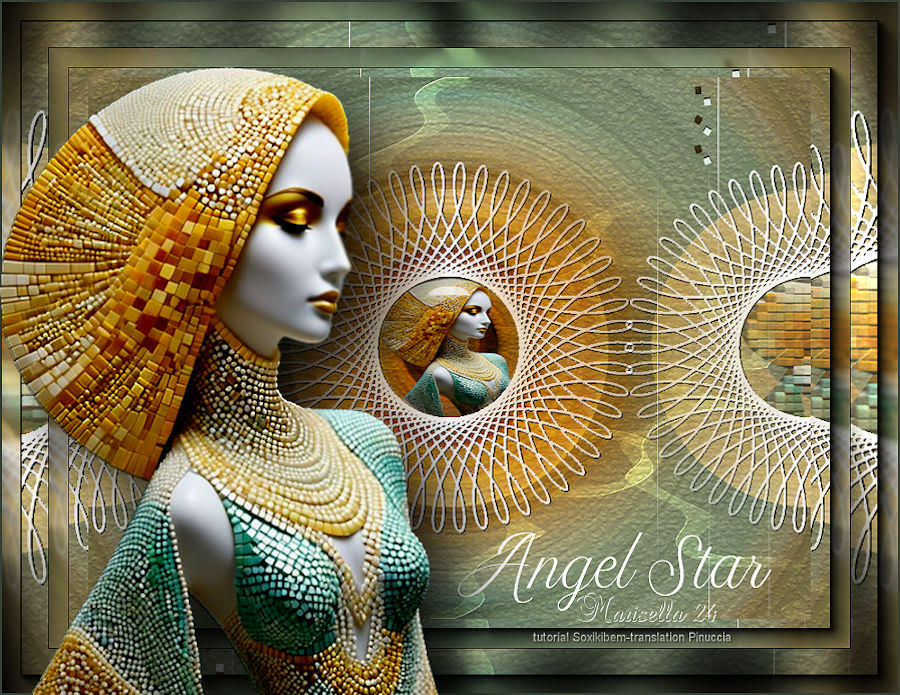 Marisella  Lidia  Marion  Lynnette  Pia 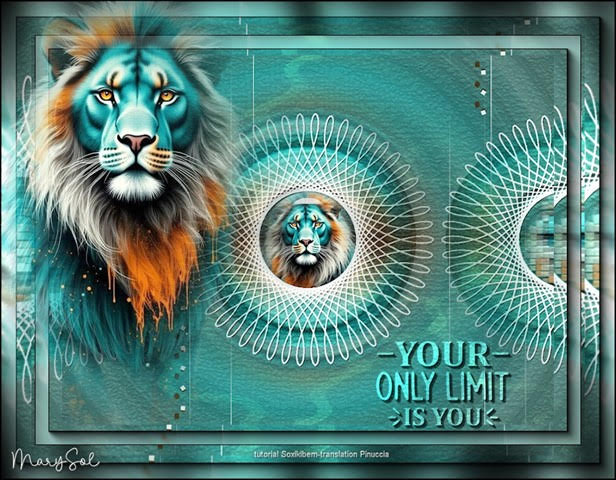 Marysol   If you have problems or doubts, or you find a not worked link, or only for tell me that you enjoyed this tutorial, write to me. |


