|
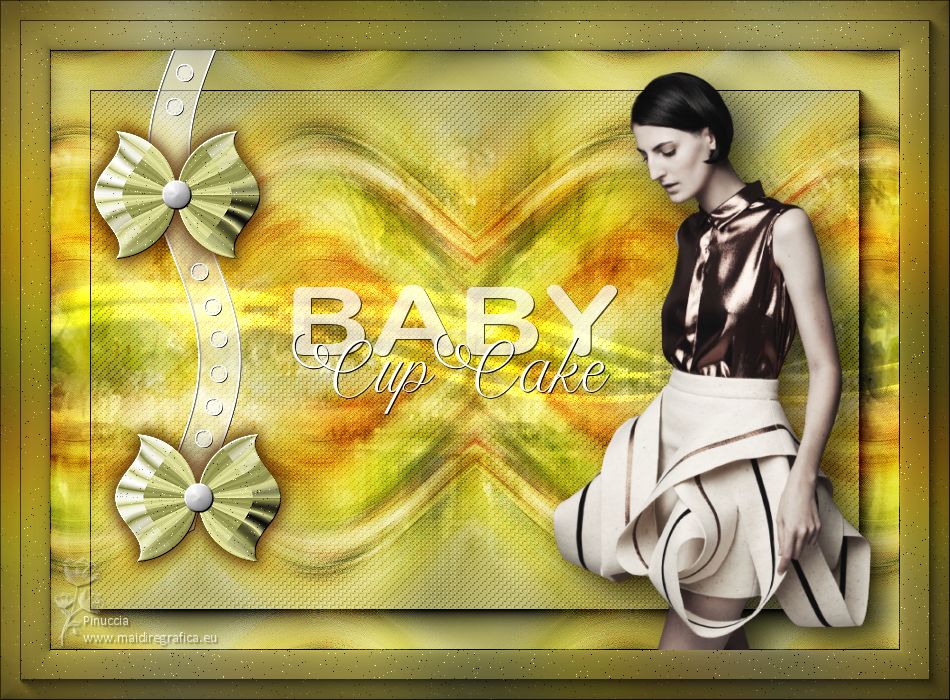
BABY CUP CAKE


Thanks Soxikibem for your invitation to translate your tutorials into english

This tutorial was written with Psp2022 and translated with PspX17, but it can also be made using other versions of PSP.
Since version PSP X4, Image>Mirror was replaced with Image>Flip Horizontal,
and Image>Flip with Image>Flip Vertical, there are some variables.
In versions X5 and X6, the functions have been improved by making available the Objects menu.
In the latest version X7 command Image>Mirror and Image>Flip returned, but with new differences.
See my schedule here
For this tutorial, you will need:

Thanks for the tubes PqnaAlice and for the mask thanks Narah.
The rest of the material is by Soxikibem.
(The links of the tubemakers here).

consult, if necessary, my filter section here
Filters Unlimited 2.0 here
AAA Frames - Foto Frame here
Toadies - Sucking Toad Bevel III here
Flaming Pear - Flexify 2 here
It@lian Editors Effect - Effetto Fantasma here
Mura's Seamless - Emboss at Alpha here
Refractor Filters - Radial Texturizer here
Filters Toadies, It@lian Editors et Mura's Seamless can be used alone or imported into Filters Unlimited.
(How do, you see here)
If a plugin supplied appears with this icon  it must necessarily be imported into Unlimited it must necessarily be imported into Unlimited

You can change Blend Modes according to your colors.

1. Choose 2 colors from your material.
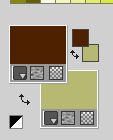
Foreground color #4f2303,
background color #b7b872
2. Open a new transparent image 850 x 600 pixels.
Flood Fill  the transparent image with your background color. the transparent image with your background color.
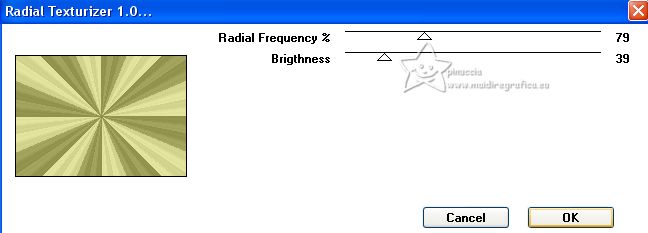
3. Effects>Plugins>Refractor Filters - Radial Texturizer 1.0.
4. Effects>Image Effects>Seamless Tiling, default settings.

Layers>Duplicate.
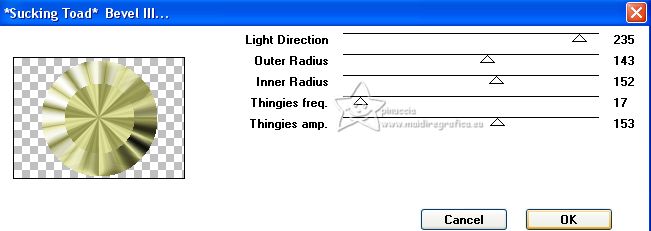
Effects>Plugins>Toadies - Sucking Toad Bevel III.
Close this layer (Copy of Raster 1).
5. Activate the layer Raster 1.
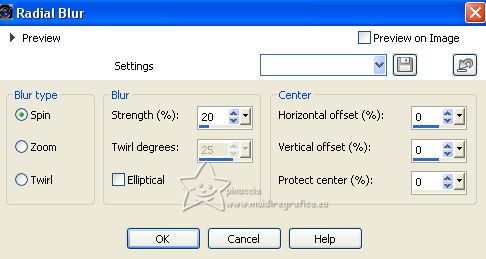
Adjust>Blur>Radial Blur.
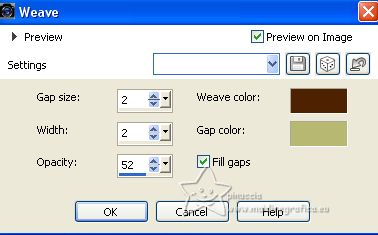
6. Effects>Texture Effects>Weave
weave color: foreground color
gap color: background color
7. Layers>New Raster Layer.
Selections>Select All.
Open the landscape tube 100PaisagemByPqnaAlice 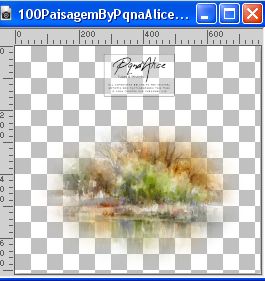
Erase the watermark and go to Edit>Copy.
Go back to your work and go to Edit>Paste into Selection.
Selections>Select None.
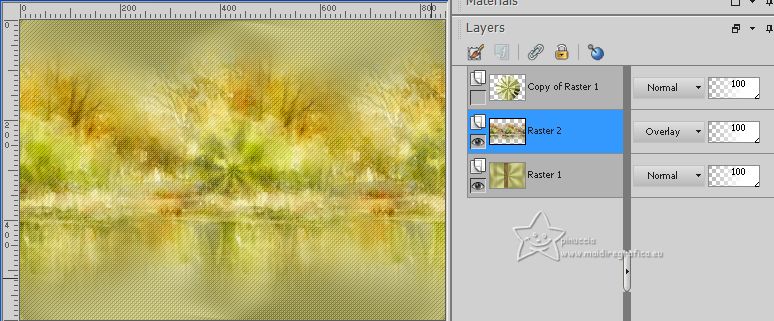
8. Effects>Image Effects>Seamless Tiling.

Change the Blend Mode of this layer to Overlay.
9. Layers>Duplicate.
Adjust>Blur>Motion Blur.

Edit>Repeat Motion Blur.
Effects>Edge Effects>Enhance.
Edit>Repeat Enhance Edges.
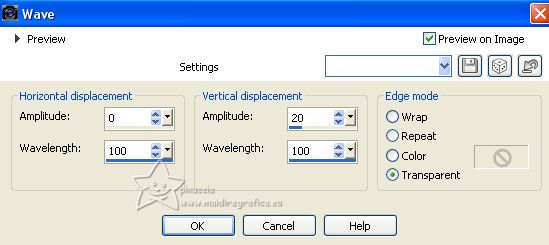
10. Effects>Distortion Effects>Wave.
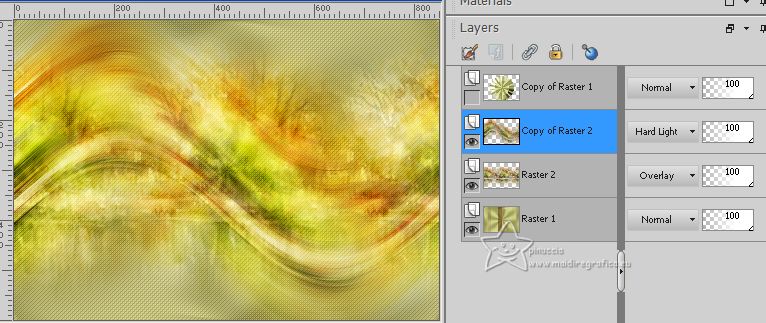
Change the Blend Mode of this layer to Hard Light.
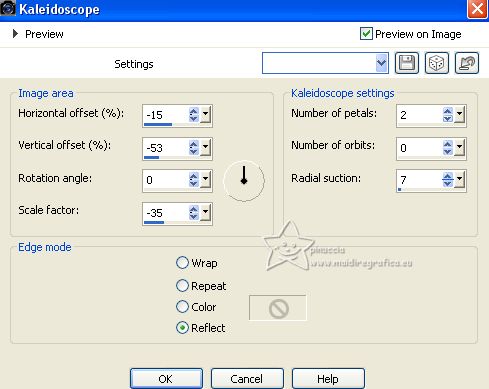
11. Effects>Reflection Effects>Kaleidoscope.
12. Layers>New Raster Layer.
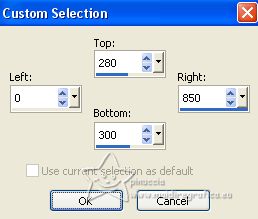
Selection Tool 
(no matter the type of selection, because with the custom selection your always get a rectangle)
clic on the Custom Selection 
and set the following settings.
13. Selections>Modify>Feather - 8 pixels.
Set your background color to white.
Flood Fill  the selection with color white. the selection with color white.
Selections>Select None.
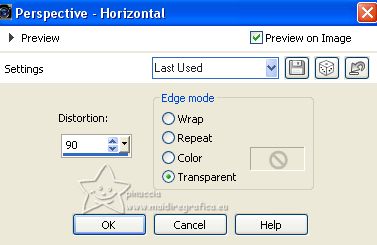
Effects>Geometric Effects>Perspective Horizontal.
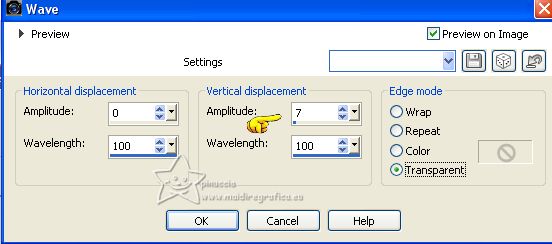
Effects>Distortion Effects>Wave.
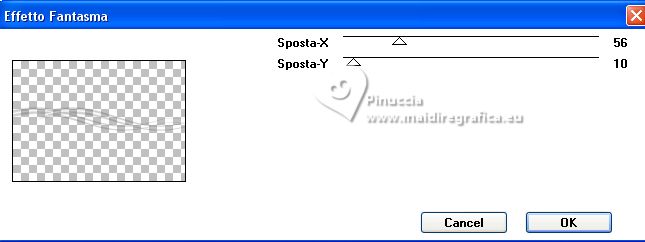
14. Effects>Plugins>It@lian Editors Effect - Effetto Fantasma.
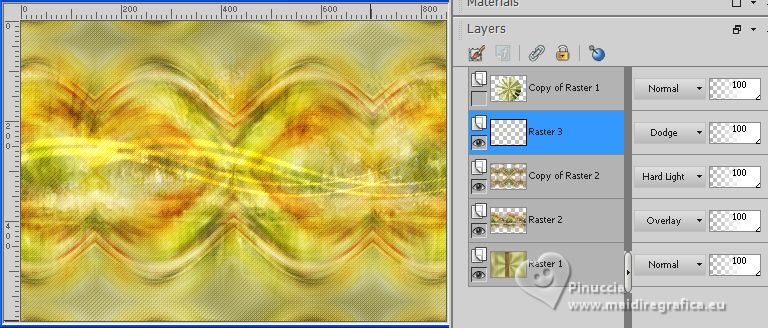
Change the Blend Mode of this layer to Dodge.
15. Effects>Plugins>Mura's Seamless - Emboss at Alpha, default settings.
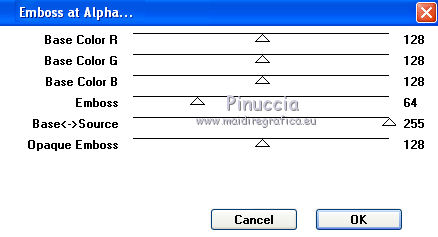
Repeat this Effect another time.
16. Reopen and activate the top layer Copy of Raster 1.
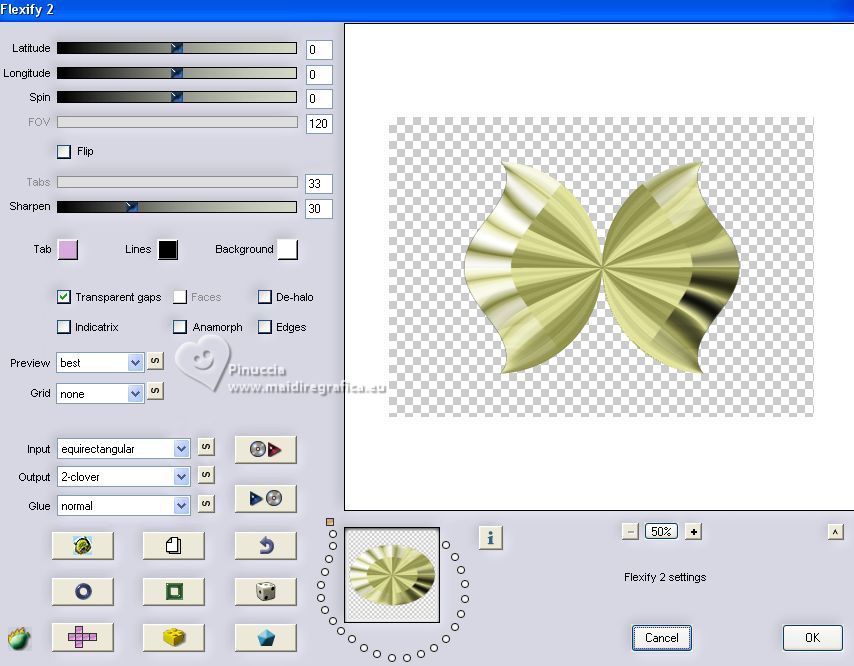
Effects>Plugins>Flaming Pear - Flexify 2.
17. Image>Resize, 30%, resize all layers not checked.
K key to activate your Pick Tool 
and set Position X: 23,00 and Position Y: 60,00.

Effects>Plugins>Mura's Seamless - Emboss at Alpha, default settings.
18. Layers>Duplicate.
Set Position X: 44,00 and Position Y: 363,00.

Layers>Merge>Merge Down.
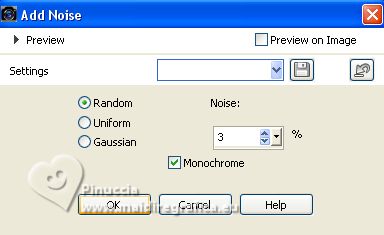
19. Adjust>Add/Remove Noise>Add Noise.
Effects>3D Effects>Drop Shadow, foreground color #4f2303.
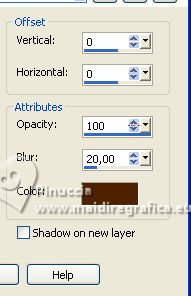
Edit>Repeat Drop Shadow.
Pick Tool 
and set Position X: 23,00 and Position Y: 60,00.

20. Open Decor1BySoxikibem 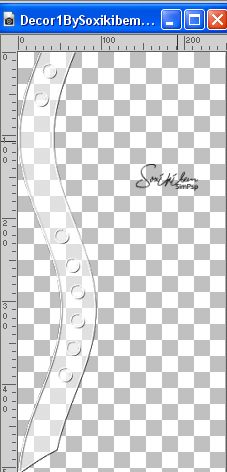
Erase the watermark and go to Edit>Copy.
Go back to your work and go to Edit>Paste as new layer.
Layers>Arrange>Move Down.
Pick Tool 
and set Position X: 97,00 and Position Y: 0,00.

21. Activate your top layer.
Open Decor2BySoxikibem 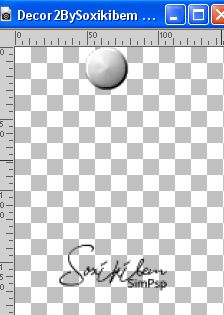
Erase the watermark and go to Edit>Copy.
Go back to your work and go to Edit>Paste as new layer.
Set Position X: 112,00 and Position Y: 130,00.

22. Activate the layer Raster 1.
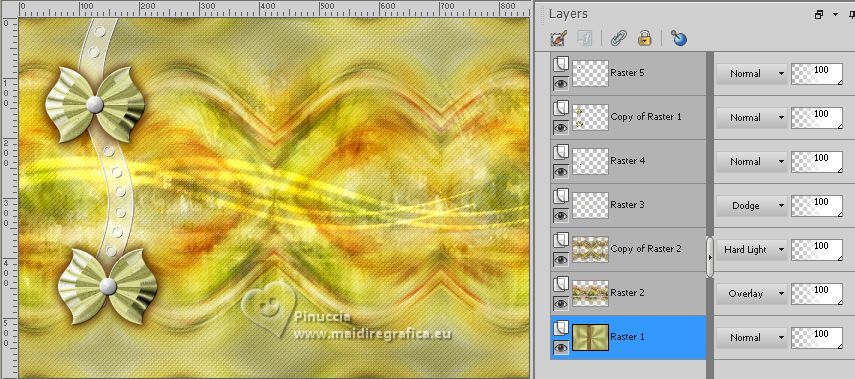
Effects>Plugins>AAA Frames - Foto Frame.
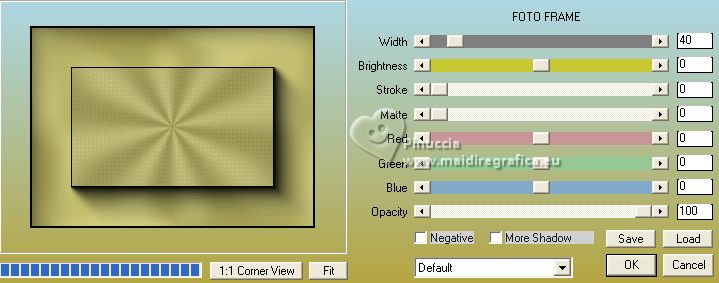
23. Activate your top layer.
Open TituloBySoxikibem 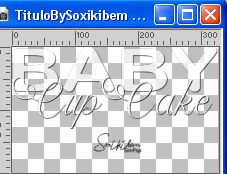
Erase the watermark and go to Edit>Copy.
Go back to your work and go to Edit>Paste as new layer.
Set Position X: 242,00 and Position Y: 235,00.

24. Open the woman's tube 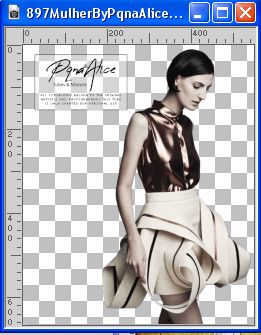
Erase the watermark and go to Edit>Copy.
Go back to your work and go to Edit>Paste as new layer.
Image>Mirror.
Image>Resize, to 90%, resize all layers not checked.
Move  the tube to the right side. the tube to the right side.
Effects>3D Effects>Drop Shadow or an effect at your choice.
25. Close the layer of the tube.
Edit>Copy Special>Copy Merged.
Open again the layer of the tube.
Layers>Merge>Merge All.
26. Selections>Select All.
Image>Add Borders, 50 pixels, symmetric, whatever color.
Selections>Invert.
Edit>Paste into Selection.
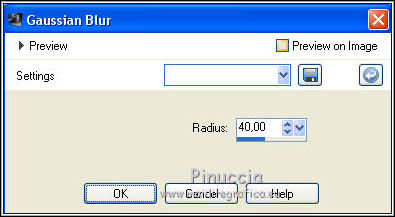
27. Adjust>Blur>Gaussian Blur - 40 pixels.
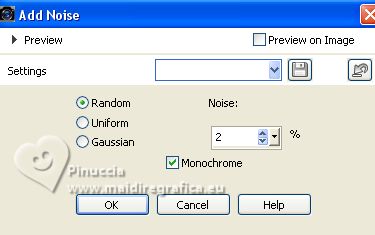
Adjust>Add/Remove Noise>Add Noise.
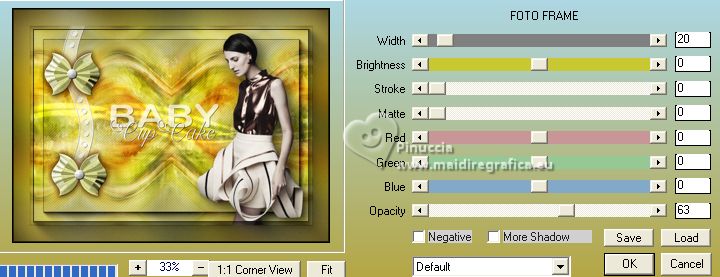
28. Effects>Plugins>AAA Frames - Foto Frame.
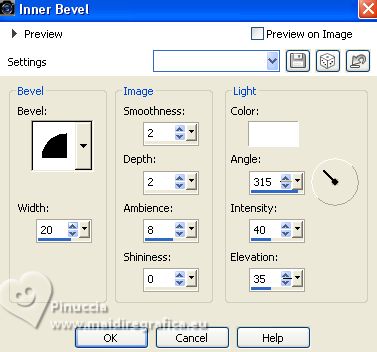
29. Effects>3D Effects>Inner Bevel.
Selections>Select None.
30. Sign your work and save as jpg.
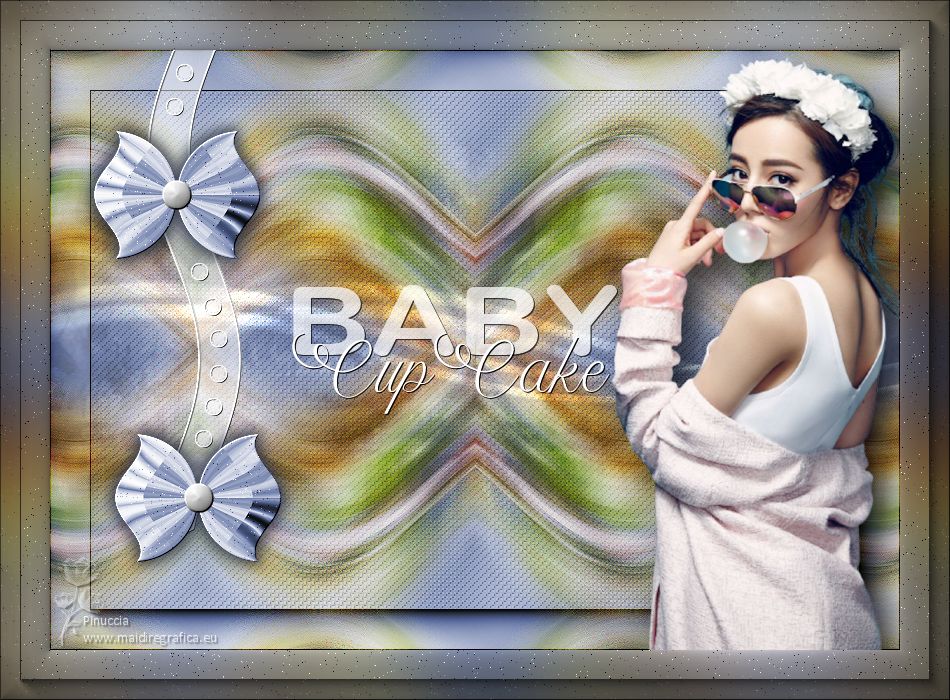
For the tube of this version thanks Renée


If you have problems or doubts, or you find a not worked link, or only for tell me that you enjoyed this tutorial, write to me.
1 July 2023

|

