|
BEA  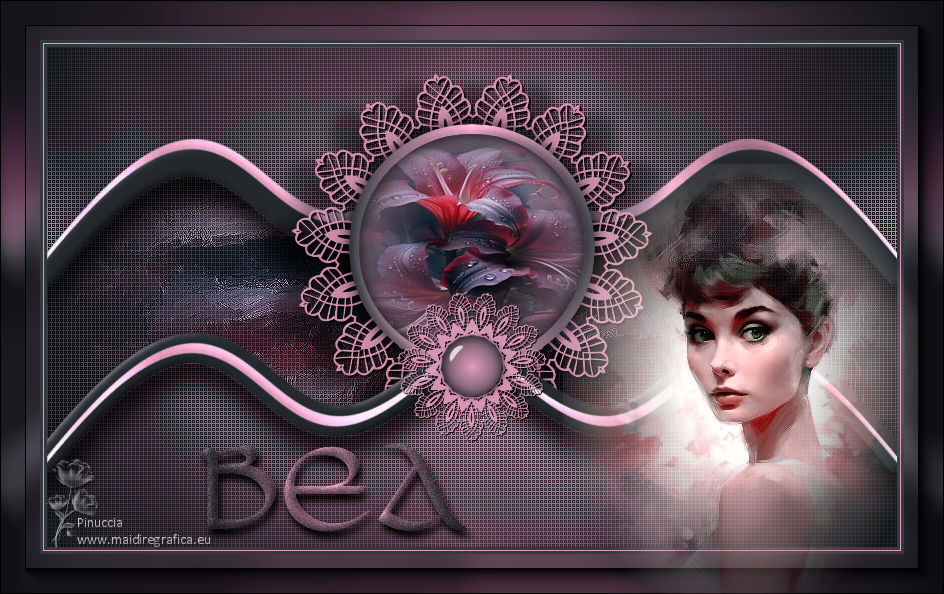

This tutorial was written with Psp2022 and translated with PspX2020, but it can also be made using other versions of PSP.
For this tutorial, you will need:  For the tube thanks PqnaAlice. (The links of the tubemakers here).  consult, if necessary, my filter section here Filters Unlimited 2.0 here &<Background Designers IV> - @Night Shadow Pool (to import in Unlimited) here &<Bkg Designer sf10III> - SW Hollow Dot (to import in Unlimited) here AAA Frames - Foto Frame here  You can change Blend Modes according to your colors. In the newest versions of PSP, you don't find the foreground/background gradient (Corel_06_029). You can use the gradients of the older versions. The Gradient of CorelX here  Important Export the brush as below: 1. Open the image lace1 in PSP. File>Export>Custom Brush 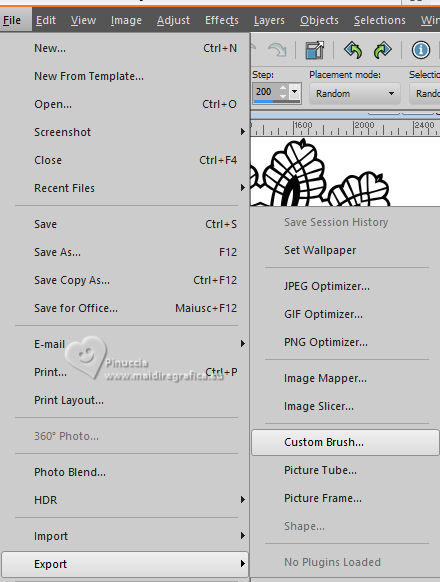 2. Name the brush lace1 and ok. 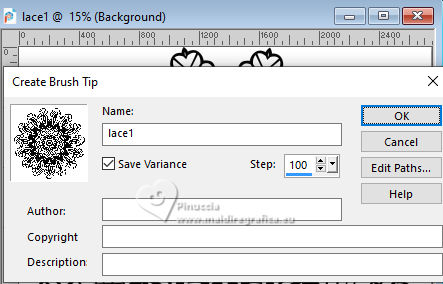 3. And now your brush will be on the list of your Brushes 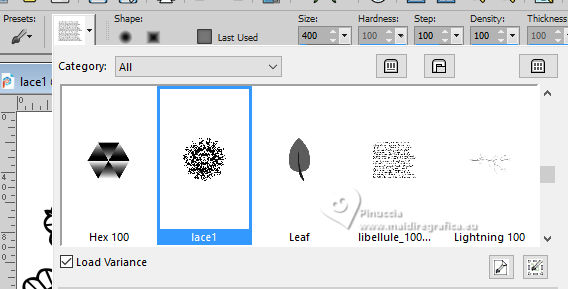 1. Choose 2 colors to work. Set your foreground color to #e39cbe, and your background color to #34393f. 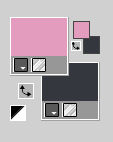 2. Set your foreground color to a Foreground/Background Gradient, style linear. 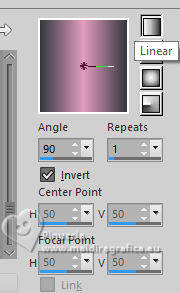 3. Open AlphaBea_BySoxikibem This image, that will be the basis of your work, is not empty, but contains the selections saved to alpha channel. Flood Fill  the transparent image with your Gradient. the transparent image with your Gradient.4. Change the Settings of your gradient - Angle 0 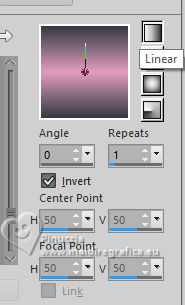 Layers>New Raster Layer. Flood Fill the layer with your Gradient.5. Effects>Plugins>Filters Unlimited 2.0 - &<Bkg Background Designer sf10III> - SW Hollow Dot. 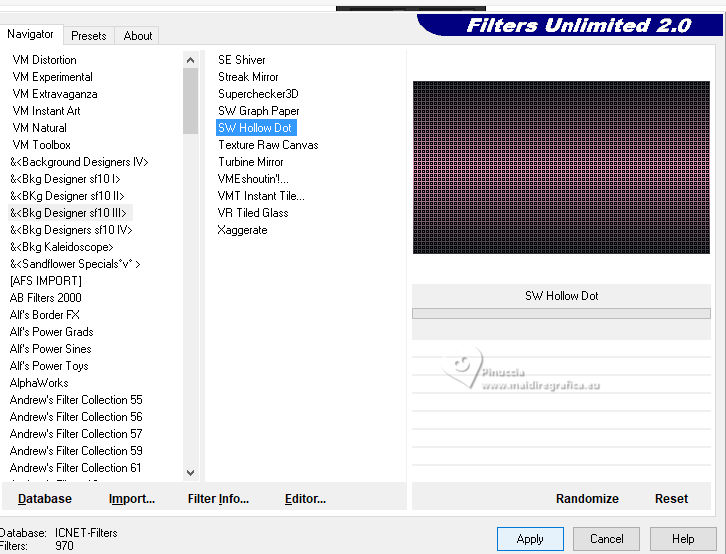 6. Effects>Plugins>Filters Unlimited 2.0 - &<Bkg Background Designers IV> - @Night Shadow Pool, default settings. 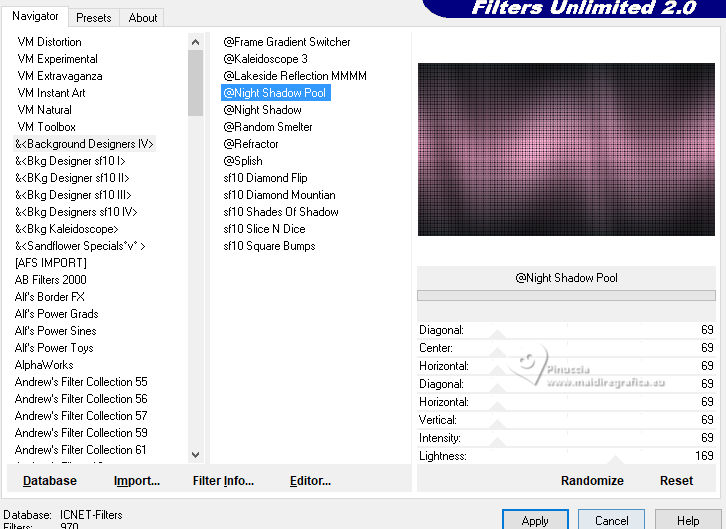 Change the Blend Mode of this layer to Hard Light, and reduce the opacity to 70%. Layers>Merge>Merge Down. 7. Layers>New Raster Layer. Selections>Load/Save Selections>Load Selection from Alpha Channel. Open the selections menu and load the selection Selection #2 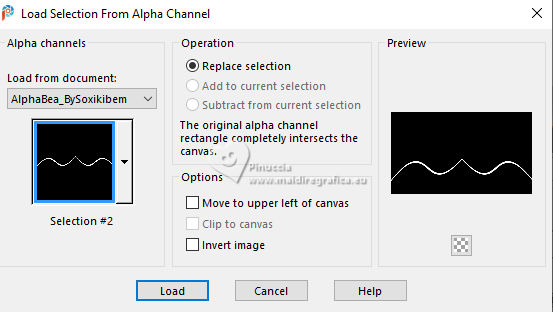 Set your foreground color to Color. Flood Fill the selection with your foreground color.8. Effects>Plugins>Filters Unlimited 2.0 - &<Bkg Background Designers IV> - @Night Shadow Pool, same settings. 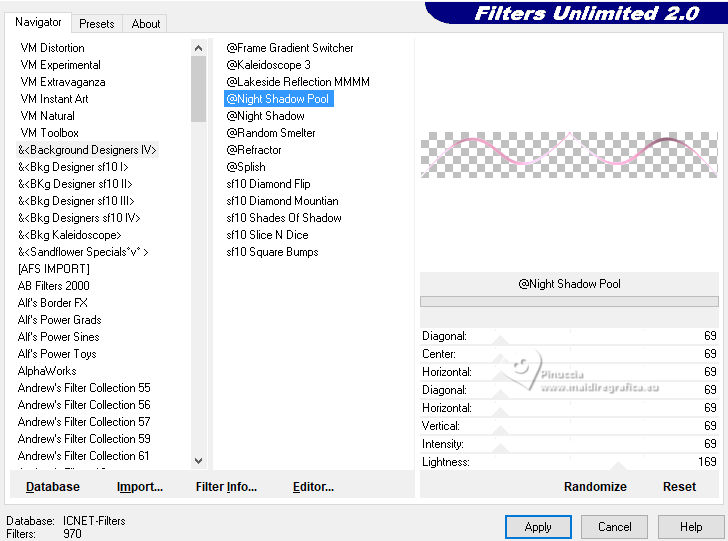 Effects>3D Effects>Inner Bevel.  Selections>Select None. 9. Layers>Duplicate. Pick Tool  Position X: 0,00 - Position Y: 77,00.  10. Layers>New Raster Layer. Selections>Load/Save Selections>Load Selection from Alpha Channel. The selection Selection #1 is immediately available. You just have to click Load.  Set your foreground color to a Foreground/Background Gradient, style Sunburst.  Flood Fill the selection with your Gradient.11. Layers>New Raster Layer. Open the floral misted 106FlorByPqnaAlice  Erase the watermark and go to Edit>Copy. Go back to your work and go to Edit>Paste Into Selection. Adjust>Sharpness>Sharpen. 12. Selections>Modify>Select Selection Borders  Set again your Foreground Color to Gradient style Linear. Layers>New Raster Layer. Flood Fill the selection with your Gradient.13. Effects>3D Effects>Inner Bevel, same settings. 14. Effects>3D Effects>Drop Shadow, color black #000000.  Selections>Select None. Layers>Merge>Merge Down - 2 times. 15. Activate the layer Raster 1.  Layers>New Raster Layer. Selections>Load/Save Selections>Load Selection from Alpha Channel. Open the selections menu and load the selection Selection #3  Set your foreground with the Gradient style Sunburst Flood Fill the selection with your Gradient.16. Effects>Plugins>Filters Unlimited 2.0 - &<Bkg Designer sf10III> - sf10 III>SW Hollow Dot. 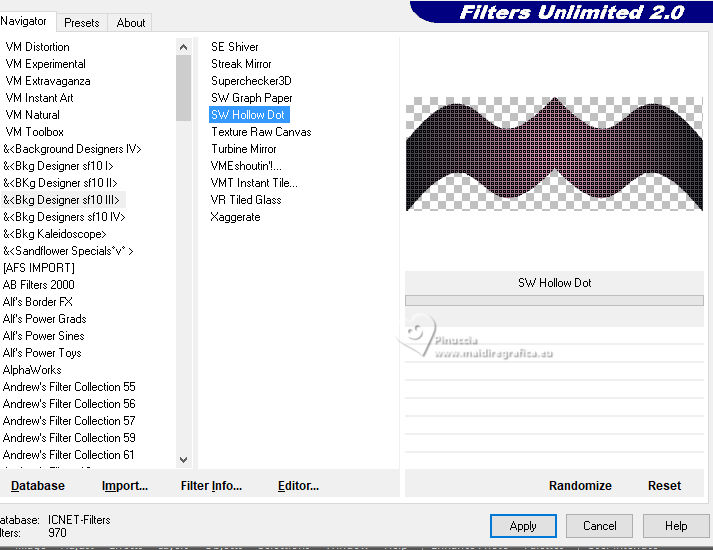 17. Layers>New Raster Layer. Edit>Paste Into Selection - the floral misted is still in memory.  Effects>Art Media Effects>Brush Strokes - foreground color. 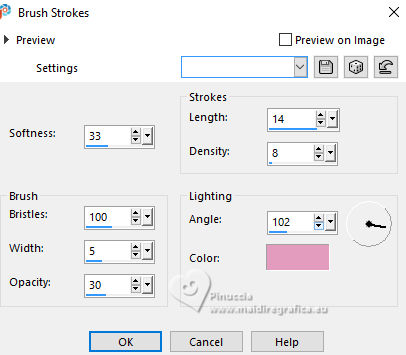 Adjust>Sharpness>Sharpen. Selections>Select None. 17. Layers> New Raster Layer. Selections>Load/Save Selections>Load Selection from Alpha Channel. Open the Selections menu and load again the selection Selection #2 Selections>Modify>Expand - 10 pixels. Flood Fill the selection with your background color.Effects>3D Effects>Inner Bevel, with these new settings. 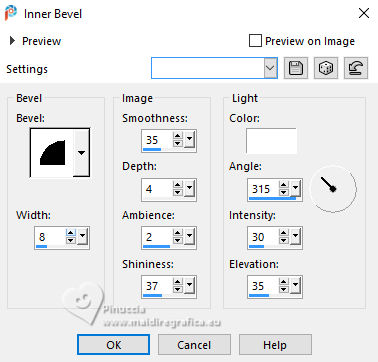 18. Selections>Select None. Effects>3D Effects>Drop Shadow, color black #000000. 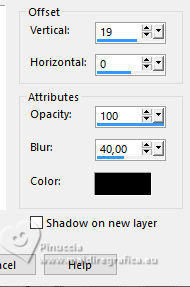 Layers>Duplicate. Pick Tool Position X: -10,00 - Position Y: 74,00.  19. Layers>New Raster layer. Activate your Brush Tool  select the brush lace1.PspBrush with these settings.  Set your foreground color to Color. Apply the brush, clicking with your right button to use your foreground color. Pick Tool Position X: 244,00 - Position Y: 26,00.  20. Effects>3D Effects>Drop Shadow, color black #000000.  Edit>Repeat Drop Shadow. 21. Activate the layer Raster 6. Layers>Arrange>Move up - 2 time - (it is over the layer Raster 7.  22. Activate the layer Raster 7. Activate your Free Hand Selection Tool  and draw a selection as below.  Press CANC on the keyboard  Selections>Select None. 23. Effects>3D Effects>Drop Shadow, color black #000000.  Repeat Effects>3D Effects>Drop Shadow, Horizontal 27.  24. Activate the layer Copy of Raster 2. Move this layer under the layer Raster 7. 25. Activate the layer Raster 3. Move this layer under the layer Raster 6.  26. Activate your top layer (Raster 2). Layers>New Raster Layer. Activate again your Paint Brush Tool, lace1.PspBrush, change Size to 150  apply the brush again with your foreground color. Pick Tool Position X: 350,00 - Position Y: 245,00.  Effects>3D Effects>Drop Shadow, color black #000000. 27. Layers>New Raster Layer. Selections>Load/Save Selections>Load Selection from Alpha Channel. Open the Selections menu and load again the selection Selection #4  Set again your foreground color to the Gradient style Sunburst. 28. Effects>Plugins>Alien Skin Eye Candy 5 Impact - Glass. Select the preset Glass271.f1s  Selections>Select None. 29. Layers>New Raster Layer. Selections>Load/Save Selections>Load Selection from Alpha Channel. Open the Selections menu and load again the selection Selection #5  Flood Fill the selection with the Sunburst Gradient.Adjust>Add/Remove Noise>Add Noise.  Effects>3D Effects>Drop Shadow, color black #000000.  30. Effects>3D Effects>Inner Bevel, last settings. Selections>Selet None. 31. Edit>Copy Special>Copy Merged. Image>Add Borders, 3 pixels, symmetric, background color. Image>Add borders, 1 pixel, symmetric, foreground color. Image>Add borders, 3 pixels, symmetric, background color. 32. Selections>Select All. Image>Add Borders - 40 pixels, symmetric, whatever color. Selections>Invert. Edit>Paste Into Selection. Adjust>Blur>Gaussian Blur - radius 15  33. Effects>PluginsAAA Frames - Foto Frame.  Selections>Select None. 34. Open the misted 1092MulherByPqnaAlice  Erase the watermark and go to Edit>Copy. Go back to your work and go to Edit>Paste as New Layer. Move  the tube to the right side. the tube to the right side.35. If you want, resize your work. Sign your work and save as jpg. For the tubes of this version thanks Yvonne.   Your versions. Thanks  Marion  Jolcsi   If you have problems or doubts, or you find a not worked link, or only for tell me that you enjoyed this tutorial, write to me. 18 October 2024 |