|
EMI  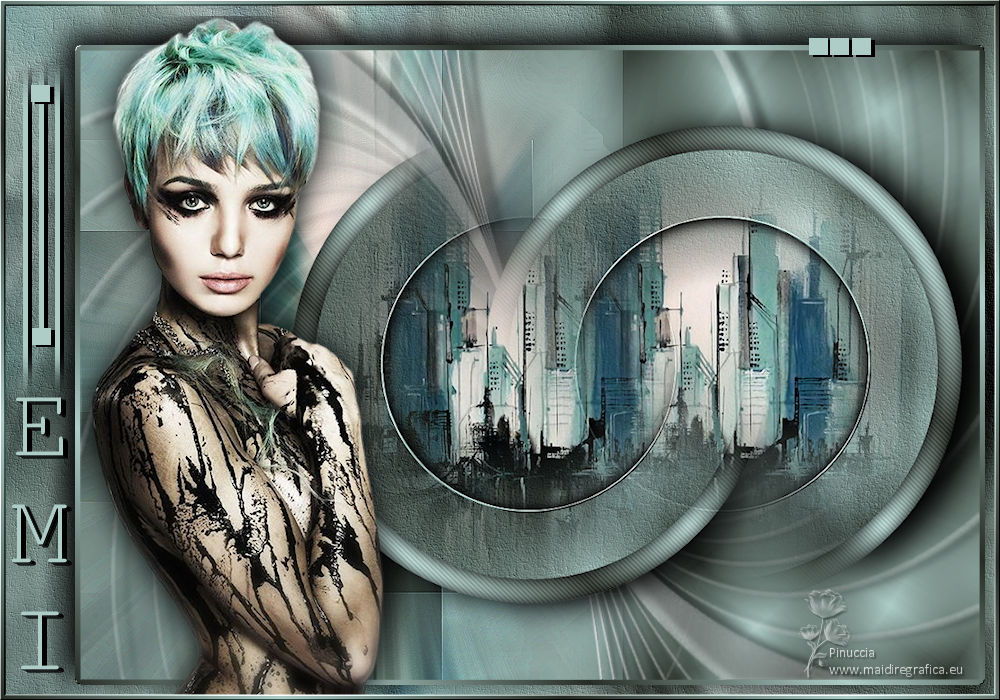

This tutorial was written with Psp2022 and translated with PspX2020, but it can also be made using other versions of PSP.
For this tutorial, you will need:  Thank for the tubes PqnaAlice and for the mask Narah. The rest of the material is by Soxikibem. (The links of the tubemakers here).  consult, if necessary, my filter section here Filters Unlimited 2.0 here VM Stylize - Zoom Blur here Mehdi - Sorting Tiles here Mura's Seamless - Emboss at Alpha here Penta.com - Jeans here Filters VM Stylize, Mura's Seamless and Penta.com be used alone or imported into Filters Unlimited. (How do, you see here) If a plugin supplied appears with this icon  You can change Blend Modes according to your colors. In the newest versions of PSP, you don't find the foreground/background gradient (Corel_06_029). You can use the gradients of the older versions. The Gradient of CorelX here  Copy the Selections in the Selections Folder. Open the mask in PSP and minimize it with the rest of the material. 1. Choose 3 colors from your material. Foreground color #262d26, background color #aecdc7 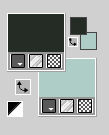 color 3: #ffffff. Set your foreground color to a Foreground/Background Gradient, style Sunburst. 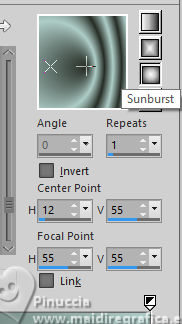 2. Open a new transparent image 1000 x 700 pixels. Flood Fill  the transparent image with your Gradient. the transparent image with your Gradient.3. Effects>Plugins>Filters Unlimited 2.0 - VM Stylize - Zoom Blur. 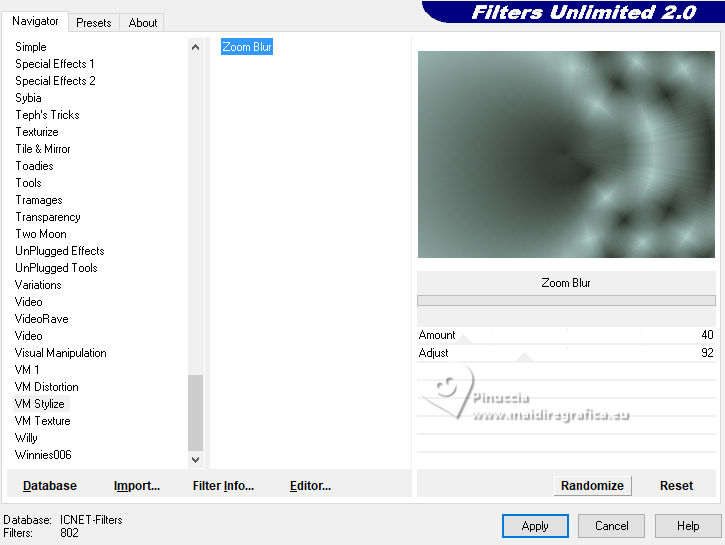 4. SelectionsLoad/Save SelectionsLoad Selection From Disk. Look for and load the selection Selection258_Xiki1 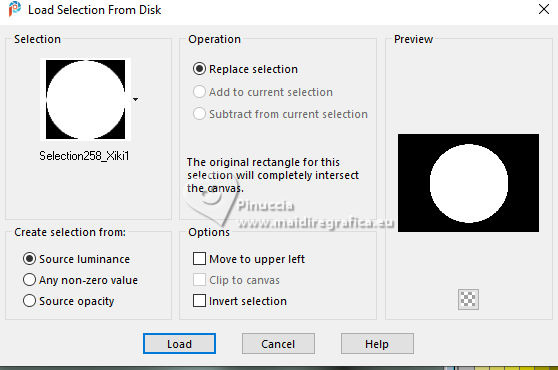 SelectionsPromote Selection to Layer. EffectsTexture Effects>Fine Leather - light background color. 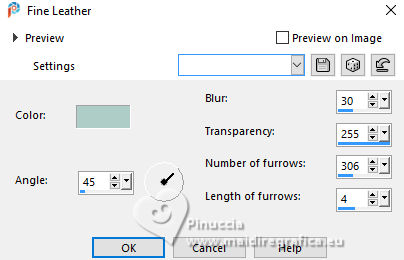 5. Selections>Modify>Select Selection Borders. 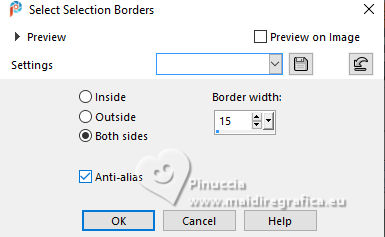 6. Layers>New Raster Layer. Change the settings of your Gradient, style Linear. 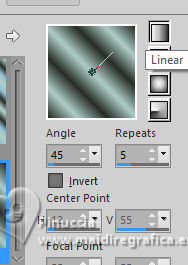 Flood Fill  the selection with your Linear Gradient. the selection with your Linear Gradient.7. Effects>Plugins>Penta.com - Jeans. 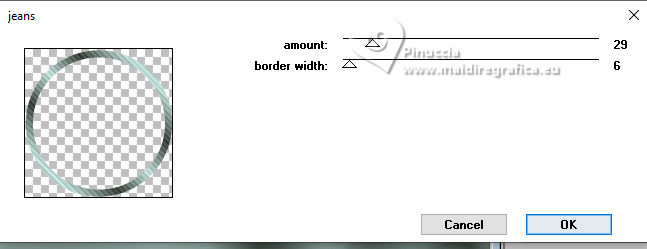 8. Layers>New Raster Layer. Effects>3D Effects>Cutout. 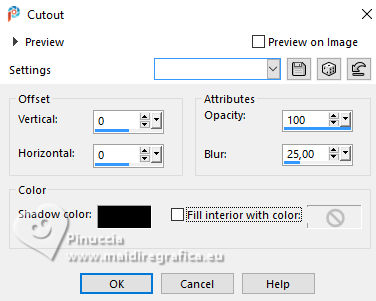 Selections>Select None. Layers>Merge>Merge Down. 9. Layers>New Raster Layer. Selections>Load/Save Selections>Load Selection From Disk Load again the selection Selection258_Xiki1  Open the misted 138PaisagembyPqnaAlice 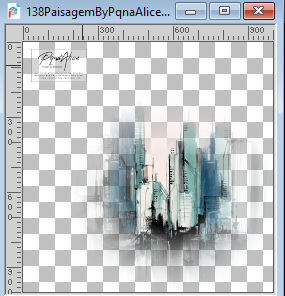 Erase the watermark and go to Edit>Copy. Go back to your work and go to Edit>Paste into Selection. Selections>Select None. 10. Adjust>Sharpness>Sharpen. Layers>Merge>Merge Down - 2 times. 11. Selections>Load/Save Selections>Load Selection From Disk Look for and load the selection Selection258_Xiki2  Layers>New Raster Layer. Flood Fill  the selection with the Linear Gradient. the selection with the Linear Gradient.Selections>Modify>Contract - 3 pixels. Press CANC on the keyboard  12. Layers>New Raster Layer. Effects>3D Effects>Cutout, same settings.  Layers>Duplicate. Selections>Select None. Layers>Merge>Merge Down. 13. Activate the layer Raster 2. 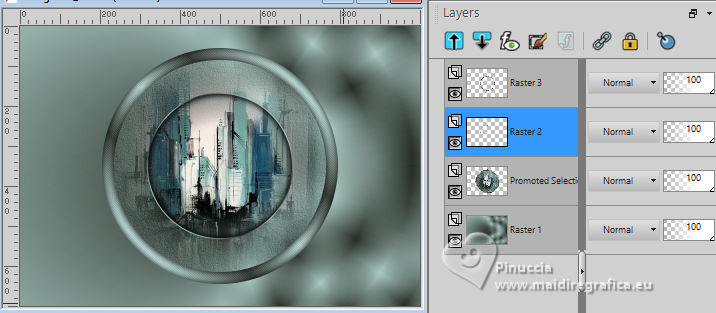 Effects>Plugins>Mura's Seamless - Emboss at Alpha, default settings. 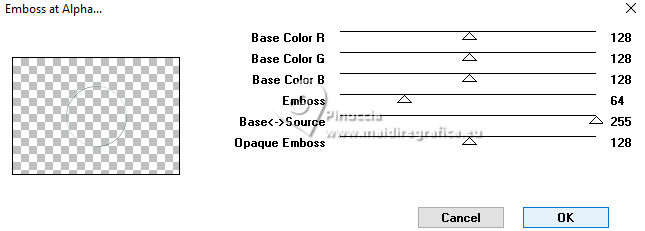 14. Activate the layer Raster 1. Selections>Load/Save Selections>Load Selection From Disk Look for and load the selection Selection258_Xiki3 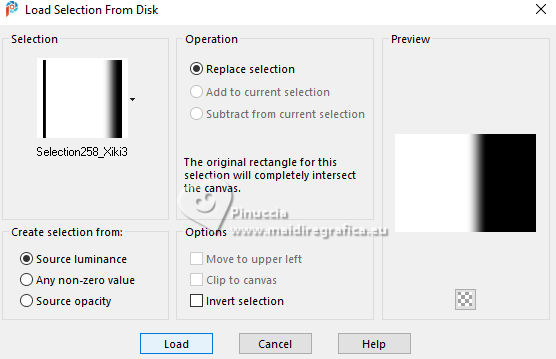 Effects>Plugins>Mehdi - Sorting Tiles. 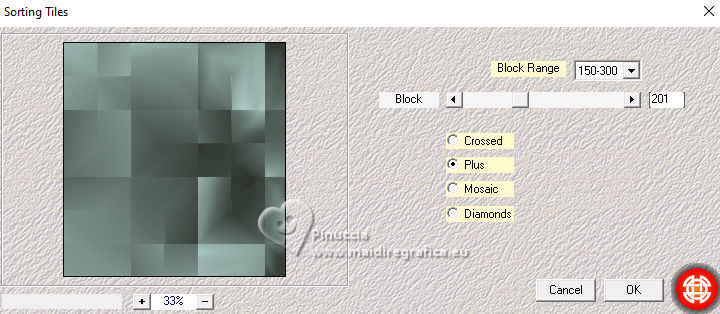 15. Effects>Edge Effects>Enhance. Layers>New Raster Layer. Edit>Paste into Selection - the misted 138PaisagembyPqnaAlice is still in memory. Adjust>Blur>Radial Blur. 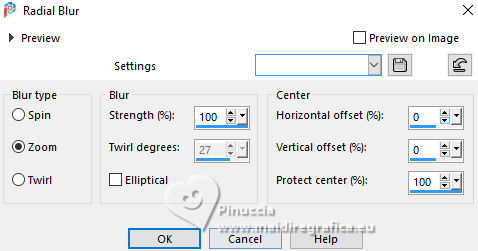 16. Layers>Duplicate. Layers>Merge>Merge Down. Effects>Edge Effects>Enhance. Change the Blend Mode of this layer to Hard Light. Selections>Select None. 17. Your tag and the layers. 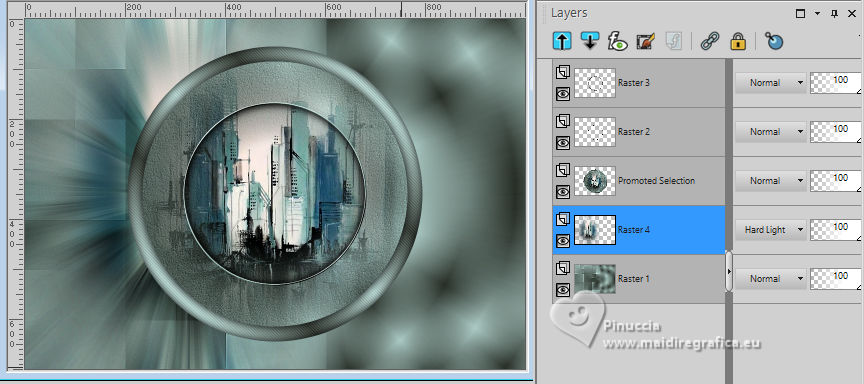 18. Activate your top layer, Raster 3. Layers>Merge>Merge Down, 2 times. Close this layer. 19. Activate the layer Raster 4. Layers>Merge>Merge visible. Open your top layer and now we have 2 layers. 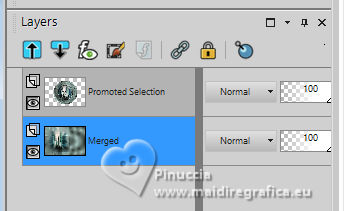 20. Activate your top layer, Promoted Selection. Image>Resize, to 90%, resize all layers not checked. Pick Tool  Position X: 234,00 - Position Y: 84,00. 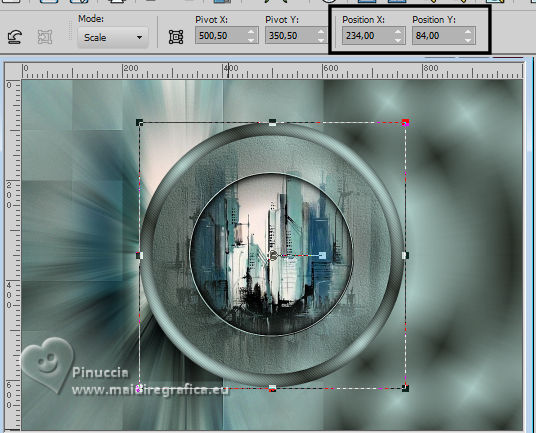 Effects>Image Effects>Seamless Tiling. 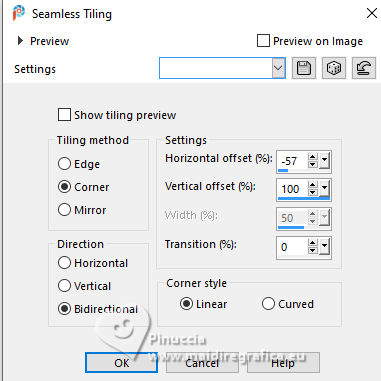 21. Effects>3D Effects>Drop Shadow, color black. 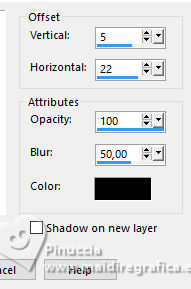 22. Activate the layer Merged. Layers>New Raster Layer. Set your foreground color to white #ffffff. Flood Fill  the layer with color white. the layer with color white.Layers>New Mask layer>From image Open the menu under the source window and you'll see all the files open. Select the mask NarahsMasks_1778 . 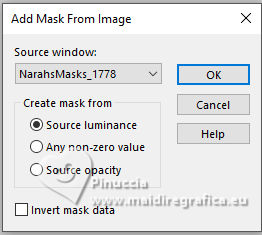 Layers>Merge>Merge Group. 23. Layers>Duplicate. Image>Mirror>Mirror Horizontal. Image>Mirror>Mirror Vertical. Layers>Merge>Merge Down. 24. Effects>Plugins>Mura's Seamless - Emboss at Alpha, default settings. 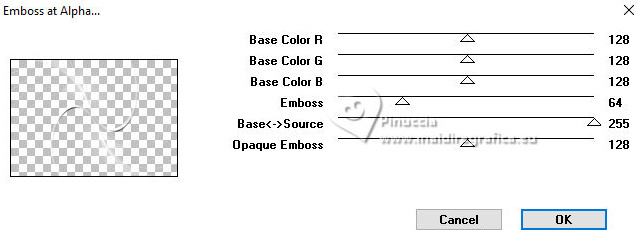 Edit>Repeat Emboss at Alpha. 25. Effects>3D Effects>Drop Shadow, color black.  26. Layers>Merge>Merge All. Layers>Duplicate. Image>Resize, to 90%, resize all layers not checked. Pick Tool  Position X: 80,00 and Position Y: 50,00.  27. Activate your Magic Wand Tool  , tolerance and Feather 0, , tolerance and Feather 0,and click in the transparent part to select it. Selections>Invert. Selections>Modify>Select Selection Borders. 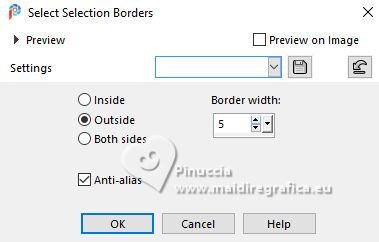 28. Set again your foreground color to the initial color #262d26, and to the Linear Gradient.   Flood Fill  the selection with your Linear Gradient. the selection with your Linear Gradient.29. Effects>Plugins>Mura's Seamless - Emboss at Alpha, default settings.  Selections>Select None. Effects>3D Effects>Drop Shadow, color black.  30. Open the tube 1039MulherByPqnaAlice  Erase the watermark and go to Edit>Copy. Go back to your work and go to Edit>Paste as New Layer. Move  the tube to the left side. the tube to the left side.Effects>3D Effects>Drop shadow, at your choice. 31. Activate your Background Layer. Effects>Texture Effects>Fine Leather, light background color.  32. Selections>Select All. Selections>Modify>Select Selection Borders.  33. Layers>New Raster Layer. Flood Fill  the selection with your Linear Gradient. the selection with your Linear Gradient.Selections>Select None. Layers>Arrange>Bring to Top. 34. Effects>Plugins>Mura's Seamless - Emboss at Alpha, default settings.  35. Open Título_DecorBySoxikibem  Edit>Copy. Go back to your work and go to Edit>Paste as new layer. Pick Tool  Position X: 12,00 and Position Y: 38,00.  36. Image>Resize, if you want. Sign your work and save as jpg. For the tubes of this version thanks Mentali and Cal.   Your versions. Thanks  Jolcsi  DeniseD 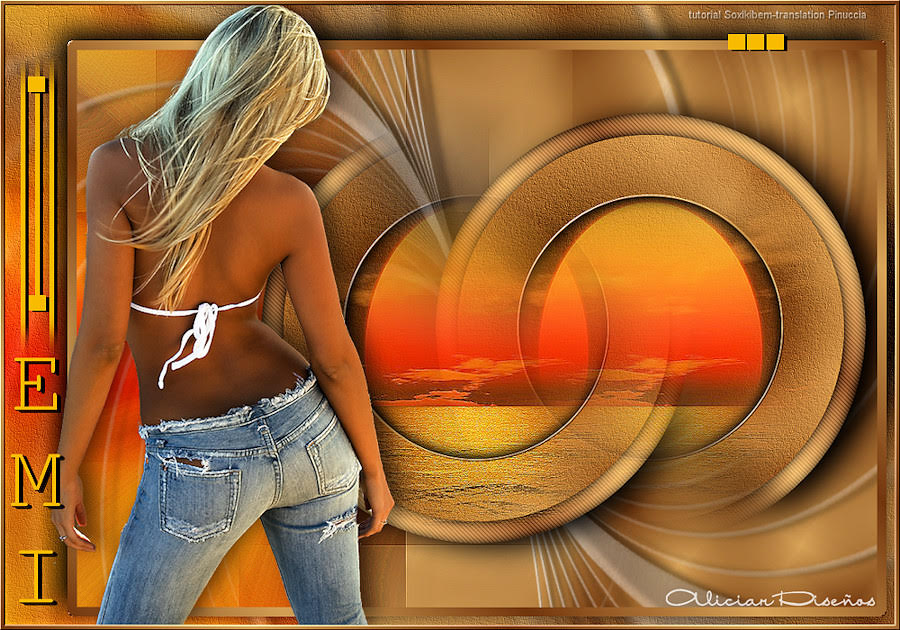 Aliciar 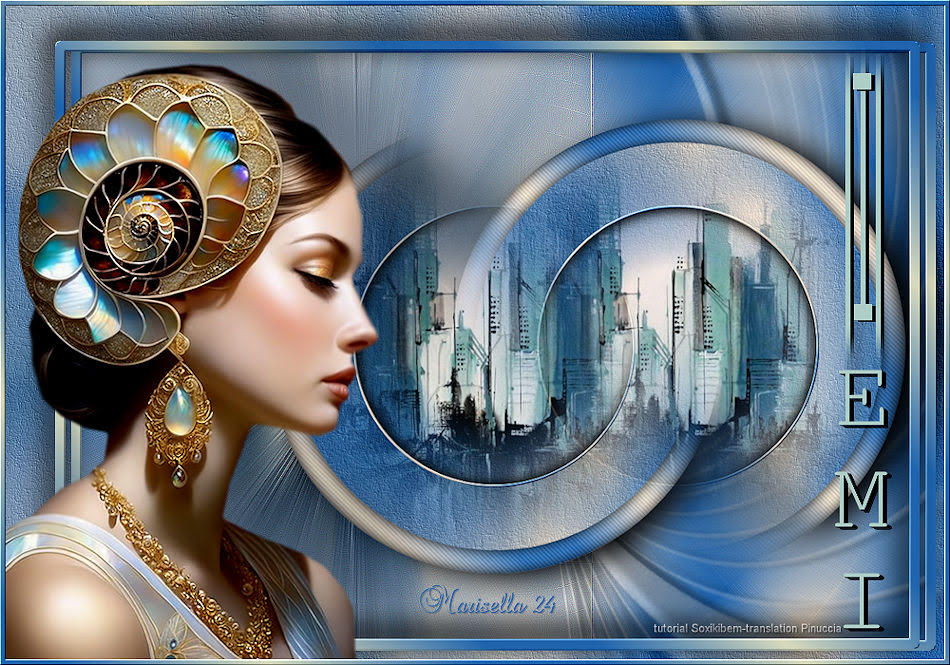 Marisella 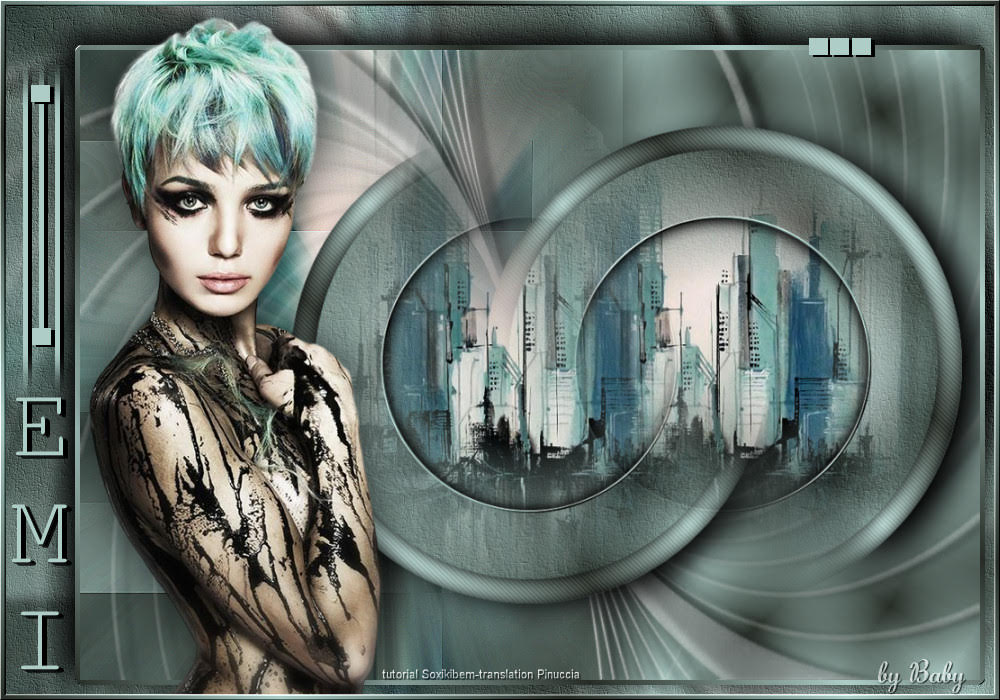 Baby 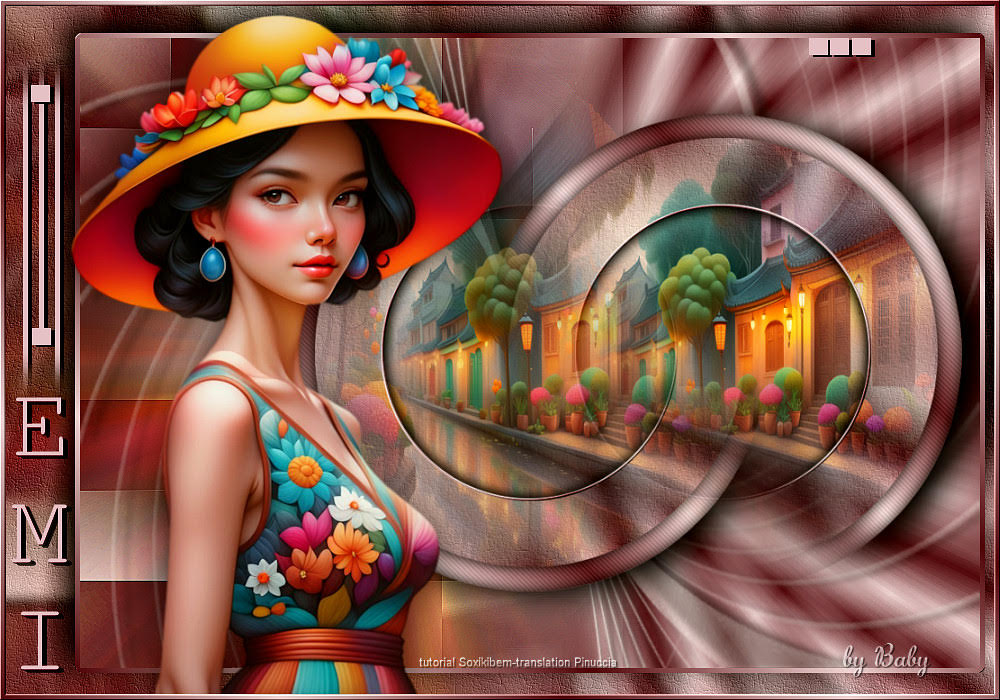 Baby 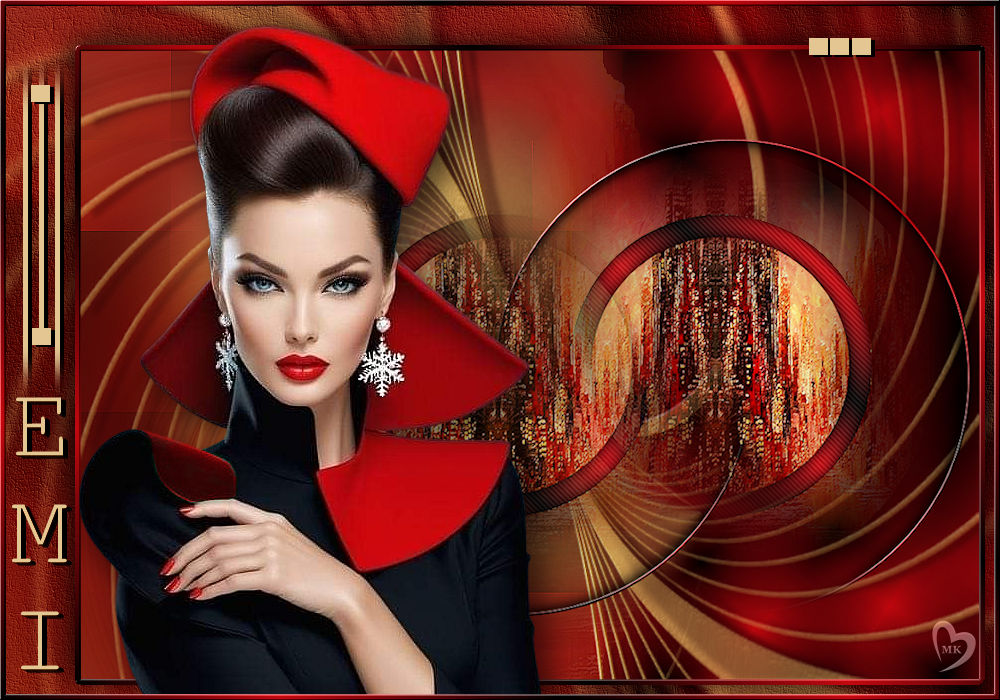 Kamelius   If you have problems or doubts, or you find a not worked link, or only for tell me that you enjoyed this tutorial, write to me. |


