|
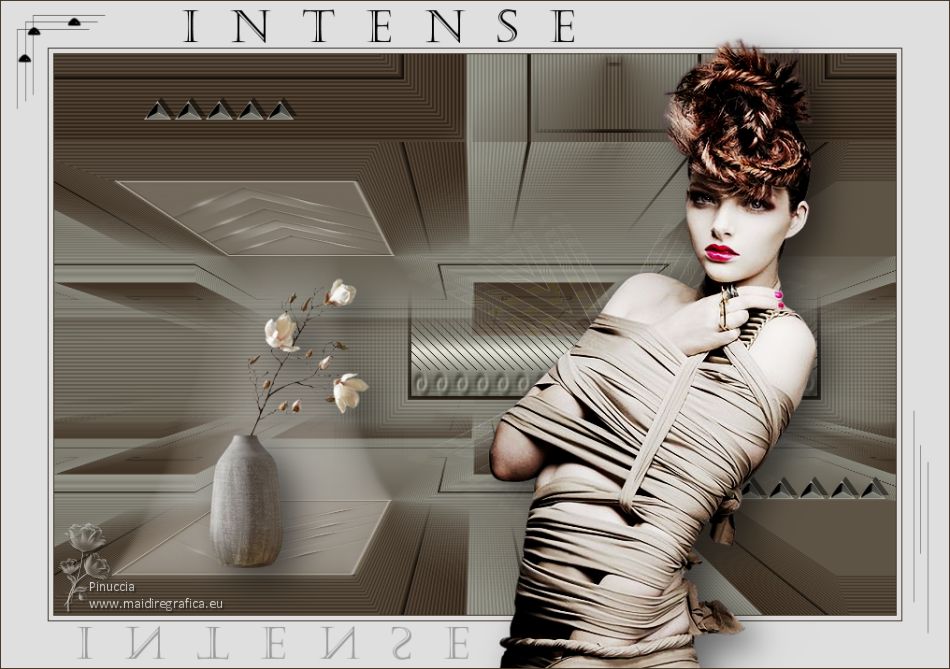
INTENSE


Thanks Soxikibem for your invitation to translate your tutorials into english

This tutorial was written with Psp2022 and translated with PspX17, but it can also be made using other versions of PSP.
Since version PSP X4, Image>Mirror was replaced with Image>Flip Horizontal,
and Image>Flip with Image>Flip Vertical, there are some variables.
In versions X5 and X6, the functions have been improved by making available the Objects menu.
In the latest version X7 command Image>Mirror and Image>Flip returned, but with new differences.
See my schedule here
For this tutorial, you will need:

For the tubes thanks PqnaAlice.
The rest of the material is by Soxikibem.
(The links of the tubemakers here).

consult, if necessary, my filter section here
Filters Unlimited 2.0 here
Visual Manipulation - Transmission, Slipthrough here
Simple - Blintz here
Mura's Meister - Perspective Tiling here
Filters Visual Manipulation and Simple can be used alone or imported into Filters Unlimited.
(How do, you see here)
If a plugin supplied appears with this icon  it must necessarily be imported into Unlimited it must necessarily be imported into Unlimited

You can change Blend Modes according to your colors.
In the newest versions of PSP, you don't find the foreground/background gradient (Corel_06_029).
You can use the gradients of the older versions.
The Gradient of CorelX here

1. Choose 3 colors from your material.
Set your foreground color to #3e3022
and your background color to #909085
color 3 #dfdfdf
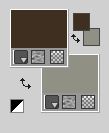
Set your foreground color to a Foreground/Background Gradient, style Linear
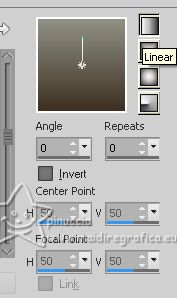
2. Open a new transparent image 900 x 600 pixels.
Flood Fill  the transparent image with your Gradient. the transparent image with your Gradient.
3. Effects>Plugins>Visual Manipulation - Transmission.
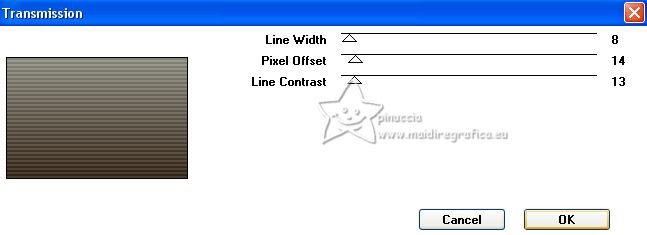
4. Selections>Select All.
Selections>Modify>Contract - 70 pixels.
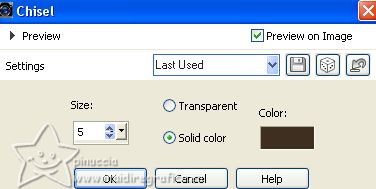
Effects>3D Effects>Chisel - foreground color.
Selections>Select None.
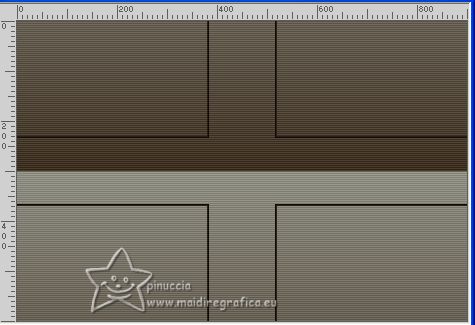
5. Effects>Plugins>Visual Manipulation - Slipthrough.
This Effect works without window; result
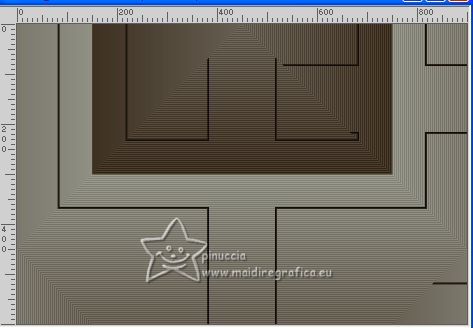
6. Effects>Plugins>Simple - Blintz.
Also this Effect works without window.
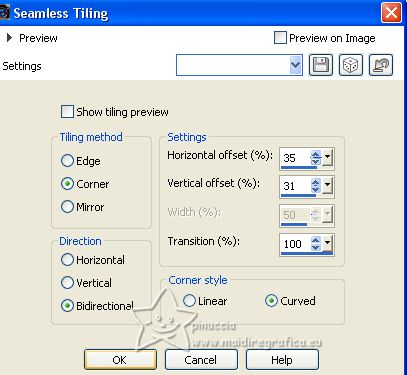
7. Effects>Image Effects>Seamless Tiling.
8. Effects>Reflection Effects>Rotating Mirror.
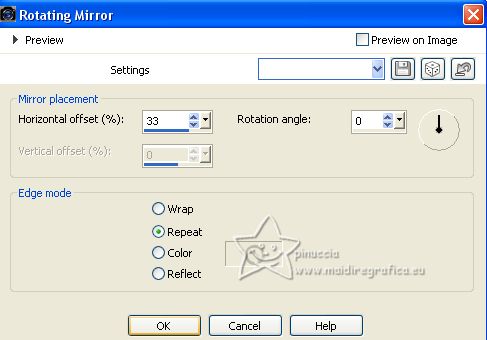
9. Layers>Duplicate.
Effects>Plugins>Mura's Meister - Perspective Tiling.
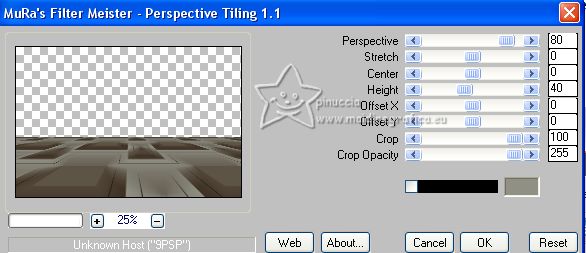
10. Activate your Magic Wand Tool  , tolerance 0 and feather 80 , tolerance 0 and feather 80

Click on the transparent part to select it.
Press 5 times CANC on the keyboard 
11. Layers>Duplicate.
Press 10 fois CANC on the keyboard.
Selections>Select None.
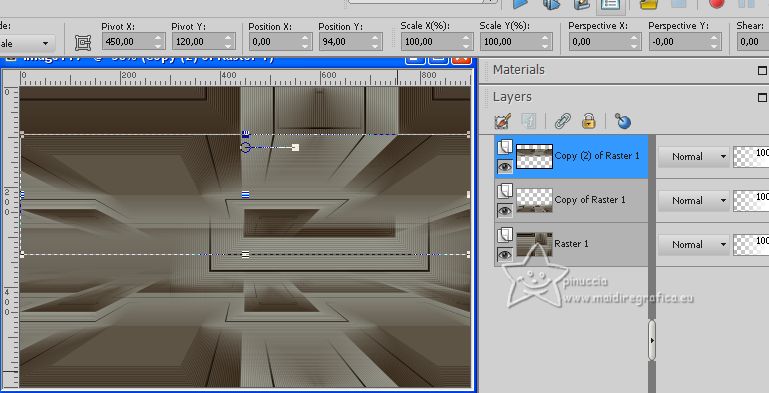
Image>Flip.
Pick Tool 
keep Position X: 0,00 and set Position Y: 94,00.
12. Open Deco1BySoxikibem 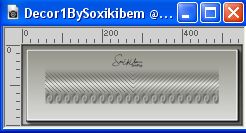
Edit>Copy.
Go back to your work and go to Edit>Paste as new layer.
Set Position X: 382,00 and Position Y: 271,00

Keep the Blend Mode of this layer to Luminance (legacy).
13. Open Decor2BySoxikibem 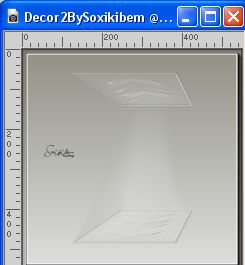
Edit>Copy.
Go back to your work and go to Edit>Paste as new layer.
Set Position X: 55,00 and Position Y: 135,00

Change the Blend Mode of this layer to Luminance and reduce the opacity to 70%.
14. Open Decor3BySoxikibem 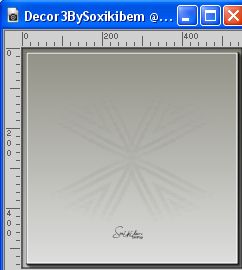
Edit>Copy.
Go back to your work and go to Edit>Paste as new layer.
Set Position X: 376,00 and Position Y: 169,00

Change the Blend Mode of this layer to Hard Light.
15. Open Decor5BySoxikibem 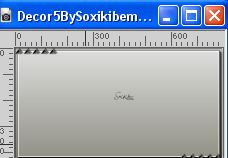
Edit>Copy.
Go back to your work and go to Edit>Paste as new layer.
Set Position X: 96,00 and Position Y: 46,00

16. Open your deco tube; for me 083FlorByPqnaAlice 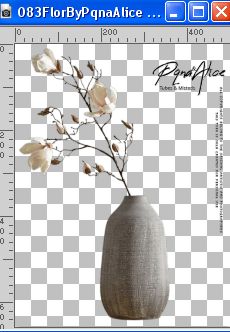
Erase the watermark and go to Edit>Copy.
Go back to your work and go to Edit>Paste as new layer.
Image>Resize, for me 2 times to 70%, resize all layers not checked.
Image>Mirror.
Move  the tube to the left side. the tube to the left side.
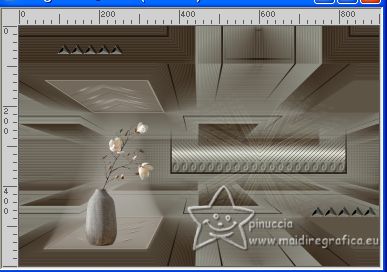
Effects>3D Effects>Drop Shadow, at your choice.
17. Image>Add borders, 1 pixels, symmetric, foreground color.
Image>Add borders, 5 pixels, symmetric, color 3 #dfdfdf 
Image>Add borders, 1 pixel, symmetric, foreground color.
Image>Add borders, 50 pixels, symmetric, color 3 #dfdfdf 
18. Open Decor4BySoxikibem 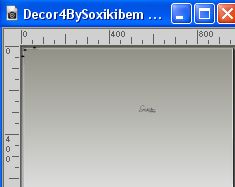
Edit>Copy.
Go back to your work and go to Edit>Paste as new layer.
Pick Tool 
Set Position X: 17,00 and Position Y: 15,00

19. Open your woman's tube 739MulherByPqnaAlice 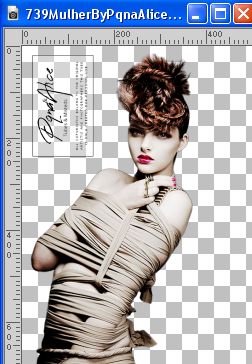
Erase the watermark and go to Edit>Copy.
Go back to your work and go to Edit>Paste as new layer.
Move  the tube to the right side. the tube to the right side.
Effects>3D Effects>Drop Shadow or other effect, at your choice.
20. Open TituloBySoxikibem 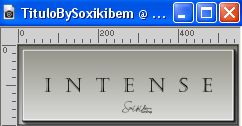
Edit>Copy.
Go back to your work and go to Edit>Paste as new layer.
Set Position X: 193,00 and Position Y: 9,00

21. Layers>Duplicate.
Image>Flip.
Set Position X: 80,00 and Position Y: 669,00.

Reduce the opacity of this layer to 30%.
22. Image>Add borders, 1 pixel, symmetric, foreground color.
23. Image>Resize, if you like.
Sign your work on a new layer.
Salve as jpg.
For the tubes of this version thanks NaiseM and Nena Silva
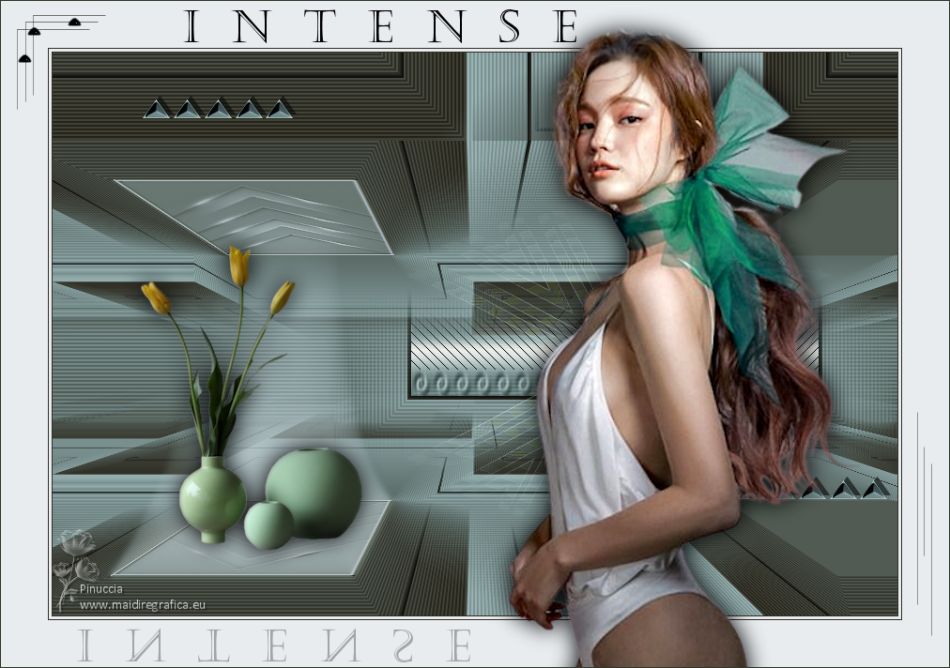

Your versions. Thanks
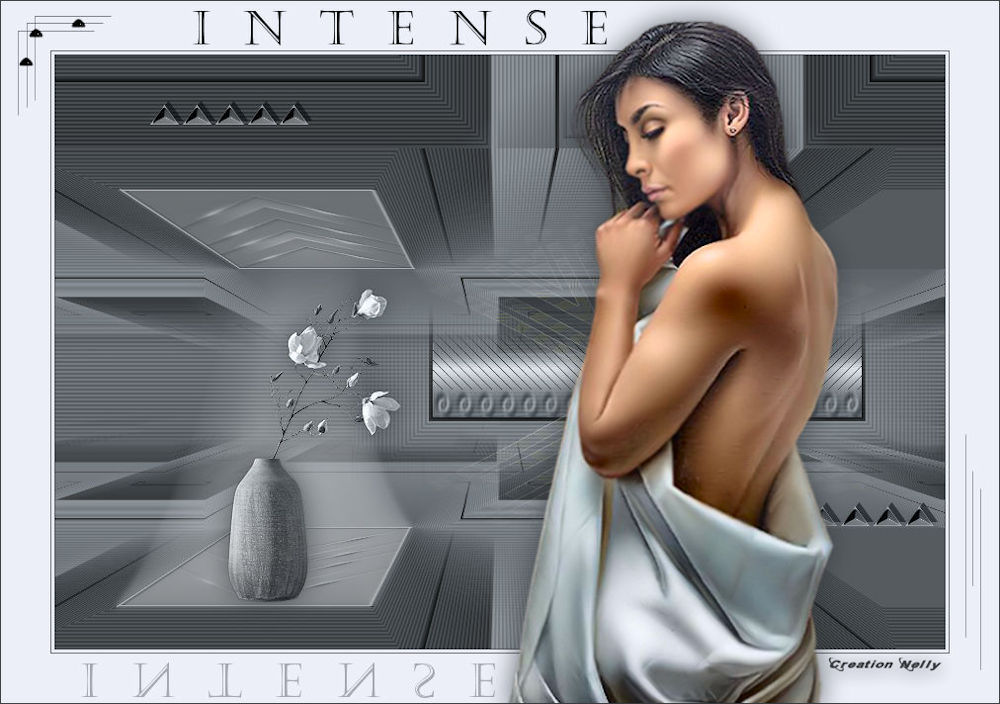
Nelly


If you have problems or doubts, or you find a not worked link, or only for tell me that you enjoyed this tutorial, write to me.
1 July 2023

|

