|
JOYFULL HOLIDAYS  

This tutorial was written with Psp2022 and translated with PspX2020, but it can also be made using other versions of PSP.
Message de Soxikibem: May this holiday season bring you pure joy, surrounded by laughter, love, and warmth. Let every shining light and every kind gesture remind us of the true spirit of Christmas: sharing happiness and spreading hope. May the New Year be filled with new achievements, dreams come true, and, above all, endless joy. Wishing you and your family a bright Christmas and a New Year full of possibilities! For this tutorial, you will need:  For the tubes thanks PqnaAlice. (The links of the tubemakers here).  consult, if necessary, my filter section here AAA Frames - Texture Frame here Alien Skin Eye Candy 5 Impact - Glass here Carolaine and Sensibility - CS Texture here  You can change Blend Modes according to your colors.  Placer les sélections dans le dossier Sélections. 1. Choose 2 colors to work. Set your foreground color to #980807, and your background color to #999345.  color 3: #ececec. 2. Open a new transparent image 800 x 500 pixels. Flood Fill  the transparent image with your foreground color. the transparent image with your foreground color.3. Selections>Select All. Open your landscape's misted 166PaisagemByPqnaAlice 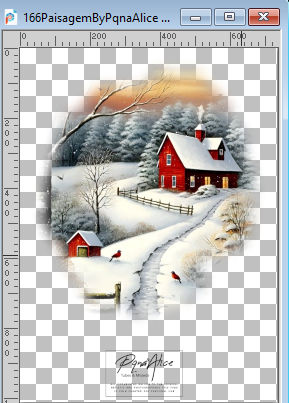 Erase the watermark and go to Edit Copy. Go back to your work and go to Edit>Paste Into Selection. Selections>Select None. 4.. Effects>Image Effects>Seamless Tiling, default settings.  Adjust>Blur>Radial Blur. 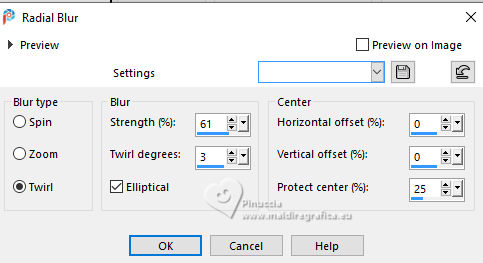 Layers>Duplicate. 5. Effects>Art Media Effects>Brush Strokes - background color. 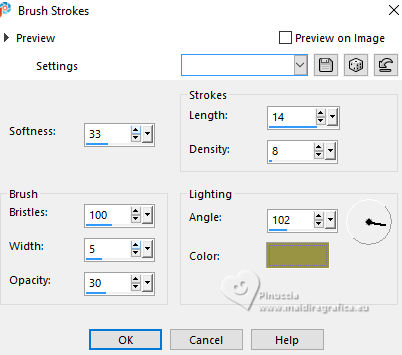 6. Selections>Load/Save Selections>Load Selection from Disk. Look for and load the selection N24_Xiki1 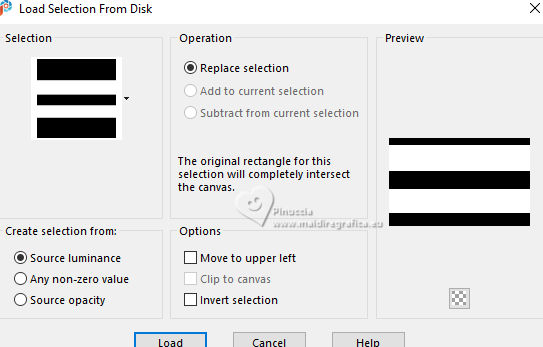 Effects>Texture Effects>Weave, color white. 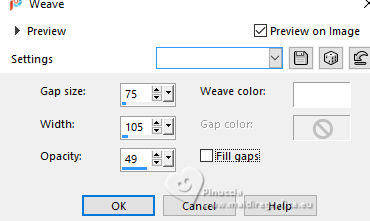 7. Effects>Plugins>Carolaine and Sensibility - Cs_texture. 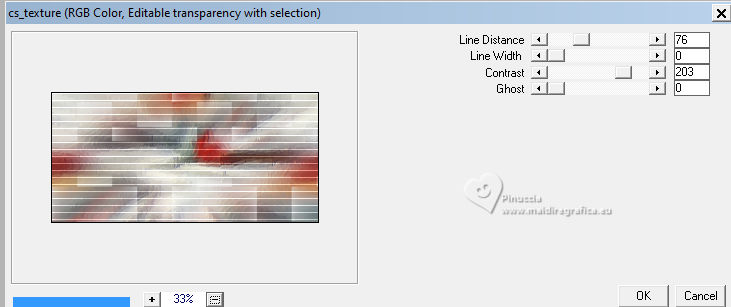 8. Selections>Invert. Effects>Texture Effects>Texture - select the texture Grid 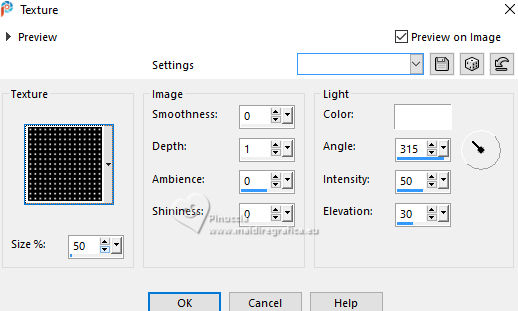 9. Selections>Invert. Selections>Modify>Select Selection Borders. 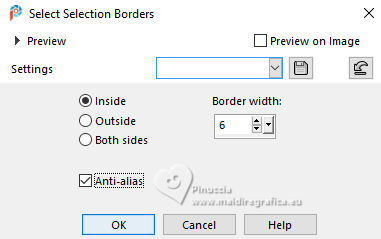 Layers>New Raster Layer. Set your foreground color to color 3: #ececec. Reduce the opacity of your Flood Fill Tool to 60% Flood Fill the selection with your foreground color #ececec.Selections>Select None. Set again the opacity of your Flood Fill Tool to 100. 10. Effects>Image Effects>Seamless Tiling - Side by Side. 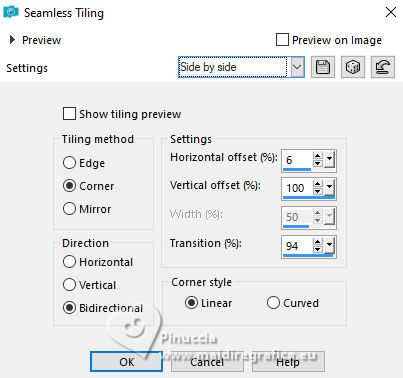 11. Layers>New Raster Layer. Selections>Load/Save Selections>Load Selection from Disk. Look for and load the selection N24_Xiki2 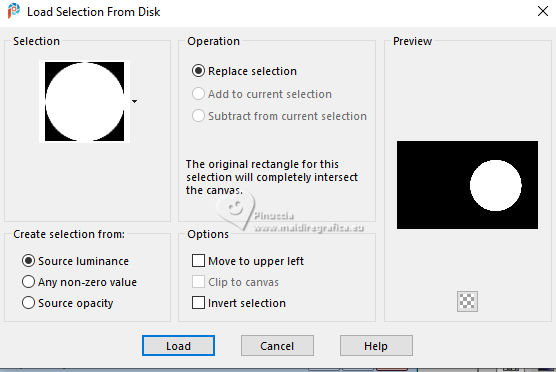 Flood Fill the selection with your foreground color #ececec.Adjust>Add/Remove Noise>Add Noise. 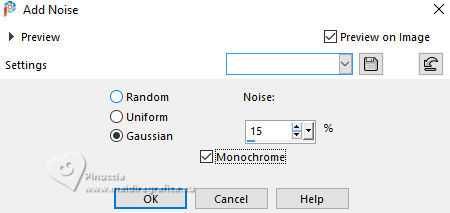 12. Selections>Modify>Contract - 25 pixels. Press CANC on the keyboard  Selections>Modify>Contract - 20 pixels. Set again your foreground color to the first color #980807 Flood Fill the selection with your foreground color #980807.Adjust>Add/Remove Noise>Add Noise. 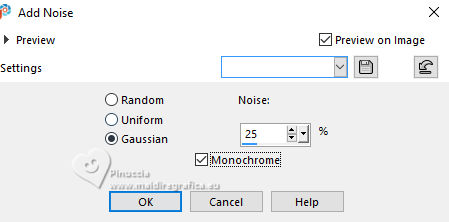 13. Selections>Modify>Contract - 25 pixels. Press CANC on the keyboard Set again your foreground color to the color 3 cecece. Selections>Modify>Contract - 20 pixels. Flood Fill the selection with your foreground color #ececec.14. Your landscape misted is still in memory: Edit>Paste into Selection. Adjust>Sharpness>Sharpen. 15. Layers>New Raster Layer. Effects>Plugins>Alien Skin>Eye Candy 5 Impact - Glass. 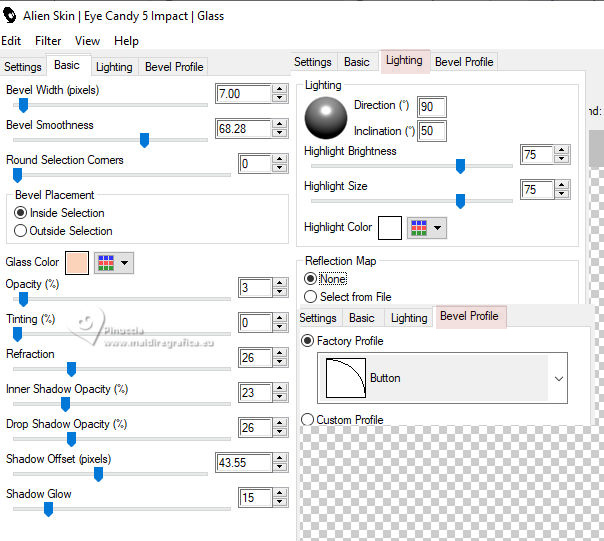 16. Selections>Select None. Activate the layer Raster 3. 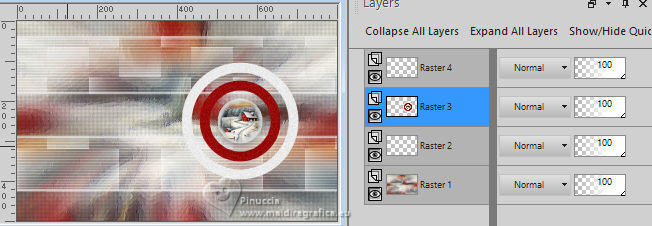 Effects>3D Effects>Drop Shadow, color black. 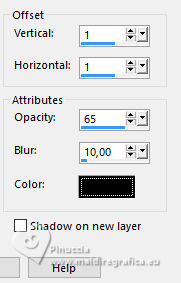 17. Activate the layer Raster 2. Layers>New Raster Layer. Selections>Load/Save Selections>Load Selection from Disk. Look for and load the selection N24_Xiki3 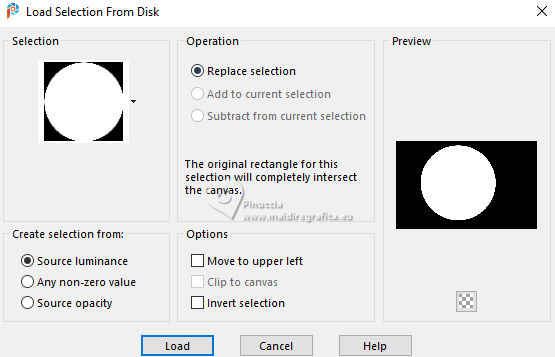 Reduce the opacity of your Flood Fill Tool to 40 Flood Fill the selection with your foreground color #ececec.Set again the opacity of your Flood Fill to 100. 18. Layers>New Raste Layer. Edit>Paste into Selection - your landscape misted is still in memory. Reduce the opacity of this layer to 25%. Selections>Select None. 19. Activate your top layer, Raster 4. Open TituloJoyfulHolidays  Erase the watermark and go to Edit>Copy. Go back to your work and go to Edit>Paste as New Layer. Pick Tool  Position X: 30,00 - Position Y: 50,00.  If you want, colorize or change the Blend Mode of the layer. For my version I Change to Luminance. 20. Activate the layer Raster 5. Open kimla_WR_snow3  Erase the watermark and go to Edit>Copy. Go back to your work and go to Edit>Paste as New Layer. 21. Activate the layer Raster 4. Open TextoJoyfulHolidays  Erase the watermark and go to Edit>Copy. Go back to your work and go to Edit>Paste as New Layer. Pick Tool Position X: 114,00 - Position Y: 0,00.  if you want, colorize or change the blend mode of this layer For my version I change to Luminance (L). 22. Layers>Merge>Merge All. Effects>Plugins>AAA Frames - Texture Frame.  23. Image>Add Borders, 10 pixels, symmetric, color 3 #ececec. Image>Add borders, 1 pixel, symmetric, color black #000000. Image>Add Borders, 30 pixels, symmetric, color 3 #ececec. Image>Add borders, 1 pixel, symmetric, color black #000000. Image>Add Borders, 10 pixels, symmetric, color 3 #ececec. 24. Open your main tube 040AN_NatalByPqnaAlice  Edit>Copy. Go back to your work and go Edit>Paste as New Layer. Move  the tube to the right side. the tube to the right side.Effects at your choice. 25. Image>Add Borders, 1 pixel, symmetric, color black #000000 . 26. Resize, if you want. Sign your work on a new layer. Layers>Merge>Merge All and save as jpg. For the tube of this version thanks Wieskes   Your versions. Thanks 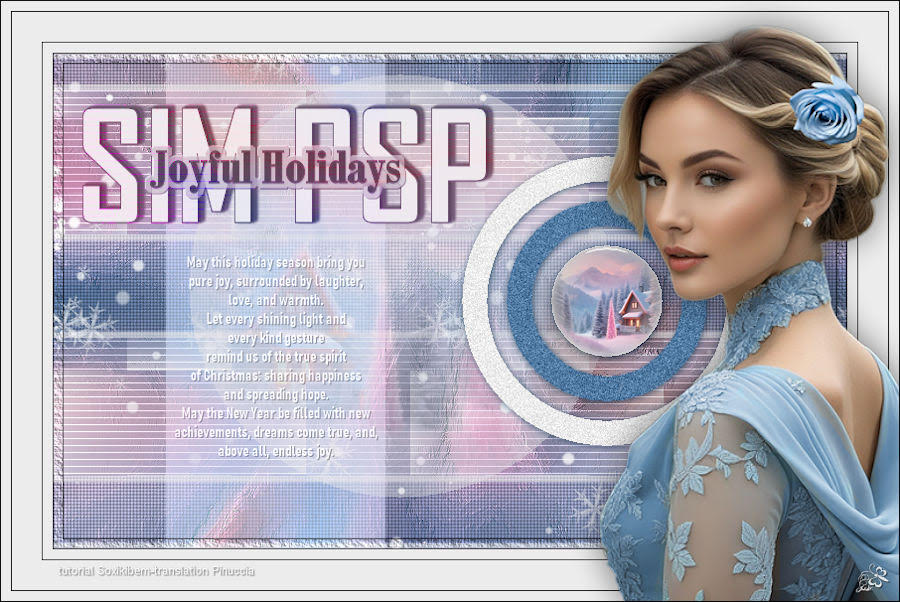 Jolcsi  Kika  Marie Nickol  Marion   If you have problems or doubts, or you find a not worked link, or only for tell me that you enjoyed this tutorial, write to me. 11 December 2024 |