|
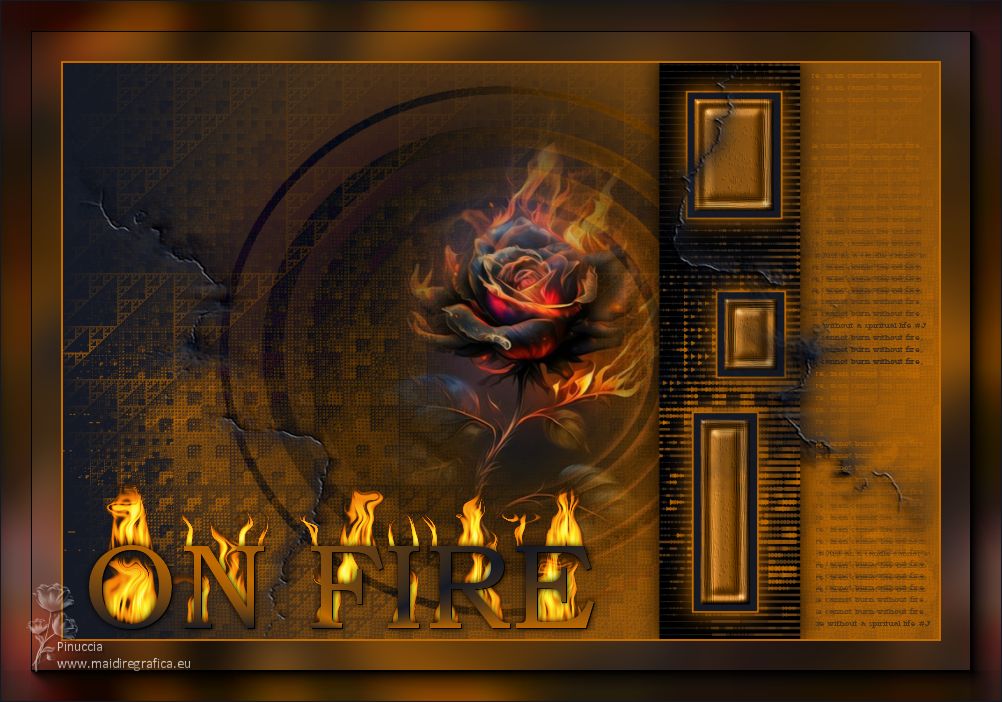
ON FIRE


Thanks Soxikibem for your invitation to translate your tutorials into english

This tutorial was written with Psp2022 and translated with PspX17, but it can also be made using other versions of PSP.
Since version PSP X4, Image>Mirror was replaced with Image>Flip Horizontal,
and Image>Flip with Image>Flip Vertical, there are some variables.
In versions X5 and X6, the functions have been improved by making available the Objects menu.
In the latest version X7 command Image>Mirror and Image>Flip returned, but with new differences.
See my schedule here
For this tutorial, you will need:

Thank for the tube PqnaAlice and for the mask Narah.
The rest of the material is by Soxikibem.
(The links of the tubemakers here).
consult, if necessary, my filter section here
Filters Unlimited 2.0 here
&<Bkg Designer sf10III> - Sierpenski's Mirror (to import in Unlimited) here
Mura's Seamless - Emboss at Alpha here
VM Experimental - TeeWee here
AAA Filters - Foto Frame older version of Multifilters Filters here
Filters Mura's Seamless and VM Experimental can be used alone or imported into Filters Unlimited.
(How do, you see here)
If a plugin supplied appears with this icon  it must necessarily be imported into Unlimited it must necessarily be imported into Unlimited

You can change Blend Modes according to your colors.
In the newest versions of PSP, you don't find the foreground/background gradient (Corel_06_029).
You can use the gradients of the older versions.
The Gradient of CorelX here

Copy the selection in the Selections Folder.
Open the mask in PSP and minimize it with the rest of the material.
1. Choose 2 colors from your material.
Foreground color #151924,
background color #c16a00

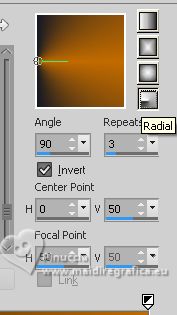
Set your foreground color to a Foreground/Background Gradient, style Radial.
2. Open a new transparent image 1000 x 700 pixels.
Flood Fill  the transparent image with your Gradient. the transparent image with your Gradient.
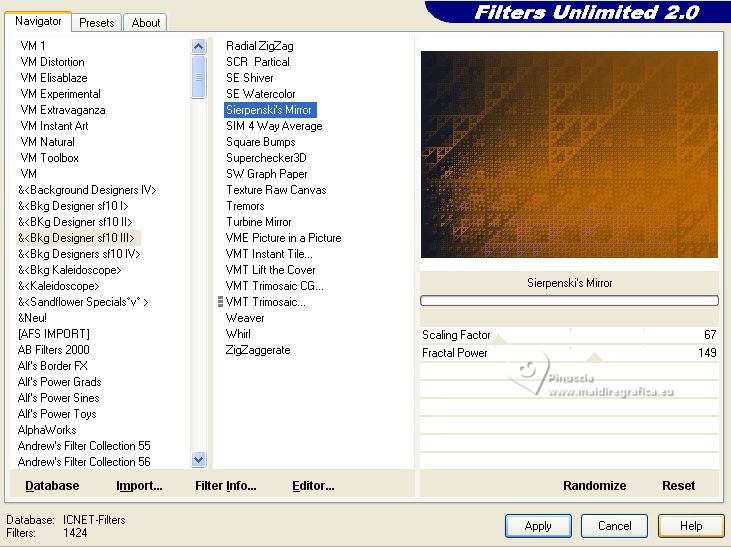
3. Effects>Plugins>Filters Unlimited 2.0 - &< Bkg Designer sf10III> - Sierpenski's Mirror.
4. Activer l'outil Sélection 
(peu importe le type de sélection, parce que avec la sélection personnalisée vous obtenez toujours un rectangle),
cliquer sur Sélection personnalisée 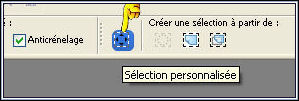
et setter ces paramétres.
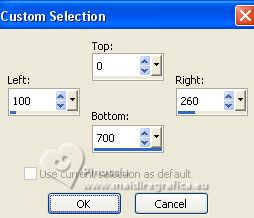
Selections>Promote Selection to Layer.
Selections>Select None.
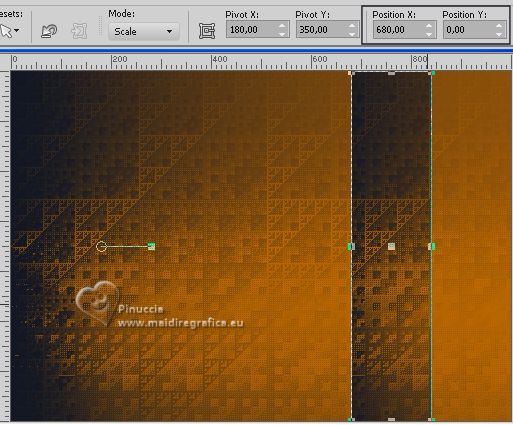
K key on the keyboard to activate your Pick Tool 
set Position X: 680,00 and keep Position Y: 0,00.
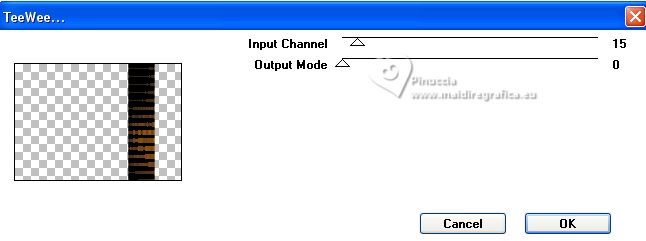
5. Effects>Plugins>VM Experimental - TeeWee.
Effects>3D Effects>Drop Shadow, color black.
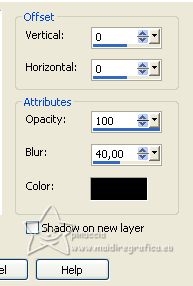
6. Layers>New Raster Layer.
Selections>Load/Save Selections>Load Selection from Disk
Look for and load the selection SelectionOnFire_Xiki
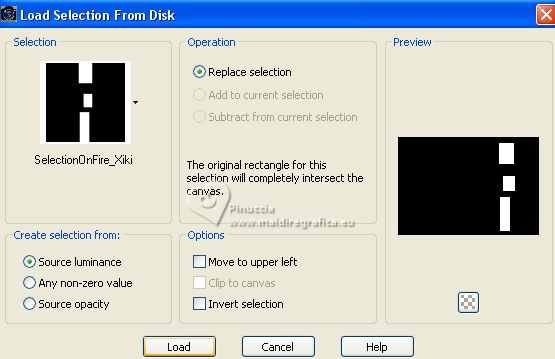
Flood Fill  the selections with your background color. the selections with your background color.
Match Mode on None and a single click will be enough to fill the selection

Selections>Modify>Contract - 2 pixels.
Press CANC on the keyboard 
Set your foreground color to Color.
Flood Fill  the selection with your foreground color. the selection with your foreground color.
7. Selections>Modify>Contract - 8 pixels.
Press CANC on the keyboard.
Flood Fill  the selection with your background color. the selection with your background color.
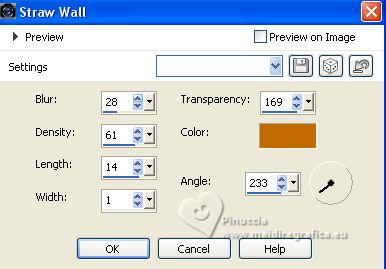
8. Effects>Texture Effects>Straw Wall, background color.
9. Effects>3D Effects>Inner Bevel.
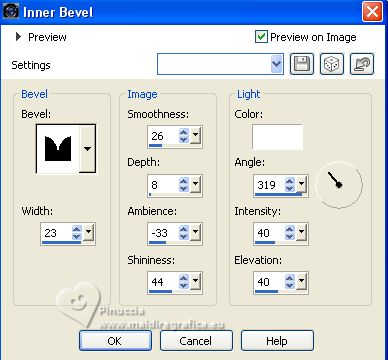
Selections>Select None.
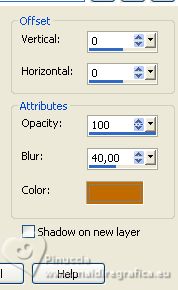
Effects>3D Effects>Drop Shadow, background color.
10. Activate the layer Raster 1.
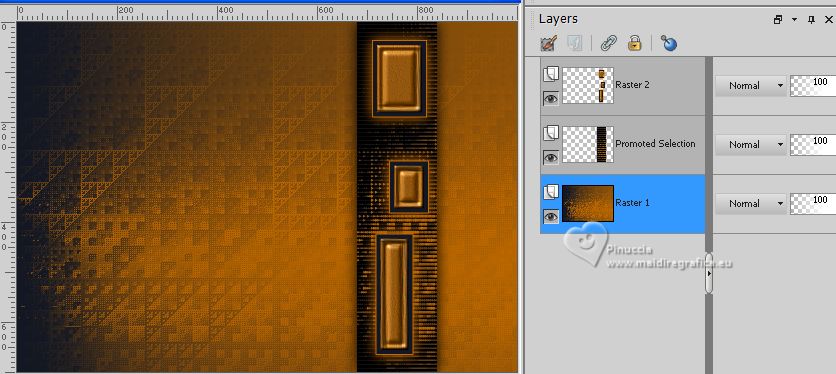
Layers>Duplicate.
Effects>Geometric Effects>Circle.

11. Image>Resize, to 70%, resize all layers not checked.
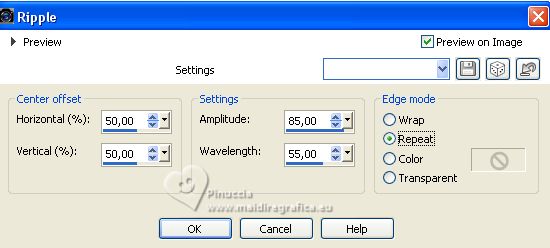
Effects>Distortion Effects>Ripple.
12. Image>Flip>Flip Horizontal.
Change the Blend Mode of this layer to Difference and reduce the opacity to 50%.
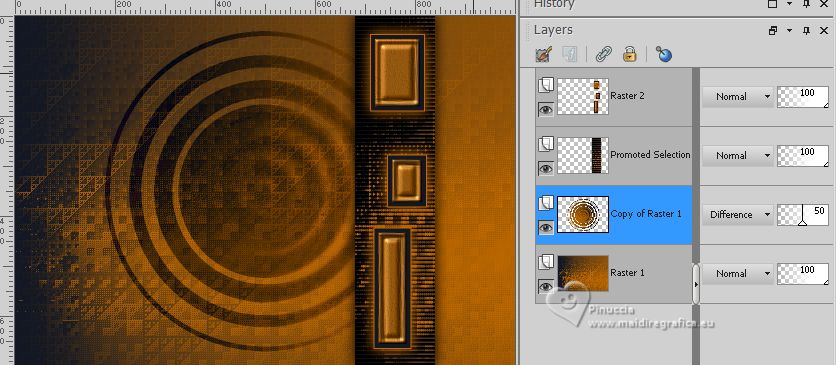
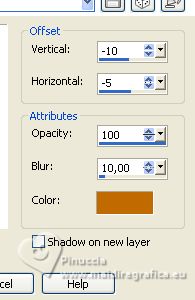
Effects>3D Effects>Drop Shadow, background color.
13. Open the flowers misted 181FlorByPqnaAlice 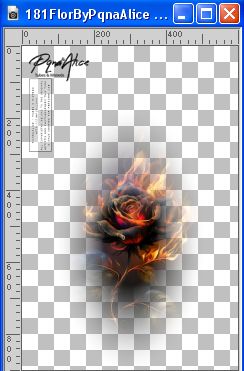
Edit>Copy.
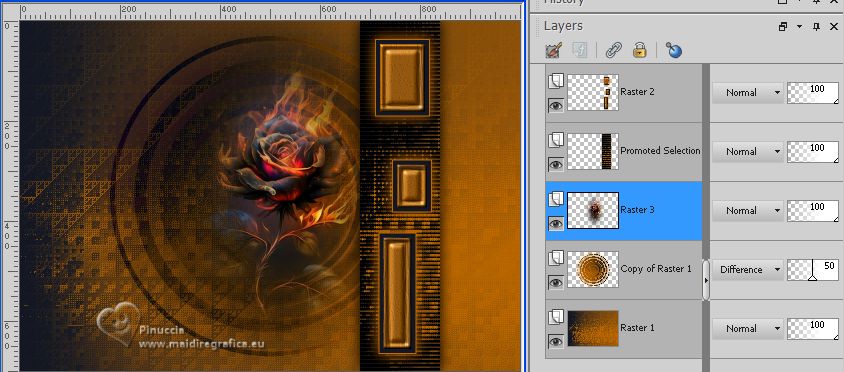
Go back to your work and go to Edit>Paste as new layer.
Move  the tube as below the tube as below
14. Activate your top layer, Raster 2.
Layers>New Raster Layer.
Flood Fill  the layer with your foreground color. the layer with your foreground color.
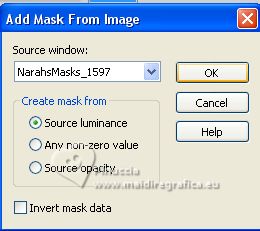
Layers>New Mask layer>From image
Open the menu under the source window and you'll see all the files open.
Select the mask NarahsMasks_1597.
Layers>Merge>Merge Group.
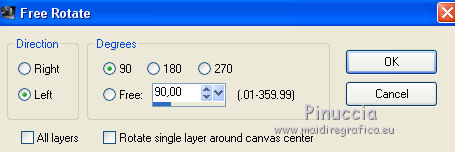
15. Image>Free Rotate - 90 degrees to left.
16. Image>Resize, to 70%, resize all layers not checked.
Adjust>Sharpness>Sharpen.
Effects>Plugins>Mura's Seamless - Emboss At Alpha, default settings.
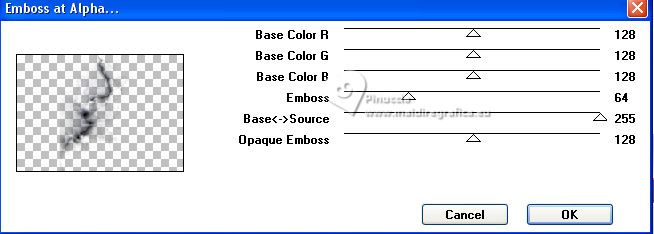
Repeat this Effect another time.
17. Image>Flip>Flip Horizontal.
K key to activate your Pick Tool 
Set Position X: 510,00 and keep Position Y: 0,00.

Layers>Duplicate.
Image>Mirror>Mirror Horizontal.
Image>Mirror>Mirror Vertical.
18. Layers>Merge>Merge All.
Edit>Copy.
Selections>Select All.
Selections>Modify>Contract - 60 pixels.
19. Layers>New Raster Layer.
Edit>Paste Into Selection.
20. Layers>New Raster Layer.
Flood Fill  the layer with your background color. the layer with your background color.
Selections>Modify>Contract - 2 pixels.
Press CANC on the keyboard.
Selections>Select None.
21. Activate your background layer.
Effects>Image Effects>Seamless Tiling, default settings.

Adjust>Blur>Gaussian Blur - radius 20

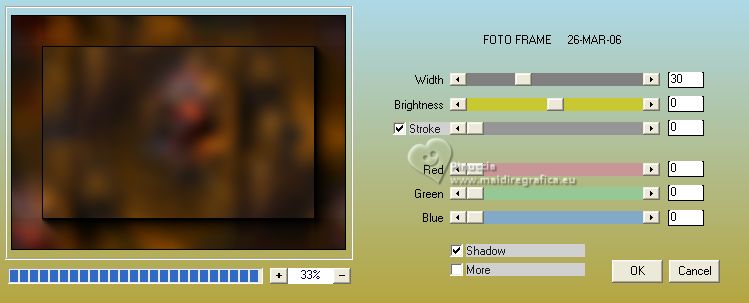
22. Effects>Plugins>AAA Filters - Foto Frame.
this effect is found under AAA Filters in an older version of the AAA Multifilter filters.
Before the tutorial, find the link in the plugins list.
23. Activate your top layer.
Open TituloOnFireBySoxikibem 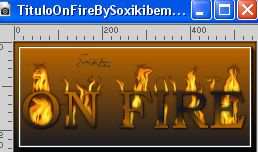
Edit>Copy.
Go back to your work and go to Edit>Paste as new layer.
K key to activate your Pick Tool 
and set Position X: 79,00 and Position Y: 476,00.

24. Copy TextoBySoxikibem 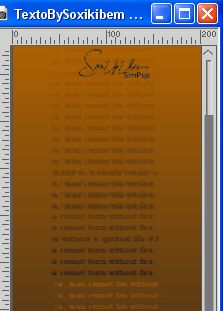
Edit>Copy.
Go back to your work and go to Edit>Paste as new layer.
Set Position X: 811,00 and Position Y: 71,00.

25. Image>Add Borders, 1 pixel, symmetric, foreground color.
26. Sign your work and save as jpg.
For the tube of this version thanks A PSP Devil.
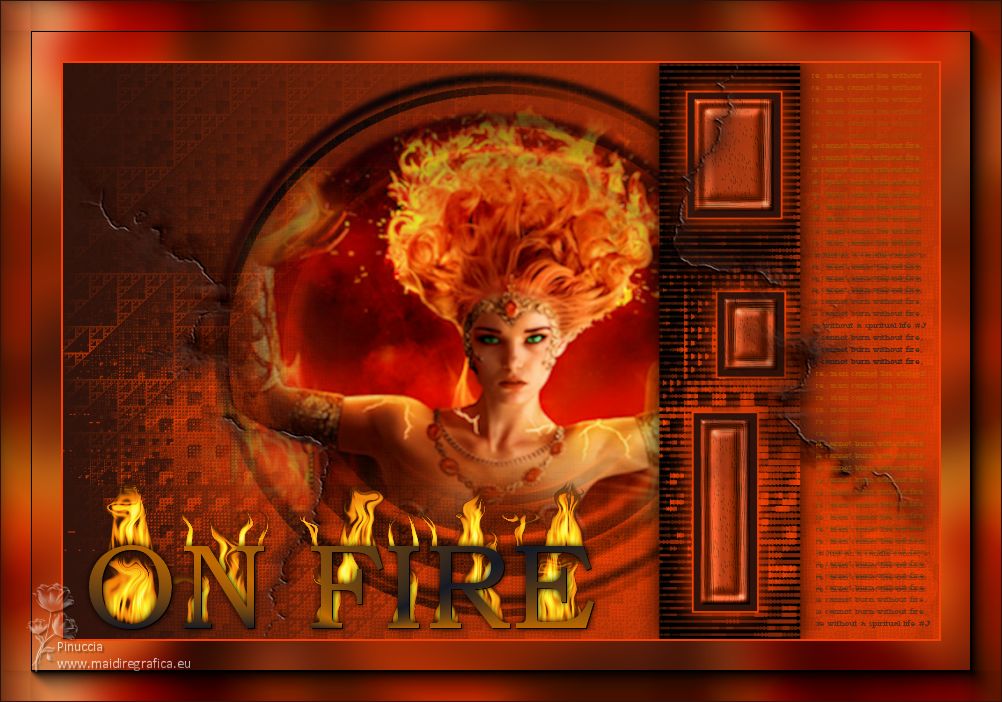

Your versions. Thanks
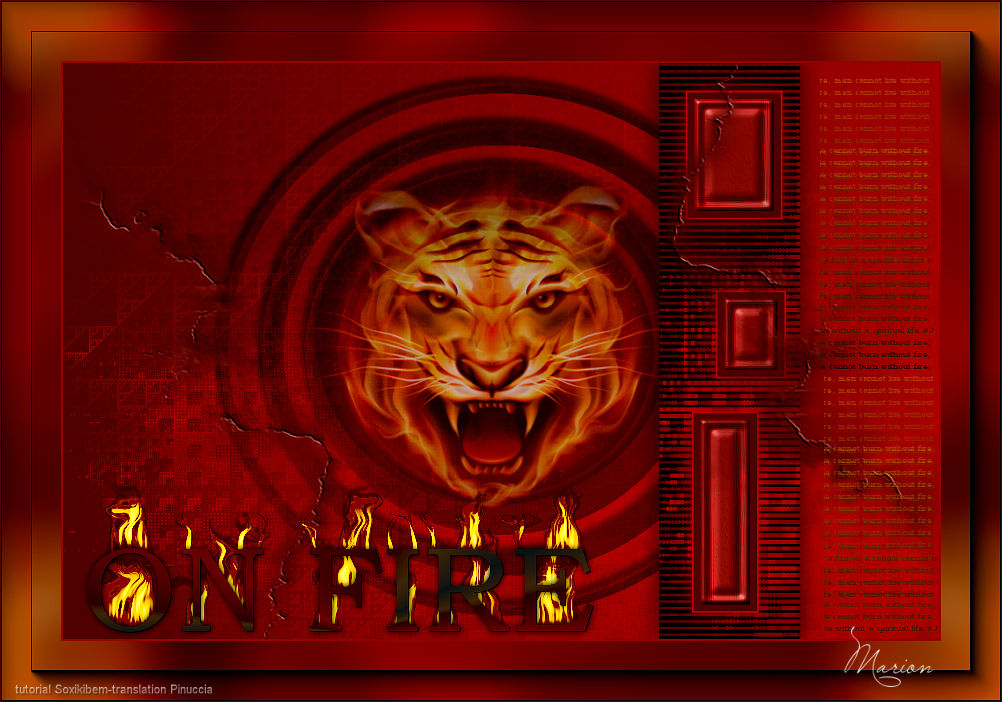
Marion
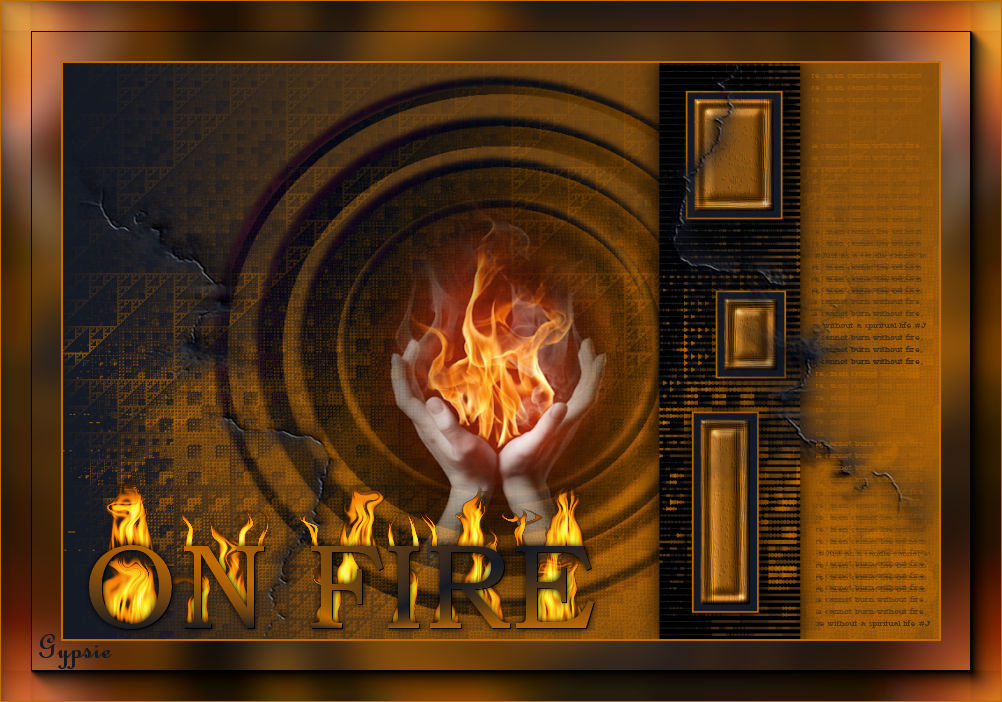
Gypsie
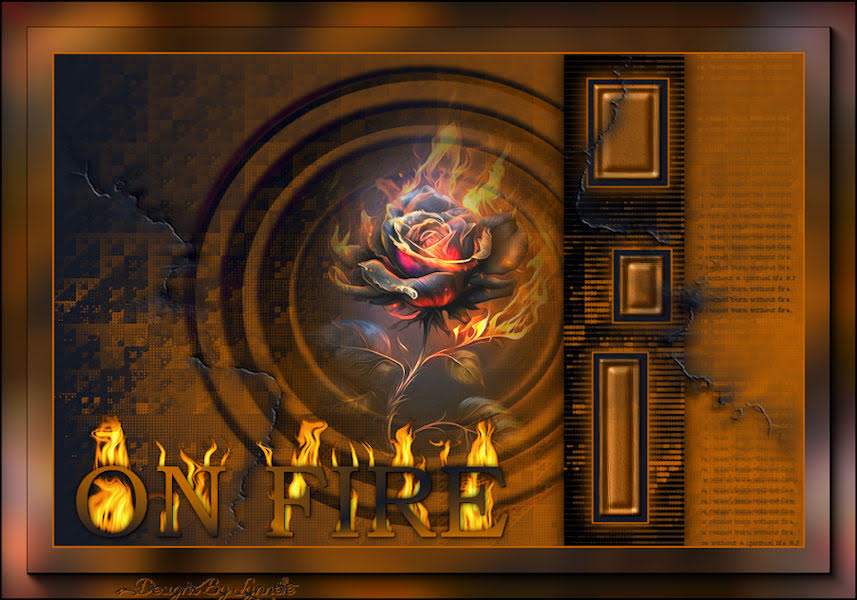
Lynnette
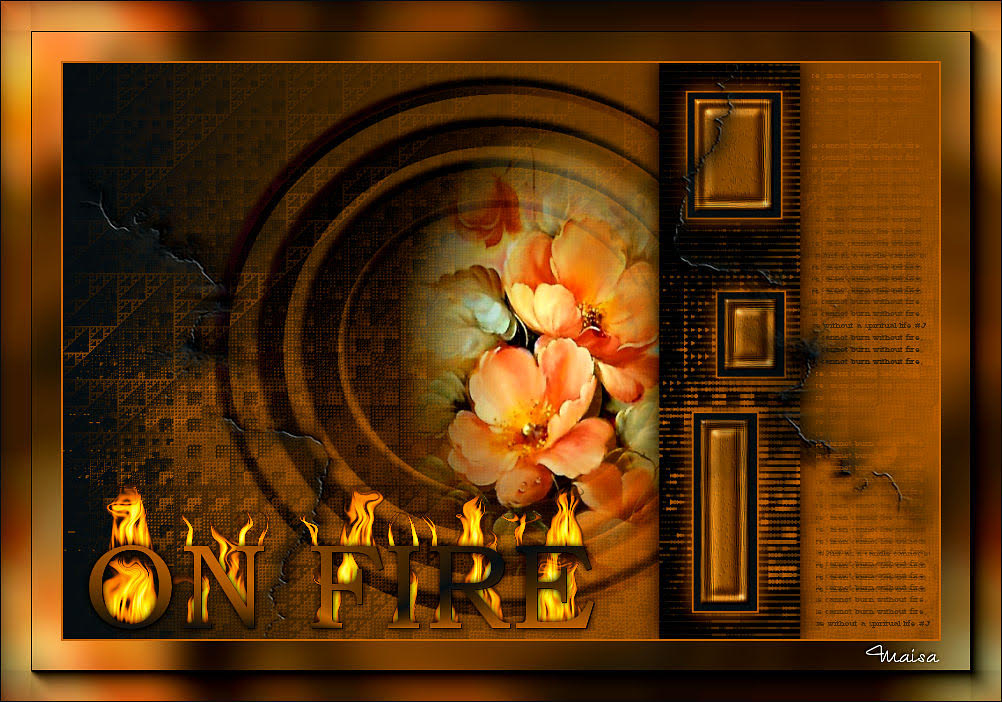
Maisa
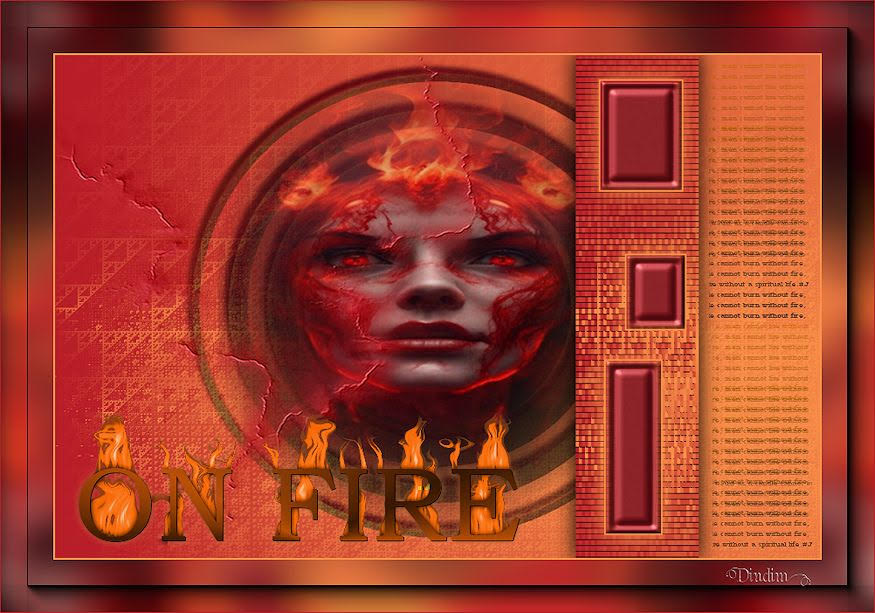
Dindim


If you have problems or doubts, or you find a not worked link, or only for tell me that you enjoyed this tutorial, write to me.
27 August 2023

|

