|
RELAX  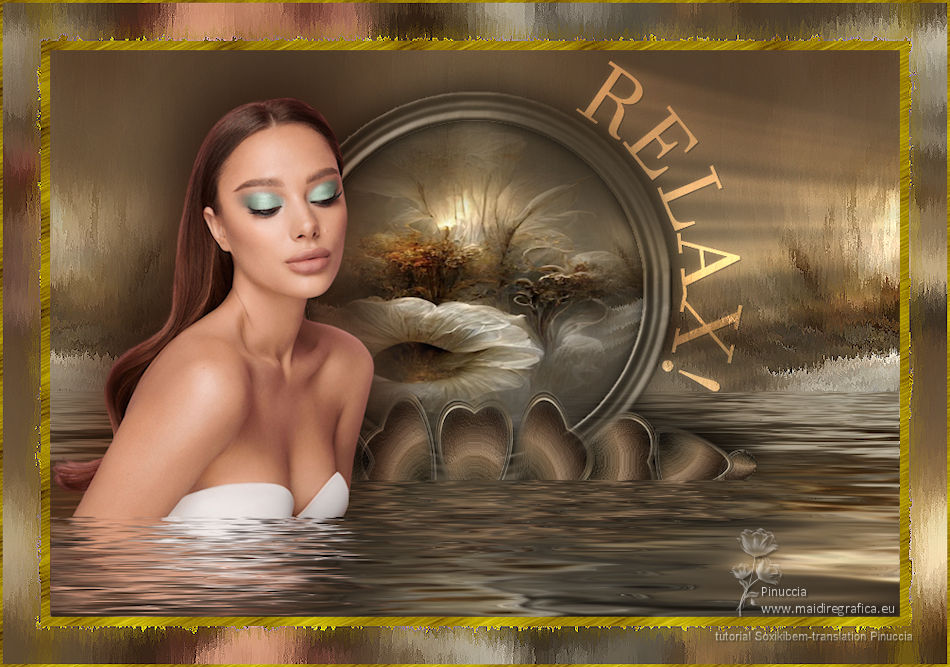

This tutorial was written with Psp2022 and translated with PspX17, but it can also be made using other versions of PSP.
For this tutorial, you will need:  Thank for the tubes PqnaAlice . The rest of the material is by Soxikibem. (The links of the tubemakers here).  consult, if necessary, my filter section here Filters Unlimited 2.0 here Brush Strokes - Sprayed Strokes here Mura's Seamless - Shift at zigzag here Mura's Meister - Copies here Flaming Pear - Flood here Simple - Top Bottom Wrap (bonus) here Filters Mura's Seamless and Seample can be used alone or imported into Filters Unlimited. (How do, you see here) If a plugin supplied appears with this icon  You can change Blend Modes according to your colors. In the newest versions of PSP, you don't find the foreground/background gradient (Corel_06_029). You can use the gradients of the older versions. The Gradient of CorelX here  Open the pattern 66gold_pracken in PSP and minimize it with the rest of the material. 1. Choose 2 colors from your material. Foreground color #3c2110, background color #746e5b 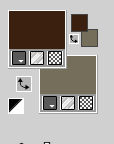 We'll use also the pattern 66gold_pracken 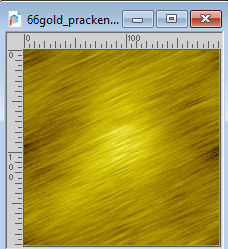 Set your foreground color to a Foreground/Background Gradient, style Sunburst. 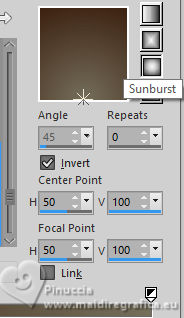 2. Open a new transparent image 900 x 600 pixels. Flood Fill  the transparent image with your Gradient. the transparent image with your Gradient.3. Layers>New Raster Layer. Selections>Select All. Open the floral misted 182FlorByPqnaAlice  Erase the watermark and go to Edit>Copy. Go back to your work and go to Edit>Paste Into Selection. Selections>Select None. 4. Effects>Image Effects>Seamless Tiling - Side by side.  5. Adjust>Blur>Radial Blur. 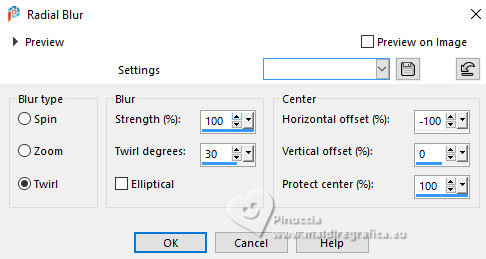 6. Layers>Duplicate. Image>Mirror>Mirror Horizontal. Layers>Merge>Merge Down. 7. Effects>Plugins>Brush Strokes - Sprayed Strokes.  Edit>Repeat Sprayed Strokes. Effects>Edge Effects>Enhance. 8. Layers>Duplicate. Effects>Geometric Effects>Circle. 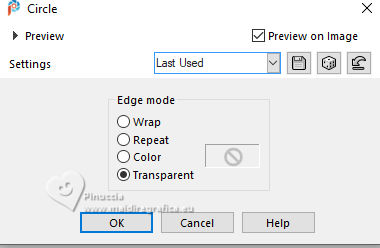 Image>Resize, to 70%, resize all layers not checked. Activate your Magic Wand Tool  , tolerance and feather 0, , tolerance and feather 0,and click outside the circle 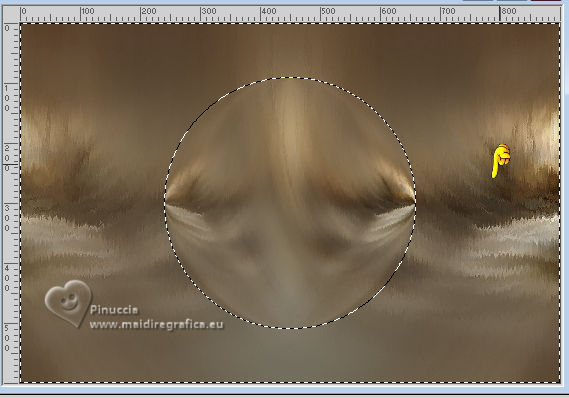 Selections>Invert, and the circle will be selected.  9. Layers>New Raster Layer. Edit>Paste into Selection (the misted is still in memory). Adjust>Sharpness>Sharpen. 10. Layers>Merge>Merge Down. Selections>Modify>Select Selection Borders. 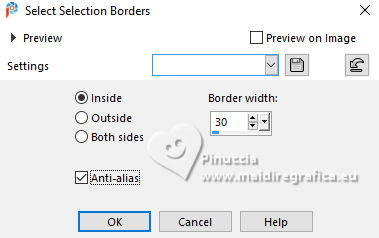 11. Adjust>Blur>Gaussian Blur - radius 15.  Effects>3D Effects>Inner Bevel.  12. Selections>Promote Selection to Layer. Selections>Select None. Activate your Magic Wand Tool  , tolerance and feather 0, , tolerance and feather 0,and click in the circle to select it. Layers>New Raster Layer. Effects>3D Effects>Cutout. 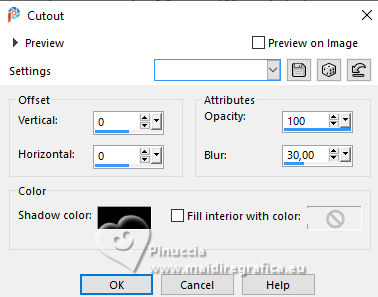 13. Selections>Select None. Layers>Arrange>Move Down. 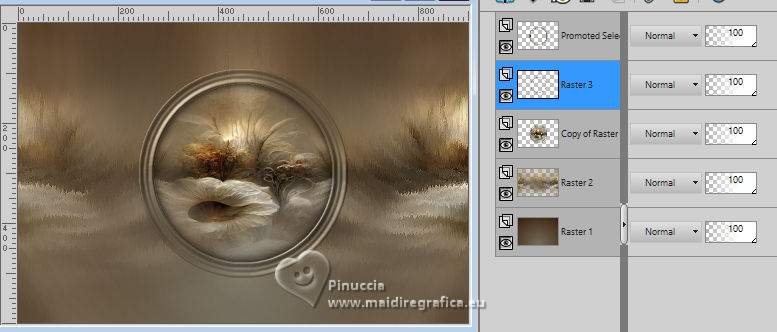 14. Activate your top layer, Promoted Selection. Layers>Duplicate. Effects>Plugins>Mura's Seamless - Shift at Zigzag. 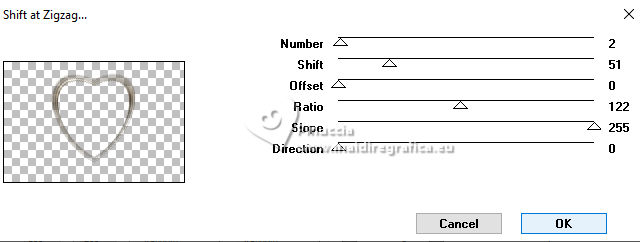 15. Image>Resize, to 30%, resize all layers not checked. Layers>Duplicate. Layers>Merge>Merge Down. Activate again your Magic Wand Tool  , tolerance and feather 0, , tolerance and feather 0,and click in the effect to select it. 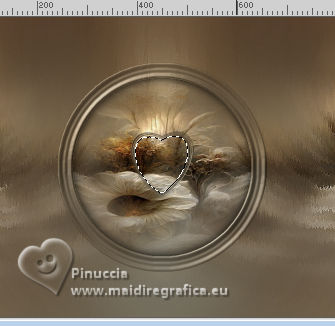 Selections>Modify Expand - 2 pixels. 16. Layers>New Raster Layer. Flood Fill  the layer with your Gradient. the layer with your Gradient.Effects>Texture Effects>Sandstone. 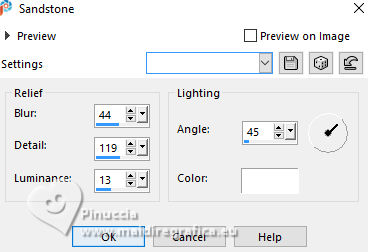 Selections>Select None. 17. Layers>Arrange>Move Down.  Activate your top layer. Layer>Merge>Merge Down. 18. Activate again the layer Promoted Selection.  Layers>Merge>Merge Down - 2 times. 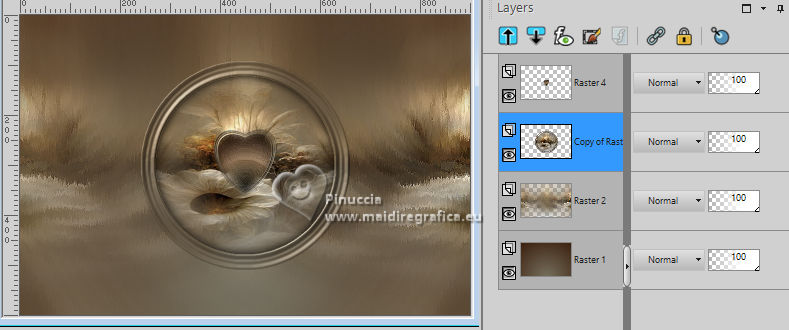 19. Activate again your top layer. Effects>Plugins>Mura's Meister - Copies.  20. Effects>Geometric Effects>Circle - same settings.  Pick Tool  keep Position X: 151,00 and set Position Y: 406,00. 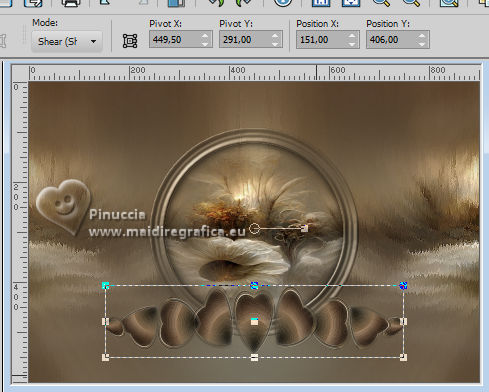 Layers>Merge>Merge Down. Effects>3D Effects>Drop Shadow, color black. 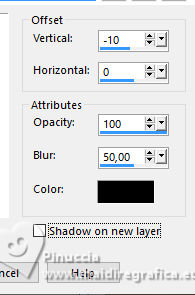 Objects>Align>Top. 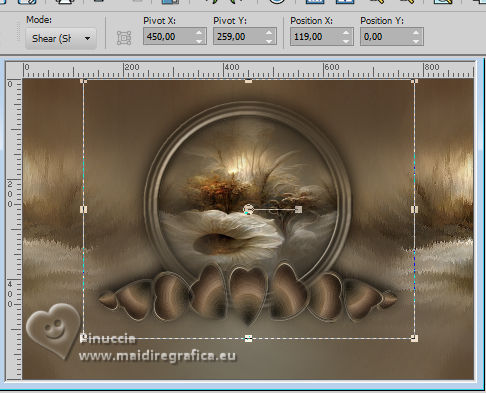 21. Activate the layer below, Raster 2. Effects>Plugins>Flaming Pear - Flood 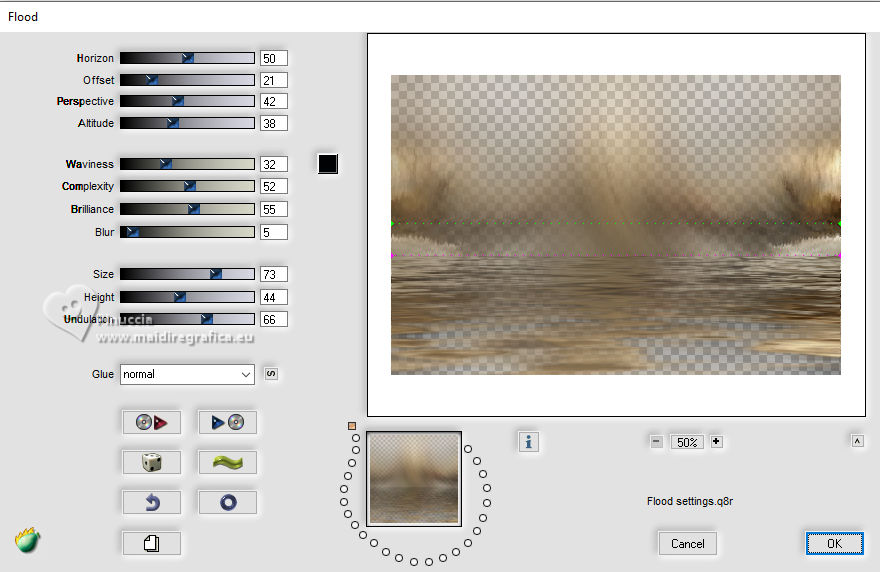 22. Activate your top layer. Repeat Effects>Plugins>Flaming Pear - Flood.  23. Open your tube 1001MulherByPqnaAlice 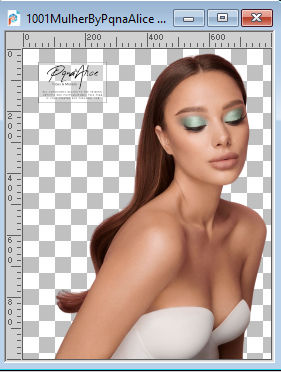 Erase the watermark and go to Edit>Copy. Go back to your work and go to Edit>Paste as New Layer. Image>Resize, if necessary, for the supplied tube 50%, resize all layers not checked. Move  the tube to the right side, the tube to the right side,or Pick Tool  Position X: 0,00 and Position Y: 49,00. 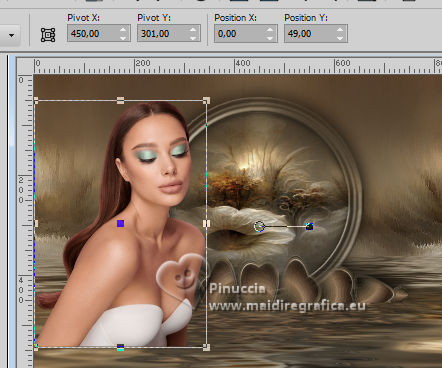 Effects>Plugins>Flaming Pear - Flood 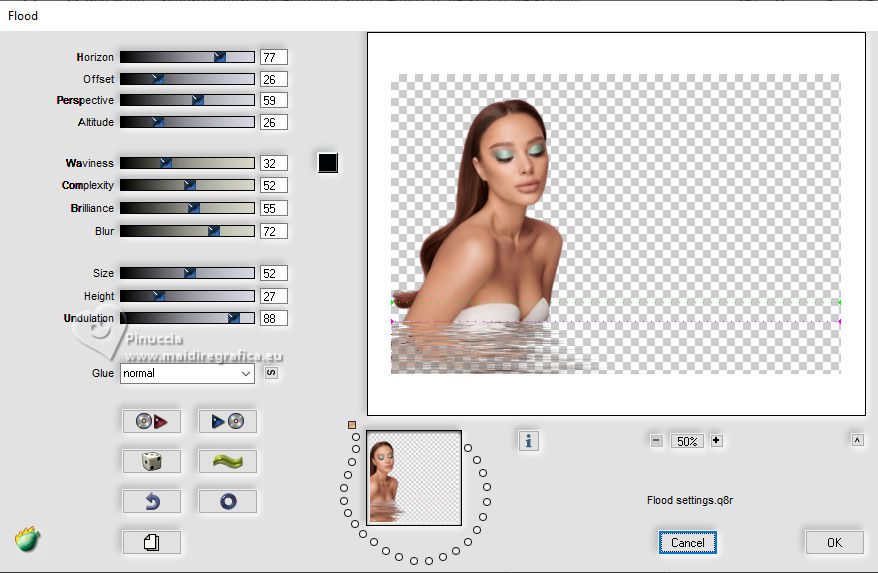 24. Layers>Duplicate. Adjust>Blur>Gaussian Blur - radius 40.  Change the Blend Mode of this layer to Multiply. Layers>Arrange>Move Down. 25. Open TituloRelax_BySoxikibem 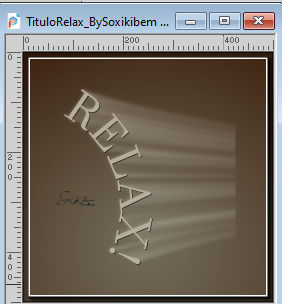 Edit>Copy. Go back to your work and go to Edit>Paste as New Layer. Pick Tool  Position X: 550,00 and Position Y: 4,00.  Change the Blend Mode of this layer to Dodge and reduce the opacity to 80%.  26. Edit>Copy Special>Copy Merged. Selections>Select All. Image>Add borders, 10 pixels, symmetric, whatever color. Selections>Invert. Set your foreground color to Pattern and select the golden pattern 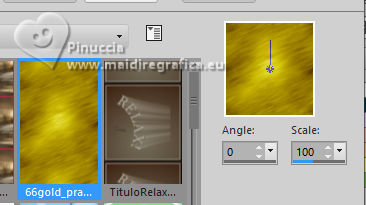 Flood Fill  with your golden pattern. with your golden pattern.Selections>Select None. 27. Selections>Select All. Image>Add borders, 40 pixels, symmetric, whatever color. Selections>Invert. Edit>Paste Into Selection. 28. Effects>Plugins>Simple - Top Bottom Wrap. This effect works without window: result  Adjust>Blur>Gaussian Blur - radius 10.  29. Effects>Plugins>Brush Strokes - Sprayed Strokes. 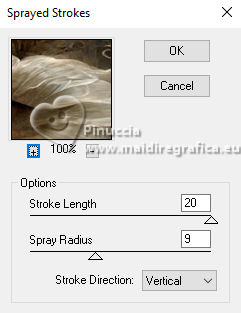 Edit>Repeat Sprayed Strokes. Effects>Edge Effects>Enhance. Selections>Select None. 30. Selections>Select All. Image>Add borders, 3 pixels, symmetric, whatever color. Selections>Invert. Flood Fill  with your golden pattern. with your golden pattern.Selections>Select None. 31. Image>Resize, if you want. Sign you work and save as jpg. For the tubes of this version thanks Luz Cristina and Mentali.   Your versions. Thanks  Baby  Baby  Jolcsi  Katalin  Yvonne 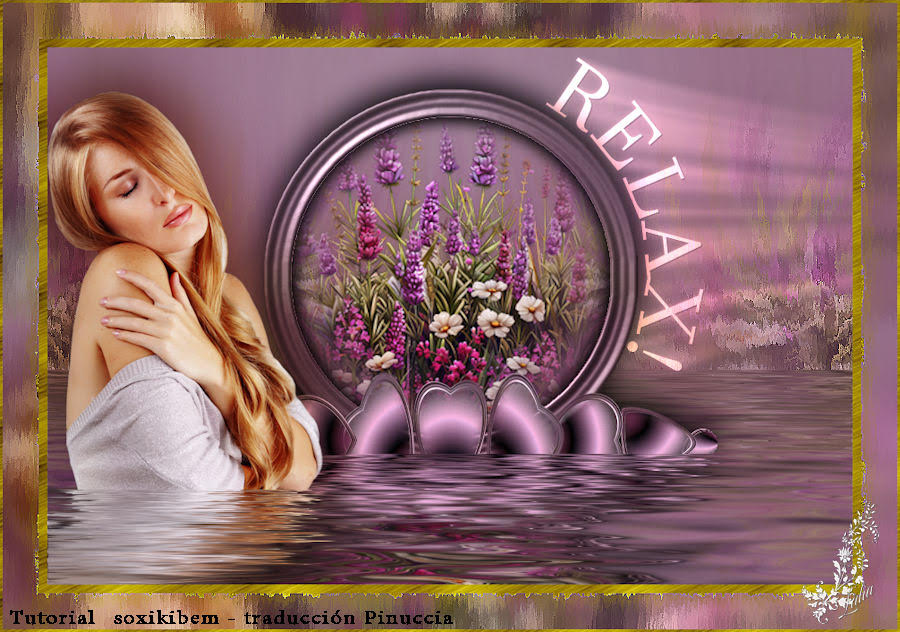 Lidia   If you have problems or doubts, or you find a not worked link, or only for tell me that you enjoyed this tutorial, write to me. |


