|
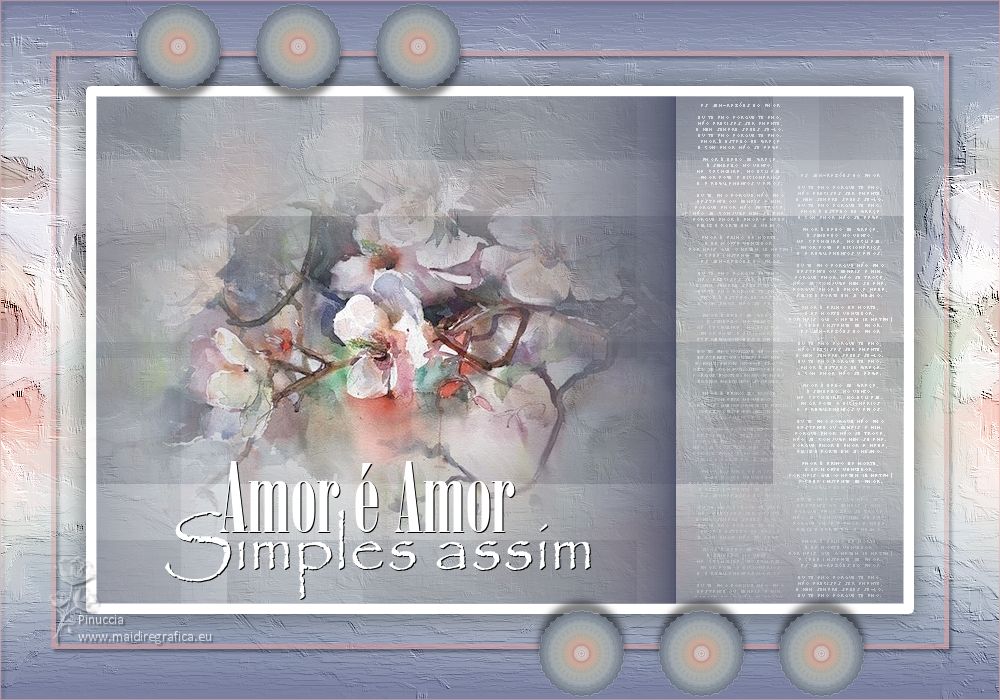
SIMPLES ASSÍM


Thanks Soxikibem for your invitation to translate your tutorials into english

This tutorial was written with Psp2022 and translated with PspX17, but it can also be made using other versions of PSP.
Since version PSP X4, Image>Mirror was replaced with Image>Flip Horizontal,
and Image>Flip with Image>Flip Vertical, there are some variables.
In versions X5 and X6, the functions have been improved by making available the Objects menu.
In the latest version X7 command Image>Mirror and Image>Flip returned, but with new differences.
See my schedule here
For this tutorial, you will need:

For the tube thanks PqnaAlice.
The rest of the material is by Soxikibem.
(The links of the tubemakers here).

consult, if necessary, my filter section here
Filters Unlimited 2.0 here
&<Bkg Designer sf10II> - Kaleidoscope 8 (to import in Unlimited) here
&<Bkg Designer sf10III> - (to import in Unlimited) here
Mura's Meister - Copies here

You can change Blend Modes according to your colors.
In the newest versions of PSP, you don't find the foreground/background gradient (Corel_06_029).
You can use the gradients of the older versions.
The Gradient of CorelX here

1. Choose 4 colors from your material.
Used Colors

Set your foreground color to #464a63,
and your background color to #b7d2cd.
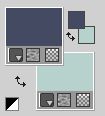
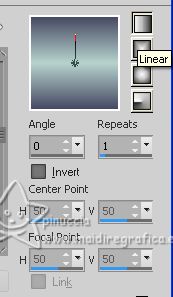
Set your foreground color to a Foreground/Background Gradient, style Linear
2. Open a new transparent image 1000 x 700 pixels.
Flood Fill  the transparent image with your Gradient. the transparent image with your Gradient.
3. Selections>Select All.
Open the flowers misted 135PaisagemByPqnaAlice 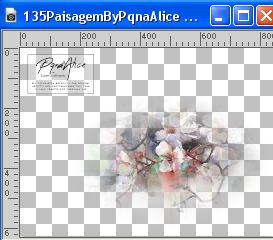
Edit>Copy.
Go back to your work and go to Edit>Paste into Selection.
Selections>Select None.
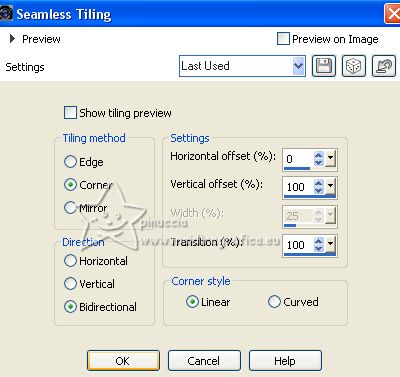
4. Effects>Image Effects>Seamless Tiling.
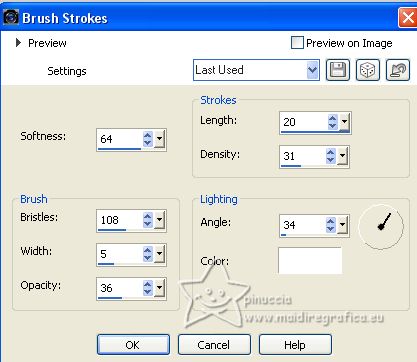
5. Effects>Art Media Effects>Brush Strokes.
6. Layers>Duplicate.
Close the layer Copy of Raster 1.
Activate the Layer below of the original.
7. Imposta il colore di sfondo con il colore 2 #986460  . .
Layers>New Raster Layer.
Flood Fill  with your background color. with your background color.
Selections>Select All.
Selections>Modify>Contract - 1 pixel.
Press CANC on the keyboard 
8. Selections>Modify>Contract - 50 pixels.
Flood Fill  with your background color. with your background color.
Selections>Modify>Contract - 5 pixels.
Press CANC on the keyboard.
9. Selections>Modify>Contract - 35 pixels.
Open and activate the layer above Copy of Raster 1.
Selections>Invert.
Selections>Promote Selection to Layer.
10. Activate the layer below Copy of Raster 1.
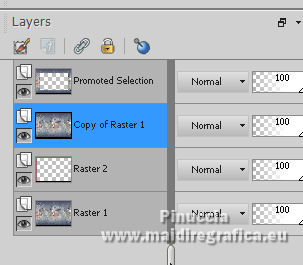
Press CANC on the keyboard.
Activate again the top layer, Promoted Selection.
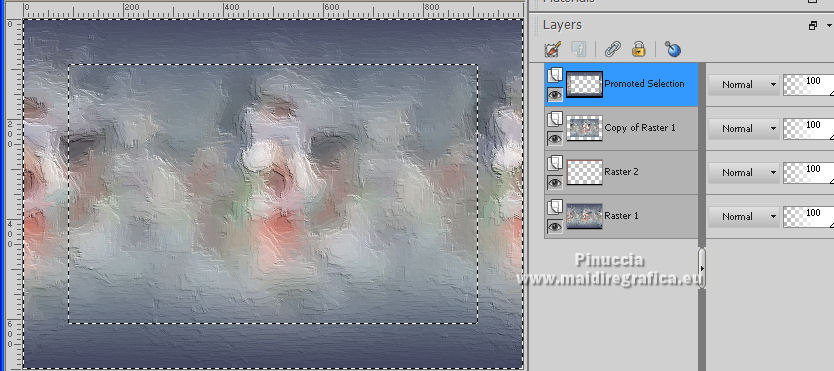
Layers>Arrange>Move Down.
Change the Blend Mode of this layer to Screen.
Selections>Select None.
11. Activate the layer below, Raster 2.
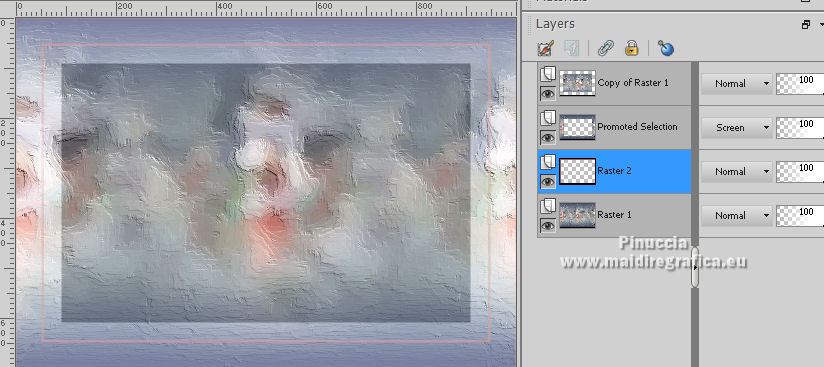
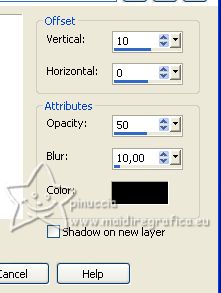
Effects>3D Effects>Drop Shadow, color black.
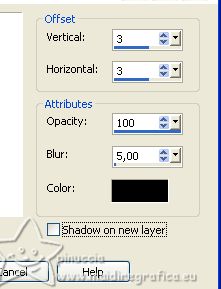
12. Activate the top layer, Copy of Raster 1.
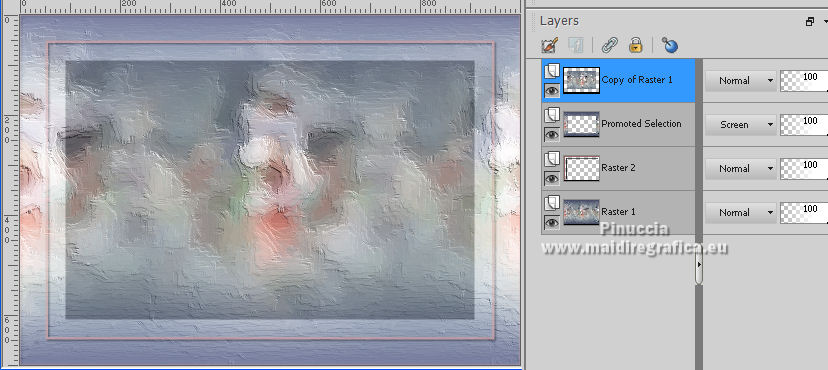
13. Layers>Duplicate.
Effects>Plugins>Filters Unlimited 2.0 - &<Bkg Designer sf10II> - Kaleidoscope 8.

14. Image>Resize, to 15%, resize all layers not checked.
K key to activate your Pick Tool 
and set Position X: 135,00 and Position Y: 3,00.

Effects>Plugins>Mura's Meister - Copies.
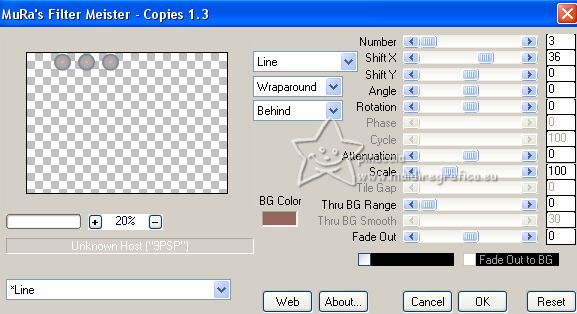
15. Effects>3D Effects>Drop Shadow, color black.
Layers>Duplicate.
Image>Mirror.
Image>Flip.
16. Activate the layer Copy of Raster 1.
Activate your Magic Wand Tool  , tolerance and feather 0, , tolerance and feather 0,
and click in the transparent part to select it.
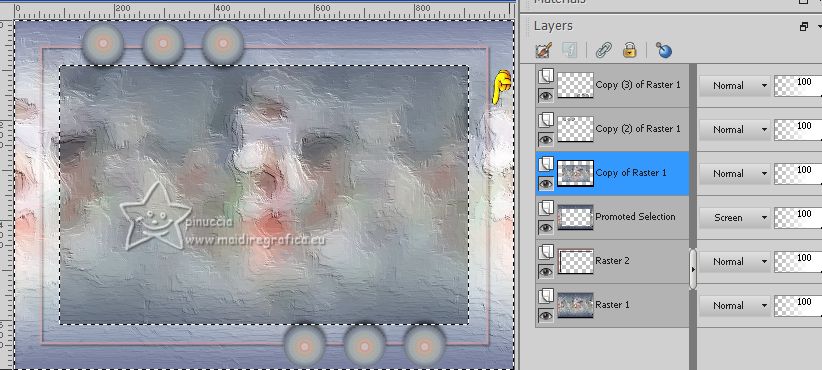
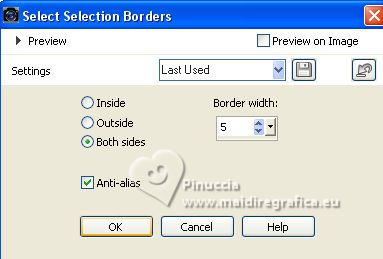
Selections>Invert.
Selections>Modify>Select Selection Borders.
17. Set your foreground color to white #ffffff.

Layers>New Raster Layer.
Flood Fill  the selection with color white. the selection with color white.
Selections>Select None.
Activate again your Magic Wand Tool  , tolerance and feather 0, , tolerance and feather 0,
and click outside this edge.
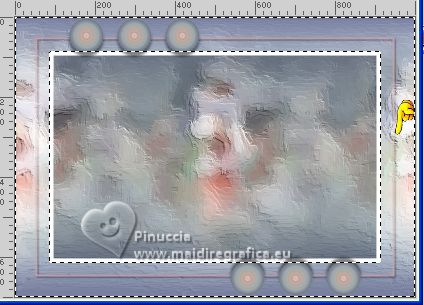
18. Selections>Invert.
Effects>3D Effects>Drop Shadow, color black.
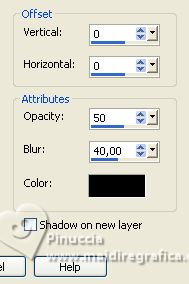
Selections>Select None.
19. Activate the layer Copy of Raster 1.
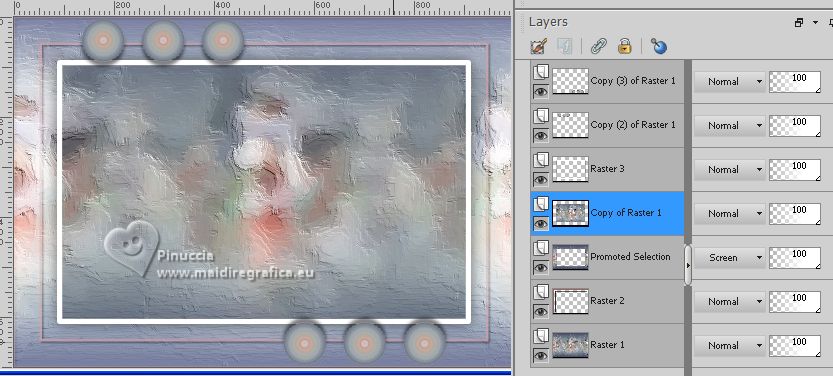
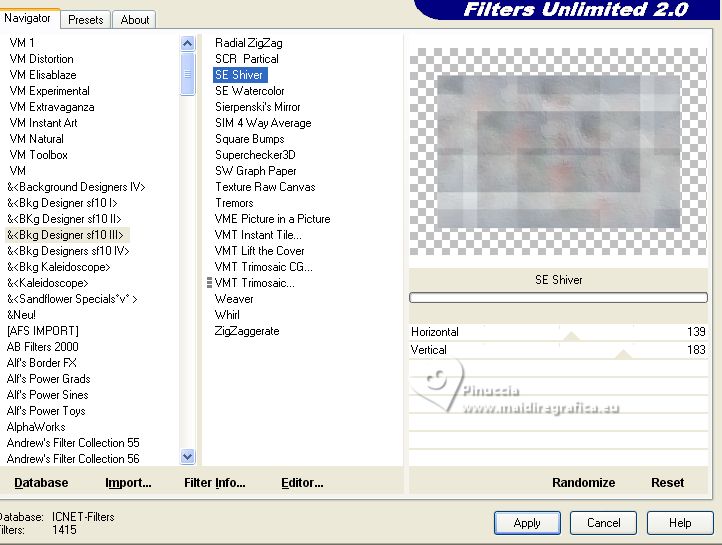
Effects>Plugins>Filters Unlimited 2.0 - &<Bkg Designer sf10III> - SE Shiver.
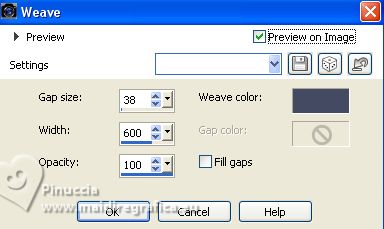
20. Effects>Texture Effects>Weave - foreground color #464a63 
21. Activate your top Layer.
Open TextoByXiki 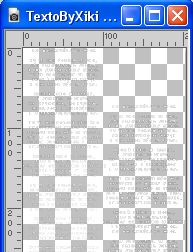
Edit>Copy.
Go back to your work and go to Edit>Paste as new layer.
Pick Tool 
Set Position X: 689,00 and keep Position Y: 102,00.

22. Activate again your flowers misted.
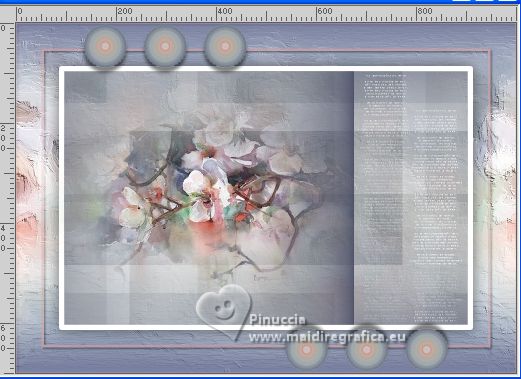
Edit>Copy.
Go back to your work and go to Edit>Paste as new layer.
Place  the tube to your liking. the tube to your liking.
23. Open TituloByXiki 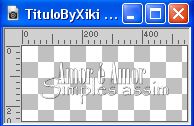
Edit>Copy.
Go back to your work and go to Edit>Paste as new layer.
Pick Tool 
and set Position X: 164,00 and Position Y: 461,00.

24. Sign your work on a new layer.
Layers>Merge>Merge All and save as jpg.
The misted of this version is mine
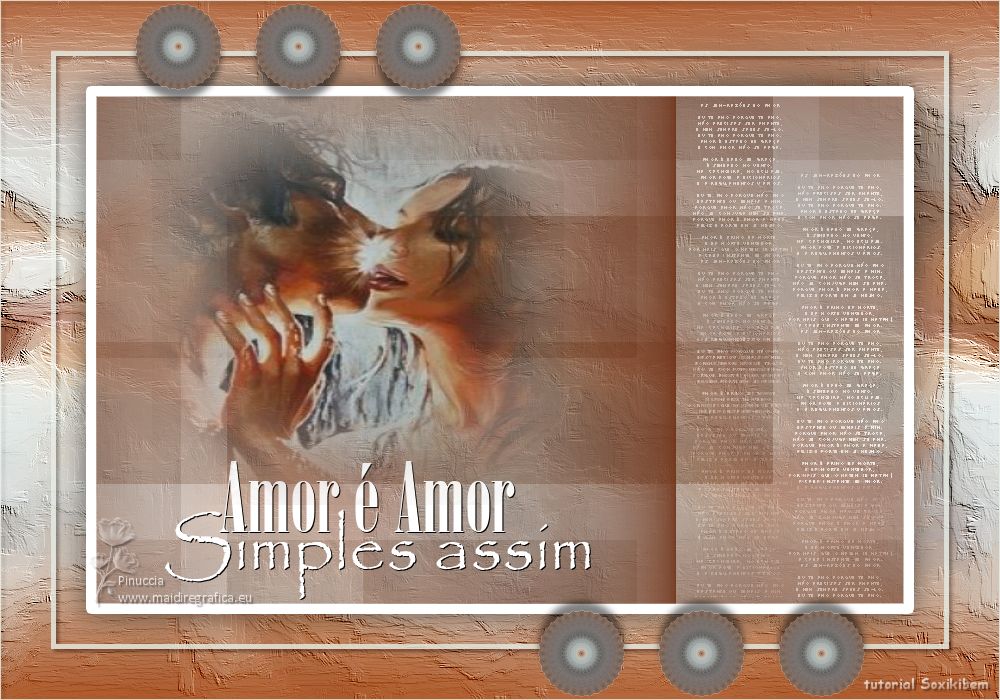

Your versions. Thanks
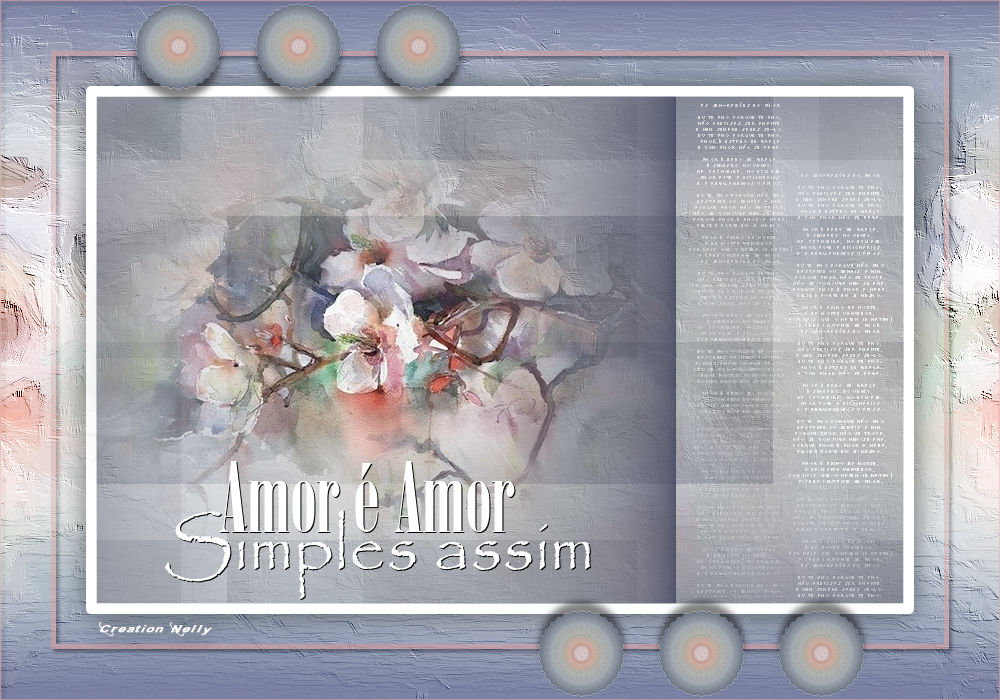
Nelly


If you have problems or doubts, or you find a not worked link, or only for tell me that you enjoyed this tutorial, write to me.
1 July 2023

|

